
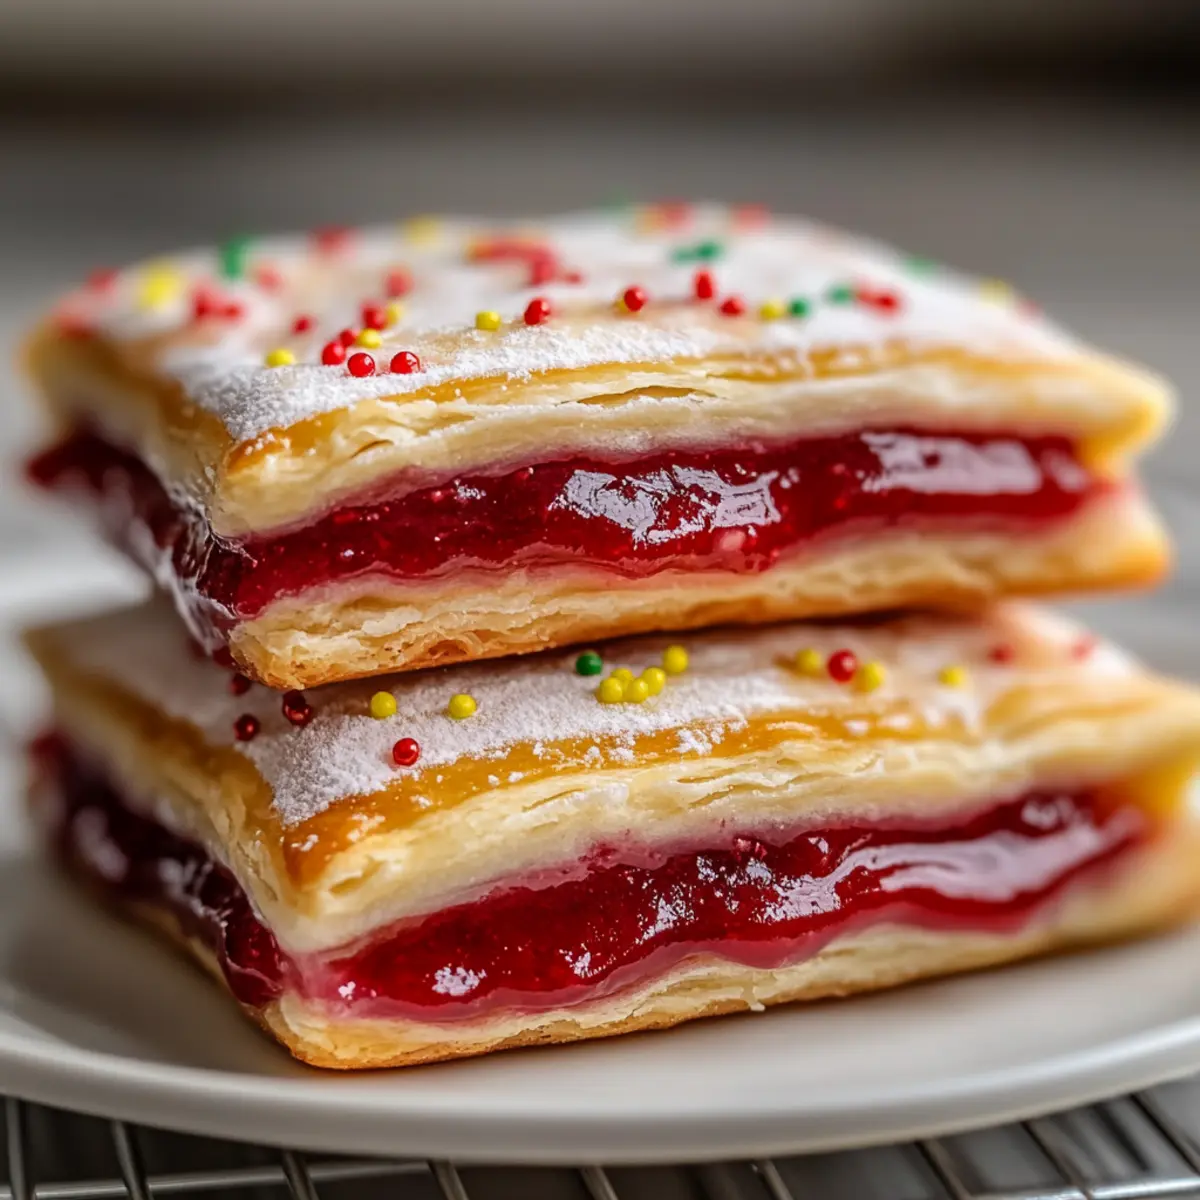
Rushing through your busy morning should never mean sacrificing the joy of homemade goodness. That’s why I’m thrilled to share my Protein-Packed Strawberry Pop Tarts with you! These delightful pastries combine a crumbly, golden exterior with a luscious center of rich strawberry jam, all while delivering a satisfying protein boost. Perfect for breakfast or as a guilt-free snack, this quick and easy recipe features wholesome ingredients you likely already have on hand. Not only are they a fun way to indulge your sweet tooth, but they’re also adaptable—feel free to customize your filling with your favorite flavors. Ready to transform your breakfast routine? Let’s dive into this delicious recipe together!
Why Are Protein Pop Tarts So Amazing?
Delightfully Simple: The process for making these Protein Pop Tarts is straightforward, so you don’t need to be a culinary expert to whip them up.
Healthy Indulgence: Enjoy a delicious treat that satisfies your sweet tooth while packing a nutritional punch, with around 10g of protein per pop tart!
Versatile Options: Feel free to switch the filling with your favorites, such as raspberry or a nut butter, to create a breakfast that’s uniquely yours. Check out my Jalapeno Popper Cheesy for even more tasty ideas!
Meal Prep Friendly: These pop tarts can be made ahead and stored, making them a perfect grab-and-go breakfast option on hectic mornings.
Crowd-Pleaser: Whether for brunch with friends or a cozy family breakfast, these pop tarts are sure to impress and delight everyone at the table!
Protein Pop Tarts Ingredients
These simple ingredients come together to make the most delightful Protein Pop Tarts!
For the Dough
- Whole Wheat Flour – Adds structure and fiber; for a gluten-free version, use a blend that includes xanthan gum.
- Vanilla Protein Powder – Provides a protein boost; you can swap this for chocolate or berry-flavored protein powder for a twist.
- Sugar – Sweetens the dough; adjust to taste or substitute with your preferred sugar alternative.
- Baking Powder – Helps the dough rise; optional if using self-rising flour.
- Applesauce – Adds moisture and natural sweetness; unsweetened is best, or try mashed bananas.
- Neutral Oil – Ensures tenderness in the pastry; coconut oil or melted butter are great alternatives.
- Vanilla Extract – Enhances the overall flavor; you can use almond extract for a different taste.
For the Filling
- Strawberry Jam – The star filling that brings sweetness and flavor; feel free to experiment with raspberry or nut butter, just ensure they are not too runny!
For the Glaze
- Confectioners’ Sugar – Used for the glaze to add a touch of sweetness; mix with milk or water for a smooth consistency.
- Milk or Water – Helps create the perfect glaze; can use almond milk for a dairy-free option.
Step‑by‑Step Instructions for Protein Pop Tarts
Step 1: Preheat the Oven
Begin by preheating your oven to 170°C (325°F). Meanwhile, prepare a baking tray by lining it with parchment paper to prevent sticking. This step is essential for achieving that perfect golden-brown finish on your Protein Pop Tarts, ensuring even cooking throughout.
Step 2: Mix the Dry Ingredients
In a medium bowl, whisk together whole wheat flour, vanilla protein powder, sugar, and baking powder. Ensure that the mixture is well-blended, as this will create the structure and texture for your Pop Tarts. Look for a light, fluffy consistency as you combine these nutritious ingredients.
Step 3: Combine Wet Ingredients
In a separate bowl, mix together the applesauce, neutral oil, and vanilla extract until smooth and creamy. This wet mixture adds moisture to your Protein Pop Tarts and binds the dry ingredients together, resulting in a lovely dough. Make sure everything is evenly incorporated before moving on.
Step 4: Form the Dough
Gradually combine the wet and dry ingredients to form a cohesive dough. Mix until there are no dry patches left, ensuring a homogenous mixture. Once combined, your dough should feel slightly tacky yet workable, which is ideal for shaping your Protein Pop Tarts.
Step 5: Chill the Dough
Wrap the dough tightly in plastic wrap and refrigerate for about 15 minutes. This resting period hydrates the dough and helps develop a flakier texture. While waiting, you can clean up and get your workspace ready for rolling out the dough.
Step 6: Roll Out the Dough
After chilling, divide the dough in half and roll out each half between two sheets of parchment paper to approximately 1/8 inch thick. Use a rolling pin for a uniform thickness, which is key for even baking. Cut the rolled dough into rectangles, aiming for eight pieces total.
Step 7: Add the Filling
On half of the rectangles placed on your prepared baking tray, add a dollop of strawberry jam in the center. Be careful not to overfill, as this can cause the jam to spill out during baking. The jam is essential, providing that sweet burst of flavor in your Protein Pop Tarts.
Step 8: Seal the Pop Tarts
Top each filled rectangle with the remaining dough pieces and seal the edges firmly by pressing down with your fingers. For extra security and a decorative touch, crimp the edges with a fork. This helps ensure that the sweet filling remains tucked inside during baking.
Step 9: Bake to Perfection
Place your assembled Protein Pop Tarts in the preheated oven and bake for about 10-15 minutes, or until they are golden brown. Keep an eye on them toward the end to prevent over-baking; you want a perfectly crisp outer layer to contrast the chewy interior.
Step 10: Prepare the Glaze
While the Protein Pop Tarts are cooling, whisk together the confectioners’ sugar, milk (or water), and additional vanilla in a bowl until smooth. Adjust the consistency to your liking, aiming for a pourable glaze that will enhance the sweetness of the Pop Tarts once they are fully cooled.
Step 11: Glaze and Serve
After allowing the Protein Pop Tarts to cool completely on a wire rack, drizzle the prepared glaze over the tops. This final touch elevates their appearance and adds a delightful sweetness, making them not only tasty but visually appealing for breakfast or a snack.
Protein Pop Tarts Variations & Substitutions
Feel free to get creative with your Protein Pop Tarts! This delightful recipe begs for personalization, and the taste possibilities are endless.
-
Gluten-Free: Use a gluten-free all-purpose flour blend combined with xanthan gum to make these pop tarts suitable for a gluten-sensitive diet. You won’t miss the wheat one bit!
-
Different Fillings: Swap out the strawberry jam for raspberry, blueberry, or even a rich nut butter. Each filling will bring a new flavor profile that’s sure to excite your taste buds.
-
Flavor Boost: Add a teaspoon of cinnamon or a dash of nutmeg to the dough for an extra warm spice note. It will elevate the flavor and make your kitchen smell divine!
-
Low-Sugar Option: Substitute regular sugar with a sugar alternative like stevia or monk fruit sweetener. You can enjoy these tasty treats without the extra calories.
-
Chocolate Drizzle: Once baked and cooled, drizzle melted dark chocolate over the top for a decadent touch. This addition makes them feel even more like a treat!
-
Berry Garnish: For added texture, top your pop tarts with fresh berries before serving. The combination of flavors is refreshing and beautiful!
-
Protein Boost: For an extra protein punch, mix in a tablespoon of chia seeds or flaxseed meal into the dough. It enhances the nutrition without compromising taste.
-
Oven-Free Method: Feeling adventurous? Try cooking them in an air fryer for a quicker way to achieve that perfect crisp! Just keep an eye on them to prevent over-browning.
Make sure to try some fun alternatives inspired by other delightful dishes, like my High Protein Beef or Keto Jalapeno Popper!
What to Serve with Protein Pop Tarts?
Elevate your breakfast experience and delight your taste buds with these complementary ideas that round out your meal beautifully.
-
Greek Yogurt: This creamy addition balances the sweetness of the pop tarts while boosting your protein intake, making for a satisfying meal. A sprinkle of nuts will add a delightful crunch.
-
Fresh Berries: Serve a medley of strawberries, blueberries, and raspberries to enhance the fruity notes of your pop tarts. Their tartness complements the sweetness of the jam, creating a fresh and vibrant plate.
-
Nut Butter: A side of almond or peanut butter provides a rich, nutty flavor that pairs wonderfully with the Protein Pop Tarts. Spread it on the side for dipping to add creaminess and a protein kick!
-
Smoothie Bowl: Blend your favorite fruits with yogurt or almond milk for a refreshing, nutrient-packed drink. This cool addition contrasts nicely with the warm pop tarts, offering a lovely variety in temperatures.
-
Coffee or Herbal Tea: A steaming cup of coffee or soothing herbal tea makes for a comforting beverage choice. The warmth and aromatic flavors will help to elevate your breakfast experience.
-
Chia Pudding: A bowl of chia pudding topped with nuts and fruits offers a beautiful balance of texture that complements the soft and flaky pop tarts, all while adding an extra nutritional boost.
Indulging in these delightful sides will not only enhance your Protein Pop Tarts but also create a joyful morning ritual that your family will cherish.
Storage Tips for Protein Pop Tarts
-
Room Temperature: Store your Protein Pop Tarts in an airtight container at room temperature for up to 2 days to maintain their delightful texture and freshness.
-
Fridge: If you’d like to keep them longer, refrigerate the pop tarts for up to a week. Make sure they are well-wrapped to prevent them from drying out.
-
Freezer: For longer storage, freeze your Protein Pop Tarts for up to 2 months. Separate each pastry with parchment paper to avoid sticking together.
-
Reheating: To reheat, place the pop tarts in a toaster oven or conventional oven for a few minutes until warmed through, as microwaving can make them soggy.
Expert Tips for Protein Pop Tarts
-
Hydrate the Dough: Let the dough chill in the refrigerator to ensure it’s properly hydrated. This helps create that ideal flaky texture you desire in your Protein Pop Tarts.
-
Mind the Filling: Avoid using overly runny jams or nut butters to prevent sogginess during baking. A thicker filling will hold up beautifully and keep your pop tarts intact.
-
Watch the Baking Time: Keep a close eye on your Protein Pop Tarts as they bake. Overbaking can lead to a tough texture; aim for a golden-brown finish for the best result.
-
Customize Your Glaze: Feel free to experiment with your glaze! Add a sprinkle of cinnamon or a dash of almond extract to make it uniquely yours.
-
Storage Wisdom: To keep your Protein Pop Tarts fresh, store them in an airtight container at room temperature for up to two days or refrigerate them for a week.
Make Ahead Options
These Protein Pop Tarts are perfect for meal prep and can make your busy mornings a breeze! You can prepare the dough and refrigerate it up to 24 hours in advance; just wrap it tightly in plastic wrap to maintain freshness. Additionally, you can pre-fill the pop tarts and freeze them before baking for up to 3 months; just ensure to use parchment paper between layers to avoid sticking. When ready to enjoy, simply bake from frozen for an extra 5 minutes, and you’ll have delicious, homemade Protein Pop Tarts with minimal effort! With these make-ahead tips, you’ll save precious time without compromising on taste.
Protein Pop Tarts Recipe FAQs
How do I choose the right strawberries for the jam filling?
Absolutely! When selecting strawberries for your jam, look for ones that are plump, firm, and brightly colored. Avoid those with dark spots all over or signs of mold. Fresh, ripe strawberries will yield the sweetest flavor, so try to pick the ones that have a fragrant scent too!
What’s the best way to store Protein Pop Tarts?
I recommend storing your Protein Pop Tarts in an airtight container at room temperature for up to 2 days. If you want them to last longer, refrigerate them for up to a week. Be sure to wrap them well to avoid drying out!
Can I freeze Protein Pop Tarts?
Certainly! To freeze your Protein Pop Tarts, first allow them to cool completely. Then, separate each pastry with parchment paper and place them in a freezer-safe bag or airtight container. They can be frozen for up to 2 months. Just pop them in the toaster oven or conventional oven to reheat when you’re ready for a delicious treat!
What if my dough feels too sticky or dry?
Very important! If your dough feels too sticky, you can sprinkle a little extra flour while mixing until it reaches the right consistency. If it’s too dry, try adding a teaspoon of water or a bit more applesauce to bring it together. The dough should be soft yet manageable, so feel free to make these slight adjustments as needed.
Are Protein Pop Tarts safe for pets?
Absolutely not! Keep in mind that the ingredients used in the Protein Pop Tarts are not safe for pets. Items like sugar and certain jams can be harmful to dogs and cats, so it’s best to stick with treats made specially for them.
What toppings can I use to elevate my Protein Pop Tarts?
You can have the more the merrier! Consider drizzling melted dark chocolate over the top for a rich contrast or adding fresh berries for a pop of color and flavor. A sprinkle of crushed nuts can also add a delightful crunch that pairs beautifully with the soft pastry!
Delicious Protein Pop Tarts You’ll Love Making at Home
Ingredients
Equipment
Method
- Preheat your oven to 170°C (325°F) and prepare a baking tray by lining it with parchment paper.
- In a medium bowl, whisk together whole wheat flour, vanilla protein powder, sugar, and baking powder.
- In a separate bowl, mix together the applesauce, neutral oil, and vanilla extract until smooth and creamy.
- Gradually combine the wet and dry ingredients to form a cohesive dough.
- Wrap the dough tightly in plastic wrap and refrigerate for about 15 minutes.
- After chilling, divide the dough in half and roll out each half between two sheets of parchment paper.
- On half of the rectangles, add a dollop of strawberry jam in the center.
- Top each filled rectangle with the remaining dough pieces and seal the edges firmly.
- Place your assembled Protein Pop Tarts in the preheated oven and bake for about 10-15 minutes.
- While cooling, whisk together confectioners' sugar, milk (or water), and additional vanilla until smooth.
- After cooling completely, drizzle the prepared glaze over the tops and serve.
Leave a Reply