
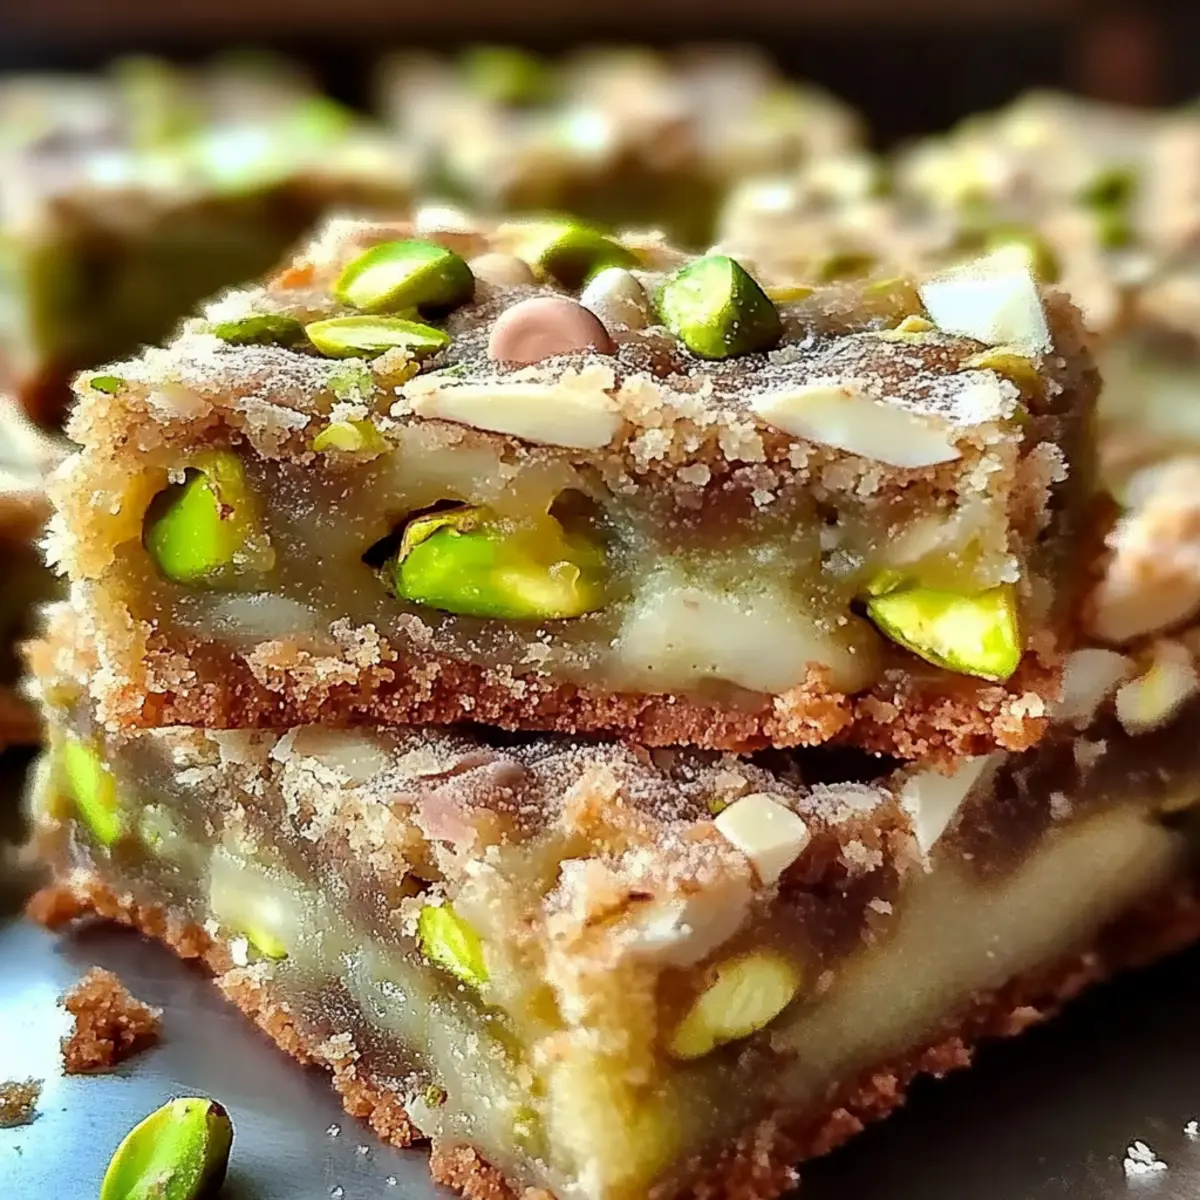
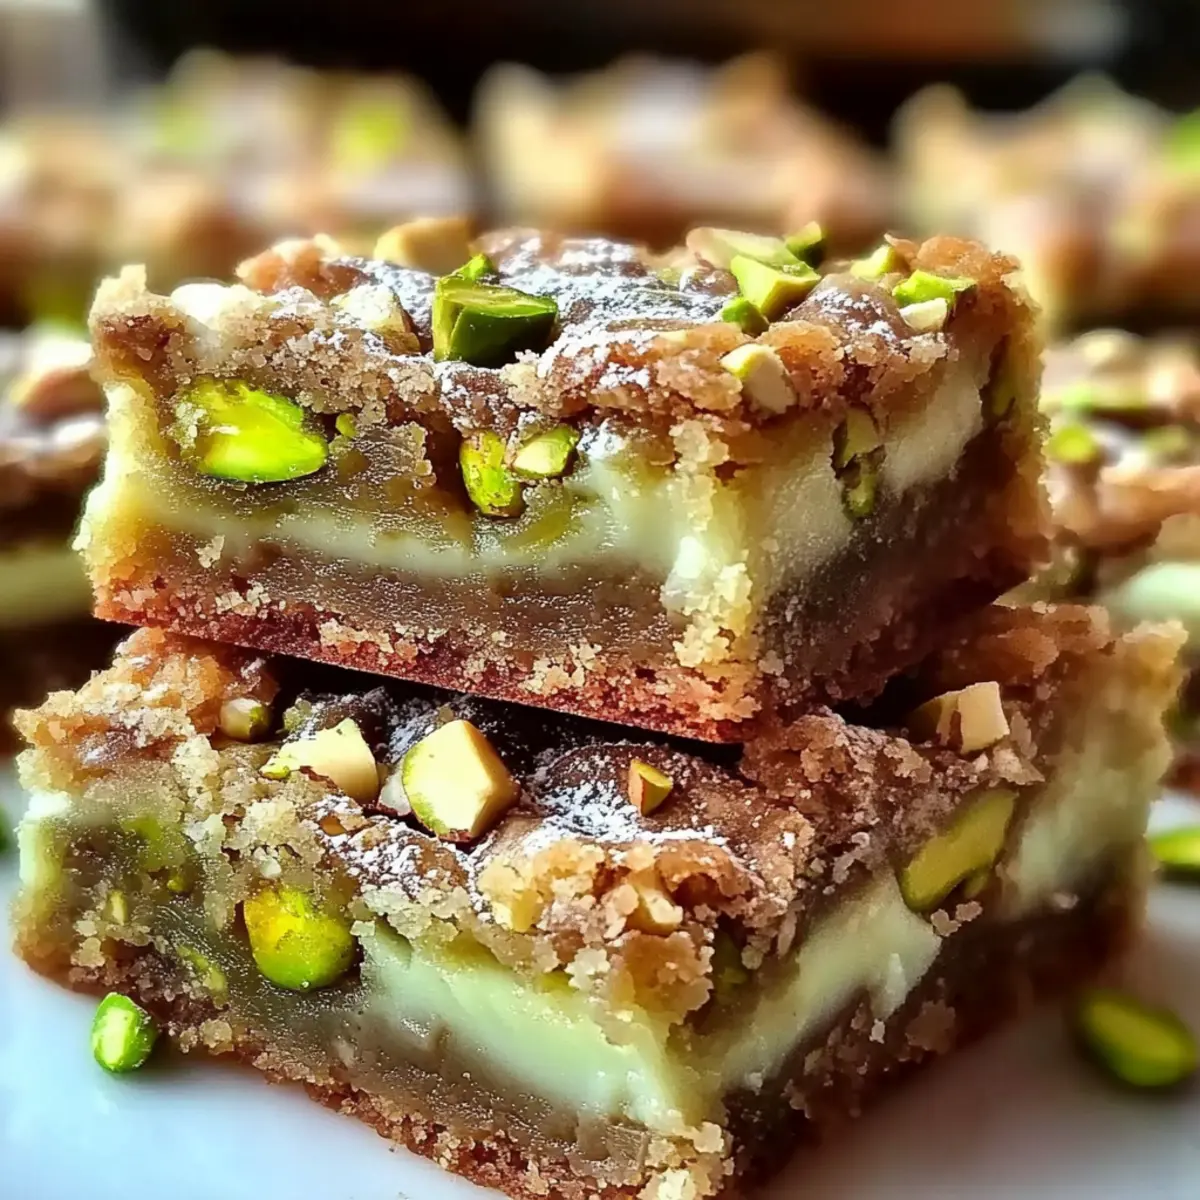
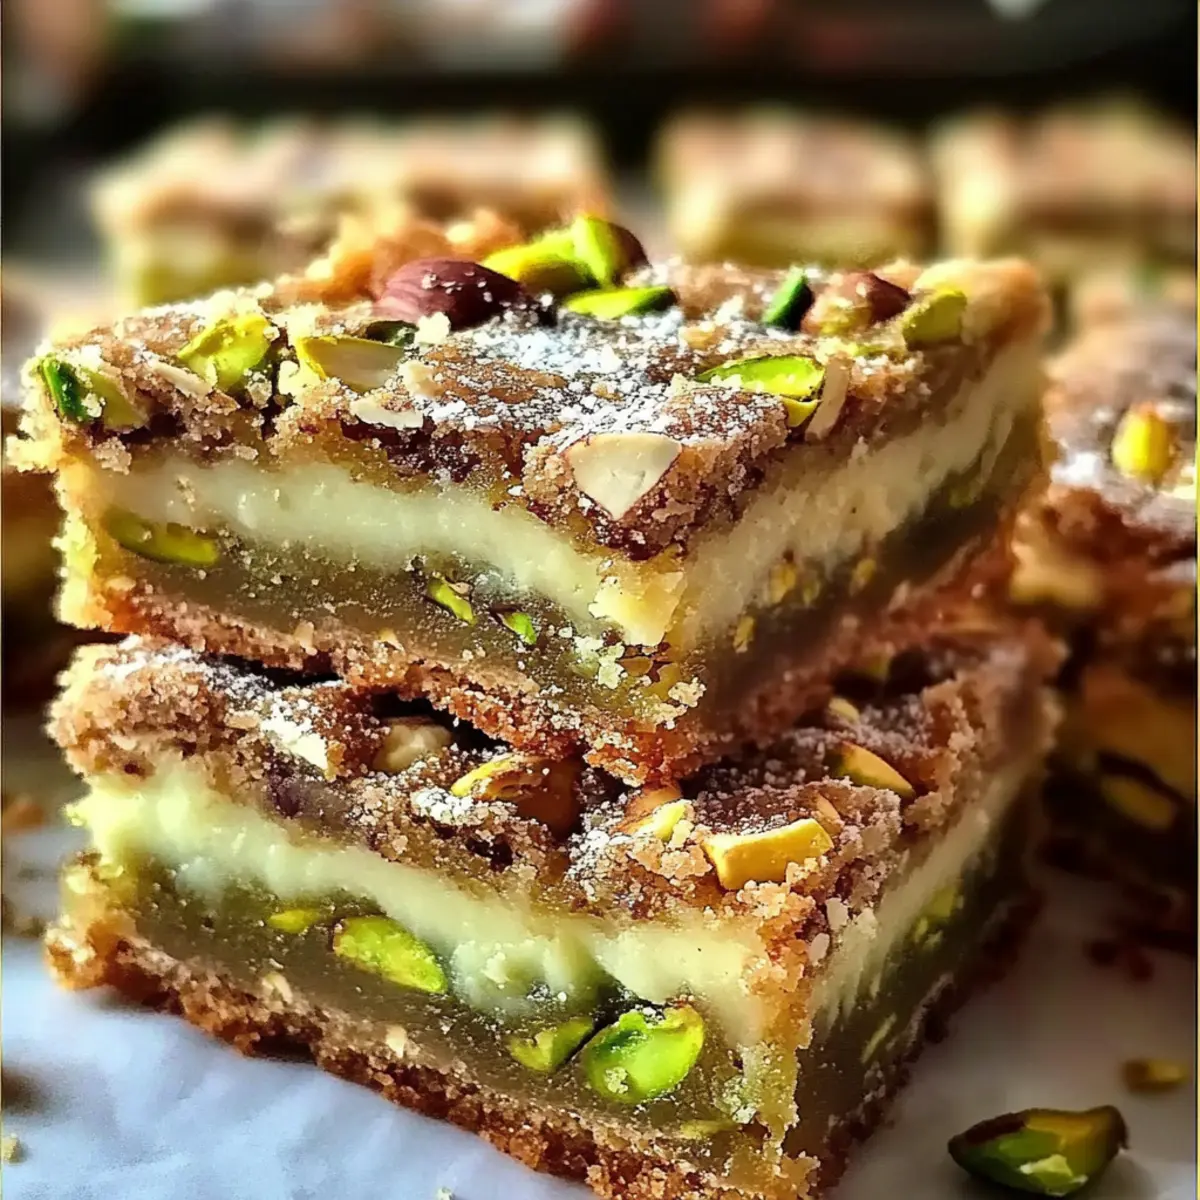
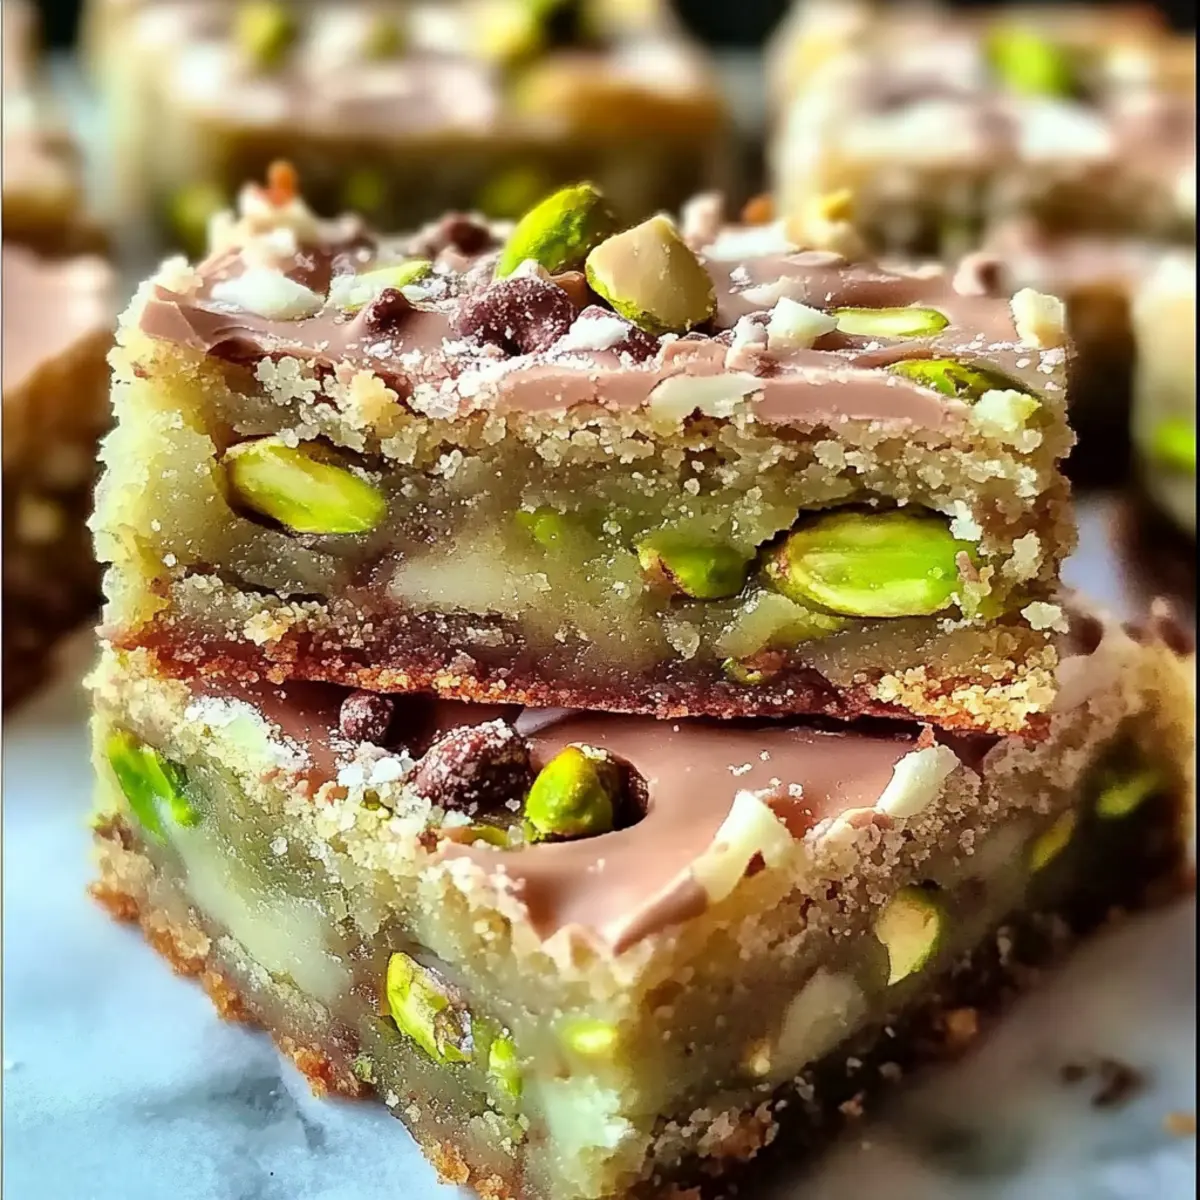
“Did you hear that crunch?” I laughed as I pulled a warm square from the baking dish, revealing the vivid green of pistachios nestled in a golden, chewy bar. These Pistachio Dream Cookie Bars embody the perfect harmony of nutty richness and sweet indulgence, making them an absolute delight in your dessert repertoire. They’re incredibly easy to whip up, even for those who might feel a little intimidated in the kitchen. With a gluten-free option available, these bars promise to please a variety of taste buds, making them ideal for birthdays, holidays, or cozy nights at home. So, why settle for ordinary snacks when you can elevate your dessert game with these irresistible treats? Who’s ready to create something delicious?
Why Are These Cookie Bars So Special?
Irresistible flavor combo: The mix of crunchy pistachios and rich white chocolate creates a taste experience that’s hard to resist.
Easy to Make: Even novice bakers will shine with this straightforward recipe.
Crowd-Pleaser: Perfect for any occasion—birthdays, holidays, or just a cozy night in!
Gluten-Free Option: A simple swap allows everyone to enjoy this treat!
Try serving them warm with a scoop of ice cream or check out my Pumpkin Sugar Cookies for more delightful dessert ideas! With these Pistachio Dream Cookie Bars, you’re bound to impress your friends and family with minimal effort.
Pistachio Dream Cookie Bars Ingredients
For the Cookie Bars
- All-purpose flour – The foundation of your bars; substitute with a gluten-free blend for a gluten-free option.
- Baking powder – This adds lift and ensures a delightful texture.
- Salt – A pinch enhances all the flavors beautifully.
- Unsalted butter – Softened to room temperature for that rich, buttery texture.
- Brown sugar – Infuses a subtle caramel-like sweetness that complements the nuts.
- Granulated sugar – Balances the sweetness for ultimate indulgence.
- Eggs – Acts as a binder, keeping your bars together perfectly.
- Vanilla extract – Adds a warm, classic flavor that rounds out the taste.
- Chopped pistachios – The star ingredient! Feel free to substitute with almonds or walnuts for a change.
- White chocolate chips – Optional, but they provide a sweet and creamy contrast to the nuttiness.
Feel free to take the plunge and make your own Pistachio Dream Cookie Bars; your taste buds will thank you!
Step‑by‑Step Instructions for Pistachio Dream Cookie Bars
Step 1: Preheat the Oven
Begin by preheating your oven to 350°F (175°C). While the oven warms, prepare an 8×8-inch baking dish by lining it with parchment paper, allowing some overhang for easy removal later. This step ensures a wonderful bake for your Pistachio Dream Cookie Bars and prevents sticking, making cleanup a breeze.
Step 2: Mix the Dry Ingredients
In a medium bowl, whisk together 1 ½ cups of all-purpose flour, 1 teaspoon of baking powder, and ½ teaspoon of salt. This dry mixture creates the perfect base for the cookie bars, adding structure and flavor. Set it aside for now, ensuring all dry ingredients are well combined for a consistent texture in your bars.
Step 3: Beat the Butters and Sugars
In a large mixing bowl, use an electric mixer to beat together ½ cup of softened unsalted butter, ½ cup of brown sugar, and ½ cup of granulated sugar. Beat the mixture for 2 to 3 minutes, or until it becomes light and fluffy. This incorporates air into the mixture, contributing to the delightful texture of your Pistachio Dream Cookie Bars.
Step 4: Incorporate Eggs and Vanilla
Next, add in 2 large eggs, one at a time, along with 1 teaspoon of vanilla extract. Beat the mixture on low until everything is well combined and smooth. This step is crucial for binding the ingredients, ensuring your cookie bars remain chewy and delicious after baking.
Step 5: Combine Wet and Dry Ingredients
Gradually stir the dry ingredients into the wet mixture, mixing just until you see no dry flour. It’s important not to overmix at this stage to maintain the chewiness of your bars. The batter will come together beautifully, creating a thick, cohesive mixture that signals that your Pistachio Dream Cookie Bars are nearly ready.
Step 6: Fold in the Stars
Gently fold in 1 cup of chopped pistachios and ½ cup of white chocolate chips, if using. Take your time with this step to evenly distribute the nuts and chocolate throughout the batter, ensuring each bite of the Pistachio Dream Cookie Bars is packed with flavor and texture.
Step 7: Pour and Smooth
Transfer the cookie bar batter into the prepared baking dish. Use a spatula to spread the mixture evenly, smoothing the top to create a consistent surface. This step helps ensure even baking, allowing the edges to caramelize beautifully while the center remains soft and chewy.
Step 8: Bake to Perfection
Bake your Pistachio Dream Cookie Bars in the preheated oven for 25 to 30 minutes, or until the edges are lightly golden. A toothpick inserted in the center should come out with a few moist crumbs, signaling that they are perfectly baked. Keep an eye on them as they bake to avoid overcooking.
Step 9: Cool and Cut
Once baked, remove the cookie bars from the oven and let them cool in the pan for at least 10 minutes. Using the parchment overhang, lift the bars out and transfer them to a cutting board. After cooling completely, cut into squares to serve, revealing the delicious layers of chewy goodness and crunch.
Variations & Substitutions for Pistachio Dream Cookie Bars
Customize these delightful Pistachio Dream Cookie Bars with these fun twists that will spark your creativity in the kitchen!
-
Gluten-Free: Substitute the all-purpose flour with a gluten-free blend to enjoy delicious bars without worry.
-
Nutty Alternatives: Use chopped almonds or walnuts instead of pistachios for a different nutty flavor and texture.
-
Chocolate Swirl: Drizzle with melted chocolate or caramel on top before baking for an indulgent twist that’s sure to impress.
-
White Chocolate Omit: Leave out the white chocolate chips if you’d prefer a more nut-forward treat with fewer sweet tones.
-
Add Zest: A teaspoon of orange or lemon zest adds a refreshing citrusy note that brightens the flavors beautifully.
-
Fruit Add-In: Toss in some dried cranberries or cherries for a pop of tartness and color that complements the nuts perfectly. They create a sensory contrast that makes each bite more exciting.
-
Spiced Variation: A pinch of cinnamon or nutmeg can elevate the warmth of the flavors, especially lovely during the cooler seasons.
-
Serving Suggestion: Serve dessert-style with a scoop of ice cream or a dollop of whipped cream, and enjoy a cozy evening with friends!
Explore more sweet delights like my Pumpkin Sugar Cookies or treat yourself to Chocolate Brownie Cookies for an unforgettable dessert experience.
What to Serve With Pistachio Dream Cookie Bars?
Indulge your senses by complementing your dessert with these delightful accompaniments, enhancing the joy of every bite.
-
Creamy Vanilla Ice Cream: The cold, creamy texture contrasts beautifully with the chewy bars, creating a mouthwatering experience that’s hard to resist. Serve a warm square topped with a scoop for a dreamy dessert.
-
Chocolate Drizzle: A drizzle of melted chocolate over the bars elevates their sweetness while adding a rich, indulgent layer. It’s a small touch that makes a big impression!
-
Fresh Berries: Raspberries or strawberries provide a tartness that balances the sweetness of the cookie bars perfectly. Their vibrant color adds an inviting touch to your serving plate.
-
Whipped Cream: Light and airy, freshly whipped cream brings a delightful lightness to the rich flavors of the bars. A dollop on the side is a classic pairing that never goes out of style.
-
Chai Latte: The warm spices in a chai latte create a cozy pairing with the nutty flavors of the cookie bars. It’s a wonderful combination for an afternoon treat or a cozy gathering.
-
Espresso or Coffee: Enjoying your Pistachio Dream Cookie Bars with a rich cup of espresso or coffee highlights the dessert’s sweetness while grounding it in robust flavors.
-
Almond Milkshake: For a nutty twist, a chilled almond milkshake complements the pistachio flavors with a refreshing creaminess, perfect for a summer treat.
-
Caramel Sauce: A drizzle of caramel sauce adds a rich, buttery flavor that enhances the sweetness of the bars. It’s simply irresistible!
-
Charcuterie Board: Incorporate the cookie bars into a dessert charcuterie board alongside various cheeses and fruits for a delightful mix of textures and flavors. Your guests will love this creative presentation!
Make Ahead Options
These Pistachio Dream Cookie Bars are perfect for busy home cooks looking to save time during the week! You can prep the batter up to 24 hours in advance by following the first six steps, then cover the bowl tightly with plastic wrap and refrigerate. This chilling allows the flavors to meld beautifully. If you’d prefer, you can also bake the bars and store them at room temperature in an airtight container for up to 3 days. To maintain their delightful chewiness, avoid storing them in direct sunlight. When you’re ready to serve or enjoy a warm treat, simply reheat the bars in the oven for a few minutes. Enjoy the deliciousness of freshly baked Pistachio Dream Cookie Bars with minimal effort!
Expert Tips for Pistachio Dream Cookie Bars
-
Perfect Butter: Ensure your unsalted butter is softened at room temperature; this helps create that rich, creamy texture your cookie bars deserve.
-
Watch the Bake Time: Keep a close eye on the oven! Underbake slightly to maintain chewiness. Toothpick tests should yield moist crumbs for the ideal texture.
-
Avoid Overmixing: When combining wet and dry ingredients, mix just until incorporated. Overmixing can lead to tough cookie bars instead of the desired chewy consistency.
-
Chop Evenly: When chopping pistachios, aim for uniform pieces. This distributes flavor evenly and creates a delightful crunch in every bite of your Pistachio Dream Cookie Bars.
-
Storage Tips: Keep leftovers in an airtight container at room temperature for up to three days. You can also refrigerate them for a chilled treat that’s equally delicious!
How to Store and Freeze Pistachio Dream Cookie Bars
Room Temperature: Store your cookie bars in an airtight container at room temperature for up to 3 days to keep them chewy and delicious.
Fridge: If you prefer a colder treat, these bars can be refrigerated in an airtight container for up to a week. Enjoy them straight from the fridge or let them warm slightly at room temperature.
Freezer: For longer storage, individually wrap the squares in plastic wrap and place them in a freezer-safe container. They can be frozen for up to 3 months, preserving their nutty goodness.
Reheating: To enjoy your frozen bars, simply thaw them overnight in the fridge, or warm them briefly in the microwave, about 10-15 seconds, for that fresh-baked taste!
Pistachio Dream Cookie Bars Recipe FAQs
What kind of pistachios should I use?
I recommend using roasted, unsalted pistachios for the best flavor. The roasted ones provide a nice crunch and a deeper nutty flavor that complements the sweetness of the bars. If you can’t find pistachios, feel free to substitute with almonds or walnuts for a different but equally delicious taste!
How do I store leftovers?
To keep your Pistachio Dream Cookie Bars at their best, store them in an airtight container at room temperature for up to 3 days. If you enjoy them chilled, you can refrigerate them as well, where they’ll last up to a week. Just let them sit at room temperature for a few minutes before enjoying for the best texture!
Can I freeze these cookie bars?
Absolutely! For freezing, wrap each square individually in plastic wrap and place them in a freezer-safe container. They’ll keep well for up to 3 months. When you’re ready to enjoy, just thaw them overnight in the fridge, or pop them in the microwave for about 10-15 seconds to bring back that fresh-baked warmth.
What should I do if my cookie bars turn out too dry?
If your bars come out dry, it could be due to overbaking. Next time, keep a close eye on the baking time, and aim for a toothpick test with a few moist crumbs when you check for doneness. You can also try adding a touch more butter or an extra egg for a moisture boost. Remember: they continue to cook while cooling in the pan!
Are these cookie bars gluten-free?
Yes! To make your Pistachio Dream Cookie Bars gluten-free, simply substitute the all-purpose flour with a gluten-free baking blend. Just be sure to check that your other ingredients, like baking powder and any mix-ins, are also gluten-free. Everyone can enjoy these delightful treats!
Can I give these cookie bars to my pets?
While pistachios aren’t toxic to dogs, it’s best to keep these cookie bars away from pets. The sugar and butter can be hard on their digestion, and the chocolate chips are harmful to them. Stick to dog-safe treats for your furry friends!
Pistachio Dream Cookie Bars that Will Steal Your Heart
Ingredients
Equipment
Method
- Preheat the oven to 350°F (175°C) and prepare an 8x8-inch baking dish lined with parchment paper.
- In a medium bowl, whisk together all-purpose flour, baking powder, and salt.
- In a large mixing bowl, beat unsalted butter, brown sugar, and granulated sugar until light and fluffy.
- Incorporate the eggs one at a time and add vanilla extract, beating until smooth.
- Gradually stir the dry ingredients into the wet mixture.
- Fold in chopped pistachios and white chocolate chips.
- Transfer the batter into the prepared baking dish, smoothing the top.
- Bake for 25 to 30 minutes until edges are golden and a toothpick comes out with moist crumbs.
- Cool in the pan for 10 minutes, then cut into squares to serve.
Leave a Reply