
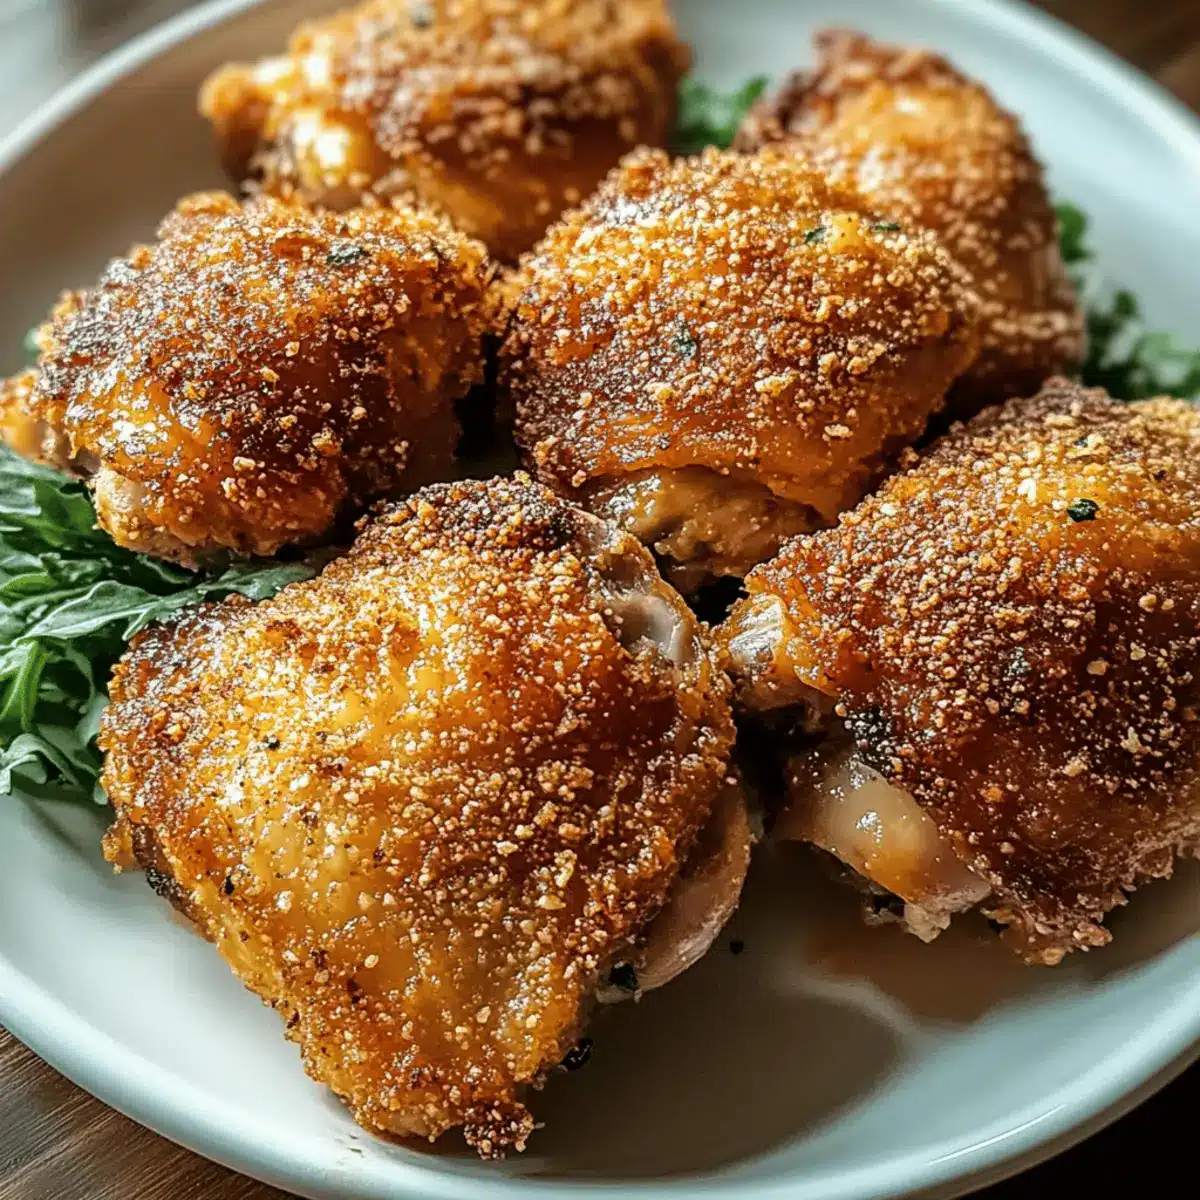
There’s something about the aroma of chicken sizzling in the oven that takes me back to cozy family dinners. With my Oven-Fried Chicken Thighs, you can experience that nostalgia while enjoying a lighter, healthier twist on a beloved classic. By swapping out the heavy frying for a crispy panko breadcrumb coating, these thighs deliver that satisfying crunch you crave—without the guilt. They’re not only quick to prepare, making them ideal for busy weeknights, but the juicy meat and mouthwatering flavor ensure they’ll be a crowd-pleaser at any table. Are you ready to elevate your comfort food game? Let’s dive into this delicious recipe!
Why are Oven-Fried Chicken Thighs a must-try?
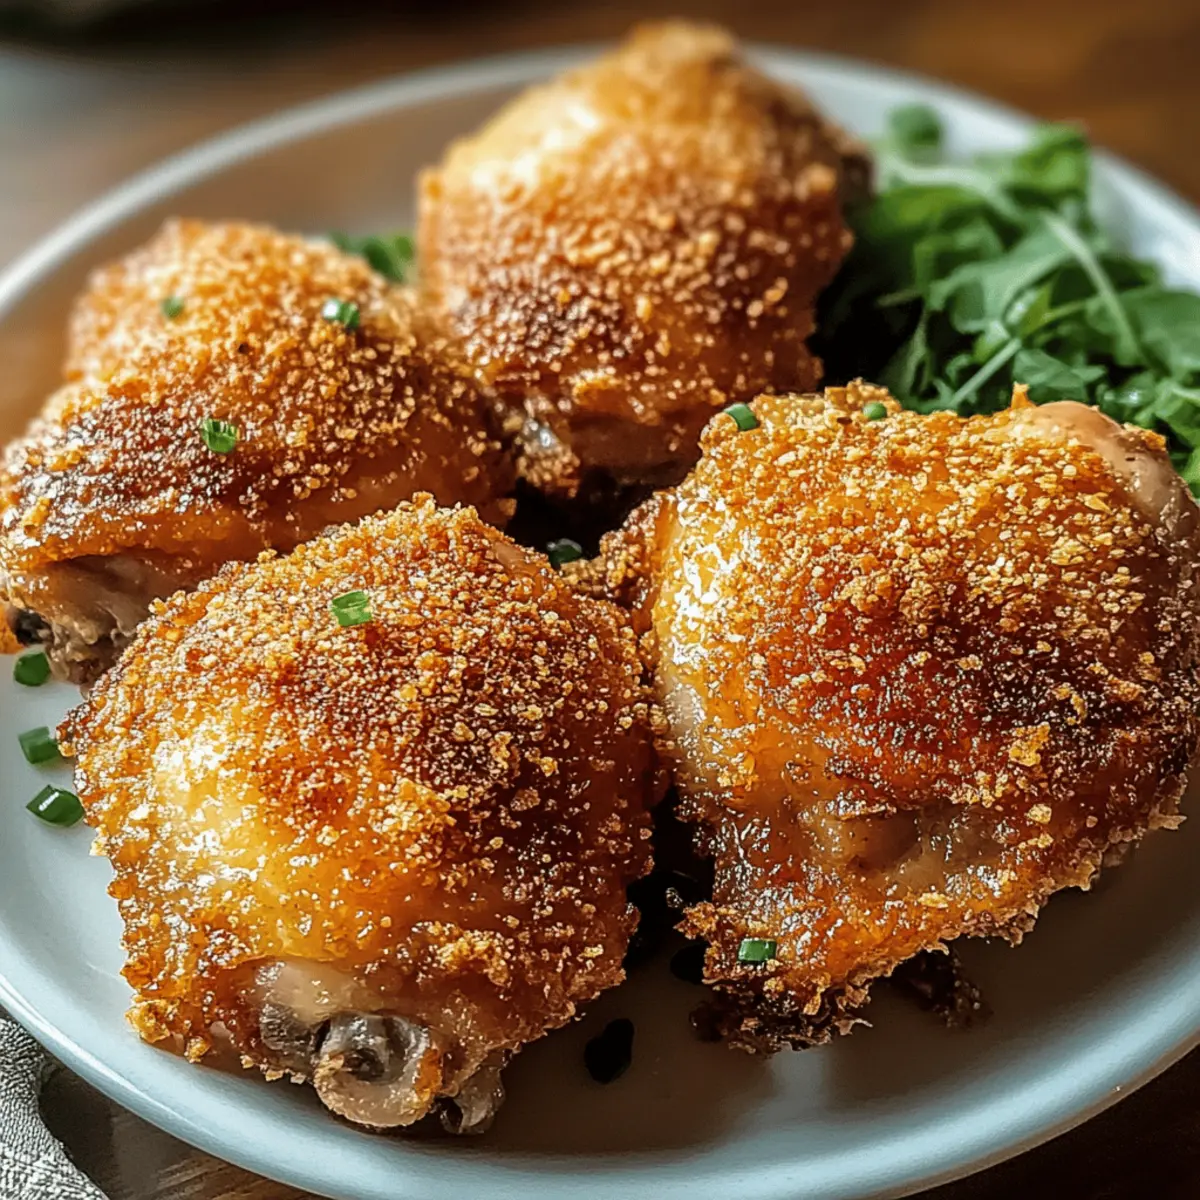
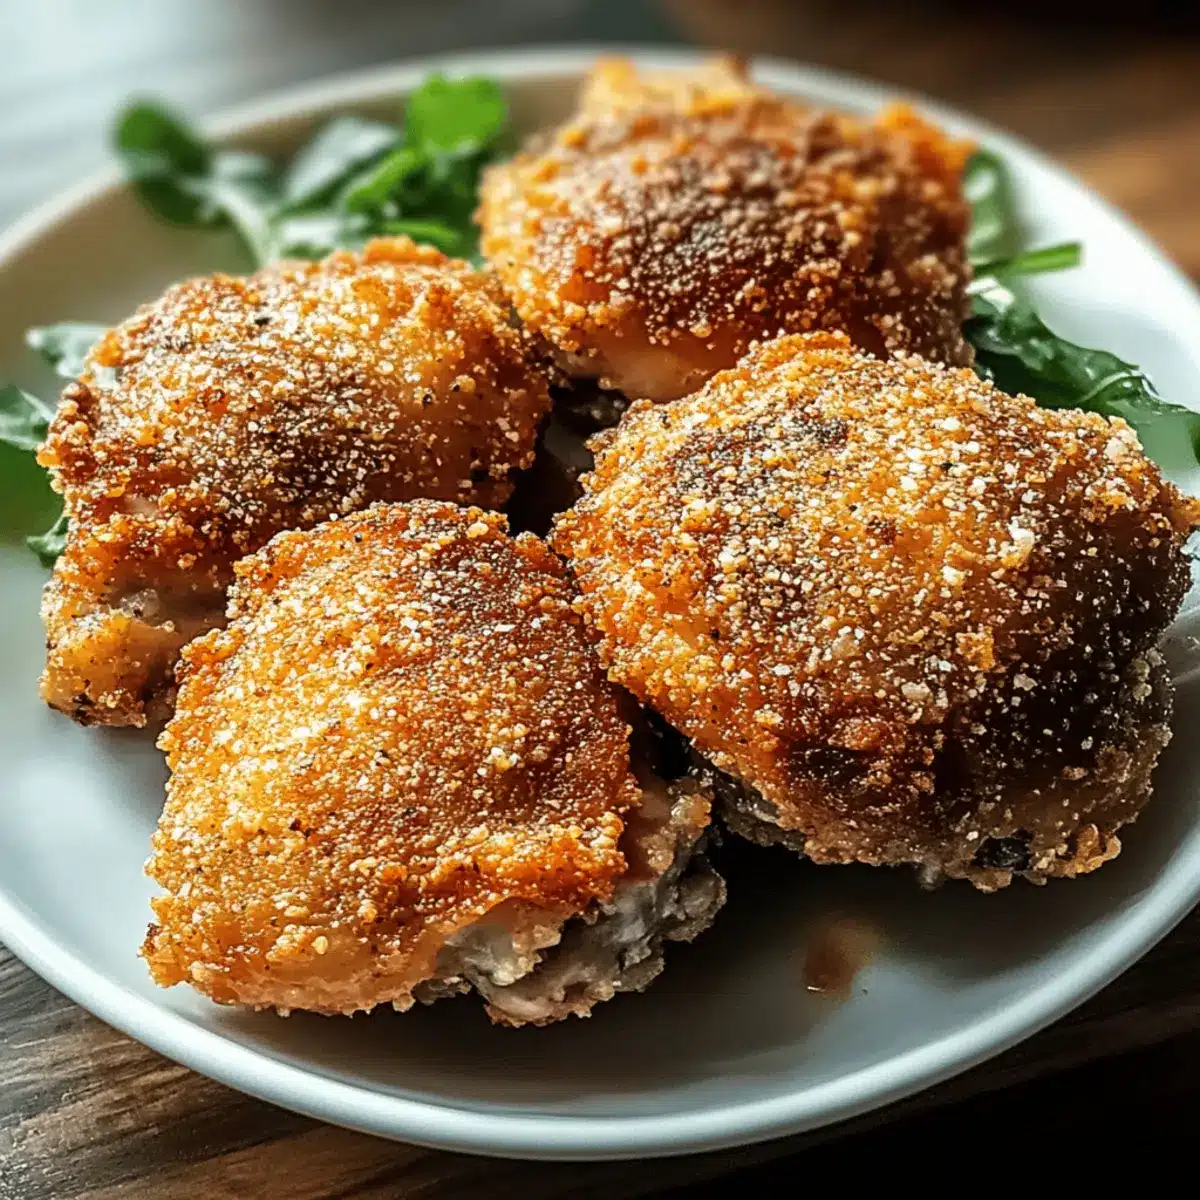
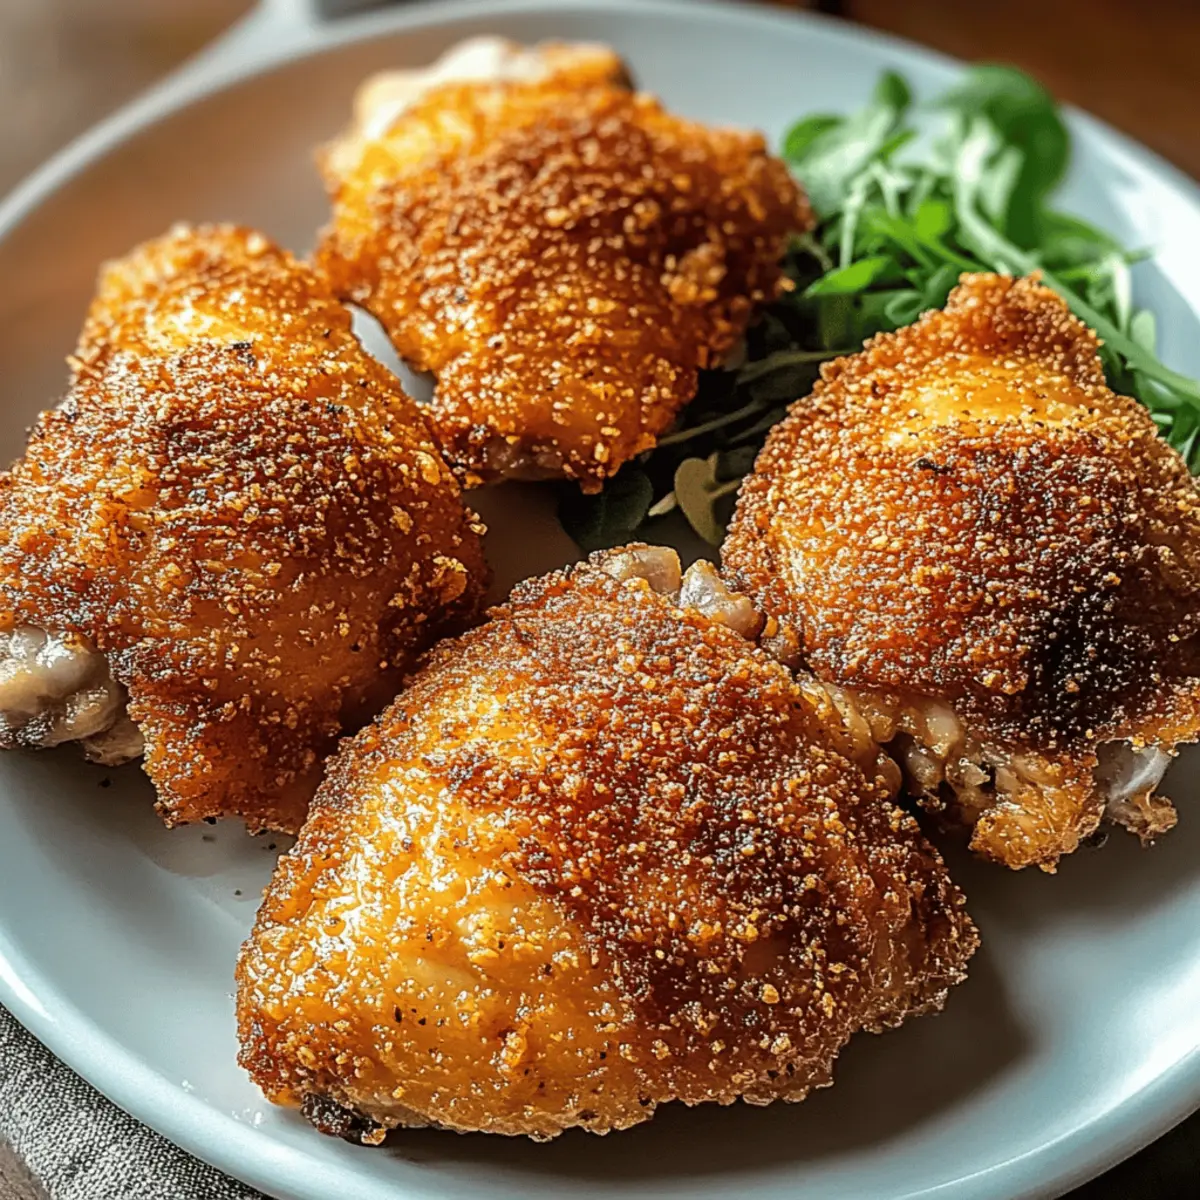
Crispy Texture: The panko breadcrumbs create a delightful crunch that rivals traditional frying.
Healthier Option: Enjoy your favorite comfort food with a fraction of the calories, making it guilt-free.
Quick Preparation: Perfect for busy weeknights, these oven-fried thighs are ready in just 40 minutes, maximizing your time.
Flavorful and Juicy: Thanks to bone-in chicken thighs, you’ll savor juicy meat with every bite.
Versatile Pairing: Serve with mashed potatoes or a fresh salad for a balanced meal that satisfies everyone! Looking for more ideas? Check out my Cheesy Garlic Chicken for another quick and delicious option.
Oven-Fried Chicken Thighs Ingredients
For the Chicken
• Bone-in Chicken Thighs – The primary protein that ensures rich flavor and moisture during cooking.
For the Coating
• Panko Breadcrumbs – Creates an irresistibly crispy layer; regular breadcrumbs can be used in a pinch, but expect a different texture.
• Olive Oil – Enhances flavor and helps breadcrumbs stick; feel free to swap with avocado oil for a different taste.
• Garlic Powder – Adds a delicious aromatic undertone; fresh minced garlic can be used for an extra kick.
• Smoked Paprika – Provides a subtle smokiness that elevates the dish; if you’re after a milder flavor, sweet paprika is a perfect substitute.
• Salt and Pepper – Essential for bringing out the flavors; adjust to your preference, opting for low-sodium options if desired.
• Dried Thyme – Infuses an earthy aroma; using fresh thyme works too—just triple the amount called for.
Expert Tips
- Remember, using Oven-Fried Chicken Thighs means a lighter twist on your favorite comfort food!
Step‑by‑Step Instructions for Oven-Fried Chicken Thighs
Step 1: Preheat the Oven
Begin by preheating your oven to 425°F (220°C). This high temperature is crucial for achieving that beautiful, crispy texture on your oven-fried chicken thighs. Allow your oven to fully heat, which may take about 10–15 minutes, ensuring it’s ready to deliver perfectly cooked chicken.
Step 2: Prepare the Baking Dish
While the oven warms up, prepare your baking dish by lightly spraying it with nonstick cooking spray or brushing a thin layer of olive oil on the bottom. This step helps prevent sticking and allows for that lovely golden crust to form as your chicken thighs bake. Set the coated dish aside, ready for the chicken.
Step 3: Season the Chicken
In a mixing bowl, combine olive oil, garlic powder, smoked paprika, salt, pepper, and dried thyme. Take your bone-in chicken thighs and rub this flavorful mixture generously all over each thigh, making sure to coat every nook and cranny. This ensures that the oven-fried chicken thighs are bursting with flavor when cooked.
Step 4: Coat the Chicken
Next, take each seasoned chicken thigh and dip it into the panko breadcrumbs, pressing gently to ensure an even coating. Each piece should be fully covered with crumbs, creating that satisfying crunch you’re after. Repeat this process until all thighs are breaded to perfection.
Step 5: Arrange Thighs in Baking Dish
Place the coated chicken thighs in the prepared baking dish skin-side up. Be sure to space them apart slightly to allow for even cooking and air circulation. This helps ensure that your oven-fried chicken thighs crisp up beautifully rather than steam, enhancing that desired texture.
Step 6: Bake to Crispy Perfection
Slide the baking dish into the preheated oven and bake for 35-40 minutes. Keep an eye on your chicken thighs; they should turn a lovely golden brown and reach an internal temperature of 165°F (74°C) when fully cooked. Use a meat thermometer to check the doneness without cutting into the meat.
Step 7: Allow to Rest
Once cooked, remove the oven-fried chicken thighs from the oven and let them rest for about 5 minutes. This resting period allows the juices to redistribute, ensuring juicy and tender meat. Serve your delicious oven-fried chicken thighs with your favorite sides for a wholesome family meal.
Oven-Fried Chicken Thighs Variations
Feel free to make this recipe your own with these delicious swaps and ideas!
-
Dairy-Free: Use coconut oil instead of olive oil for a subtle tropical flavor that’s perfect for dietary restrictions.
-
Spicy Kick: Add cayenne pepper to the breadcrumb mixture if you crave a fiery touch. Spice lovers will appreciate this flavorful twist!
-
Herb-Infused: Try swapping dried thyme for fresh rosemary or oregano; the aromatic notes will elevate your oven-fried chicken thighs with a fresh zing.
-
Crispier Crust: Mix some grated Parmesan cheese with the panko for an extra cheesy and crunchy layer; you’ll fall in love with the savory richness!
-
Flavor Variations: Experiment with different spice blends like Italian seasoning or taco seasoning for a creative flavor boost that excites the palate.
-
Different Cuts: Swap chicken thighs for drumsticks or breasts; remember to adjust the baking time accordingly for perfectly cooked poultry.
-
Gluten-Free: Use gluten-free panko breadcrumbs for a similar texture without the gluten, ensuring everyone can enjoy this dish.
-
Make It a Meal: Layer roasted vegetables in the baking dish beneath the chicken to create one fantastic dish; their flavors will enhance your delicious oven-fried chicken thighs.
For more chicken recipes to satisfy your cravings, don’t miss checking out my French Onion Chicken and Garlic Butter Chicken for delightful meal ideas!
How to Store and Freeze Oven-Fried Chicken Thighs
Fridge: Store leftover oven-fried chicken thighs in an airtight container for up to 3 days. Reheat in the oven or microwave for best results, maintaining that crispy texture.
Freezer: To freeze, wrap each thigh tightly in plastic wrap, then place in a freezer-safe bag. They will stay good for up to 3 months. Thaw in the fridge overnight before reheating.
Reheating: For the best results, reheat in a preheated oven at 350°F (175°C) for about 15-20 minutes until heated through, ensuring the chicken stays juicy and the coating remains crispy.
What to Serve with Oven-Fried Chicken Thighs?
Elevate your meal experience with delightful accompaniments that complement the crispy goodness of your oven-fried chicken thighs.
-
Creamy Mashed Potatoes: The smooth, buttery texture of mashed potatoes perfectly balances the crunch of the chicken, creating a comforting classic.
-
Garlicky Green Beans: These crisp-tender green beans provide a fresh pop of color and flavor, enhancing the overall healthiness of your meal.
-
Tangy Coleslaw: A refreshing, crunchy slaw adds a zesty contrast to the savory chicken, making each bite a delightful mouthful.
-
Roasted Vegetables: Sweet, caramelized carrots and bell peppers bring a touch of earthiness while adding vibrant colors to your plate.
-
Buttermilk Biscuits: Fluffy biscuits can soak up any delicious juices, making for a hearty side that transports you to a cozy Southern kitchen.
-
Light Garden Salad: Crisp lettuce, tomatoes, and cucumbers tossed in a lemony vinaigrette offer a refreshing respite to the richness of the chicken.
-
Honey Mustard Dipping Sauce: A sweet and tangy sauce adds an extra layer of flavor, perfect for those who enjoy a little dip with their chicken.
-
Chilled White Wine: A chilled Chardonnay or Sauvignon Blanc complements the meal’s richness, elevating your dining experience with its crisp notes.
-
Apple Pie: End your meal on a sweet note with a slice of warm apple pie, a classic dessert that pairs beautifully with savory flavors.
Make Ahead Options
These Oven-Fried Chicken Thighs are perfect for busy home cooks looking to save time! You can season and coat the chicken thighs up to 24 hours in advance by following the first four steps: preheating the oven, preparing the baking dish, seasoning, and coating them with panko breadcrumbs. Simply cover the coated chicken tightly with plastic wrap and refrigerate until you’re ready to bake. This not only enhances the flavor but also allows for a quick dinner prep! When you’re ready to cook, just place the chicken in the oven and bake as instructed. With this make-ahead option, you’ll enjoy delicious, crispy chicken with minimal evening effort!
Expert Tips for Oven-Fried Chicken Thighs
- Even Coating: Ensure your panko breadcrumbs cover every inch of the chicken thighs for maximum crunch and texture.
- Spacing Matters: Avoid overcrowding the baking dish; this allows air to circulate and promotes even crisping of your oven-fried chicken thighs.
- Use a Thermometer: Check the internal temperature with a meat thermometer for perfectly cooked chicken at 165°F (74°C) without drying it out.
- Let Them Rest: Allow the chicken thighs to sit for a few minutes after baking to keep them juicy and flavorful.
- Season to Taste: Don’t be afraid to adjust the salt and pepper levels; personalizing the seasonings can elevate your oven-fried chicken thighs to new heights!
Oven-Fried Chicken Thighs Recipe FAQs
What should I look for when choosing bone-in chicken thighs?
Absolutely! When selecting chicken thighs, opt for those with a deep, rich color and minimal dark spots. Fresh thighs should feel firm and moist but not slimy. Buying organic or free-range can enhance flavor and quality as well.
How long can I store leftover oven-fried chicken thighs in the fridge?
You can keep your leftover oven-fried chicken thighs in an airtight container in the fridge for up to 3 days. Just make sure they’re completely cooled before sealing. Reheat them in the oven or microwave to retain their delicious crispiness!
Can I freeze oven-fried chicken thighs? If so, how?
Definitely! To freeze your delicious oven-fried chicken thighs, wrap each piece tightly in plastic wrap. Then place them in a freezer-safe bag, squeezing out any excess air. They will be good for up to 3 months. When you’re ready to enjoy, thaw them overnight in the fridge and reheat as directed for best results.
What can I do if my coating isn’t crispy enough?
Very! If your coating isn’t crispy, there are a few troubleshooting tips. First, ensure that you used enough olive oil when preparing the chicken; the oil helps the panko crisp up. Also, try baking the thighs on a wire rack set over the baking dish for better air circulation. Lastly, make sure the chicken isn’t overcrowded in the dish, as this will trap steam and hinder crisping.
Are there any dietary considerations when making oven-fried chicken thighs?
Absolutely! If you’re catering to specific dietary needs, consider using gluten-free panko breadcrumbs as an alternative if gluten is a concern. For those with allergies, always check the ingredient labels on packaged items like breadcrumbs. And remember, moderation is key even with healthier options, especially when feeding little ones!
Oven-Fried Chicken Thighs: Crispy, Juicy, Guilt-Free Bliss
Ingredients
Equipment
Method
- Preheat your oven to 425°F (220°C).
- Prepare the baking dish by lightly spraying it with nonstick cooking spray or brushing a layer of olive oil.
- In a bowl, mix olive oil, garlic powder, smoked paprika, salt, pepper, and thyme. Rub the mixture on the chicken thighs.
- Dip each chicken thigh into panko breadcrumbs, ensuring full coverage.
- Place the coated thighs in the baking dish skin-side up, spaced apart.
- Bake in the preheated oven for 35-40 minutes until golden brown and internal temperature reaches 165°F (74°C).
- Let the chicken rest for 5 minutes before serving.
Leave a Reply