
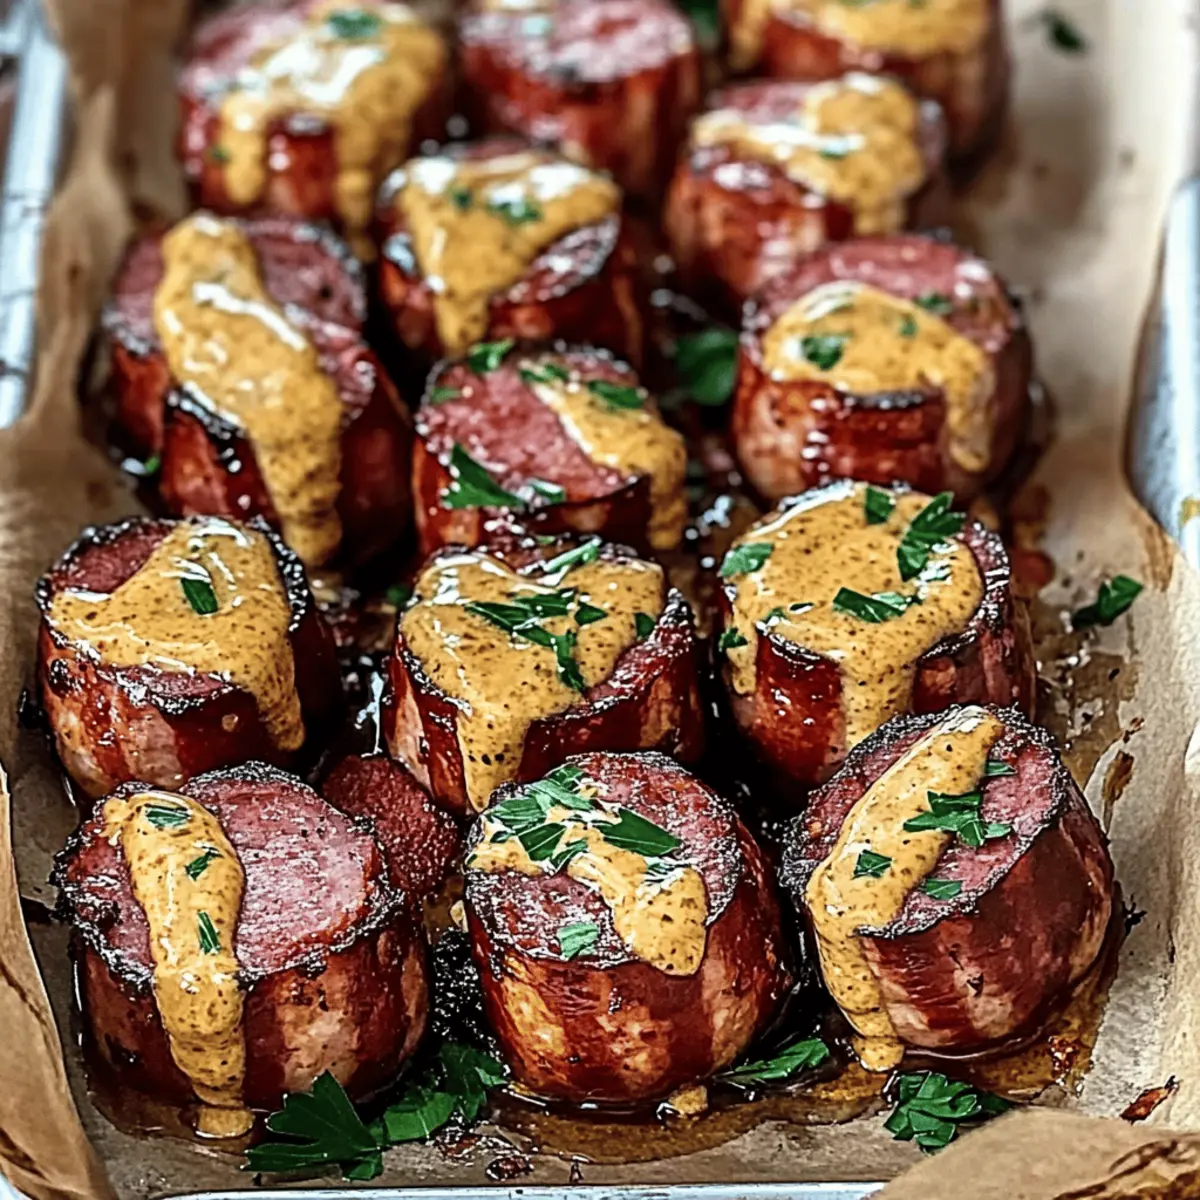
As the game day excitement fills the air, I can almost taste the crispy, mustard-glazed kielbasa bites that are about to steal the show. These Mustard Hasselback Kielbasa Bites are the epitome of easy appetizers, a delight that requires minimal effort while delivering a crowd-pleasing crunch. With just a handful of ingredients, you’ll whip up this tantalizing snack that keeps your loved ones coming back for more. Whether you’re hosting a lively gathering or enjoying a cozy movie night in, these customizable bites provide a deliciously satisfying alternative to fast food. Who knew that a simple kielbasa could turn into such a flavorful star of the table? Ready to elevate your snacking game? Let’s dive in!
Why are these kielbasa bites a must-try?
Simplicity at Its Finest: This recipe requires minimal prep and just a few ingredients, making it perfect for busy hosts looking to impress.
Flavor Explosion: The tangy mustard glaze, combined with the savory kielbasa, delivers a taste sensation that will have everyone asking for seconds.
Crowd-Pleasing: Ideal for game days or family gatherings, these bites are sure to be a hit with guests of all ages.
Customizable: Feel free to switch up the mustard or add cheese for a personalized touch. Try serving them with dips or alongside coleslaw for an irresistible appetizer spread!
Quick Cooking: In just 25 minutes, you can serve up these delicious bites, ensuring everyone gets to indulge without long wait times.
Take your appetizer game to the next level with these Mustard Hasselback Kielbasa Bites while also checking out tasty options like Jalapeno Popper Bites for alternative flavors!
Mustard Hasselback Kielbasa Bites Ingredients
• For the Bites
- Kielbasa Sausage – Provides juiciness and meaty flavor; consider turkey kielbasa for a lighter choice.
- Yellow Mustard – Offers tanginess; swap with Dijon or spicy brown mustard for a flavor twist.
- Honey – Balances the mustard’s tanginess; agave syrup makes a great vegan alternative.
- Paprika – Adds a subtle smoky note; use smoked paprika for an even richer flavor.
- Fresh Parsley – Garnishes beautifully and adds a fresh touch; chives are a milder alternative for garnish.
• For Serving (Optional)
- Assorted Dips – Pair with your favorite dips like ranch or barbecue for a delicious complement.
- Potato Salad or Coleslaw – Serve alongside these classics for a complete and satisfying appetizer spread.
These Mustard Hasselback Kielbasa Bites are not only easy to make, but they also promise to be a hit at your next gathering!
Step‑by‑Step Instructions for Mustard Hasselback Kielbasa Bites
Step 1: Preheat the Oven
Begin by preheating your oven to 400°F (200°C). While the oven heats, grab a baking dish and lightly spray it with nonstick cooking spray to prevent sticking. This step ensures that your Mustard Hasselback Kielbasa Bites will come out perfectly crisp without any hassle during serving.
Step 2: Slice the Kielbasa
Take the kielbasa sausage and place it on a cutting board. Using a sharp knife, make crosswise cuts along the length of the kielbasa, ensuring you don’t slice all the way through—aim for about three-quarters deep. These “pockets” will hold the delicious mustard mixture, leading to flavorful, juicy bites once baked.
Step 3: Prepare the Mustard Glaze
In a medium bowl, combine yellow mustard, honey, and paprika, stirring until the mixture is smooth and well-blended. This savory glaze will infuse your Mustard Hasselback Kielbasa Bites with tangy sweetness. The vibrant yellow color should give you a visual cue that it’s ready for slathering on the kielbasa.
Step 4: Brush on the Mustard Mixture
Using a pastry brush or your fingers, generously coat each sliced portion of the kielbasa with the prepared mustard glaze. Make sure to fill the pockets with the mixture for maximum flavor. As you do this, you can admire how the eggshell-like exterior starts to shine, promising a tasty result.
Step 5: Bake the Kielbasa
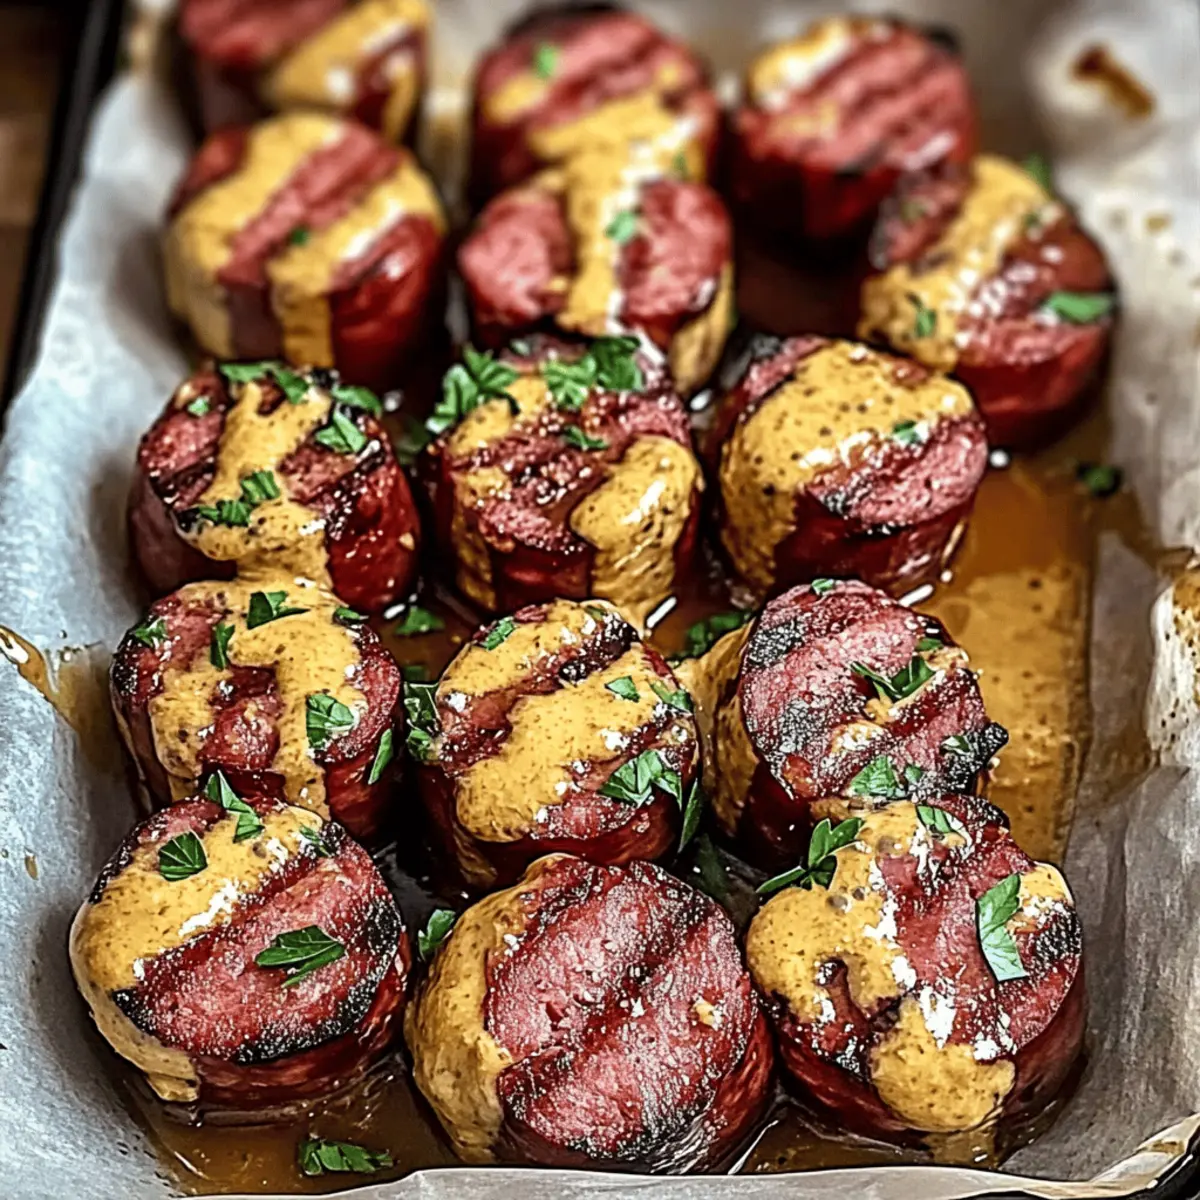
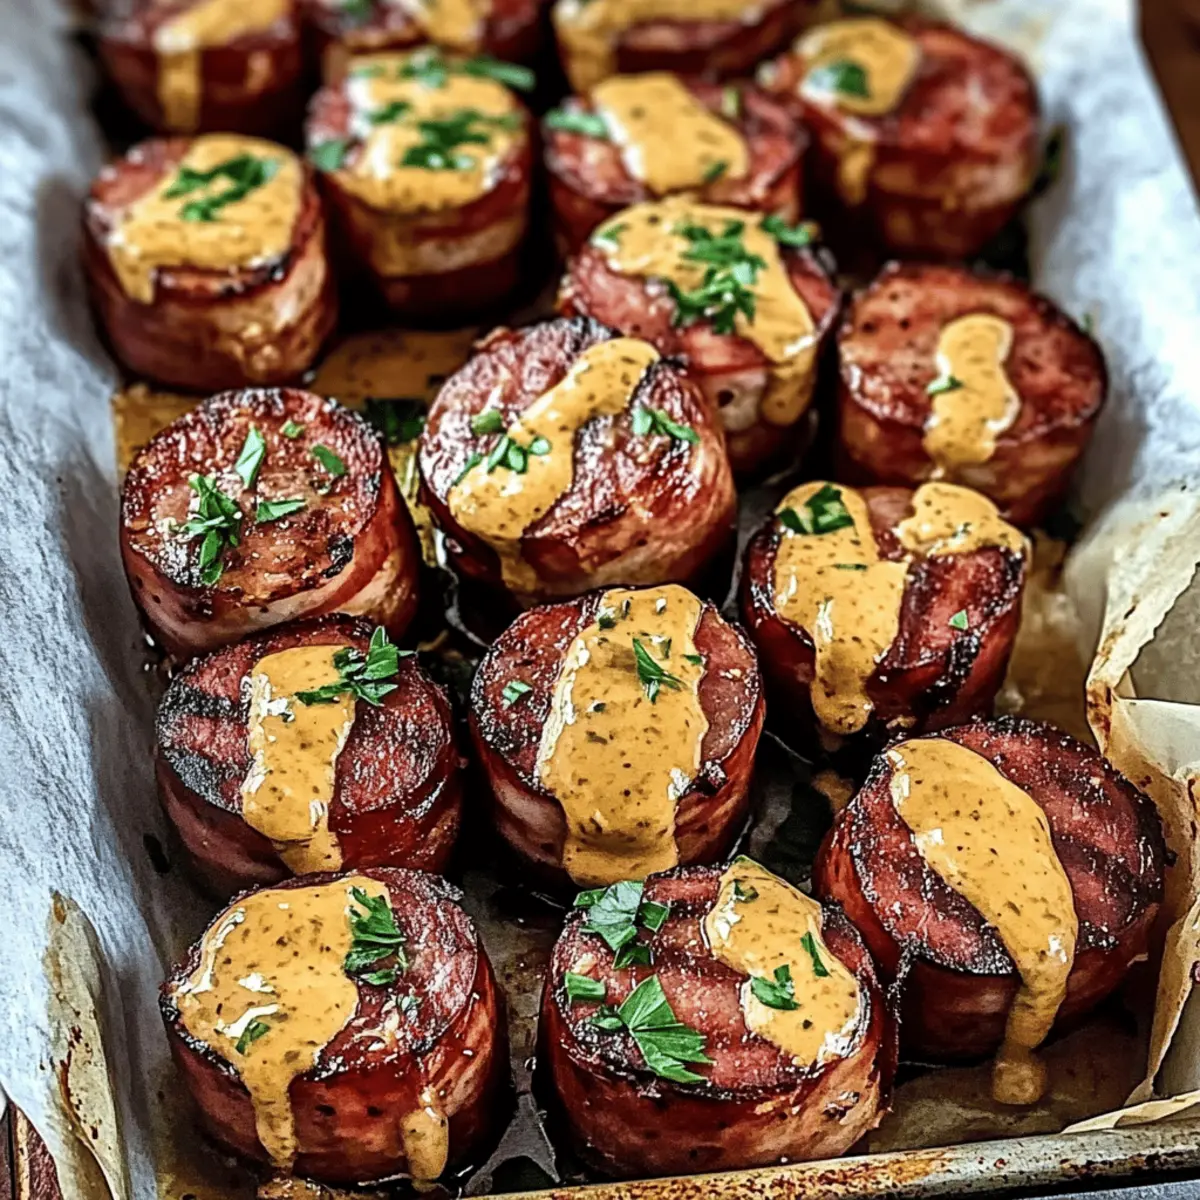
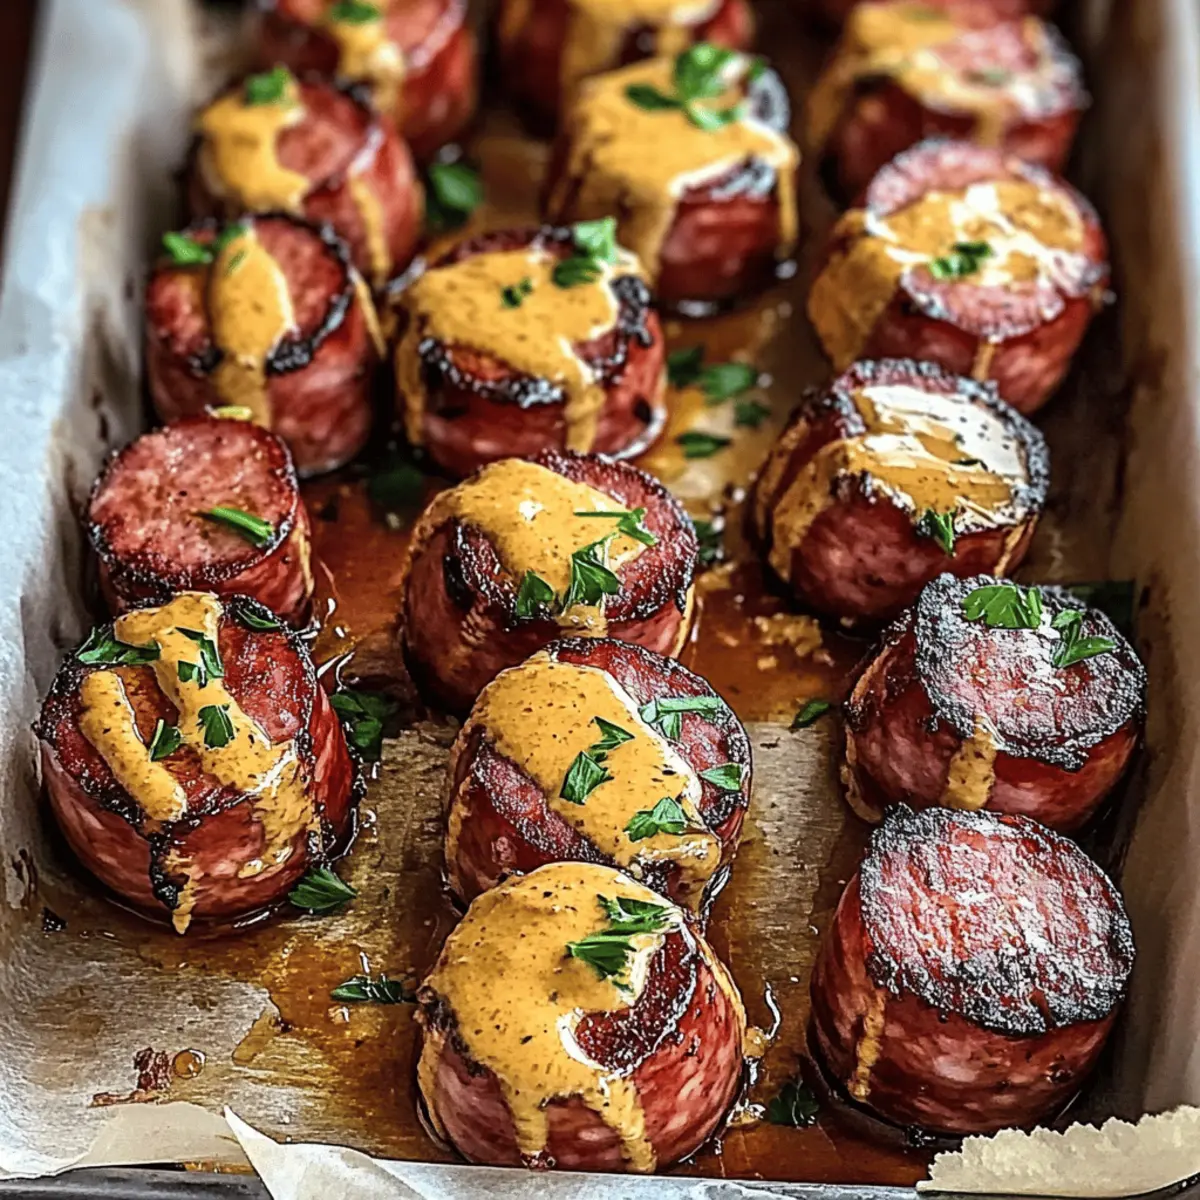
Arrange the glazed kielbasa slices in the prepared baking dish in a single layer. Place the dish in your preheated oven and bake for 20-25 minutes until golden brown and fragrant. Keep an eye on them and look for a crispy exterior; this ensures your Mustard Hasselback Kielbasa Bites won’t dry out.
Step 6: Garnish and Serve
Once done baking, remove the dish from the oven and let it cool for a minute. Sprinkle freshly chopped parsley on top for a burst of color and freshness. Serve your Mustard Hasselback Kielbasa Bites warm on a platter to impress your guests, and watch them enjoy every flavorful bite!
Expert Tips for Mustard Hasselback Kielbasa Bites
-
Precise Cuts: Ensure even cuts in the kielbasa to promote uniform cooking, resulting in perfectly crispy bites.
-
Mustard Variety: Don’t hesitate to mix up the mustard; honey mustard adds sweetness, while Dijon brings a sharp tang.
-
Watch the Time: Avoid drying out the kielbasa by not overbaking. Aim for a golden exterior while keeping the insides juicy.
-
Flavor Boosters: Add shredded cheese or chopped vegetables to the pockets for an added richness and texture in your Mustard Hasselback Kielbasa Bites.
-
Storage Tip: Store leftovers in an airtight container in the fridge for up to three days. Reheat in the oven to restore that delightful crispiness.
Storage Tips for Mustard Hasselback Kielbasa Bites
Fridge: Store leftovers in an airtight container in the fridge for up to 3 days to maintain freshness and flavor.
Freezer: For longer storage, freeze the bites in a single layer on a baking sheet, then transfer to a freezer-safe bag for up to 2 months.
Reheating: To restore crispiness, reheat in the oven at 350°F for about 10 minutes. Enjoy your Mustard Hasselback Kielbasa Bites warm for the best taste experience.
Room Temperature: If serving at a gathering, keep the bites out for a maximum of 2 hours for food safety, ensuring everyone enjoys them at their best!
Make Ahead Options
These Mustard Hasselback Kielbasa Bites are perfect for busy home cooks who want to save time without sacrificing flavor! You can slice the kielbasa and prepare the mustard glaze up to 24 hours in advance; simply store them separately in the refrigerator. To maintain quality, cover the kielbasa tightly to prevent drying. When you’re ready to bake, just brush the glaze onto the sliced kielbasa, arrange them in a baking dish, and cook as directed. This way, you’ll have delicious, crispy bites ready in no time, making your game day or family gathering stress-free and enjoyable!
What to Serve with Mustard Hasselback Kielbasa Bites
Elevate your gathering with these delightful accompaniments that enhance the flavors of your crispy kielbasa bites.
- Creamy Potato Salad: A cool, creamy potato salad balances the savory kielbasa perfectly, making every bite a comforting experience.
- Tangy Coleslaw: The crisp freshness of coleslaw adds a zesty counterpoint to the rich mustard flavors, making it a fantastic pairing.
- Savory Cheese Dip: Serve with a warm cheese dip for a rich, gooey addition that your guests will love to dunk into.
- Honey Mustard Dipping Sauce: Enhance the mustard theme with a sweet honey mustard dip, perfect for those who adore that extra kick.
- Grilled Veggies: Charred veggies like bell peppers and zucchini add texture and a splash of color to your appetizer spread.
- Craft Beer: A crisp and refreshing pale ale or lager will cleanse the palate and highlight the savory goodness of your kielbasa bites.
- Sparkling Lemonade: A chilled sparkling lemonade offers a sweet and fizzy contrast, making it a delightful drink to sip alongside the bites.
- Mini Pretzel Bites: Fun, bite-sized pretzels provide a delightful texture and are perfect for dipping into mustard or cheese sauces.
- Fruit Platter: Fresh fruits like grapes and apples add a sweet and juicy element that complements the savory richness of the bites beautifully.
- Chocolate Dipped Fruit: Finish off the meal with a light dessert—juicy strawberries or bananas dipped in chocolate for an indulgent yet fresh finish.
Mustard Hasselback Kielbasa Bites Variations
Feel free to get creative and make these bites your own with some delicious twists!
- Cheesy: Add shredded cheese into the kielbasa pockets before baking for a gooey, melty surprise. The creaminess of cheese perfectly complements the tangy mustard.
- Spicy: Incorporate diced jalapeños or crushed red pepper flakes into the mustard glaze for a spicy kick that will thrill heat lovers.
- Smoky: Use smoked kielbasa instead of the traditional variety for an extra layer of flavor in every bite. It’s perfect for those who adore a smoky taste!
- Herb-Infused: Mix fresh herbs like thyme or rosemary into the mustard sauce for a fragrant and flavorful enhancement to your bites. These herbs add a sophisticated touch to a classic recipe.
- Vegetable-Filled: Stir in finely chopped bell peppers or onions into the kielbasa pockets for a burst of fresh flavors and a colorful presentation. The crunch of fresh veggies contrasts beautifully with the juicy kielbasa.
- Dipping Delight: Serve your Mustard Hasselback Kielbasa Bites with a delicious array of dips like homemade ranch or spicy mustard for extra flavor excitement. A great way to customize each bite!
- Sweet & Tangy: Swap honey with maple syrup for a unique twist on sweetness that pairs beautifully with the tangy mustard. It’s an unexpected flavor combo that’s sure to impress.
For other tempting flavors, don’t forget to check out options like Steak Bites Garlic or Yogurt Peanut Butter bites!
Mustard Hasselback Kielbasa Bites Recipe FAQs
What kind of kielbasa should I use?
You can use traditional pork kielbasa for rich flavor, but I often opt for turkey kielbasa for a lighter, healthier version. The choice really depends on your dietary preferences. Both options deliver that satisfying juiciness and taste!
How should I store leftovers?
Absolutely! Store your Mustard Hasselback Kielbasa Bites in an airtight container in the fridge for up to 3 days. This will keep them fresh, and you can simply reheat them in the oven at 350°F (about 10 minutes) to restore their delicious crispiness.
Can I freeze the kielbasa bites?
Of course! To freeze, first arrange the bites in a single layer on a baking sheet. Once frozen, transfer them to a freezer-safe bag or container for up to 2 months. When you’re ready to enjoy them, there’s no need to thaw—just pop them straight into a preheated oven at 400°F for about 25-30 minutes until heated through!
What if my kielbasa isn’t browning in the oven?
If your Mustard Hasselback Kielbasa Bites aren’t browning, it could be due to uneven slicing or not enough mustard glaze. Make sure your cuts are even and deep enough, and don’t hesitate to generously coat each pocket with the mustard mixture. If they still need a little kick, you might try finishing them under the broiler for a minute or two, keeping a close watch to prevent burning.
Are there any dietary considerations for this recipe?
Definitely! If you’re looking for vegetarian options or need to accommodate allergies, consider using a plant-based sausage in place of kielbasa. You can also replace honey with agave syrup for a vegan option. As always, check for any mustard allergies or substitutes, as different mustards can vary in ingredients.
How do I customize the flavors?
The more, the merrier! You can experiment with different types of mustard like Dijon or spicy brown, or even add shredded cheese into the pockets before baking for a cheesy twist. Fresh herbs or veggies, like bell peppers or onions, can be mixed in as well for extra flavor. Don’t be shy—make these Mustard Hasselback Kielbasa Bites your own!
Mustard Hasselback Kielbasa Bites: A Flavorful Game Day Delight
Ingredients
Equipment
Method
- Preheat your oven to 400°F (200°C) and lightly spray a baking dish with nonstick cooking spray.
- Slice the kielbasa sausage lengthwise, making crosswise cuts about three-quarters deep to create pockets.
- In a medium bowl, combine yellow mustard, honey, and paprika, stirring until smooth.
- Brush the mustard mixture generously into the sliced kielbasa pockets.
- Arrange the glazed kielbasa slices in the prepared baking dish and bake for 20-25 minutes until golden brown.
- Remove from oven, garnish with chopped parsley, and serve warm to impress your guests.
Leave a Reply