
As I took a stroll along the sun-kissed beaches of Florida, I was enveloped by the invigorating scent of fresh limes and warm sand. It got me thinking—what better way to capture that vibrant summer spirit than with Key Lime Pie Rice Krispie Treats? This easy, no-bake dessert combines the zesty tang of key lime pie with the nostalgic chewiness of classic Rice Krispie treats. Perfect for any summer gathering, these treats are not only a delightful crowd-pleaser but also a breeze to whip up, requiring just a handful of ingredients. Plus, they’re completely customizable; you can add a few tropical twists to suit your taste! Ready to dive into this refreshing treat that will surely impress your friends and family? Keep scrolling for the recipe!
Why You’ll Love Key Lime Pie Rice Krispie Treats
No-Bake Delight: This recipe is a fantastic no-bake option perfect for hot summer days, saving you from heating the oven.
Quick and Easy: With just a few simple ingredients, you can create a delicious dessert in under 30 minutes.
Zesty Flavor: The tangy flavors of key lime shine through, making every bite feel like a refreshing summer getaway.
Customizable Options: Add coconut flakes or mixed citrus for a personal touch. This recipe invites creativity!
Crowd-Pleaser: These treats are loved by both kids and adults, making them ideal for any summer gathering, just like my Easter Rice Krispie Treats or Lemon Bars.
Key Lime Pie Rice Krispie Treats Ingredients
For the Treats
• Rice Krispies – Provide structure and crunch. No substitutions necessary unless aiming for a gluten-free option; use brown rice cereal.
• Marshmallows – Deliver sweetness and chewiness. For softer results, use fresh marshmallows and avoid over-packing the mixture.
• Butter – Binds ingredients together and adds richness. Can substitute with coconut oil for a dairy-free option.
• Key Lime Juice – Infuses a tart, citrus flavor that’s essential. Regular limes can be used; add an extra tablespoon of juice or zest for a stronger flavor.
• Graham Cracker Crumbs – Adds a nostalgic crunch akin to key lime pie crust. Crushed digestive biscuits can be an alternative.
• White Chocolate (for drizzle) – Offers sweetness and a creamy finish. Optional; can swap for dark chocolate or omit for a lighter treat.
• Lime Zest – Enhances the citrus aroma and flavor. Feel free to add more for a stronger lime taste.
Step‑by‑Step Instructions for Key Lime Pie Rice Krispie Treats
Step 1: Prep Your Ingredients
Start by gathering all your ingredients—Rice Krispies, marshmallows, butter, key lime juice, graham cracker crumbs, white chocolate, and lime zest. Line a 9×13-inch pan with parchment paper to prevent sticking, leaving some overhang for easy removal later. This simple setup is key to ensuring your Key Lime Pie Rice Krispie Treats come out perfectly.
Step 2: Melt the Marshmallow Mixture
In a large saucepan, melt 4 tablespoons of butter over low heat, stirring gently until it’s fully melted. Next, add in the marshmallows and continue to stir consistently until they are completely melted and smooth—this should take about 5–7 minutes. Once melted, promptly remove the saucepan from the heat to prevent burning.
Step 3: Mix in the Key Lime Flavor
With the marshmallow mixture off the heat, quickly stir in the key lime juice and lime zest, mixing until fully incorporated. Then, add the graham cracker crumbs, ensuring a lovely, crumbly texture that enhances your Key Lime Pie Rice Krispie Treats. The mixture should be well-combined and slightly thickened—this is the time to enjoy that fresh citrus aroma!
Step 4: Combine with Rice Krispies
Now, gently fold in the Rice Krispies, stirring slowly to coat every piece without over-mixing. This step is crucial to keep the treats chewy and delicious. The mixture should appear sticky yet well-distributed after about 2–3 minutes of careful folding. Make sure all the Rice Krispies are covered in your zesty key lime mixture for maximum flavor.
Step 5: Pack into the Pan
Transfer the combined mixture into your lined 9×13-inch pan. With lightly greased hands or a spatula, press the mixture evenly into the pan. Aim for a smooth, flat surface, but avoid packing it too tightly to maintain that delightful chewiness. You want each bite of your Key Lime Pie Rice Krispie Treats to have the perfect texture!
Step 6: Let it Chill
Allow the mixture to set at room temperature for about 30 minutes. This resting time helps the Key Lime Pie Rice Krispie Treats firm up. After the time is up, gently check that the mixture holds together well; it should be cool to the touch and not sticky.
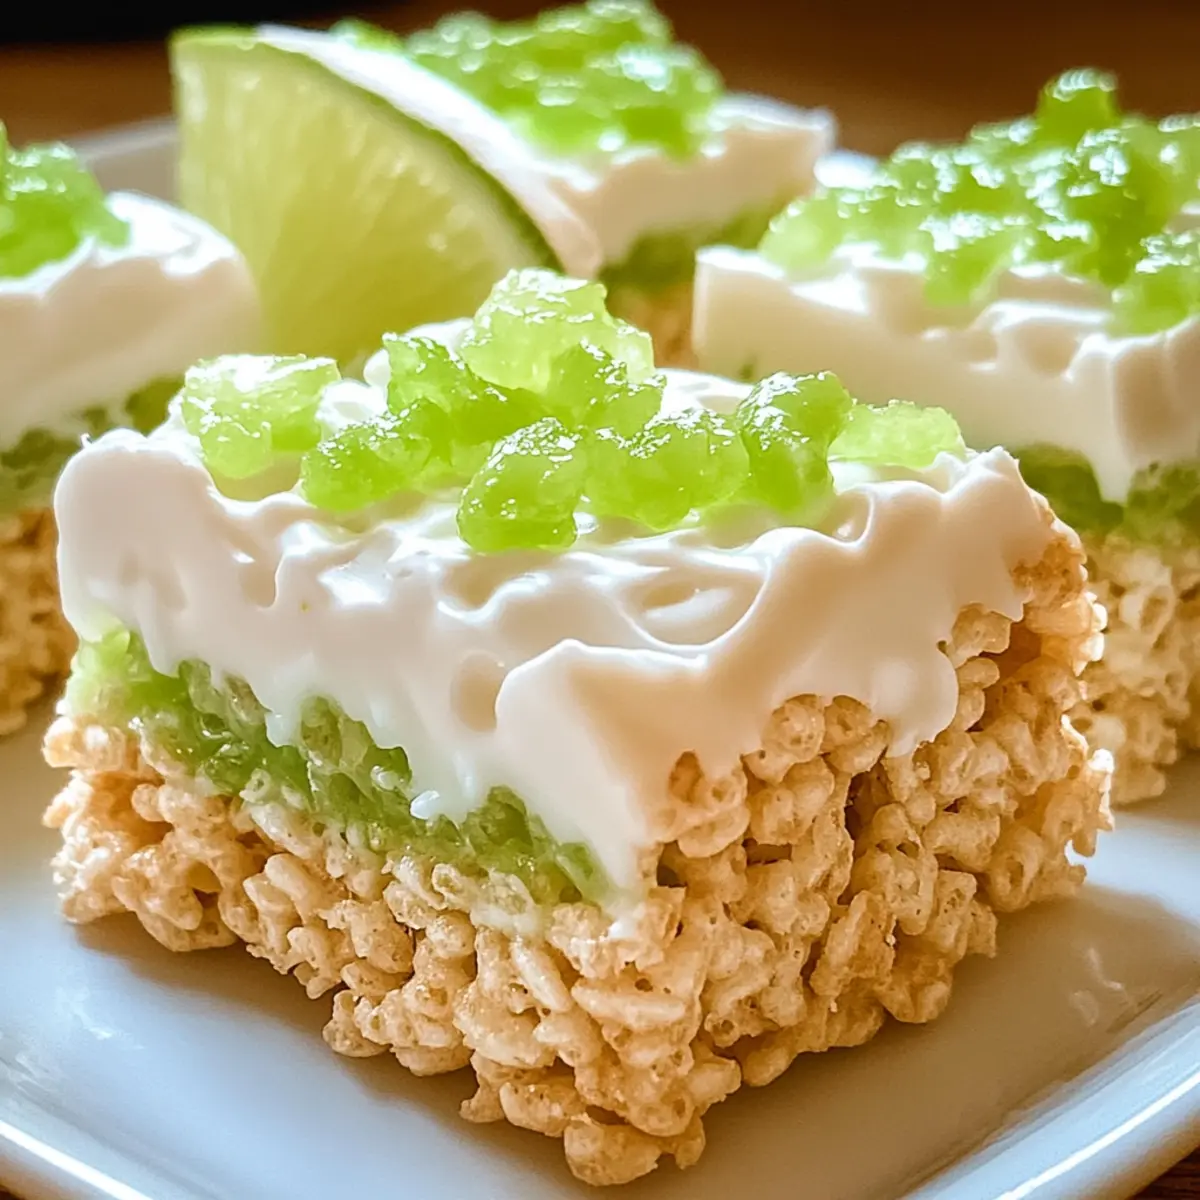
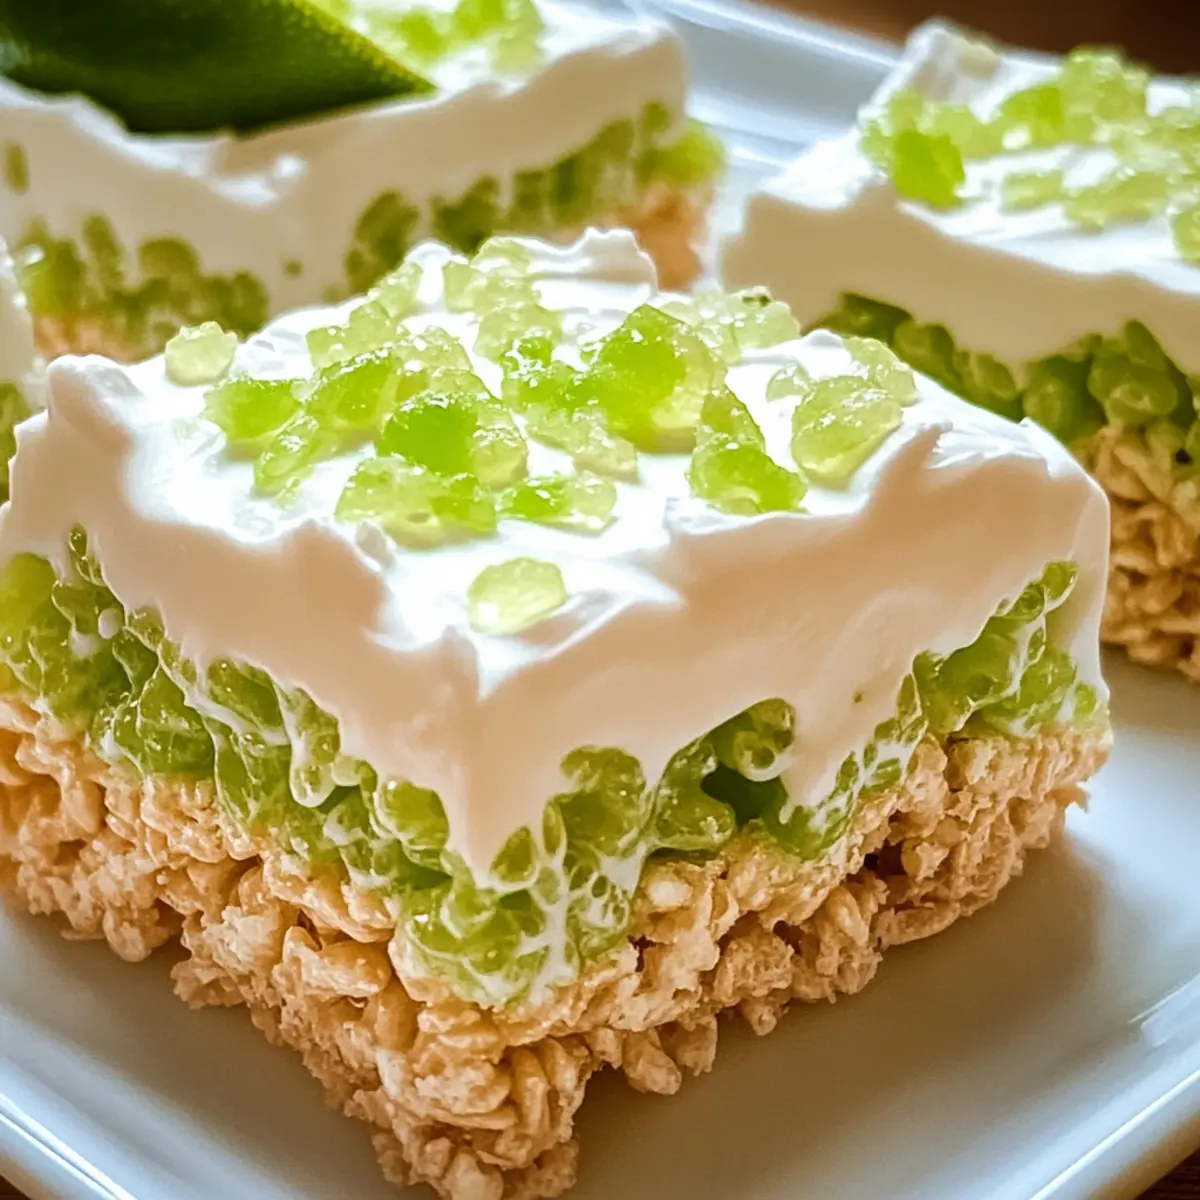
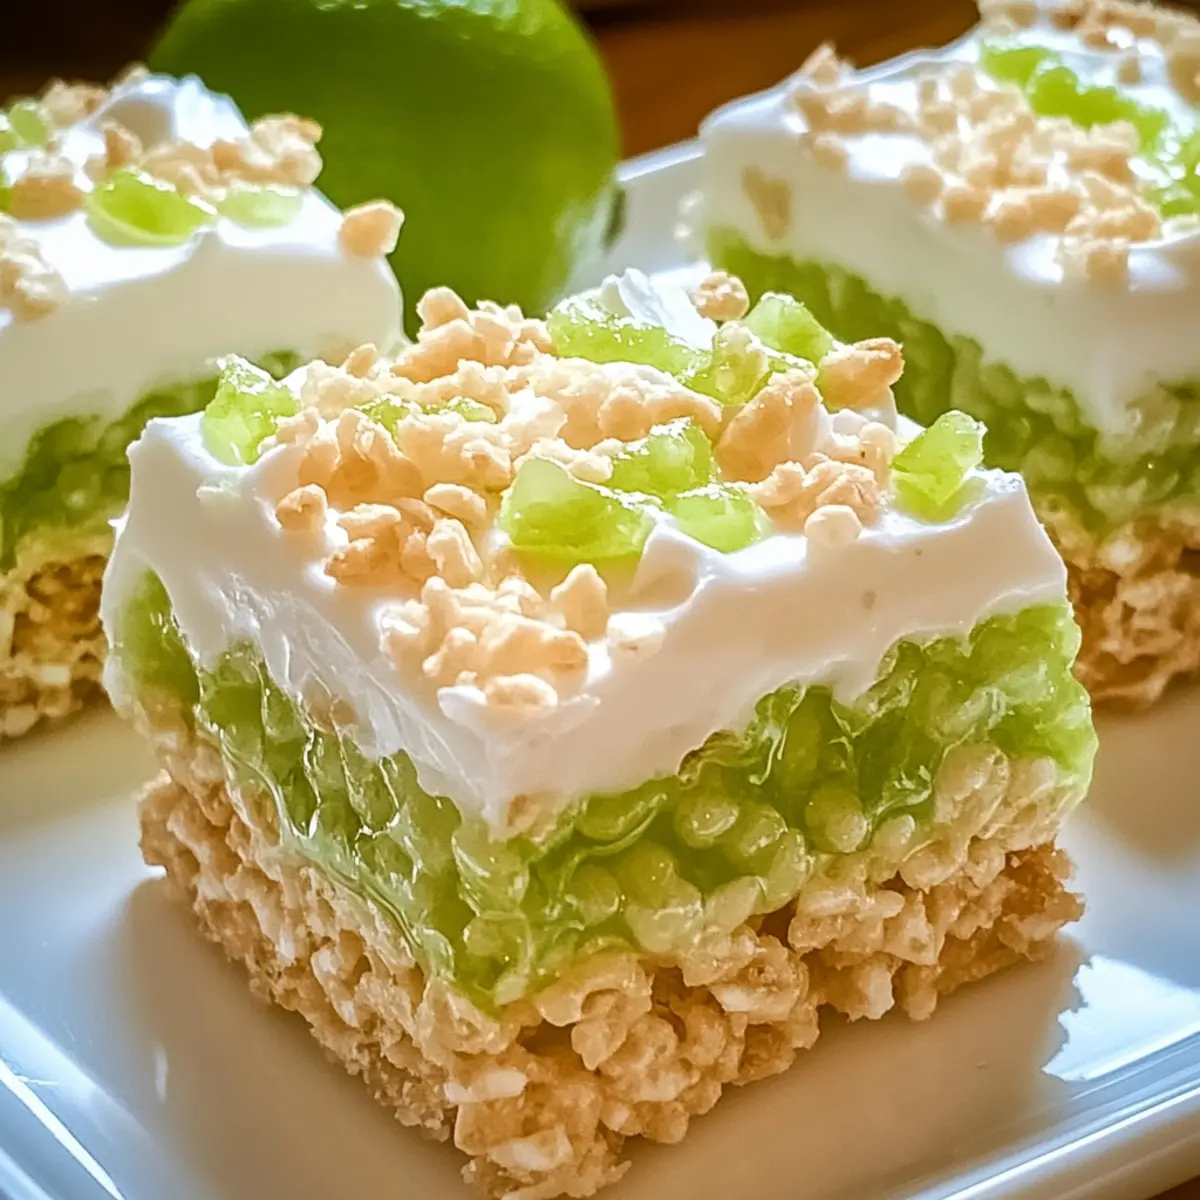
Step 7: Drizzle with White Chocolate
While your treats are setting, melt the white chocolate in a microwave-safe bowl. Heat for 30-second intervals, stirring in between until smooth. Once melted, drizzle the warm chocolate over the top of the treats in a decorative pattern. Let the chocolate cool for a few minutes until it hardens—this adds the perfect finishing touch to your delightful creation.
Step 8: Cut and Serve
Once the chocolate is set, use the parchment overhang to lift the treats out of the pan. Cut into 16 even squares with a sharp knife for beautiful presentation. Your Key Lime Pie Rice Krispie Treats are now ready to serve—prepare for the smiles as friends and family indulge in this refreshing summer treat!
Storage Tips for Key Lime Pie Rice Krispie Treats
Room Temperature: Store your treats in an airtight container for up to one week, keeping them fresh and chewy without refrigeration.
Fridge: If you prefer a firmer texture, refrigerate the treats for up to 2 weeks. Just be sure to let them come to room temperature before serving for the best flavor.
Freezer: For longer storage, wrap individual squares in plastic wrap and place them in a freezer-safe container. They can last up to 3 months this way.
Reheating: If they become too firm from refrigeration or freezing, let them sit at room temperature for 10-15 minutes before enjoying your delicious Key Lime Pie Rice Krispie Treats again!
What to Serve with Key Lime Pie Rice Krispie Treats
Elevate your summertime gatherings with delightful pairings that perfectly complement this zesty dessert.
-
Tropical Fruit Salad: A refreshing mix of juicy watermelon, pineapple, and kiwi balances the sweetness of the treats and adds vibrancy.
-
Coconut Whipped Cream: Light and airy, this creamy topping enhances the tropical flavor of your Key Lime Pie Rice Krispie Treats and pairs beautifully with the citrus notes.
-
Lemonade or Limeade: A chilled glass of citrusy lemonade provides a refreshing, tangy contrast, making it a delightful drink to sip alongside these treats.
-
Chocolate-Covered Macadamia Nuts: The rich chocolate and crunchy nuts offer a textural contrast, rounding out your dessert experience with a hint of indulgence.
-
Key Lime Pie Slices: For the ultimate citrus celebration, serve traditional key lime pie as a second dessert option—its creamy tartness complements the Rice Krispie Treats perfectly.
-
Mint Iced Tea: This cool, refreshing beverage adds an herbal touch that brightens the palate and enhances the flavors of your sweet treats.
-
Grilled Pineapple Skewers: Sweet, caramelized pineapple spears bring out the tropical essence and provide a deliciously smoky flavor to balance the desserts.
-
Fruit Sorbet: A light, fluffy sorbet in lemon or lime adds a frosty touch, cleansing the palate between bites of your rich, chewy treats.
-
Mini Cheesecakes: These creamy bites provide a rich alternative that will be loved by both kids and adults, ensuring everyone leaves happy and satisfied.
Make Ahead Options
These Key Lime Pie Rice Krispie Treats are a fantastic choice for meal prep, allowing you to savor that delightful summer flavor even on your busiest days! You can prepare the base mixture and pack it into the pan up to 24 hours in advance; simply cover it tightly with plastic wrap to maintain freshness and prevent it from drying out. For optimal flavor, consider squeezing the key lime juice just before mixing the ingredients. When you’re ready to serve, just drizzle the melted white chocolate on top, let it set for a few minutes, and indulge in that refreshing taste without any extra hassle. With this prep-ahead option, you’ll have a delicious, no-bake dessert ready to impress any crowd!
Expert Tips for Key Lime Pie Rice Krispie Treats
-
Use Fresh Marshmallows: Fresh marshmallows ensure a softer, chewier texture. Avoid stale ones, which can result in harder treats.
-
Avoid Overpacking: Gently press the mixture into the pan without packing it down too tightly. This helps maintain that delightful chewiness in your Key Lime Pie Rice Krispie Treats.
-
Add Lime Zest: Incorporate extra lime zest to amplify the citrus flavor. It will make each bite taste even brighter and more refreshing.
-
Customize Wisely: Feel free to add coconut flakes or nuts, but keep an eye on the ratio. Too many add-ins can disrupt the treat’s structural balance.
-
Perfect Drizzle Technique: Allow the white chocolate to cool slightly before drizzling. This prevents it from soaking into the treats, keeping that delicious creamy layer intact.
-
Storage Tips: Store leftovers in an airtight container at room temperature for up to one week. They taste best within a few days!
Key Lime Pie Rice Krispie Treats Variations
Feel free to let your creativity soar and customize these treats to suit your taste and mood!
-
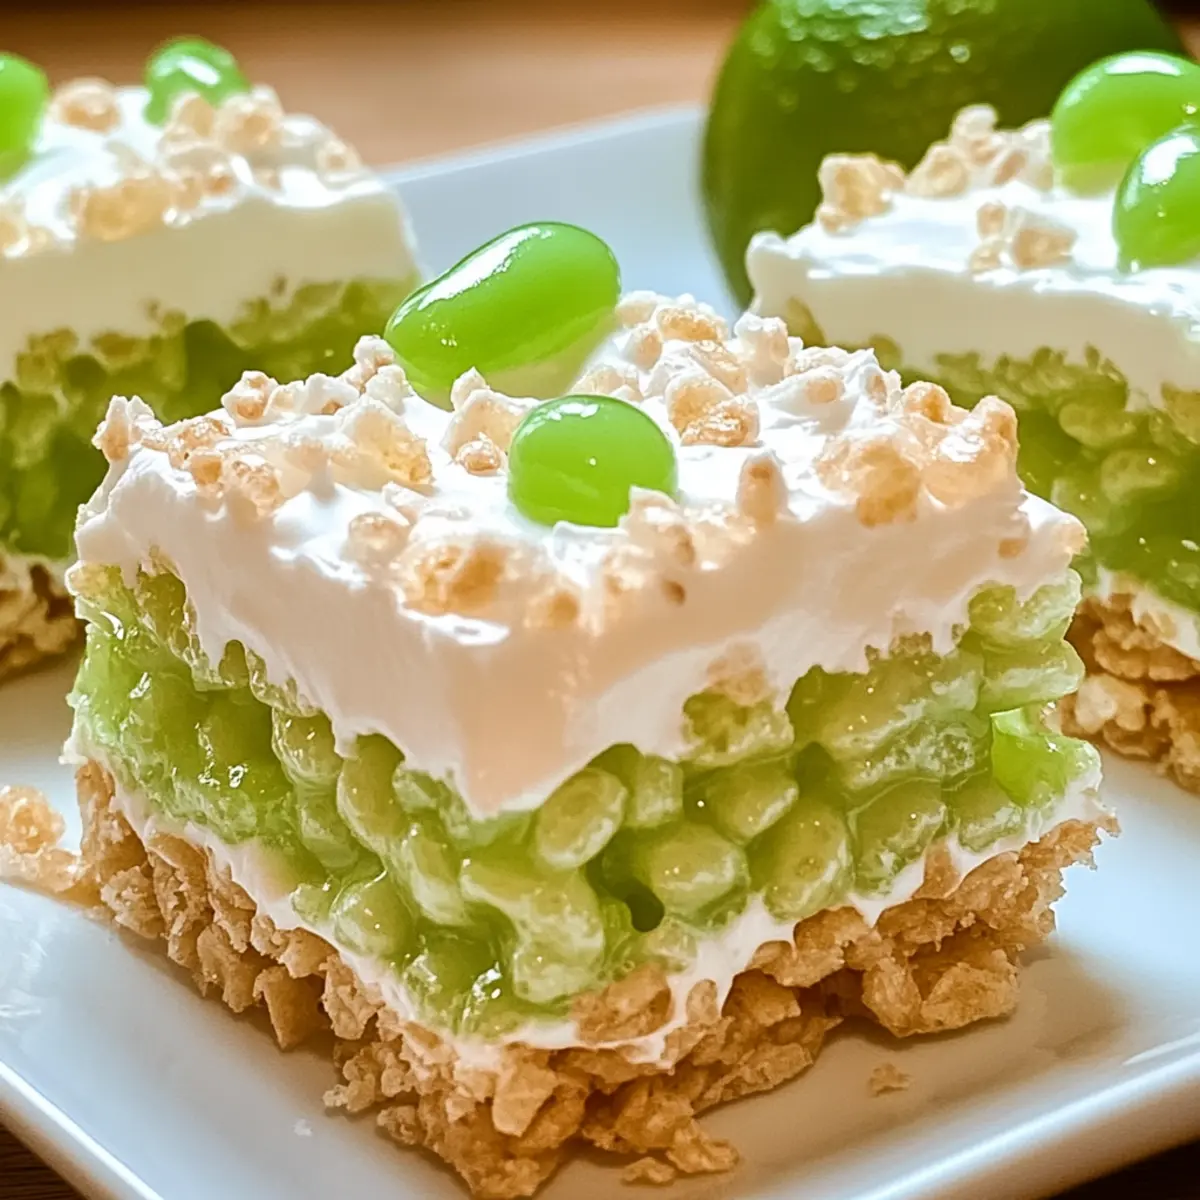
Coconut Flakes: Sprinkle untoasted or toasted coconut on top for a tropical delight that complements the key lime flavor. The rich, nutty notes will transport you right to a sandy beach.
-
Chopped Nuts: Add chopped almonds or pecans for an added crunch. This twist not only enhances the texture but also gives a delightful nutty contrast to the zesty lime.
-
Food Coloring: Add a few drops of green food coloring for a vibrant appearance. It’s a fun visual touch that enchants kids and adults alike, making your treats standout at any summer gathering.
-
Citrus Mix: For a bolder flavor, mix lemon or grapefruit juice with the key lime juice. This combination plays up the tartness beautifully and creates a refreshing explosion of citrus.
-
Yogurt Drizzle: Swap white chocolate for a creamy yogurt drizzle for a tangy twist. A Greek yogurt glaze can elevate the treat’s freshness while adding a healthful twist.
-
Chocolate Variations: Use dark chocolate instead of white for a richer, bittersweet finish. The contrast between the dark chocolate and bright lime flavor will create a gourmet experience.
-
Add-ins Galore: Throw in mini marshmallows or dried fruit bits like cranberries or mango. These additions enhance the texture and flavor complexity, making every bite exciting.
-
Graham Cracker Crust Layer: For an authentic key lime pie touch, layer some additional graham cracker crumbs at the bottom of your pan. This adds a delightful crunch that mimics a traditional pie crust.
You can even serve these delightful treats alongside other desserts like my Easter Rice Krispie Treats or Lemon Bars for a sweet spread that fulfills every palate! Enjoy experimenting!
Key Lime Pie Rice Krispie Treats Recipe FAQs
What type of Rice Krispies should I use for the Key Lime Pie Rice Krispie Treats?
I recommend using regular Rice Krispies for the best texture and flavor. If you’re looking for a gluten-free option, you can easily substitute them with brown rice cereal. This maintains the crunchiness while catering to dietary needs!
How should I store my Key Lime Pie Rice Krispie Treats?
Store your treats in an airtight container at room temperature for up to one week to preserve their delightful chewiness. If you prefer them a bit firmer, you can refrigerate them, where they’ll stay fresh for up to two weeks. Just be sure to bring them to room temperature before serving for the best taste.
Can I freeze Key Lime Pie Rice Krispie Treats?
Absolutely! For longer storage, wrap individual squares tightly in plastic wrap and place them into a freezer-safe container. They can last up to three months in the freezer. When you’re ready to enjoy, simply thaw them at room temperature for 10-15 minutes, and they’ll be just as delicious!
What should I do if my treats are too hard?
If your Key Lime Pie Rice Krispie Treats turned out too hard, it might be due to overpacking the mixture in the pan. To salvage them, try warming them slightly in the microwave for about 10 seconds or let them sit at room temperature for a few minutes. This can help soften them up, making them chewy and enjoyable again.
Are Key Lime Pie Rice Krispie Treats safe for kids with allergies?
While they’re a family-friendly treat, always check your ingredient labels for potential allergens. The marshmallows and graham crackers may contain gluten or dairy. For a suitable alternative, use gluten-free rice cereal and ensure you select marshmallows that are free from allergens. Always consult with a healthcare professional if there are specific allergies to consider.
Can I customize the flavors in my Key Lime Pie Rice Krispie Treats?
Yes! Feel free to add your favorite mix-ins, such as coconut flakes for a tropical twist or crushed nuts for added crunch. Just be cautious about the quantity you use; too many add-ins may disrupt the overall texture, making it less chewy and satisfying!
Key Lime Pie Rice Krispie Treats: A Refreshing Summer Indulgence
Ingredients
Equipment
Method
- Start by gathering all your ingredients and line a 9x13-inch pan with parchment paper.
- In a large saucepan, melt the butter over low heat and stir until fully melted. Add marshmallows and stir until melted and smooth.
- Stir in the key lime juice and lime zest, then add graham cracker crumbs and mix until combined.
- Gently fold in the Rice Krispies, stirring to coat each piece evenly.
- Press the mixture into the lined pan with greased hands or a spatula, ensuring a smooth surface.
- Chill at room temperature for about 30 minutes until firm.
- Melt the white chocolate and drizzle over the top of the treats.
- Lift the treats out of the pan using the parchment and cut into 16 squares.
Leave a Reply