
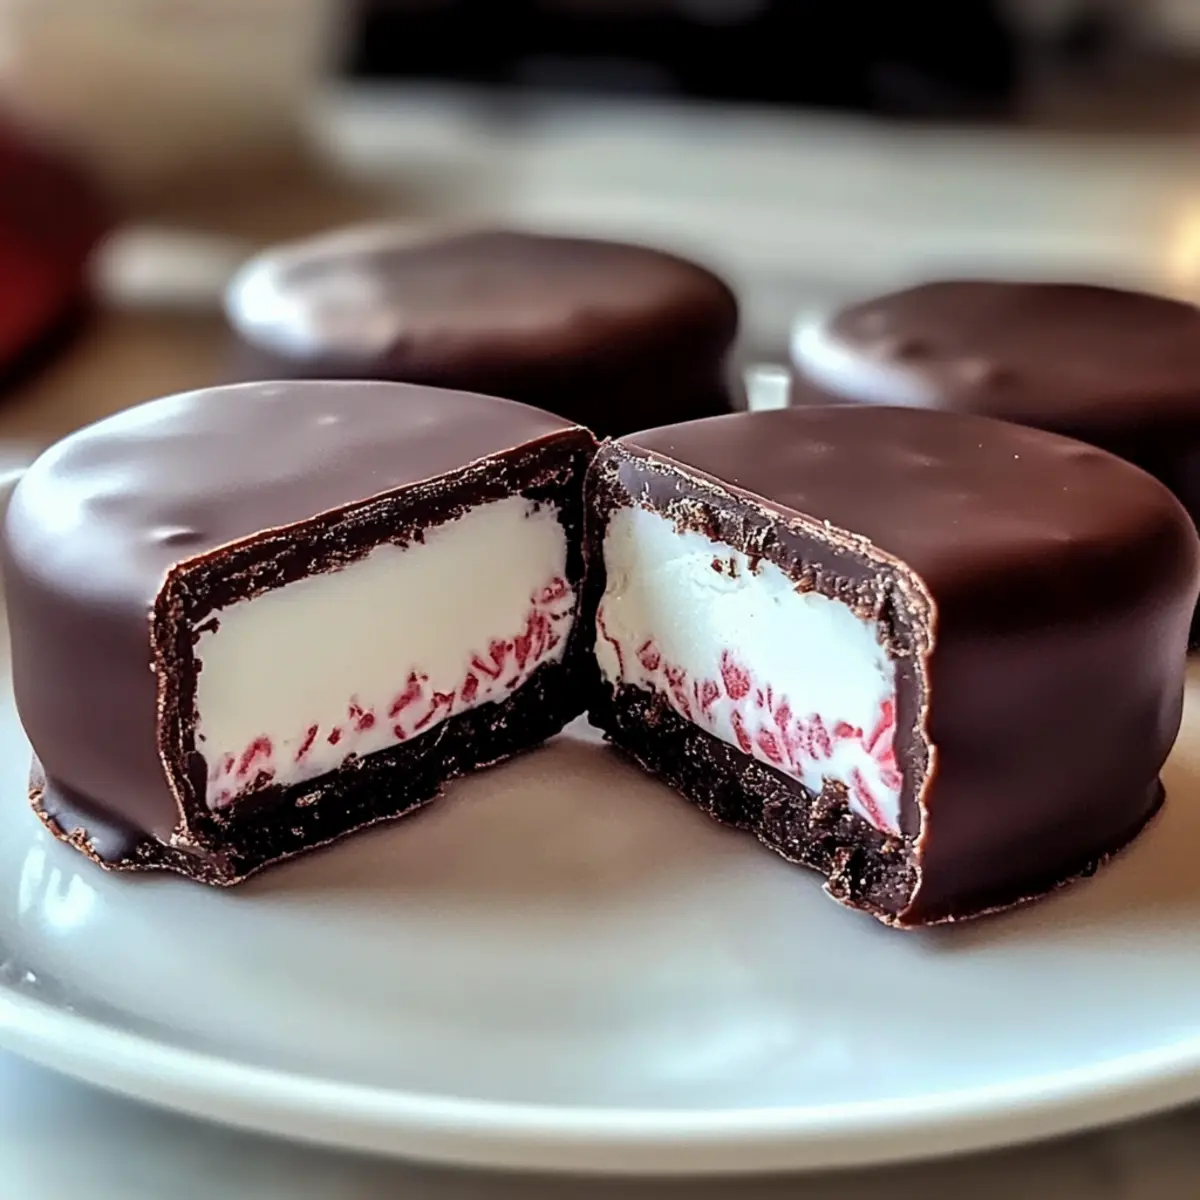
As I stood in my kitchen, the aroma of fresh mint filled the air, transporting me to fond childhood memories of candy shops during the holidays. Today, I’m excited to share my Easy 5-Ingredient Homemade Peppermint Patties recipe with you. This delightfully simple treat not only satisfies your sweet tooth but also brings a sense of joy to any gathering or special occasion, thanks to its elegant chocolate coating and refreshing minty filling. With just five ingredients, you can create these irresistible morsels that are perfect for gifting or enjoying with a cozy cup of coffee. Plus, they cater to various dietary preferences with easy dairy-free options! Are you ready to create a nostalgic treat that adds sweetness to your season?
Why Are Homemade Peppermint Patties Special?
Simple, with just five ingredients, you can whip these up in no time. Mouthwatering flavors of rich chocolate and refreshing mint create a delightful contrast that everyone will love. Gift-friendly, they’re perfect for sharing during the holidays or at gatherings. Plus, dairy-free options allow everyone to indulge! For another quick homemade treat, try these delicious Tuna Melt Patties. The ease and flavor of these peppermint patties make them a fantastic addition to your dessert repertoire!
Homemade Peppermint Patties Ingredients
For the Filling
- Sweetened Condensed Milk – Adds sweetness and moisture for a creamy filling; try using coconut milk for a dairy-free version.
- Peppermint Extract – Provides the signature mint flavor; feel free to experiment with almond or orange extracts for a different twist.
- Vanilla Extract – Enhances the overall flavor; you may omit it for a stronger mint taste.
- Powdered Sugar – Sweetens and helps form the dough; adjust as needed for the right consistency.
For the Chocolate Coating
- Dark Chocolate – Creates a rich contrast with the minty filling; substitute with milk chocolate if you prefer a sweeter flavor.
These Homemade Peppermint Patties are not just a treat but an experience, capturing the essence of holiday delicacies!
Step‑by‑Step Instructions for Homemade Peppermint Patties
Step 1: Dough Preparation
In a stand mixer, combine 1 cup of sweetened condensed milk, 1 teaspoon of peppermint extract, and 1 teaspoon of vanilla extract. Mix these ingredients on medium speed for about 2 minutes until well blended. Gradually add in 2 cups of powdered sugar, mixing until a smooth dough forms. The dough should be slightly sticky but maintain its shape—add more powdered sugar if needed for the right consistency.
Step 2: Kneading & Rolling
Sprinkle a generous amount of powdered sugar on a clean piece of parchment paper. Transfer the dough onto the surface and knead it gently for about 1 minute, ensuring it’s mixed evenly. Roll the dough out to a ½-inch thickness, using more powdered sugar to prevent sticking. As you work, keep an eye on the texture, adjusting with powdered sugar to ensure the dough is manageable and not overly wet.
Step 3: Cutting Shapes
Using a 1 to 1½ inch cookie cutter, press down firmly to cut circles from the rolled-out dough. If the dough is warm and sticky, chill it in the freezer for about 15 minutes to make cutting easier. After cutting, carefully transfer the circles onto a parchment-lined baking sheet, ensuring they’re evenly spaced to prevent sticking.
Step 4: Freezing
Once all shapes are cut out, place the baking sheet in the freezer for an additional 15 minutes. This step is crucial; the chilling time allows the peppermint patties to firm up, ensuring they hold their shape during the chocolate coating process. Look for them to feel firm but not frozen solid when ready for the next step.
Step 5: Chocolate Coating
Melt 8 ounces of dark chocolate in a microwave-safe bowl, heating in 30-second increments and stirring frequently until smooth. Aim for a silky consistency; avoid overheating to prevent seizing. Once melted, let the chocolate cool slightly before dipping each peppermint patty. Using a fork, dip each patty, ensuring it’s coated on both sides before placing it back on the parchment-lined baking sheet.
Step 6: Setting
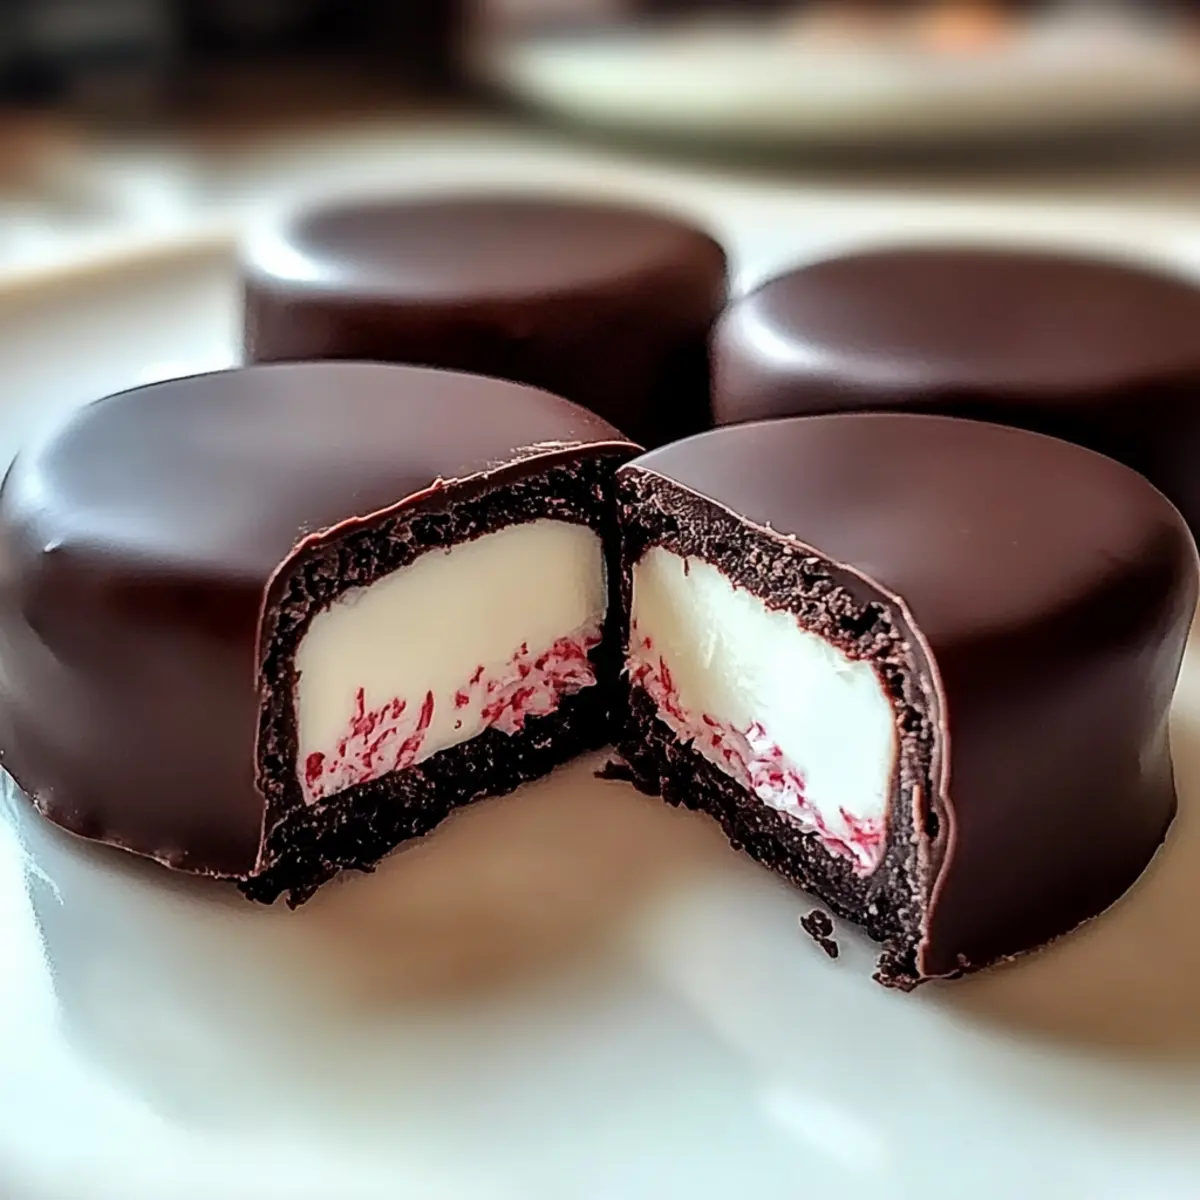
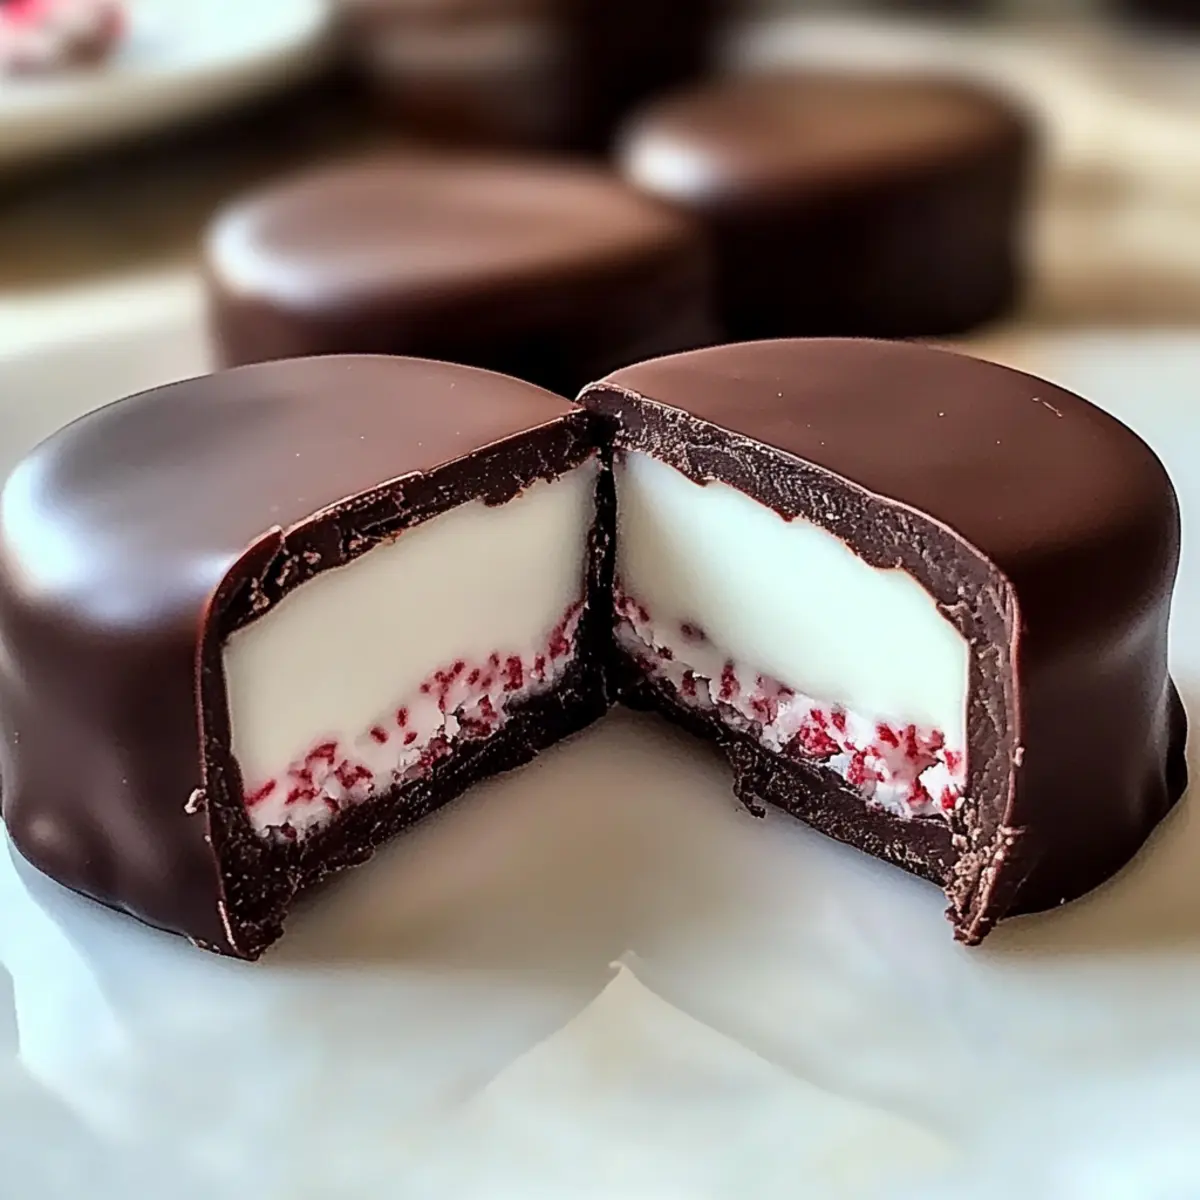
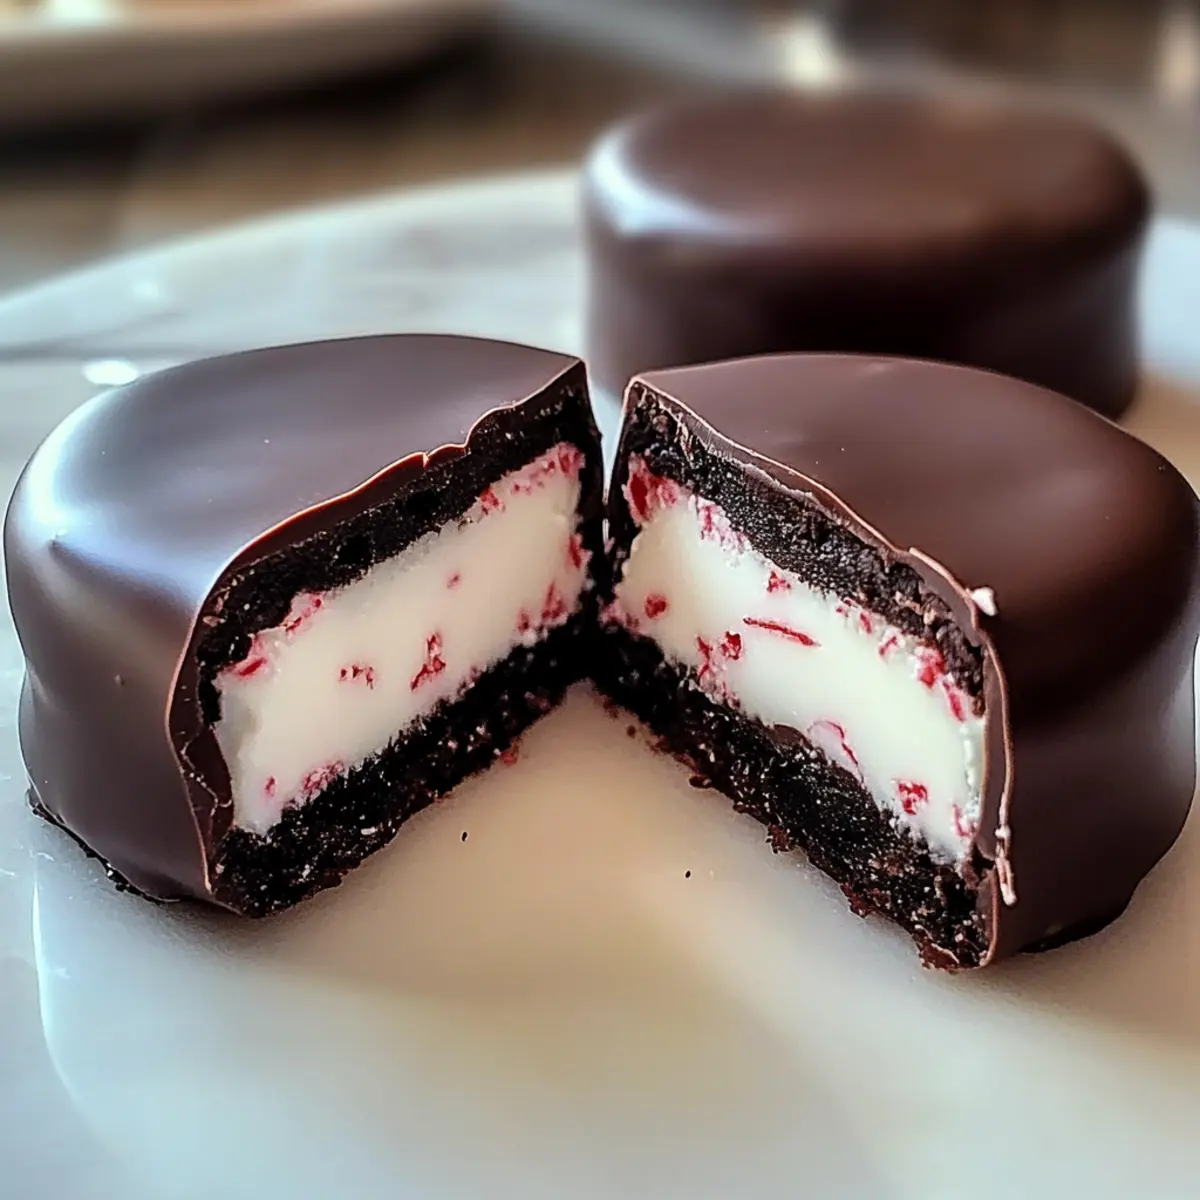
If desired, while the chocolate is still wet, sprinkle some festive toppings like crushed candy canes on each patty for added flair. Refrigerate the baking sheet for about 20 minutes until the chocolate sets and hardens. The finished homemade peppermint patties should have a glossy chocolate coating and a creamy, minty center, ready for you to enjoy or gift!
What to Serve with Easy 5-Ingredient Homemade Peppermint Patties
To complement the delightful flavors of these homemade treats, consider these delicious pairings that will elevate your dessert experience.
-
Rich Hot Chocolate: A warm, creamy hot chocolate pairs beautifully with the refreshing minty flavor of the patties, creating a cozy comfort drink.
-
Coffee or Espresso: The bold notes of freshly brewed coffee balance the sweetness, enhancing the overall treat experience for adults.
-
Chocolate-Covered Almonds: These nutty bites add a delightful crunch that contrasts with the smooth texture of the peppermint patties, enticing your palate.
-
Vanilla Ice Cream: The creamy vanilla ice cream serves as a delightful sidekick, providing a cool contrast that complements the rich chocolate coating.
-
Fruit Platter: Fresh strawberries or raspberries offer a burst of color and acidity, cutting through the sweetness and adding a delightful freshness to your dessert spread.
-
Festive Spritz Cookies: The buttery flavor of spritz cookies brings an additional texture, making for an enchanting cookie platter perfect for sharing during holidays.
-
Classic Milk: A glass of cold milk is a nostalgic pairing, enhancing the chocolaty richness and melting away the sweet mint aftertaste.
-
Mint Tea: A soothing cup of mint tea echoes the flavors in the patties while providing a refreshing cleanse for the palate.
-
Homemade Fudge: Rich and decadent, a piece of chocolate fudge creates a sweet harmony, perfect for any sweet tooth craving.
These combinations not only enhance your Homemade Peppermint Patties but also create an unforgettable dessert experience for your guests!
Homemade Peppermint Patties Variations
Feel free to put your own spin on these delightful peppermint patties; the possibilities are endless!
- Nut-Free: Use sunflower seed butter in place of sweetened condensed milk for allergy-friendly filling without compromising taste.
- Flavor Infusion: Swap peppermint extract for almond or orange extract to create a citrusy or nutty twist.
- Dairy-Free: Substitute sweetened condensed milk with coconut milk and use dairy-free dark chocolate for a vegan-friendly option.
- Coating Variations: Try using colored chocolate melts for the coating to add festive flair—perfect for parties or special occasions!
- Texture Boost: Add crushed graham crackers or finely chopped nuts into the dough for a delightful crunch in every bite.
- Spicy Kick: Incorporate a pinch of cayenne pepper into the filling for a surprising heat that complements the mint beautifully.
- Chocolate Lovers: Dip the chilled patties in milk chocolate instead of dark chocolate for an even sweeter treat that melts in your mouth. If you’re looking for other unique treats, don’t miss out on these tasty Tuna Melt Patties.
- Gift-Worthy Enhancements: Package your peppermint patties in a beautiful tin or box with a festive ribbon for the perfect homemade gift that friends and family will treasure.
How to Store and Freeze Homemade Peppermint Patties
Fridge: Store your Homemade Peppermint Patties in an airtight container in the fridge for up to 1 week, ensuring they remain fresh and flavorful.
Freezer: For longer storage, freeze the patties individually on a parchment-lined baking sheet for about 2 hours before transferring them to a freezer-safe bag. They can last up to 3 months.
Thawing: When ready to enjoy, thaw the patties in the fridge for a few hours or at room temperature for about 30 minutes. Avoid microwaving, as it can soften the chocolate coating.
Reheating: If you’d like them slightly softened, leave them out for about 10-15 minutes after thawing; this will enhance the minty texture and flavor.
Expert Tips for Homemade Peppermint Patties
-
Dough Consistency: Ensure the dough is slightly sticky but holds its shape. If it’s too wet, gradually add more powdered sugar until you achieve the right texture.
-
Avoid Overmixing: Mix only until the ingredients are combined to maintain a soft and tender filling in your homemade peppermint patties. Overmixing can lead to a dense texture.
-
Chill for Ease: Always chill the dough and cut pieces in the freezer for at least 15 minutes before coating. This helps prevent the patties from becoming soft and unmanageable.
-
Chocolate Care: Melt your chocolate in short increments and stir often to prevent seizing. Aim for a melted, smooth consistency before dipping.
-
Optional Flair: Sprinkles or crushed candy canes can add festive color to your finished patties. Sprinkle them on while the chocolate is still wet for best results.
Make Ahead Options
These Homemade Peppermint Patties are perfect for busy home cooks looking to streamline their holiday baking! You can prepare the dough and cut the shapes up to 24 hours in advance, simply freeze the patties on a baking sheet until firm, then transfer them to an airtight container. The chocolate coating can be melted and prepared up to 3 days ahead; just store it in a cool, dry place. When you’re ready to finish the patties, dip them in the cooled chocolate, set them on parchment paper, and refrigerate for about 20 minutes until the chocolate sets. This way, you’ll enjoy just as delicious treats without the last-minute rush!
Homemade Peppermint Patties Recipe FAQs
What is the best way to select mint for these homemade peppermint patties?
Absolutely! If you’re using fresh mint, select leaves that are vibrant green without any dark spots or wilting. Fresh mint can add a delightful touch; just chop a handful finely and mix it into the dough instead of extract. This gives a more natural flavor!
How long can I store homemade peppermint patties and what’s the best method?
You can store your Homemade Peppermint Patties in an airtight container in the fridge for up to 1 week. For optimal freshness, ensure they are well-separated to avoid sticking. If you want to keep them longer, freezing is the way to go!
Can I freeze homemade peppermint patties? If so, how?
Yes, you can! To freeze, place the cut peppermint patties on a parchment-lined baking sheet and freeze for about 2 hours until solid. After that, transfer them to a freezer-safe bag or container. They’ll stay fresh for up to 3 months! When you’re ready to enjoy them, thaw them in the fridge for a few hours or at room temperature for 30 minutes.
What should I do if the dough of my peppermint patties is too sticky?
Not to worry, it’s an easy fix! If your dough feels too sticky, sprinkle a little more powdered sugar as you knead it. Aim for a slightly sticky, but manageable consistency. If it’s really wet, you can add sugar in small increments until it’s workable without losing its softness!
Are there any dietary considerations for making peppermint patties?
Very! If you’re making them for someone with allergies, you can easily make these patties dairy-free by substituting sweetened condensed milk with coconut milk. Additionally, if you’re mindful of sugar intake, consider using a sugar substitute that measures like sugar for a low-sugar version. Always double-check ingredients to ensure they meet dietary needs.
Homemade Peppermint Patties That Melt in Your Mouth
Ingredients
Equipment
Method
- In a stand mixer, combine sweetened condensed milk, peppermint extract, and vanilla extract. Mix on medium speed for about 2 minutes.
- Gradually add powdered sugar, mixing until a smooth dough forms that is slightly sticky but holds its shape.
- Sprinkle powdered sugar on parchment paper, transfer dough, and knead gently for about 1 minute. Roll dough to ½-inch thickness.
- Cut circles using a cookie cutter and chill in the freezer for 15 minutes.
- Melt dark chocolate in a microwave-safe bowl in 30-second increments until smooth. Let cool slightly.
- Dip each patty in chocolate and return to parchment-lined baking sheet. Optional: sprinkle crushed candy canes on top.
- Refrigerate for about 20 minutes until chocolate sets.
Leave a Reply