
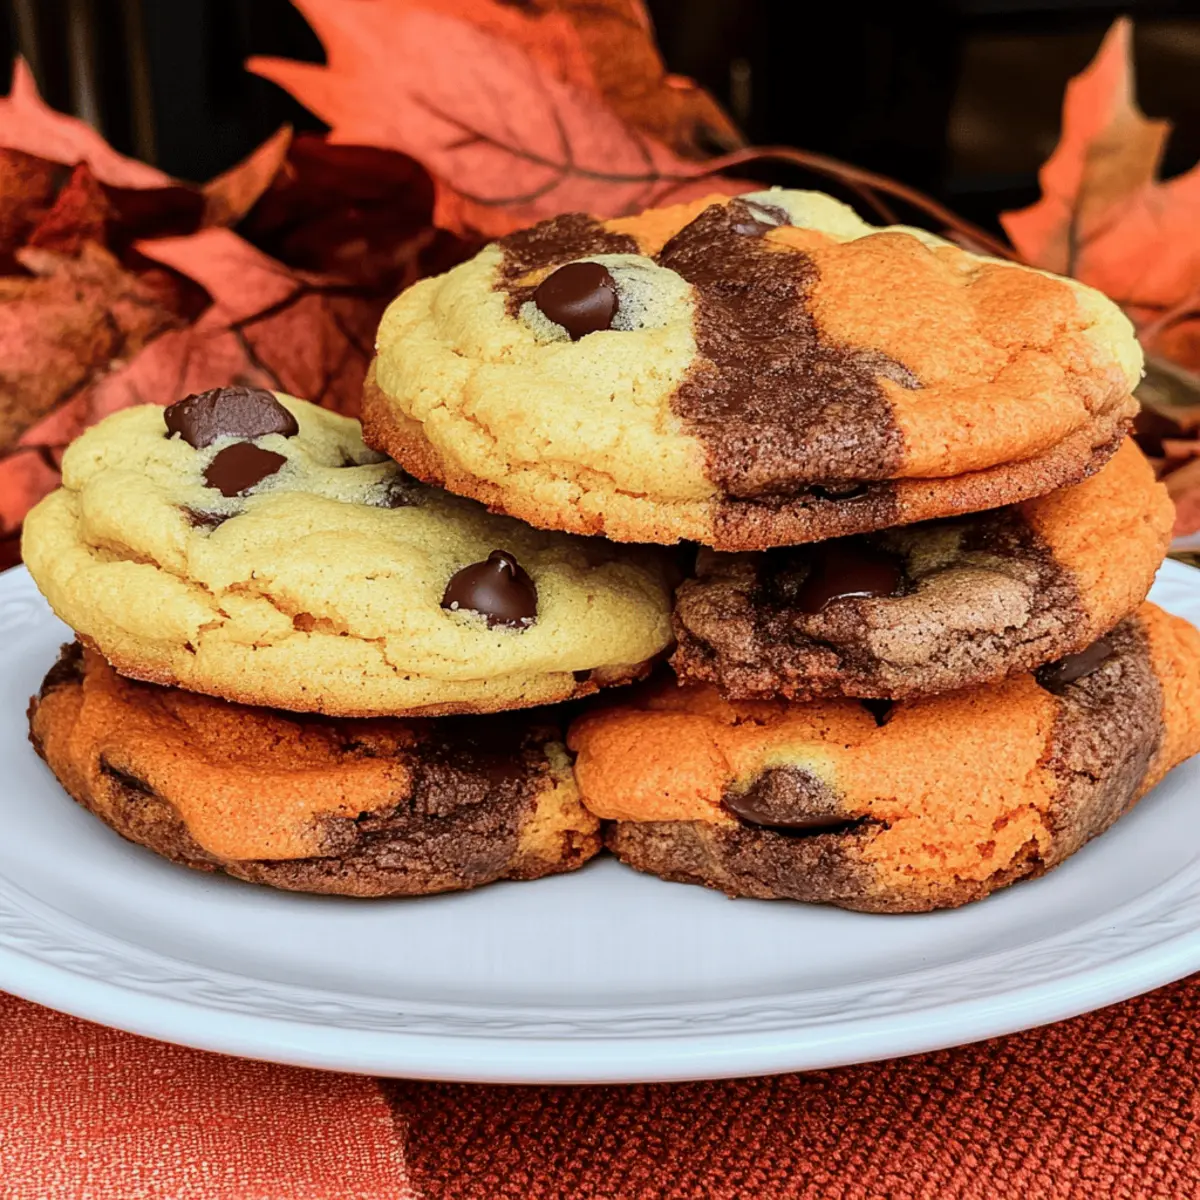
As autumn settles in, the air fills with the sweet aroma of baking spices, and I can’t help but feel inspired to create. Enter the Harvest Marble Chocolate Chip Cookies—a delightful twist on the classic cookie that is both gorgeous and scrumptious. With their vibrant orange and brown hues reminiscent of fall leaves, these cookies not only bring festive cheer to any table but are incredibly easy to whip up. Perfect for cozy gatherings or Thanksgiving celebrations, they promise warm, gooey chocolate in every bite. Plus, they are freezer-friendly, so you can prepare a batch ahead of time and enjoy them fresh whenever the craving hits! Are you ready to bring a touch of autumn magic into your kitchen?
Why are these cookies a must-try?
Festive Flavors: These Harvest Marble Chocolate Chip Cookies capture the essence of autumn with each delicious bite, featuring warm spices and gooey chocolate that are pure comfort.
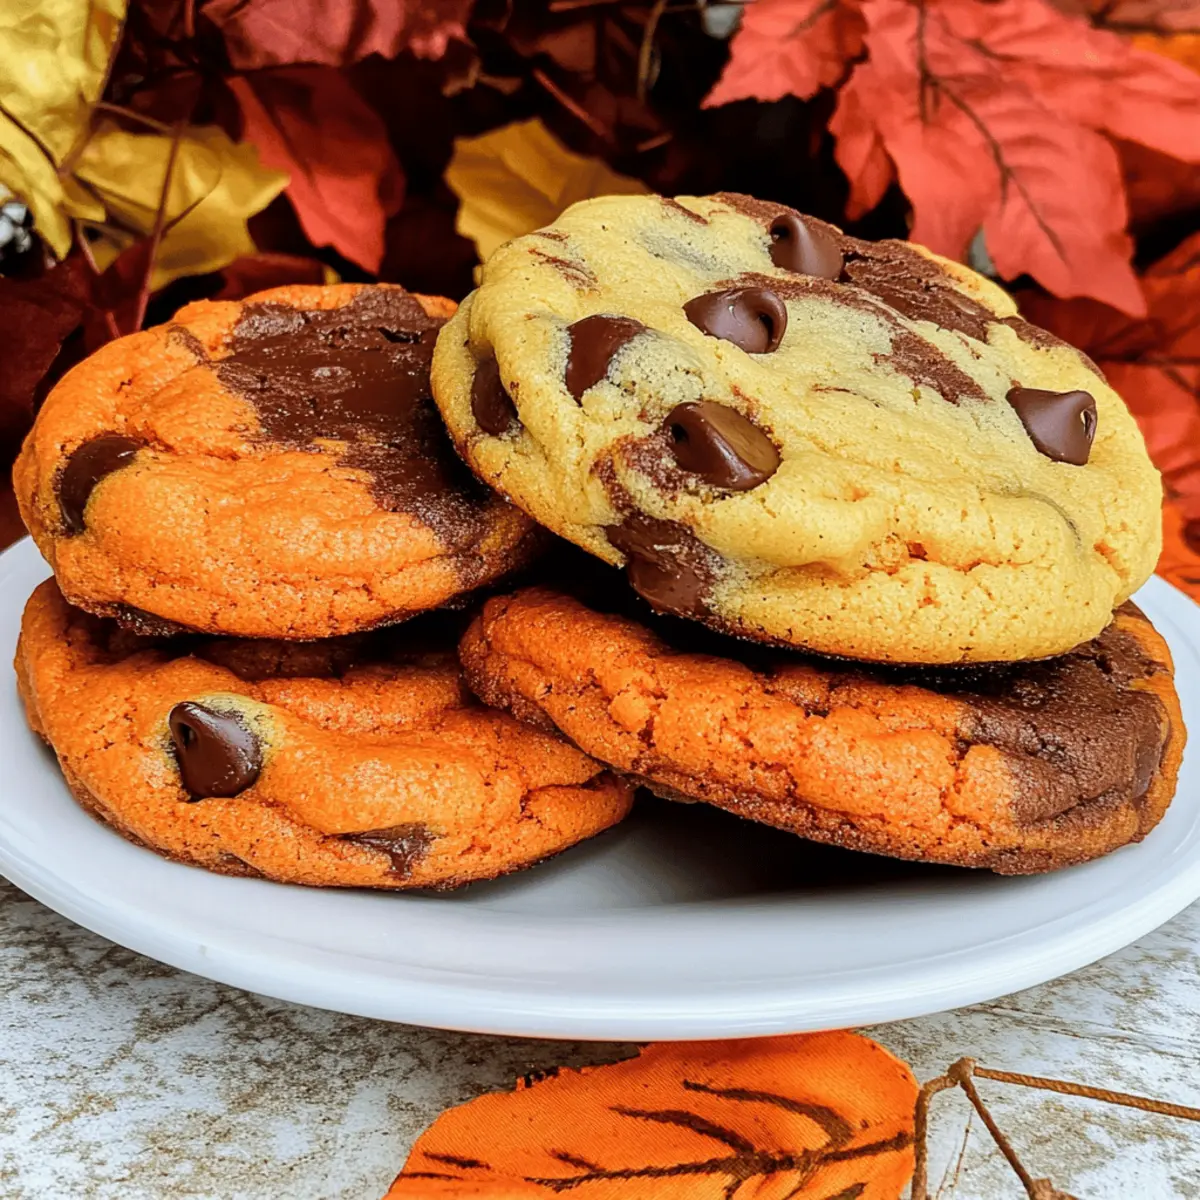
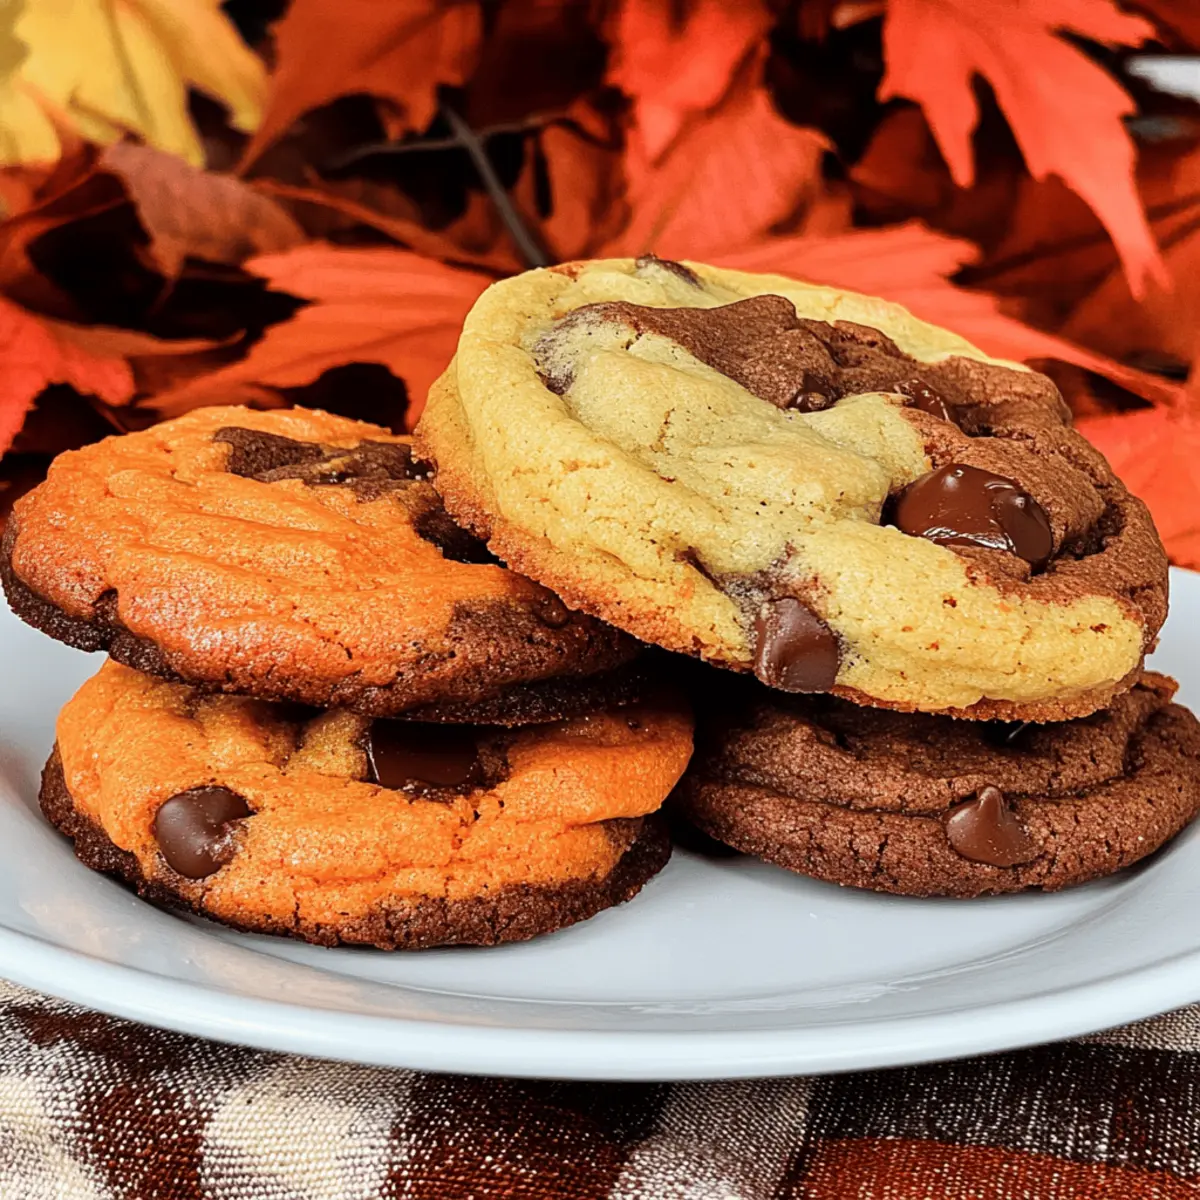
Colorful Presentation: The stunning orange and brown marbled dough is visually captivating, making these cookies the perfect centerpiece for your fall gatherings or Thanksgiving dessert platters.
Easy to Make: With straightforward instructions, even novice bakers can create these delightful treats—making them a stress-free addition to your holiday baking list.
Versatile Options: Feel free to experiment with different chocolate types or even add nuts or spices like cinnamon for a personal touch, just like with Pumpkin Sugar Cookies for added flair!
Batch-Friendly: Whip up a couple of batches and freeze some for later. Just like the Apple Fritter Cookies, these cookies are just as scrumptious after a quick reheat!
Crowd-Pleasing Delight: Whether you’re sharing with family or bringing a plate to a party, these cookies are sure to impress anyone with their taste and attractive appearance.
Harvest Marble Chocolate Chip Cookies Ingredients
For the Cookie Dough
- Butter – Softened to room temperature; this provides moisture and richness. Can be substituted with margarine if needed.
- Granulated Sugar – Sweetens the dough and contributes to texture; no direct substitute is recommended.
- Brown Sugar – Adds depth of flavor and moisture, enhancing chewiness. Light brown offers milder flavor, dark brown gives a richer taste.
- Eggs – Bind ingredients together, providing richness; can use flax eggs as a vegan alternative (1 tbsp ground flaxseed + 2.5 tbsp water = 1 egg).
- Vanilla Extract – Offers aromatic sweetness; for best flavor, no substitute is recommended.
- Baking Soda – Essential for texture, helps cookies rise; do not substitute with baking powder without adjustments.
- Salt – Balances sweetness and enhances flavor; an essential ingredient, do not omit.
- All-Purpose Flour – Forms the base structure; substitutions can include gluten-free flour blends for gluten-free cookies.
For the Chocolate Chips
- Nestle Toll House Chocolate Chips – Provides rich sweetness; the balance of chocolate is key for flavor. Any brand of semi-sweet or dark chocolate can be used.
For the Color Additions
- Food Coloring – Use orange and brown to color the dough; creating vibrant, autumn-inspired marbled cookies.
Step‑by‑Step Instructions for Harvest Marble Chocolate Chip Cookies
Step 1: Cream the Butters and Sugars
In a mixing bowl, combine softened butter, granulated sugar, and brown sugar. Use a hand mixer or stand mixer on medium speed to beat the mixture for 2-3 minutes until it becomes light and fluffy, creating air pockets for a tender cookie texture. You’ll know it’s ready when the mix changes color to a pale yellow and appears creamy.
Step 2: Add Eggs and Vanilla
Next, incorporate the eggs and vanilla extract into the creamed mixture. Continue mixing on medium speed for about 3 minutes until the dough is thoroughly blended and fluffy. This step is crucial for enriching the flavor and ensuring even distribution of ingredients within your Harvest Marble Chocolate Chip Cookies.
Step 3: Combine Dry Ingredients
In a separate bowl, whisk together the baking soda, salt, and all-purpose flour. Gradually add this dry mixture to the wet ingredients, mixing on low speed until just combined. Be careful not to over-mix, as this can lead to tough cookies; the dough should still be slightly lumpy with no visible flour.
Step 4: Divide and Color the Dough
Once the dough is ready, divide it into three equal portions. Using food coloring, tint two of the portions—one orange and one brown—by kneading the color gently into the dough until well-blended and vibrant. The remaining dough will remain uncolored for a beautiful marbling effect in your Harvest Marble Chocolate Chip Cookies.
Step 5: Fold in the Chocolate Chips
Now, it’s time to add the chocolate chips! Distribute the chocolate chips equally among all three dough portions. Gently fold the chips into the dough, ensuring each section gets an adequate amount without overworking the dough. This will ensure every bite is filled with delicious chocolate goodness.
Step 6: Shape the Cookies
Take a scale and weigh out 2 oz. portions of the combined colored dough. Gather small pieces from each color and lightly roll them together to create marbled balls. Slightly flatten each cookie ball with your palm before placing them on a parchment-lined baking sheet, ensuring they’re spaced adequately for spreading during baking.
Step 7: Bake the Cookies
Preheat your oven to 375°F (190°C). Once ready, bake the cookies for 8-10 minutes until the edges are just golden brown and centers remain soft. This is the sweet spot for achieving the perfect texture—a soft center with slightly crispy edges for your Harvest Marble Chocolate Chip Cookies.
Step 8: Cool and Enjoy
Allow the cookies to cool on the baking sheet for about 5 minutes before transferring them to a wire rack to cool completely. This will help them set perfectly. Once cooled, let the delightful aroma fill your kitchen as you prepare to share your stunning Harvest Marble Chocolate Chip Cookies with friends and family!
How to Store and Freeze Harvest Marble Chocolate Chip Cookies
Room Temperature: Store these cookies in an airtight container at room temperature for up to 1 week for optimal freshness.
Fridge: If you prefer a softer texture, you can refrigerate the cookies, but be aware that they may harden slightly over time. Consume within 1 week.
Freezer: For longer storage, freeze your cookies by placing them in a single layer on a baking sheet until firm, then transfer them to an airtight container or freezer-safe bag. They’re best used within 3 months.
Reheating: To enjoy warm cookies, simply reheat them in the oven at 350°F (175°C) for about 5-7 minutes. Let the magic of your Harvest Marble Chocolate Chip Cookies shine again!
Make Ahead Options
These Harvest Marble Chocolate Chip Cookies are perfect for busy home cooks looking to save time without sacrificing flavor! You can prepare the cookie dough and refrigerate it up to 3 days in advance, ensuring you have fresh cookies ready to bake whenever the craving strikes. Simply follow the first five steps of the instructions, then wrap the dough tightly in plastic wrap or place it in an airtight container to maintain its quality. When you’re ready to bake, let the dough sit at room temperature for about 15-20 minutes before shaping and baking as directed. This not only preserves the vibrant marbled colors but also guarantees just-as-delicious results fresh from the oven!
Harvest Marble Chocolate Chip Cookies Variations
Feel free to get creative with these cookies, bringing your own unique twist to this delightful recipe!
-
Chocolate Variety: Swap in white or dark chocolate chips for a playful flavor twist. Each choice brings its own delightful richness to the cookies.
-
Nutty Finish: Add chopped walnuts or pecans for a lovely crunch. The nuts not only enhance flavor but also add an interesting texture to the soft cookies.
-
Spice it Up: Sprinkle in some cinnamon or nutmeg for a cozy warmth that perfectly complements the fall vibes. Just a pinch can elevate these cookies to another level of comfort!
-
Gluten-Free Option: Use a gluten-free flour blend as a substitute for all-purpose flour to make these cookies suitable for those with dietary restrictions. They’ll still turn out yummy and chewy!
-
Dairy-Free Delight: Substitute butter with coconut oil or a dairy-free margarine. Your cookies will still be deliciously rich while catering to dairy-free diets.
-
Extra Sweetness: Drizzle a little melted caramel over the tops of the baked cookies for a delightful sweet finish. It adds an extra layer of indulgence that is hard to resist!
-
Decorative Touch: Before baking, sprinkle a touch of coarse sea salt on top. This contrast between sweet and salty is simply divine!
-
Seasonal Flair: Get festive with food coloring! Change the colors to fit the season—like vibrant greens and reds for Christmas or pastel colors for spring. Just like with the beautiful Pumpkin Sugar Cookies, let colors inspire your baking!
Expert Tips for Harvest Marble Chocolate Chip Cookies
-
Butter Matters: Make sure your butter is completely softened to room temperature for the best creaming results. Cold butter won’t blend well, affecting texture.
-
Avoid Over-Mixing: When combining the flour, mix until just incorporated. Over-mixing can lead to tough cookies instead of the soft, chewy Harvest Marble Chocolate Chip Cookies you want.
-
Coloring Technique: For an even marbled effect, use gel food coloring instead of liquid, as it won’t alter the dough’s consistency.
-
Baking Precision: Be attentive to the baking time. Start checking your cookies at 8 minutes; you want golden edges and a soft center for the perfect texture.
-
Flavor Fun: Experiment with different types of chocolate chips (milk, semi-sweet, or dark) to customize the flavors in your Harvest Marble Chocolate Chip Cookies.
-
Storage Secrets: To keep cookies fresh, store them in an airtight container. For longer storage, layer them with parchment paper in a freezer-safe bag.
What to Serve with Harvest Marble Chocolate Chip Cookies?
Picture a cozy gathering filled with laughter and warmth, where the aroma of freshly baked cookies mingles with delightful side dishes!
- Creamy Mashed Potatoes: The velvety texture and rich flavor make a delightful contrast to the sweet cookies, enhancing the overall comfort food experience.
- Autumn Salad: A mix of arugula, apples, walnuts, and a honey-lemon dressing brings fresh, vibrant flavors to complement the rich sweetness of the cookies.
- Pumpkin Spice Latte: This warm, spiced beverage echoes the fall theme and perfectly balances the sweetness, making treats more indulgent.
- Cinnamon Roasted Pecans: Crunchy, caramelized pecans add a crunchy element that complements the soft cookies while enhancing the festive fall atmosphere.
- Apple Cider: A chilled glass of spiced apple cider resonates with the cozy flavors of the season and is refreshing alongside the cookies. The hint of spice ties it all together beautifully.
- Vanilla Ice Cream: Serving the cookies warm with a scoop of creamy vanilla ice cream creates the ultimate dessert experience, where warmth meets cold for vibrant contrast.
- Cheese Plate: A selection of aged cheeses with crackers adds a savory touch, balancing the sweetness while inviting further snacking throughout the gathering.
- Chocolate Oatmeal Bars: These bars with a chewy texture and chocolate flavor echo the cookies, offering a delightful variety without overshadowing their unique taste.
Harvest Marble Chocolate Chip Cookies Recipe FAQs
What ingredients should I choose for the best flavor?
Absolutely! For the best flavor in your Harvest Marble Chocolate Chip Cookies, ensure that your butter is truly at room temperature to achieve that fluffy texture when creaming. Use high-quality chocolate chips, like Nestle Toll House, for a rich sweetness—semi-sweet or dark chocolate options are perfect. Also, opt for fresh eggs to bind everything nicely together; you want to maintain that vibrant taste profile!
How should I store my cookies, and for how long will they last?
Very important! Store your Harvest Marble Chocolate Chip Cookies in an airtight container at room temperature for up to a week. If you’re worried about freshness, you can refrigerate them, but be mindful as they may harden slightly. For longer storage, freeze them by laying them flat on a baking sheet until firm, then transfer to a freezer-safe bag or container. They’ll stay tasty for up to 3 months!
Can I freeze the cookie dough before baking?
Absolutely! To freeze your cookie dough for future cravings, scoop the dough into 2 oz. balls and place them on a baking sheet. Freeze for about 1-2 hours until solid, then transfer to a freezer-safe container or bag. You can bake the frozen dough straight from the freezer; just add an extra minute or two to the baking time for perfect results!
What should I do if my cookies spread too much during baking?
If your cookies spread too much, check whether the butter was too warm when creaming or if the dough was over-mixed. For next time, make sure to chill the dough for about 30 minutes before baking to help maintain their shape. Also, try ensuring your baking soda is fresh, as old leavening agents can lead to excess spread.
Are there any dietary considerations I should keep in mind?
Absolutely! If allergies are a concern, always check for ingredients that may trigger reactions—like eggs, nuts, or gluten. For a vegan-friendly version, substitute the eggs with flax eggs and use dairy-free chocolate. Additionally, if you have guests with dietary restrictions, consider setting aside a portion of dough to make gluten-free cookies using a suitable blend.

Harvest Marble Chocolate Chip Cookies to Cherish This Fall
Ingredients
Equipment
Method
- Cream the softened butter, granulated sugar, and brown sugar in a mixing bowl for 2-3 minutes until light and fluffy.
- Add the eggs and vanilla extract, mixing on medium speed for about 3 minutes until thoroughly blended.
- In a separate bowl, whisk baking soda, salt, and flour. Gradually add this to the wet ingredients, mixing on low speed until just combined.
- Divide the dough into three portions. Color two portions with orange and brown food coloring, leaving one uncolored.
- Fold in the chocolate chips evenly into all three dough portions.
- Shape 2 oz. portions of combined colored dough into marbled balls and flatten gently before placing on a baking sheet.
- Preheat oven to 375°F (190°C) and bake cookies for 8-10 minutes until edges are golden.
- Cool on the baking sheet for 5 minutes before transferring to wire rack.
Leave a Reply