
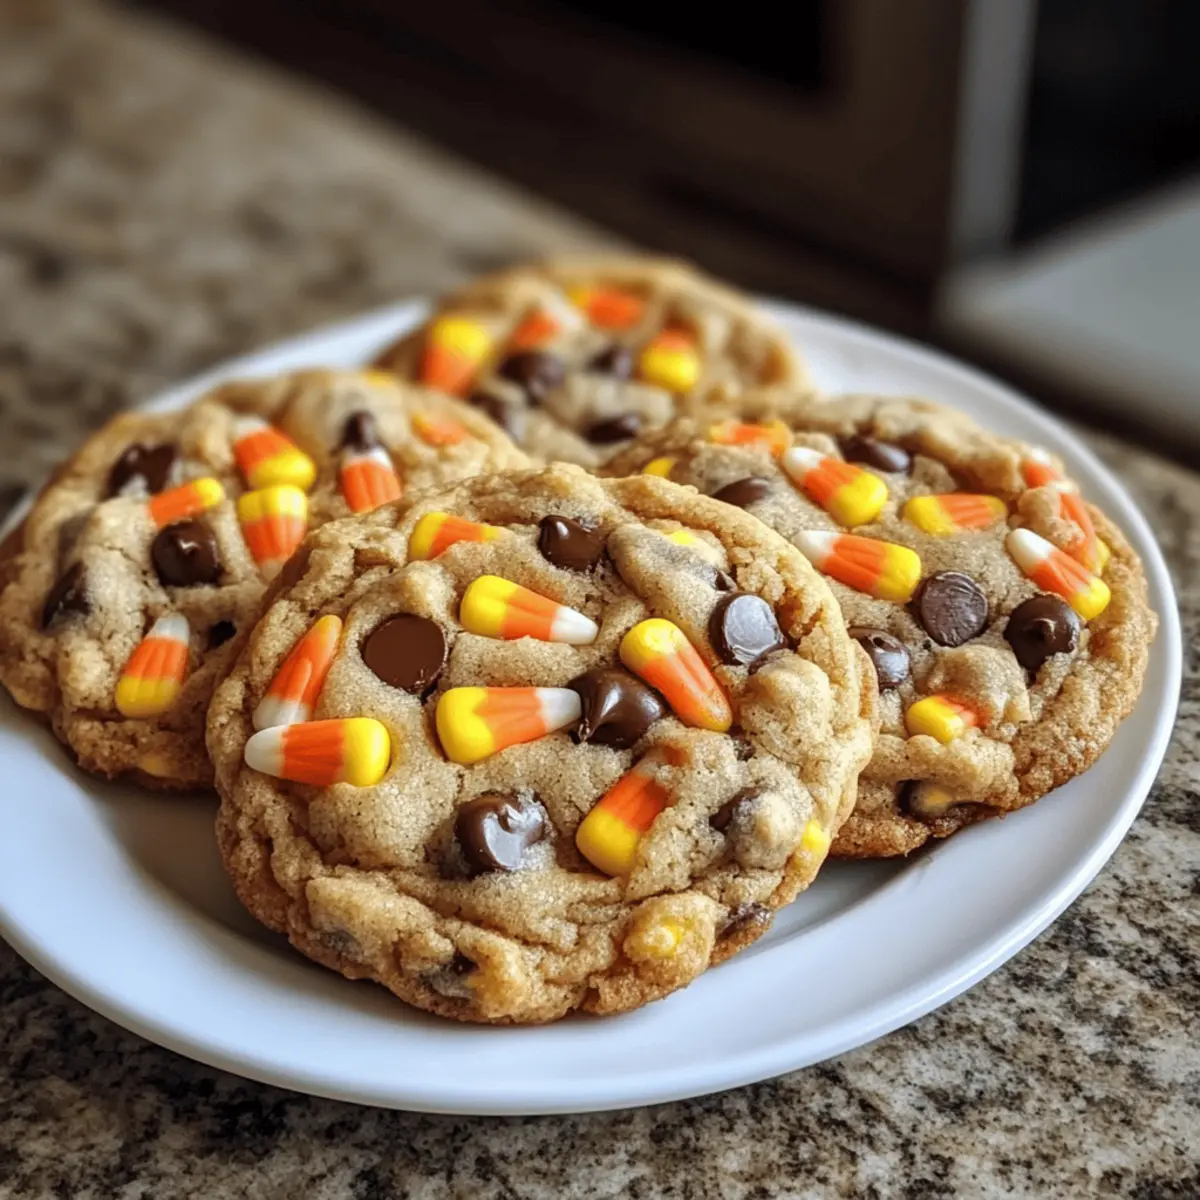
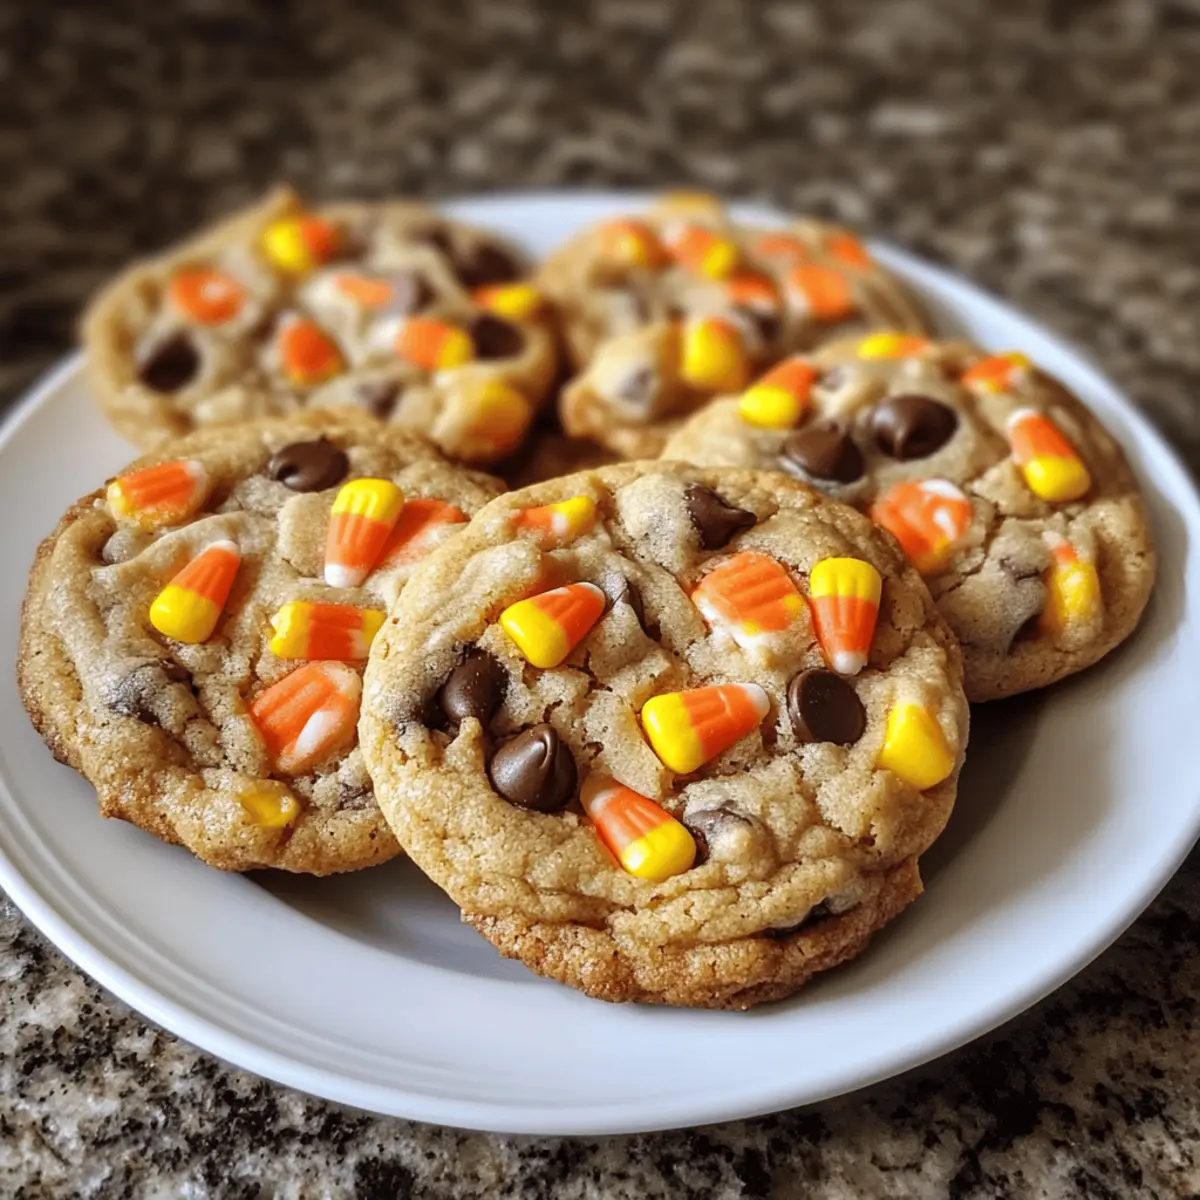
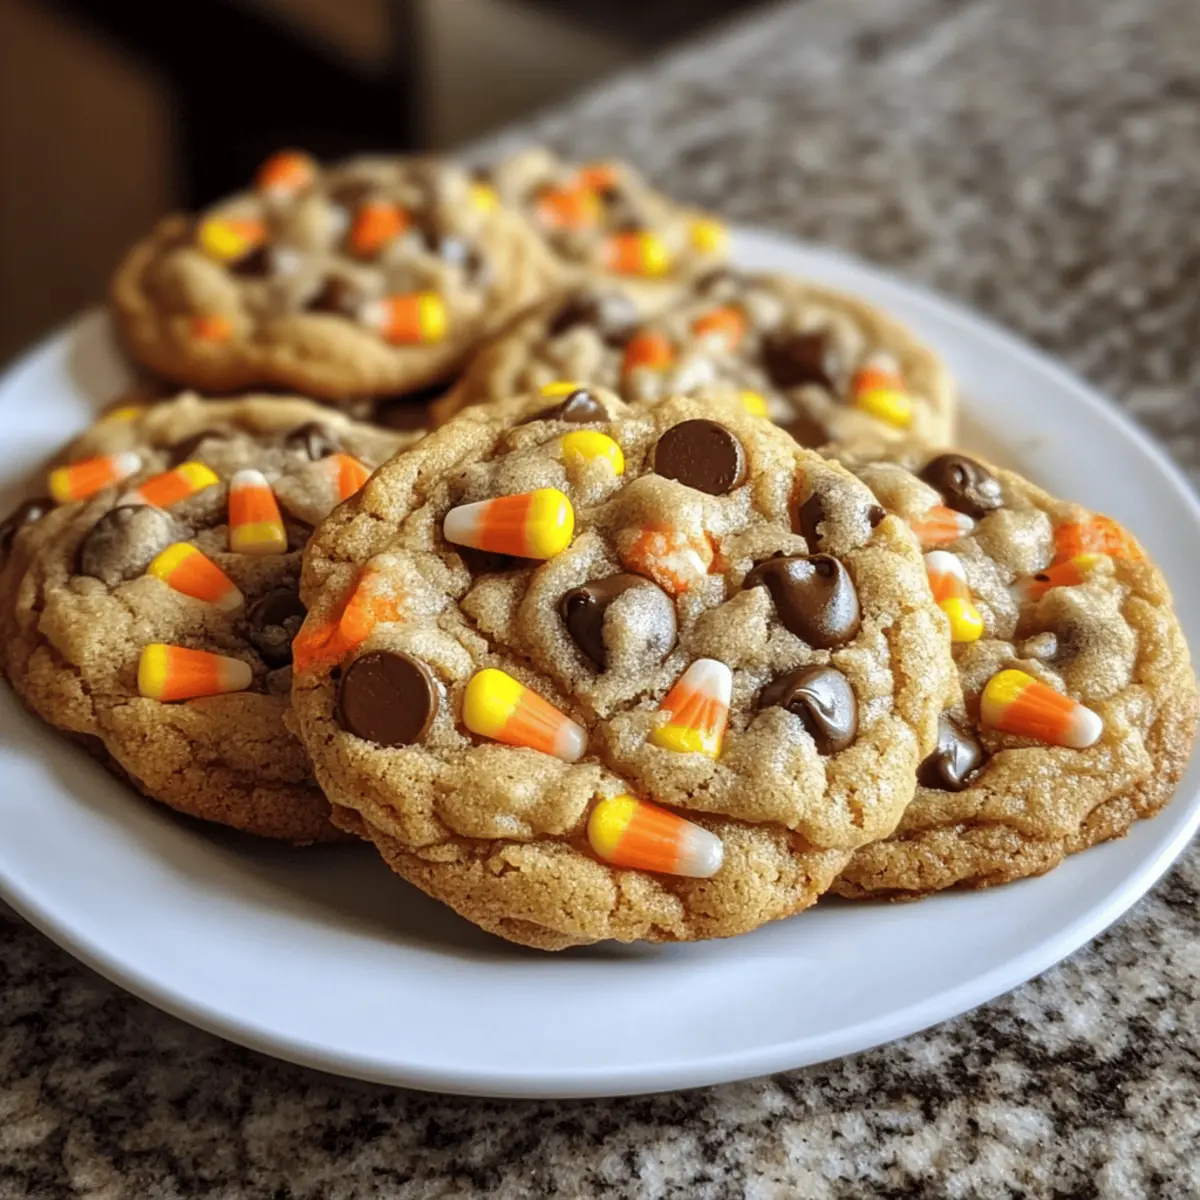
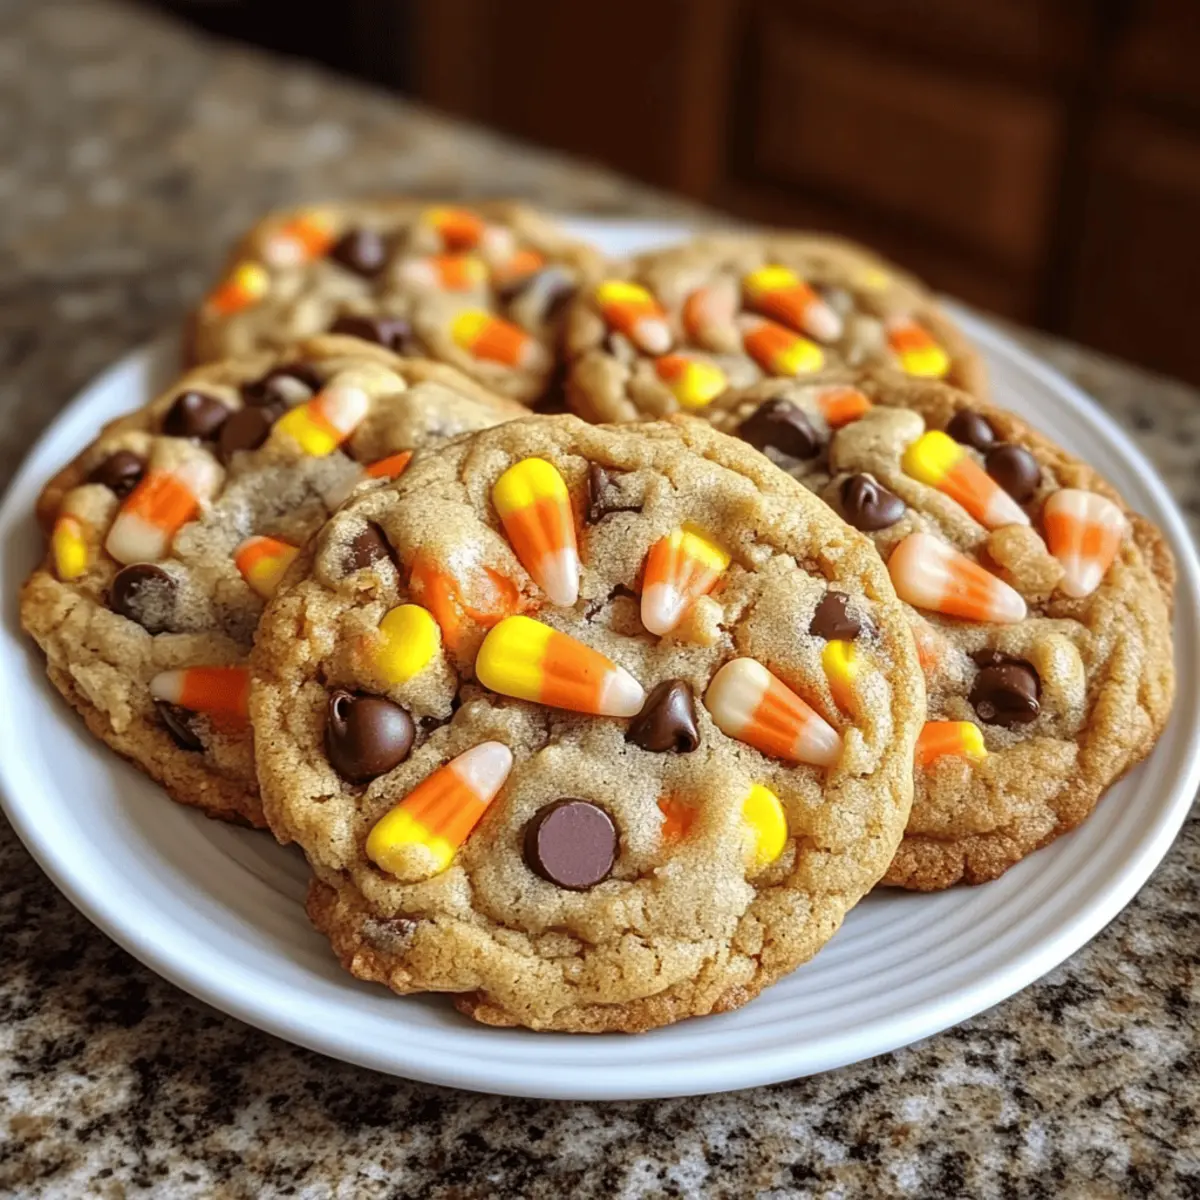
As I pulled the first batch of Halloween Cauldron Cookies from the oven, my kitchen transformed into a magical realm of sweetness and excitement. The warm, buttery aroma filled the air, inviting everyone to gather round, eager for a taste of their chewy goodness. These festive treats, embellished with colorful candy corn and rich chocolate chips, are not just delicious; they’re a perfect way to get kids involved in the kitchen, creating moments of joy and laughter. With quick prep and the potential for endless variations, you can easily customize this spooky snack to suit every taste. What special twist will you add to your Halloween Cauldron Cookies this season?
Why Are Halloween Cauldron Cookies So Special?
Festive Fun: The playful design of these cookies makes them a hit at any Halloween gathering! Kids and adults alike will love the colorful candy corn additions.
Easy to Make: With just a few simple steps, these cookies come together quickly, making them perfect for busy schedules. Try pairing them with other delightful treats like Pumpkin Sugar Cookies!
Delicious Flavors: The rich chocolate and sweet candy corn provide an irresistible flavor combination.
Versatile Options: You can easily swap out ingredients for your favorites! Mix in Apple Fritter Cookies elements for a unique twist.
Perfect for Sharing: These cookies are sure to spread smiles, making them perfect for sharing with friends and family.
Halloween Cauldron Cookie Ingredients
Dive into the delightful ingredients that make these Halloween Cauldron Cookies a spooky sensation!
For the Batter
- Butter – Provides richness and moisture; if you’re looking for a dairy-free option, margarine works well.
- Granulated Sugar – Sweetens the cookies for that perfect treat vibe; no substitutes needed for this key ingredient.
- Brown Sugar – Adds depth and chewiness; feel free to use more granulated sugar if brown isn’t available.
- Eggs – Binds the ingredients together; you can substitute with 1/4 cup of unsweetened applesauce or mashed banana for a vegan option.
- Vanilla Extract – Enhances the cookies’ flavor; imitation vanilla can be used in a pinch.
- All-Purpose Flour – Gives structure; best to stick with this for optimal texture.
- Baking Soda – Helps the cookies rise; you can use three times the amount of baking powder if you’re out, but note texture may change.
- Salt – Balances sweetness and enhances flavor; essential for achieving the best taste!
For the Mix-ins
- Chocolate Chips – Adds sweetness and texture; mix it up with dark, white, or your favorite kind.
- Candy Corn – Provides festive flair and sweetness; swap it out with your favorite candies to mix things up!
These ingredients come together to create the ultimate Halloween cookies that not only capture the spirit of the season but will also delight your taste buds!
Step‑by‑Step Instructions for Halloween Cauldron Cookie
Step 1: Preheat the Oven
Begin by preheating your oven to 350°F (175°C). This step is crucial as it ensures that your Halloween Cauldron Cookies bake evenly. While the oven heats, gather your mixing bowls, a whisk, and a lined baking sheet.
Step 2: Cream the Butter and Sugars
In a large mixing bowl, cream together the softened butter, granulated sugar, and brown sugar. Use a hand mixer or whisk to blend them until the mixture is light and fluffy, which should take about 2-3 minutes. This step adds essential air and creates the perfect base for your cookies.
Step 3: Add Eggs and Vanilla
Next, carefully add in the eggs and vanilla extract to the creamed mixture. Mix until everything is well combined and smooth. The batter should appear creamy with no lumps. This harmonious blend of flavors is a delightful prelude to your Halloween Cauldron Cookies.
Step 4: Combine Dry Ingredients
In a separate bowl, whisk together the all-purpose flour, baking soda, and salt. It’s essential to ensure there are no clumps in your dry mixture, as this helps create an even texture. This blend of dry ingredients will contribute to the structure of your Halloween Cauldron Cookies.
Step 5: Mix Wet and Dry Ingredients
Gradually add the dry ingredients into the wet mixture, mixing gently until just combined. Avoid overmixing, as this can make the cookies tough. You’re aiming for a thick, slightly sticky dough that holds together well, indicating that your Halloween Cauldron Cookie dough is ready for the fun part.
Step 6: Fold in Chocolate and Candy Corn
Now it’s time for the magic! Gently fold in the chocolate chips and candy corn into the dough, ensuring they are evenly distributed. This step not only enhances the flavor but also adds that festive, colorful touch to your Halloween Cauldron Cookies—making them a real treat to look at!
Step 7: Scoop the Dough
Using a spoon or cookie scoop, drop generous spoonfuls of dough onto your lined baking sheet. Space them a few inches apart to allow for spreading as they bake. The shape doesn’t have to be perfect; a rustic look adds to the charm of these Halloween treats.
Step 8: Bake the Cookies
Bake your Halloween Cauldron Cookies in the preheated oven for 10-12 minutes. Keep an eye on them; the edges should be golden brown while the centers remain soft and slightly underbaked. This perfect contrast in texture will create delightful gooeyness in each bite.
Step 9: Cool and Serve
Once baked, remove the cookies from the oven and let them cool on the baking sheet for a few minutes. Then, carefully transfer them to a wire rack to cool completely. This step is important to avoid burning yourself and ensures that your Halloween Cauldron Cookies are just the right texture for sharing!
Halloween Cauldron Cookie Variations
Feel free to unleash your creativity and customize these delightful Halloween Cauldron Cookies with fun twists and substitutions!
-
Candy Swap: Use M&M’s or your favorite nuts instead of chocolate chips. This adds a delightful crunch along with a pop of color. Your little ones will love helping you mix in their personal favorites!
-
Flavored Extracts: Experiment by incorporating extracts like almond or orange for a unique flavor twist. A splash of creativity will make every batch a new surprise!
-
Seasonal Spices: Add a pinch of cinnamon or nutmeg to your batter for a warm, spicy kick. This is a great way to embrace the cozy flavors of autumn while baking.
-
Dairy-Free: Substitute butter with margarine or a plant-based butter for a dairy-free version. Your friends with dietary restrictions can still enjoy these delicious treats!
-
Gluten-Free: Swap all-purpose flour with a gluten-free 1:1 baking blend for an inclusive treat. Everyone deserves a bite of the Halloween magic!
-
Mix-It-Up: Combine in dried fruits or seeds for added nutritional value and texture. Raisins, cranberries, and sunflower seeds will bring a fun twist to your spooky snacking!
-
Add a Zing: For a touch of heat, sprinkle in some cayenne pepper or crushed red pepper flakes. It’s an unexpected twist that will surprise your taste buds and make Halloween even more exciting!
-
Chunky Chocolate Version: Use chocolate chunks instead of chips for a more indulgent texture. This creates gooey pockets of chocolate in each bite, bringing pure bliss to chocolate lovers.
With these variations, your Halloween Cauldron Cookies will be as unique as your celebration! Whether you stick with the original recipe or try something new, you might also want to check out some other festive delights like Pumpkin Sugar Cookies or Apple Fritter Cookies to add even more fun to your cookie tray! Enjoy the magic of baking!
Storage Tips for Halloween Cauldron Cookies
- Room Temperature: Store cooled cookies in an airtight container at room temperature for up to 4-5 days. This helps maintain their delicious freshness and chewy texture.
- Fridge: If you prefer a longer-lasting treat, keep the cookies in the fridge for about 1 week in an airtight container. They’ll still taste great!
- Freezer: For even longer storage, freeze the cookies for up to 2-3 months. Wrap them tightly in plastic wrap or use a freezer-safe container to prevent freezer burn.
- Reheating: To enjoy them warm, simply pop the cookies in the microwave for about 10-15 seconds. This will revive their gooey goodness, making your Halloween Cauldron Cookies feel freshly baked!
Expert Tips for Halloween Cauldron Cookies
-
Room Temperature Ingredients: Ensure your butter, eggs, and vanilla are at room temperature before mixing. This helps achieve a smooth, well-blended batter for your Halloween Cauldron Cookies.
-
Don’t Overmix: After adding the flour, mix just until combined. Overmixing can lead to tough cookies, so a gentle hand is key to maintain that chewy texture!
-
Watch Baking Time: Oven temperatures can vary, so start checking your cookies at the 10-minute mark. Look for golden edges and soft centers for the best results.
-
Cool Properly: Allow cookies to cool on the baking sheet for a few minutes first. This prevents them from breaking apart when transferring to a wire rack and retains that gooey center.
-
Experiment with Mix-ins: Feel free to switch out chocolate chips or candy corn for your favorites! Adding different candies can make your Halloween Cauldron Cookies even more delightful and personalized.
Make Ahead Options
These Halloween Cauldron Cookies are perfect for meal prep, allowing you to get a head start on your spooky baking! You can prepare the cookie dough in advance and refrigerate it for up to 2 days. To do this, simply follow the recipe until after you’ve mixed in the chocolate chips and candy corn. Scoop the dough onto a lined baking sheet, cover it tightly with plastic wrap or store it in an airtight container, and refrigerate. When you’re ready to bake, allow the dough to sit at room temperature for about 15 minutes before scooping and baking at 350°F (175°C). This method ensures you enjoy freshly baked Halloween Cauldron Cookies that are just as delicious as if they were made the same day!
What to Serve with Halloween Cauldron Cookie Creation
Transform your Halloween celebration into a feast of flavors alongside these delightful cookies, perfect for igniting the festive spirit.
- Spooky Milkshakes: Blend your favorite ice cream with a splash of milk and top with whipped cream and Halloween sprinkles for a fun drink pairing.
- Pumpkin Spice Hot Chocolate: This creamy beverage delivers a warm, comforting retreat, balancing the sweetness of the cookies with cozy seasonal spices.
- Caramel Popped Corn: Light and crunchy, this sweet and salty treat makes an irresistible snack alongside the chewy textures of the cookies.
- Witch’s Brew Fruit Punch: A vibrant, fruit-forward drink, this colorful punch offers a refreshing contrast to the rich flavors of the cookies, delighting both kids and adults.
- Ghostly Fruit Skewers: Combine banana ghosts and orange pumpkin-shaped melons for a fun and healthy side that complements the sweetness of the cookies.
- Brownie Bites: Small, fudgy brownie bites pair beautifully—providing a deeper chocolate flavor and indulgence that fans of your Halloween Cauldron Cookies will adore.
- Chocolate Dipped Pretzels: Salty, sweet, and crunchy, these treats add a delightful contrast, enhancing the overall experience of your Halloween feast.
- Spiced Cider: A warm, fragrant mug of spiced apple cider creates the perfect cozy vibe, inviting everyone to gather and enjoy the Halloween magic.
Halloween Cauldron Cookie Recipe FAQs
What type of butter should I use for Halloween Cauldron Cookies?
I recommend using unsalted butter, as it provides the best flavor without adding extra salt. If you’re looking for a dairy-free option, margarine works well as a substitute and will still keep the cookies rich and delicious!
How should I store leftover Halloween Cauldron Cookies?
Store your cooled cookies in an airtight container at room temperature for up to 4-5 days. This helps maintain their chewy texture and prevents them from becoming stale. If you want them to last longer, you can refrigerate them for about a week or freeze the cookies for up to 2-3 months.
Can I freeze Halloween Cauldron Cookies?
Absolutely! To freeze the cookies, first allow them to cool completely. Then, wrap each cookie tightly in plastic wrap or place them in a freezer-safe container. They can be stored this way for about 2-3 months. When you’re ready to enjoy, just remove them from the freezer and let them thaw at room temperature or pop them in the microwave for a few seconds for that freshly baked feel.
What can I do if my cookie dough is too sticky?
If you find your dough is too sticky to scoop, there are a couple of solutions! First, try chilling the dough in the refrigerator for about 15-30 minutes; this will firm it up and make it easier to handle. If that doesn’t help, you can sprinkle a little extra flour into the mix, being careful not to overdo it as it could change the texture of your cookies.
Are Halloween Cauldron Cookies suitable for those with nut allergies?
Yes! If you make sure to use chocolate chips that are nut-free (check the labels), and avoid adding any nuts or nut-containing candies, these cookies can be enjoyed by those with nut allergies. Just always double-check ingredients to ensure safety for everyone at your spooky gathering!
What should I do if my cookies turn out too flat?
If your cookies are spreading too much during baking, it may be due to softened butter or too much moisture in your dough. First, ensure that you’re measuring your flour correctly—not packing it into the cup, as it can lead to excess moisture. You can also try refrigerating your dough before baking; this helps solidify the fat and keeps the cookies from spreading too thin.
Halloween Cauldron Cookie Magic: Chewy Treats to Delight
Ingredients
Equipment
Method
- Preheat your oven to 350°F (175°C). Gather mixing bowls, a whisk, and a lined baking sheet.
- In a large mixing bowl, cream together the softened butter, granulated sugar, and brown sugar until light and fluffy.
- Add in the eggs and vanilla extract to the creamed mixture. Mix until combined and smooth.
- Whisk together the all-purpose flour, baking soda, and salt in a separate bowl.
- Gradually add the dry ingredients into the wet mixture, mixing gently until just combined.
- Fold in the chocolate chips and candy corn into the dough, ensuring even distribution.
- Drop spoonfuls of dough onto your lined baking sheet, spacing them apart.
- Bake for 10-12 minutes, watching for golden edges and soft centers.
- Cool on the baking sheet for a few minutes before transferring to a wire rack.
Leave a Reply