
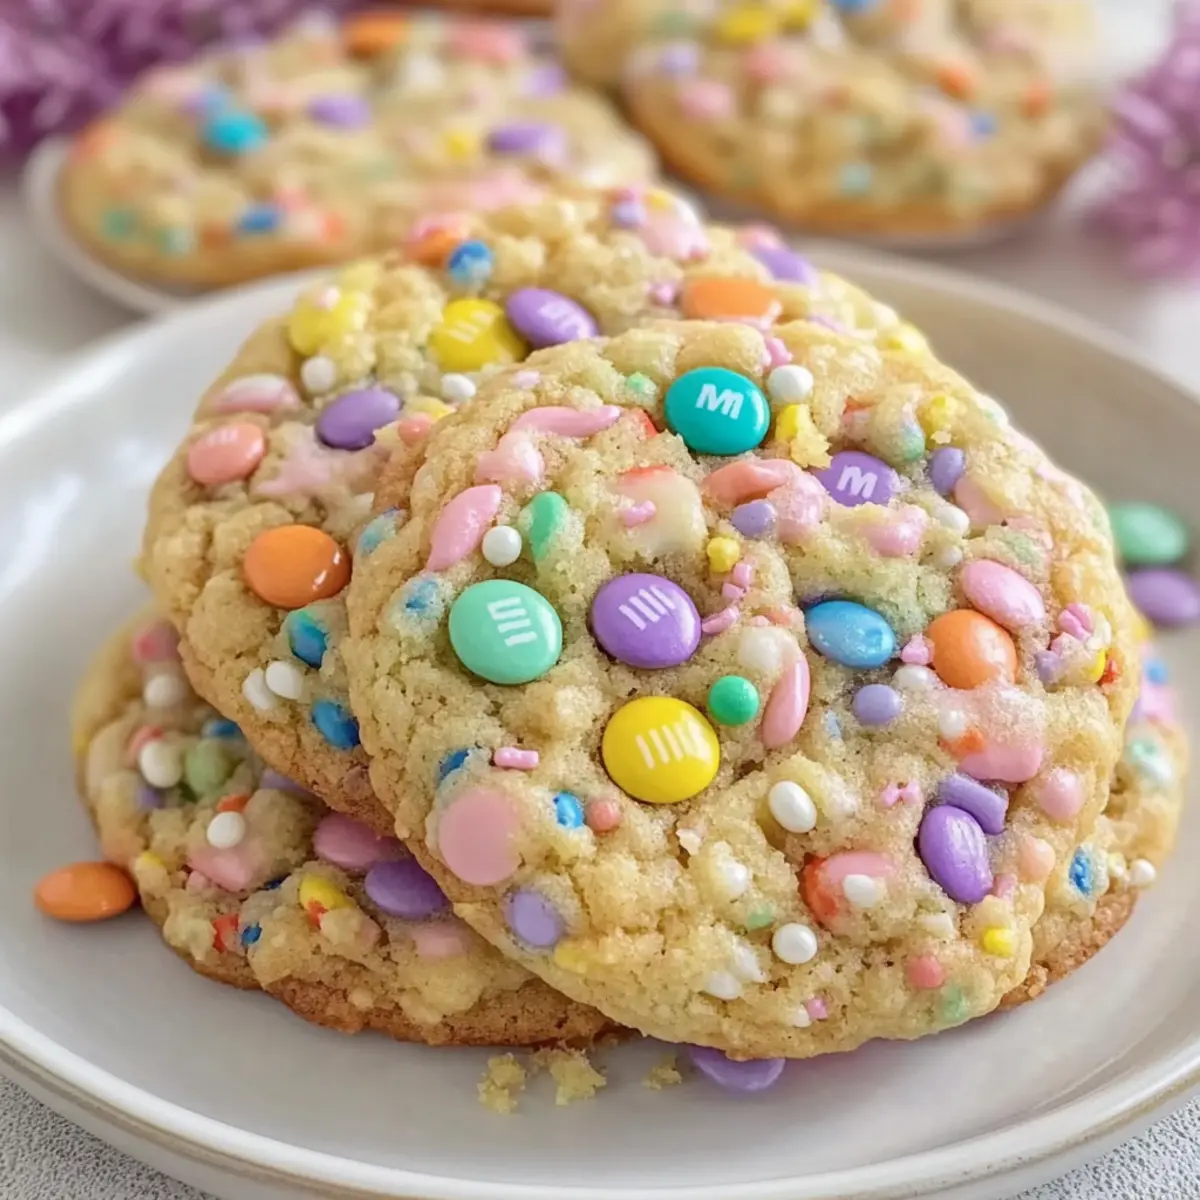
As I pulled the first batch of cookies from the oven, the sweet aroma of vanilla and warm sugar enveloped my kitchen, instantly reminding me of my childhood Easter celebrations. These Soft and Chewy Easter Cookies with Pastel M&M’s are not only a deliciously festive spring dessert, but they also bring a splash of color to any gathering. With their quick prep time and easy baking steps, they make for a perfect weekend project to delight family and friends alike. The chewy texture paired with crispy edges will have everyone reaching for just one more, capturing the joyous spirit of the season with every bite. What creative variations will you come up with for this delightful treat?
Why Are These Easter Cookies Special?
Irresistible Flavors: The delightful blend of butter, sugar, and vanilla creates a harmonious flavor profile that is both nostalgic and comforting.
Festive Colors: Bright pastel M&M’s and sprinkles not only enhance aesthetics but also invite the joy of spring into your kitchen.
Quick and Easy: With a simple prep time, these cookies are a fun way to engage the family without the fuss, just like my popular Apple Fritter Cookies.
Versatile Delight: Impress guests by swapping M&M’s or adding nuts, making them a perfect fit for any gathering—think of pairing them with Pumpkin Sugar Cookies for a colorful dessert table!
Crowd-Pleasing Appeal: Soft and chewy on the inside with just the right crunch, they are destined to be a favorite, even for those who often resort to fast food.
Easter Cookies Ingredients
For the Cookie Dough
• All-Purpose Flour – Essential for structure; measure precisely for the ideal chewiness.
• Baking Powder – Helps achieve that light, fluffy texture that makes these cookies irresistible.
• Baking Soda – Aids in browning, enhancing the overall texture of your cookies.
• Salt – Balances the sweetness and elevates the flavors beautifully.
• Unsalted Butter – Gives a rich flavor; make sure it’s softened for optimal blending.
• Granulated Sugar – Sweetens and contributes to the chewy texture of these Easter Cookies.
• Brown Sugar – Adds moisture and deepens the flavor, ensuring that soft, chewy bite.
• Egg – Acts as a binder and moisture booster; choose a cold egg for better aeration.
• Vanilla Extract – Brings a warm, aromatic essence to each delightful cookie.
For the Mix-ins
• Pastel M&M’s – Adds pops of color and a chocolatey burst; extra for topping enhances appeal.
• White Chocolate Chips – Provides a creamy counterpoint to the cookies’ sweetness; optional but recommended!
• Pastel Sprinkles – Perfect for a festive touch and added crunch on top of your holiday treats.
Step‑by‑Step Instructions for Soft and Chewy Easter Cookies with Pastel M&M’s
Step 1: Preheat the Oven
Begin by preheating your oven to 350°F (175°C) while you prepare the cookie dough. Line two baking sheets with parchment paper to ensure even baking and easy cleanup. The scent of warm vanilla and sugar will soon fill your kitchen as you get started on these delightful Easter Cookies.
Step 2: Whisk the Dry Ingredients
In a medium bowl, whisk together 2 cups of all-purpose flour, 1 teaspoon of baking powder, 1 teaspoon of baking soda, and ½ teaspoon of salt. This combination is essential for ensuring your cookies rise properly and have the perfect chewy texture. Set the bowl aside as you move on to the wet ingredients.
Step 3: Cream the Butters and Sugars
In a large mixing bowl, beat together ½ cup of softened unsalted butter with ½ cup of granulated sugar and ½ cup of brown sugar using an electric mixer. Mix them on medium speed until the mixture is light and fluffy, about 2-3 minutes. The airy texture created here is key to achieving those wonderfully soft and chewy Easter Cookies.
Step 4: Add the Egg and Vanilla
Next, incorporate 1 cold egg and 1 teaspoon of vanilla extract into your butter-sugar mixture. Beat on low speed until just combined, ensuring everything is well blended. This step adds richness to the dough and infuses your cookies with a warm, aromatic flavor that will make your kitchen come alive.
Step 5: Combine Wet and Dry Ingredients
Gradually add the dry ingredient mixture to the wet ingredients, mixing on low speed. Stir until just combined; be careful not to overmix, as this could affect the texture of your Easter Cookies. The dough should be soft but not sticky, allowing you to shape it easily for baking.
Step 6: Fold in the Mix-ins
Gently fold in 1 cup of pastel M&M’s and ½ cup of white chocolate chips using a spatula. This step is crucial, as you want to maintain the shapes of the colorful candies. Every scoop of dough will soon become a vibrant spring treat bursting with chocolatey goodness.
Step 7: Scoop the Cookie Dough
Using a cookie scoop or spoon, portion out the dough into mounds of about 1½ to 2½ tablespoons. Arrange the mounds on your prepared baking sheets, spacing them about 2 inches apart to allow for spreading. Shape them taller instead of wider for that enticing chewiness.
Step 8: Add Sprinkles for Festivity
Before placing the cookie dough onto the baking sheets, press the tops of the mounds into pastel sprinkles for an added festive touch. This step will not only brighten up your Easter Cookies but also enhance their crunchiness and visual appeal when baked.
Step 9: Bake the Cookies
Place the baking sheets in the preheated oven and bake the cookies for 8 to 11 minutes. Keep an eye on them; the edges should be set while the centers look slightly underbaked and glossy. This visual cue is essential for achieving that perfect soft and chewy texture.
Step 10: Cool and Decorate
Once baked, remove the cookies from the oven and let them cool on the baking sheets for about 5 minutes. Press in extra M&M’s or white chocolate chips while they are still warm for a delightful finishing touch. Transfer them to a wire rack to cool completely before enjoying your colorful Easter Cookies!
Storage Tips for Easter Cookies
Room Temperature: Store your Easter Cookies in an airtight container at room temperature for up to 5 days to keep them soft and chewy.
Fridge: If you prefer a firmer texture, refrigerate the cookies in an airtight container for up to 1 week. Allow them to come back to room temperature before enjoying.
Freezer: To enjoy your Easter Cookies later, freeze them in a single layer on a baking sheet, then transfer to a freezer-safe bag. They can be stored for up to 2 months.
Reheating: For freshly baked warmth, reheat frozen cookies in the oven at 350°F (175°C) for 5-7 minutes, adding a minute or two if baking from frozen.
Easter Cookies Variations & Substitutions
Customize your Easter Cookies with these playful twists and nutritious swaps that awaken the senses and spark creativity!
-
Seasonal Chocolate Eggs: Replace pastel M&M’s with colorful chocolate eggs for a delightful twist. These seasonal treats add an exciting surprise in every bite!
-
Dark Chocolate Delight: Swap white chocolate chips for dark chocolate. It enhances richness and creates a wonderfully decadent flavor profile that chocolate lovers will adore.
-
Nutty Crunch: Add ½ cup of chopped nuts, like walnuts or pecans, for extra texture and flavor. It’s a heart-healthy boost that pairs beautifully with the sweetness of the cookies.
-
Coconut Flakes: Stir in ½ cup of shredded coconut to give your cookies a tropical flair. The chewy coconut adds delightful texture, making each cookie even more irresistible.
-
Spicy Kick: For a hint of warmth, fold in 1 teaspoon of cinnamon or a dash of cayenne pepper. This unexpected heat could surprise and delight your taste buds!
-
Vegan Version: Use aquafaba instead of egg and swap butter for coconut oil to make these cookies vegan-friendly. They’ll still be soft and chewy, thanks to the creamy coconut oil.
-
Gluten-Free: Replace all-purpose flour with a gluten-free blend for a cookie that everyone can enjoy. Ensure you use a mix that contains xanthan gum for best results!
-
Add Fruit: Stir in ½ cup of dried fruit, such as cranberries or raisins, for a fruity twist that complements the sweetness perfectly. Each bite becomes a delightful mix of flavors.
Explore these variations to create Easter Cookies that are uniquely yours! Enjoy them alongside other spring delights, like my scrumptious Chocolate Brownie Cookies or delightful Pumpkin Sugar Cookies. Happy baking!
Make Ahead Options
These Soft and Chewy Easter Cookies are a perfect treat for busy cooks looking to save time during the festive season! You can prepare the cookie dough up to 24 hours in advance; just cover the bowl tightly and refrigerate it to maintain freshness and quality. If you’re planning ahead, you can also shape the cookies into mounds, place them on a baking sheet, and freeze them for up to 3 months. When you’re ready to bake, simply transfer the frozen cookie dough to a baking sheet and add an extra minute or two to the baking time. Enjoy the convenience of these delightful Easter Cookies that taste just as delicious as when freshly made!
Expert Tips for Easter Cookies
• Measure Precisely: Accurate measurement of flour is key to achieving the perfect chewy texture for your Easter Cookies. Too much flour can lead to dry cookies.
• Avoid Overmixing: Gently combine the wet and dry ingredients until just blended. Overmixing can create tough cookies instead of the soft, chewy ones you desire.
• Perfect Baking Time: Remove cookies from the oven when the centers appear glossy and slightly underbaked. They will continue to firm up as they cool on the baking sheet.
• Shape with Care: To ensure a pleasant shape, use a cookie scoop and shape the mounds taller rather than wider before pressing them into sprinkles.
• Add Custom Toppings: Feel free to sprinkle extra M&M’s on top while warm for an eye-catching finish. Mixing in different candies can create unique variations of your Easter Cookies!
What to Serve with Soft and Chewy Easter Cookies?
As you prepare to share these delightful spring treats, take a moment to consider the perfect complements that will elevate your celebration.
-
Fresh Fruit Salad: A vibrant assortment of seasonal fruits adds a refreshing contrast to the sweet cookies, balancing flavors beautifully. Consider adding mint for an extra burst of freshness!
-
Classic Vanilla Ice Cream: The creamy texture of vanilla ice cream creates a delightful pairing with the chewy cookies. Enjoy them à la mode for a decadent dessert experience.
-
Lemonade or Iced Tea: A chilled, citrusy lemonade or refreshing iced tea provides a bright and refreshing drink option, perfectly offsetting the sweetness of the cookies.
-
Chocolate Dipped Strawberries: These indulgent berries would add a romantic touch to your dessert table. Their rich chocolate encapsulates the joy of springtime treats alongside your Easter cookies.
-
Carrot Cake Bites: Mini carrot cake bites bring a touch of festive flavor to your spread. Their spices and cream cheese frosting create a delightful contrast with the cookies’ softness.
-
Mini Cheesecakes: Creamy and rich, mini cheesecakes are a delightful way to provide a different texture and flavor profile that still matches the cheerful spirit of Easter.
-
Easter Themed Cupcakes: Cute and colorful, these cupcakes can enhance your spring gathering’s festive fun. Choose pastel colors to keep the theme going strong!

Easter Cookies Recipe FAQs
How do I choose the right ripeness of ingredients for these Easter Cookies?
Absolutely! For the best results, use fresh baking ingredients. Ensure your butter is softened but cool to help create a light and chewy texture. Eggs should be cold for better aeration during mixing, while flour must be freshly measured to avoid dry cookies.
What is the best way to store leftover Easter Cookies?
To keep your Easter Cookies soft and chewy, store them in an airtight container at room temperature for up to 5 days. If you prefer a firmer texture, refrigerate them in an airtight container for about a week. Let them return to room temperature before enjoying!
Can I freeze the dough for these Easter Cookies?
Absolutely! You can freeze cookie dough balls for up to 2 months. Just scoop the dough and space them on a baking sheet in a single layer. Once frozen, transfer to a freezer-safe bag. When you’re ready to bake, simply preheat the oven to 350°F (175°C) and bake from frozen, adding a minute or two to the baking time.
What should I do if my Easter Cookies come out flat?
Very! If your cookies spread too much during baking, it might be due to melted butter. Make sure your butter is just softened, not melted. Also, consider chilling the dough for about 30 minutes before baking to help them maintain their shape.
Are these Easter Cookies safe for pets or those with allergies?
While they are vegetarian, these Easter Cookies contain common allergens like gluten and dairy, so they should be avoided by anyone with allergies to those ingredients. Always check with your guests if they have dietary restrictions, particularly for chocolate, which can be harmful to pets.
Delightful Easter Cookies That Are Soft, Chewy, and Colorful
Ingredients
Equipment
Method
- Preheat your oven to 350°F (175°C) and line two baking sheets with parchment paper.
- Whisk together the all-purpose flour, baking powder, baking soda, and salt in a medium bowl.
- In a large bowl, cream together the softened unsalted butter, granulated sugar, and brown sugar until light and fluffy.
- Add the cold egg and vanilla extract, mixing on low speed until combined.
- Gradually add the dry mixture to the wet mixture, stirring until just combined.
- Fold in the pastel M&M's and white chocolate chips using a spatula.
- Scoop the dough into mounds of 1½ to 2½ tablespoons and arrange them on the prepared baking sheets.
- Press the tops into pastel sprinkles for a festive look.
- Bake for 8 to 11 minutes until edges are set but centers look slightly underbaked.
- Let cool on the sheets for 5 minutes before transferring to a wire rack.
Leave a Reply