
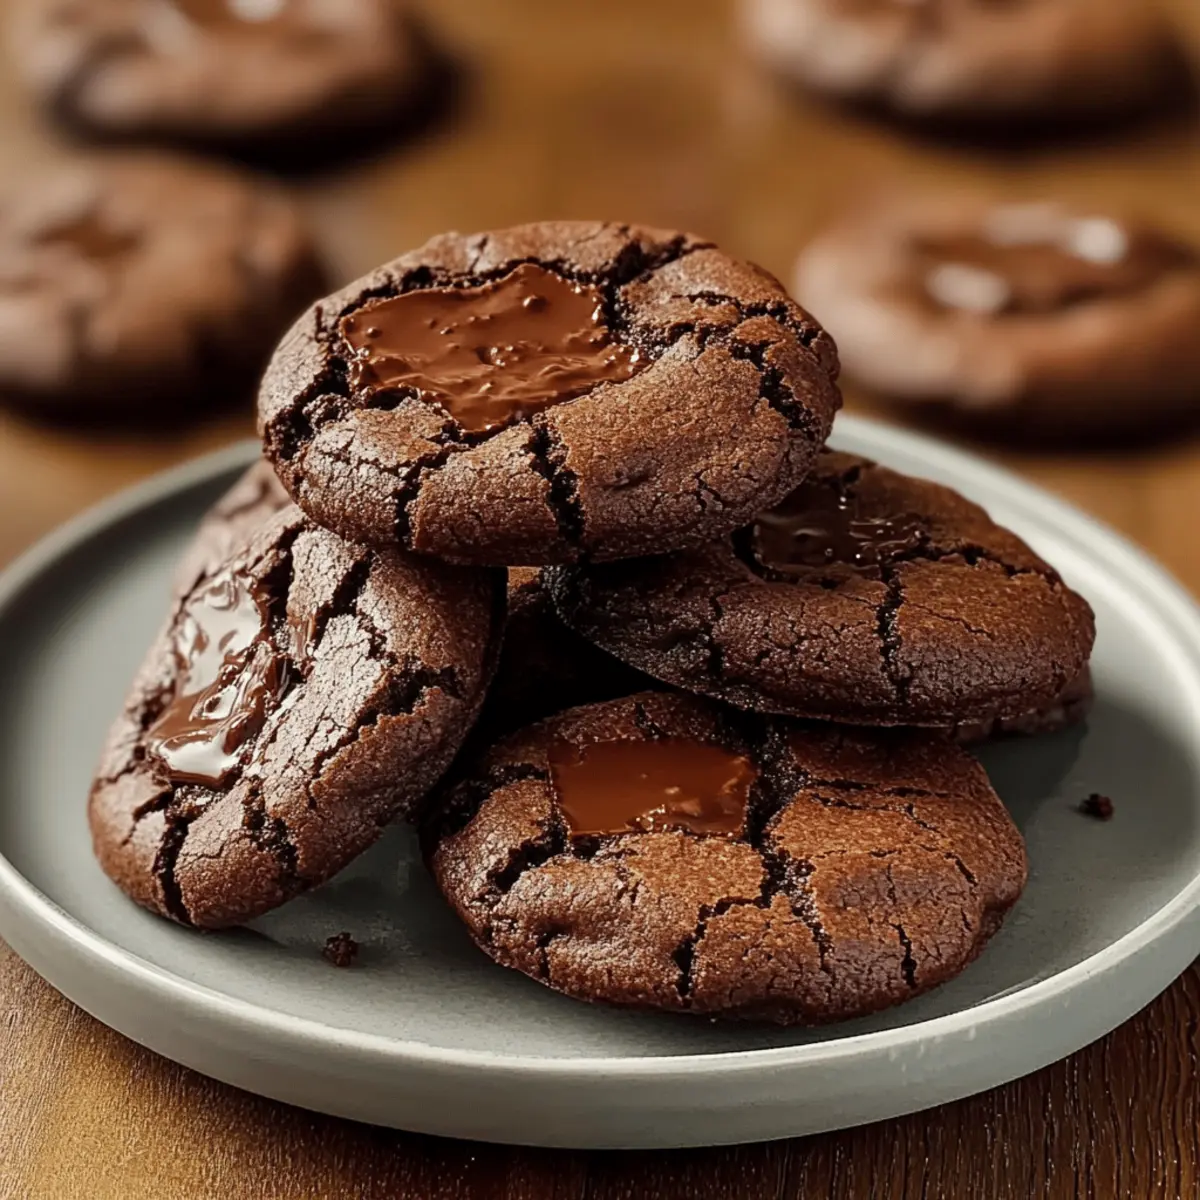
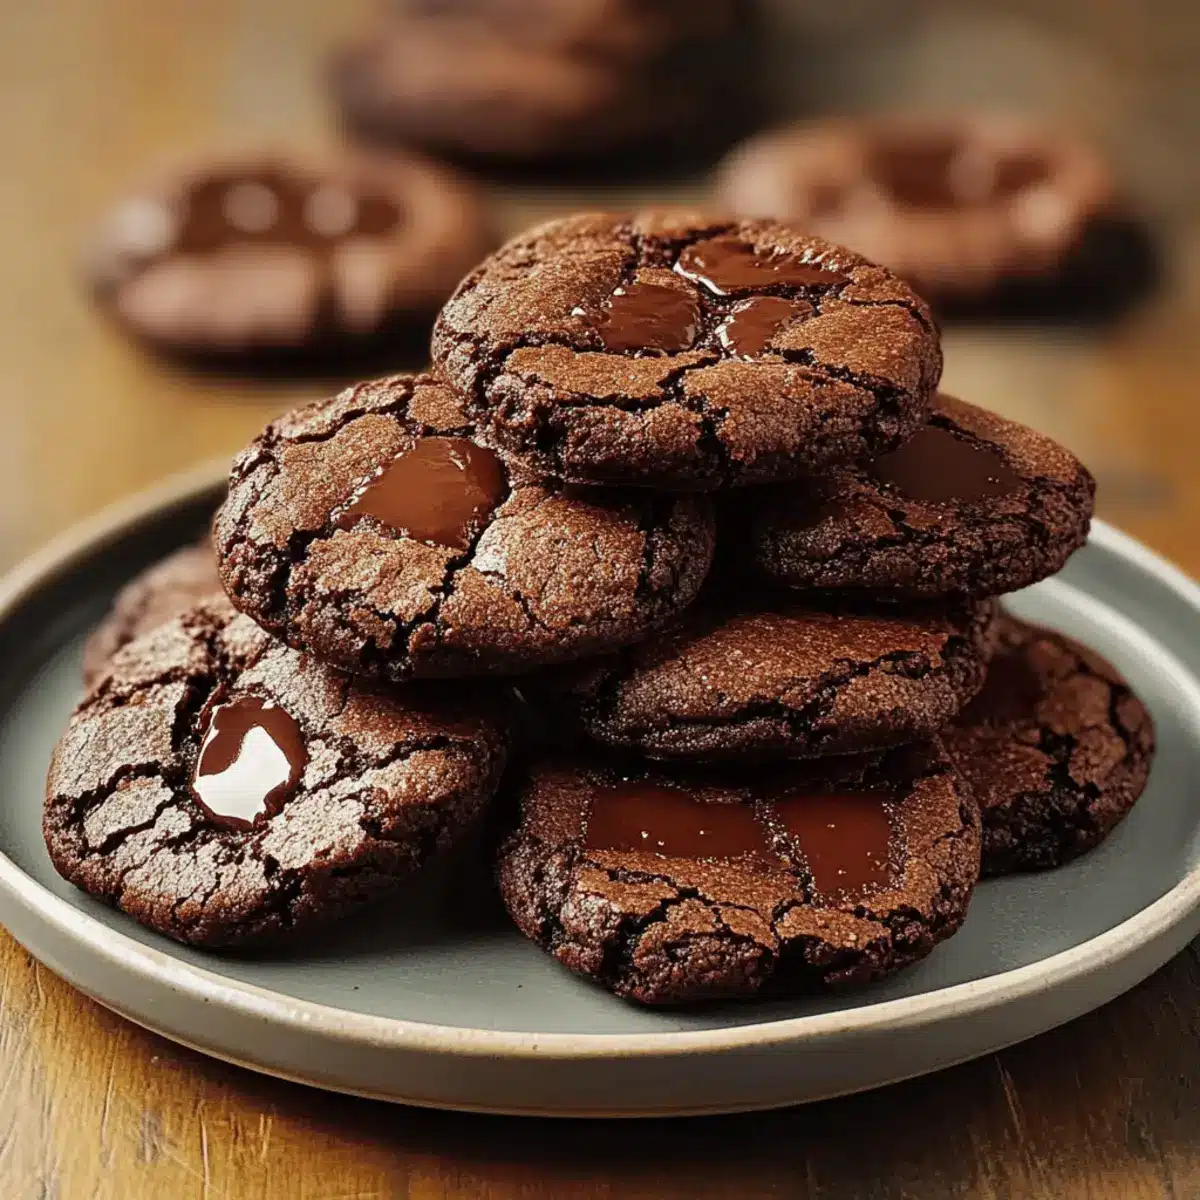
The aroma of chocolate wafting through the kitchen instantly transports me back to my childhood, where warm cookies were the ultimate comfort. Today, I’m sharing my beloved recipe for Chocolate Brownie Cookies, where the best of both worlds collide—thick, fudgy richness meets chewy cookie bliss. These irresistible treats not only come together in a snap, but they also provide delightful gluten-free options, ensuring everyone can indulge. With their signature crackly tops and gooey centers, these cookies are perfect for gatherings or a well-deserved solo treat. So grab your mixing bowl, and let’s turn those chocolate cravings into a delectable reality! How does your kitchen come alive with chocolatey goodness?
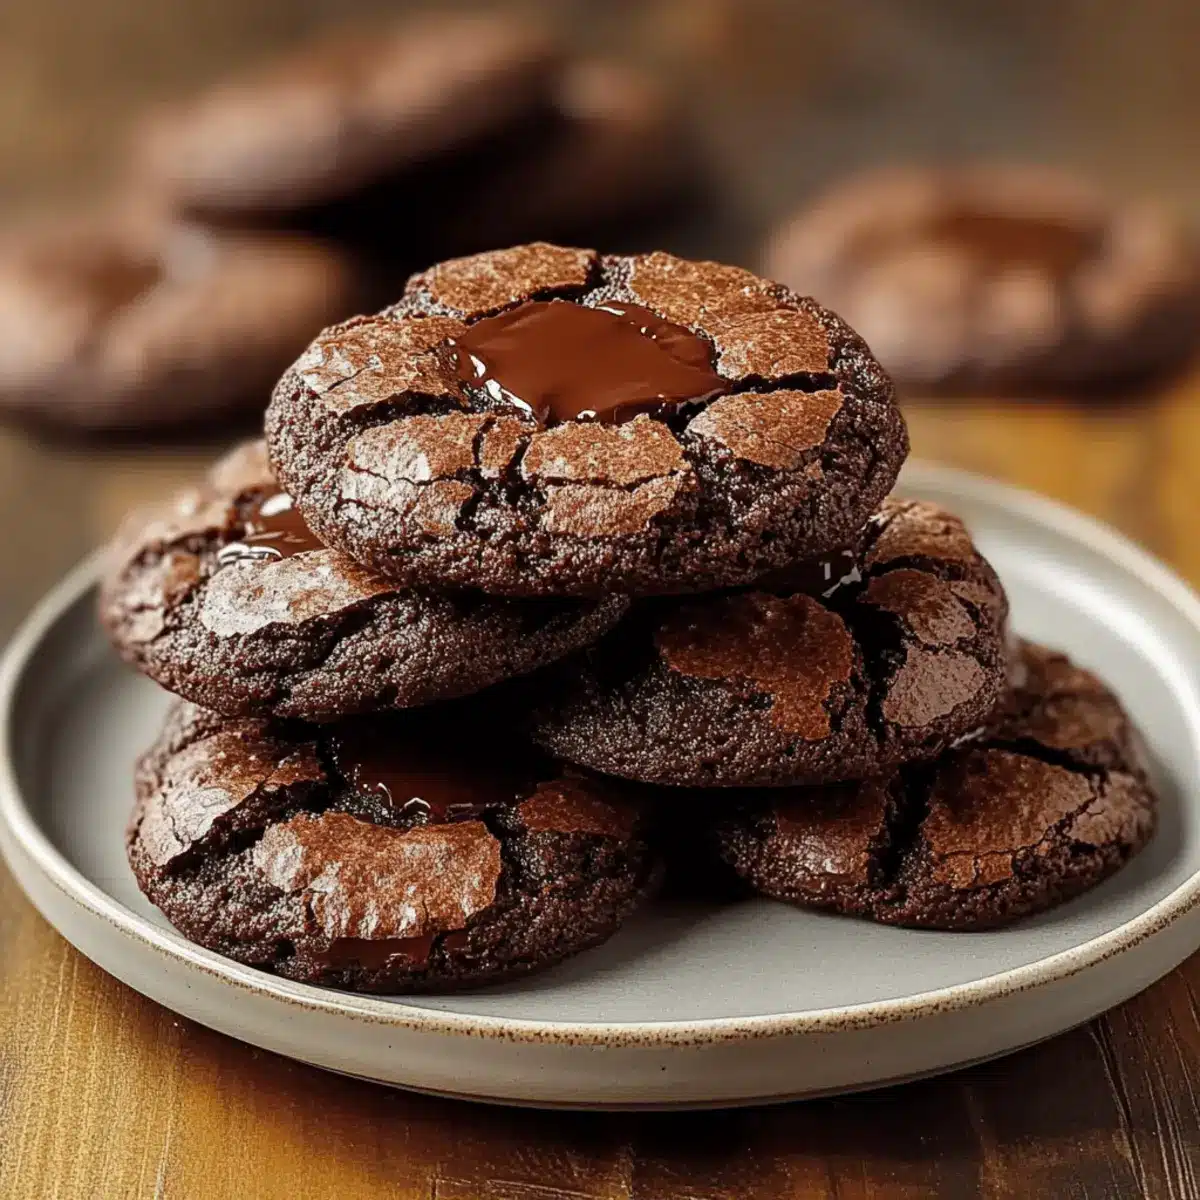
Why Are Chocolate Brownie Cookies Irresistible?
Indulgent in every bite, these cookies perfectly marry the bold flavor of dark chocolate with the comforting chewiness of a classic cookie. Quick and Easy to whip up, they make baking feel effortless, even on busy days. Gluten-Free Options allow everyone to join in the fun without sacrificing taste! Signature Crackly Tops not only look beautiful but enhance the texture, providing a delightful contrast to that gooey center. Whether enjoyed warm with a scoop of ice cream or alongside a cup of coffee, these cookies are sure to impress at any gathering. For more delicious cookie ideas, check out my Oatmeal Chocolate Chip or Apple Fritter Cookies recipes!
Chocolate Brownie Cookies Ingredients
Dive into these delicious Chocolate Brownie Cookies with the following ingredients!
For the Batter
• All-purpose flour – Provides the structure; substitute with a gluten-free blend for a great alternative.
• Unsweetened cocoa powder – Adds rich chocolate flavor; no direct substitutes for that deep taste.
• Granulated sugar – Sweetens the cookies; feel free to adjust if using dark chocolate for less sweetness.
• Brown sugar – Gives moisture and depth; can be replaced with all white sugar if preferred.
• Butter – Delivers richness; melted butter is ideal or use coconut oil for a dairy-free option.
• Dark chocolate – Enhances the intense chocolate experience; milk chocolate can be used for a sweeter twist.
• Eggs – Binds the ingredients for texture; substitute with flax eggs for a vegan option.
• Vanilla extract – Boosts flavor; stick with vanilla or try almond extract for a personal touch.
• Baking powder – Aids in puffing the cookies; ensure it’s fresh for the best results.
• Salt – Enhances all flavors; don’t skip this ingredient, but low-sodium can be used for a lighter option.
Optional Add-Ins
• Chocolate chips – Add extra chocolatey goodness; use semi-sweet or milk chocolate for a sweeter cookie.
• Nuts – Chopped walnuts or pecans provide delightful crunch; they also enhance the cookies’ flavor profile.
• Caramel pieces – Create a sweet surprise in every bite; they melt beautifully into the fudgy centers.
Explore these ingredients and let your kitchen fill with the heartwarming scent of baked chocolate bliss!
Step‑by‑Step Instructions for Chocolate Brownie Cookies
Step 1: Preheat the Oven
Begin by preheating your oven to 350°F (175°C). This is crucial as it ensures your Chocolate Brownie Cookies bake evenly and achieve that perfect fudgy texture. While the oven heats, line a baking sheet with parchment paper to prevent sticking and make cleanup a breeze.
Step 2: Melt the Chocolate and Butter
In a microwave-safe bowl, combine the dark chocolate and butter. Heat in 30-second increments, stirring in between, until the mixture is fully melted and smooth. Allow it to cool for a few minutes before using, as adding hot ingredients directly to eggs can lead to cooking them unexpectedly.
Step 3: Mix Dry Ingredients
In a separate bowl, whisk together the all-purpose flour, cocoa powder, baking powder, and salt. This step ensures that your dry ingredients are evenly distributed, which leads to uniform Chocolate Brownie Cookies. Set this mixture aside while you prepare the wet ingredients.
Step 4: Prepare the Egg Mixture
In a large mixing bowl, beat the eggs, granulated sugar, brown sugar, and vanilla extract together using an electric mixer or whisk. Continue blending until the mixture appears pale and thick, approximately 2-3 minutes. This process incorporates air for a slightly puffed texture in your cookies.
Step 5: Combine Wet and Chocolate Mixtures
Slowly pour the cooled chocolate and butter mixture into the egg mixture, stirring gently until fully combined. This step allows the rich chocolate flavor to infuse throughout your cookie dough, enhancing the deep chocolate taste of your Chocolate Brownie Cookies.
Step 6: Fold in the Dry Ingredients
Gradually add the dry ingredient mixture to the wet ingredients, using a silicone spatula to fold them together. Be careful not to overmix; you want to combine just until there are no visible flour streaks. This ensures your cookies remain fudgy and not cakey.
Step 7: Portion the Dough
Using a tablespoon or cookie scoop, drop even portions of dough onto the prepared baking sheet, spacing them about two inches apart. This spacing allows the Chocolate Brownie Cookies room to spread while baking, resulting in a lovely, chewy texture.
Step 8: Bake the Cookies
Place the baking sheet in the preheated oven and bake for 10-12 minutes. Keep an eye on them—the edges should look set, while the centers remain soft and slightly undercooked. This will give you that iconic gooey center typical of Chocolate Brownie Cookies.
Step 9: Cool and Serve
Once baked, remove the cookies from the oven and let them cool on the baking sheet for about 5 minutes. This cooling time allows them to firm up slightly before you transfer them to a wire rack to cool completely. Enjoy your decadent creations!

Make Ahead Options
Chocolate Brownie Cookies are fantastic for busy home cooks looking to streamline their baking. You can prepare the dough up to 24 hours in advance; simply cover it tightly and refrigerate. This not only saves time but enhances the flavor as the ingredients meld together. Before baking, let the dough sit at room temperature for about 15 minutes to soften slightly. If you prefer to bake them later, the formed cookie dough balls can also be frozen for up to 3 months. Just arrange them on a baking sheet, freeze until solid, and store in an airtight container. When ready to indulge, bake the frozen cookies straight from the freezer, adding an extra minute or two to the baking time to achieve that perfect fudgy center. With these make ahead options, you can enjoy rich, delicious Chocolate Brownie Cookies anytime!
What to Serve with Chocolate Brownie Cookies
The warmth of freshly baked cookies fills your home with comfort, inviting you to create a delightful experience with heavenly pairings.
-
Vanilla Ice Cream: A classic companion! The cold creaminess of vanilla ice cream harmonizes beautifully with the fudgy richness of the cookies.
-
Fresh Berries: The burst of juicy strawberries or raspberries adds a refreshing contrast, cutting through the sweetness and enriching every bite.
-
Chocolate Milkshake: For the ultimate indulgence, serve these cookies alongside a thick chocolate milkshake, enhancing the chocolatey flavors to new heights.
-
Coffee or Espresso: The bitter notes of a dark roast coffee perfectly balance the sweetness of the cookies, making for an energizing afternoon treat.
-
Caramel Sauce: Drizzling warm caramel sauce over the cookies creates a luscious layer of sweetness that elevates their already rich flavor.
-
Nuts or Trail Mix: Serve a small bowl of mixed nuts or trail mix alongside for a crunchy contrast that complements the soft textures of the cookies.
-
Milk: The timeless pairing of cold milk provides a comforting and nostalgic feel, washing down the rich fudgy cookies seamlessly.
-
Whipped Cream: A dollop of freshly whipped cream adds a light and airy touch, perfect for those who enjoy a bit of decadence with each cookie.
-
Salted Pretzels: A side of salty pretzels provides a crunchy bite that enhances the cookies’ sweetness, creating a crave-worthy sweet-and-salty experience.
-
Fruit Salad: A colorful fruit salad introduces brightness and freshness to the table, balancing the richness of the Chocolate Brownie Cookies beautifully.
Chocolate Brownie Cookies Variations
Feel free to get creative and tailor these cookies to suit your taste buds!
- Gluten-Free: Substitute the all-purpose flour with a gluten-free baking blend for a deliciously fudgy treat without gluten.
- Dairy-Free: Use coconut oil in place of butter and ensure your dark chocolate is dairy-free for a wholesome vegan option.
- Chocolate Twist: Replace dark chocolate with milk or white chocolate for a sweeter, creamy cookie that kids will love.
- Nutty Addition: Add chopped walnuts or pecans for a delightful crunch. The nuts beautifully complement the fudgy centers!
- Caramel Surprise: Mix in caramel pieces to create gooey pockets of sweetness that melt into each bite.
- Flavor Infusion: Swapping vanilla for almond extract adds a lovely nutty flavor to your cookies, elevating your baking experience.
- Extra Chocolate: Fold in semi-sweet or dark chocolate chips for a double chocolate treat that enhances the chocolatey goodness.
- Spicy Kick: Sprinkle in a pinch of cayenne pepper or cinnamon for a surprising warmth that perfectly contrasts the sweetness.
Don’t forget to check out my Chocolate Chip Oatmeal and Yogurt Peanut Butter recipes for more ways to satisfy that sweet tooth!
Expert Tips for Chocolate Brownie Cookies
• Cool Chocolate First: Allow melted chocolate to cool slightly before adding to eggs; this prevents curdling and ensures a smooth batter.
• Avoid Overmixing: Gently fold dry ingredients into the wet mixture until just combined to achieve that fudgy texture your Chocolate Brownie Cookies are known for.
• Chill the Dough: If you want thicker cookies, chill the dough for 30 minutes before baking; this helps prevent spreading and keeps them chewy.
• Use a Cookie Scoop: For uniform cookies, consider using a cookie scoop; it ensures even baking and a pleasing presentation.
• Test for Doneness: Look for set edges and soft centers to get that perfect gooeyness; slightly underbaking is key for that brownie-like consistency.
Storage Tips for Chocolate Brownie Cookies
Room Temperature: Store in an airtight container at room temperature for up to 5 days to keep them fresh and chewy.
Fridge: If you prefer a firmer texture, refrigerate the cookies in an airtight container for up to 1 week, letting them come to room temperature before enjoying.
Freezer: For longer storage, freeze the cookies in a single layer on a baking sheet, then transfer to an airtight container or freezer bag for up to 3 months.
Reheating: To enjoy warm, simply reheat frozen or refrigerated cookies in a microwave for about 10-15 seconds or in a preheated oven at 350°F (175°C) for 5 minutes.
Chocolate Brownie Cookies Recipe FAQs
How do I select the right dark chocolate for my Chocolate Brownie Cookies?
Absolutely! Look for high-quality dark chocolate with at least 60-70% cocoa content. This ensures that your cookies have a deep, rich flavor. Avoid bars that are labeled as “baking chocolate” unless they have no added ingredients like preservatives, as these can affect the final taste. When in doubt, a bittersweet chocolate works wonderfully too!
What is the best way to store Chocolate Brownie Cookies?
To maintain their fudgy goodness, keep your Chocolate Brownie Cookies in an airtight container at room temperature for up to 5 days. If you find you have leftover cookies (very unlikely!), refrigerate them to extend freshness for a week. Bring them to room temperature before serving for the best experience!
Can I freeze Chocolate Brownie Cookies? If so, how?
Very! To freeze your Chocolate Brownie Cookies, first let them cool completely. Next, place them in a single layer on a baking sheet and freeze for about an hour until solid. This prevents them from sticking together. Then, transfer the cookies to a freezer bag or airtight container, separating layers with parchment paper. They can be frozen for up to 3 months. When ready to enjoy, thaw at room temperature or warm them in the oven for a few minutes.
What should I do if my cookie dough is too runny?
If your cookie dough turns out runny, it may be due to excessive mixing or an incorrect flour measurement. To troubleshoot, I recommend chilling the dough in the refrigerator for about 30 minutes. Chilling will help firm it up, making it easier to scoop and handle. If you’re still concerned, you can gradually add a tablespoon of flour until the desired consistency is achieved. Just ensure you don’t overmix!
Are there any dietary considerations I should be aware of for these cookies?
Certainly! For those with gluten sensitivities, you can easily make these Chocolate Brownie Cookies gluten-free by substituting the all-purpose flour with a gluten-free baking blend. If you’re vegan, try using flax eggs instead of regular eggs—mix 1 tablespoon of ground flaxseed with 2.5 tablespoons of water and let it sit for a few minutes until it thickens. Remember to also check your chocolate for any dairy ingredients if you want to keep this treat fully vegan.
How can I customize my Chocolate Brownie Cookies?
The more the merrier! You can add a variety of mix-ins to your Chocolate Brownie Cookies. Consider incorporating chocolate chips (milk or dark), chopped nuts (like walnuts or pecans), or even swirl in some caramel pieces for a delightful surprise. Feel free to experiment with flavors, adding in extracts like almond or hazelnut for a unique twist!
Chocolate Brownie Cookies: Fudgy Bliss in Every Bite
Ingredients
Equipment
Method
- Preheat your oven to 350°F (175°C) and line a baking sheet with parchment paper.
- In a microwave-safe bowl, melt dark chocolate and butter until smooth and cool slightly.
- In a separate bowl, whisk together all-purpose flour, cocoa powder, baking powder, and salt.
- Beat eggs, granulated sugar, brown sugar, and vanilla extract together until pale and thick.
- Slowly add the cooled chocolate and butter mixture to the egg mixture until fully combined.
- Fold in the dry ingredient mixture until no visible flour streaks remain.
- Drop portions of dough onto the prepared baking sheet, spacing them 2 inches apart.
- Bake for 10-12 minutes until edges are set and centers are soft.
- Cool on the baking sheet for 5 minutes before transferring to a wire rack.
Leave a Reply