
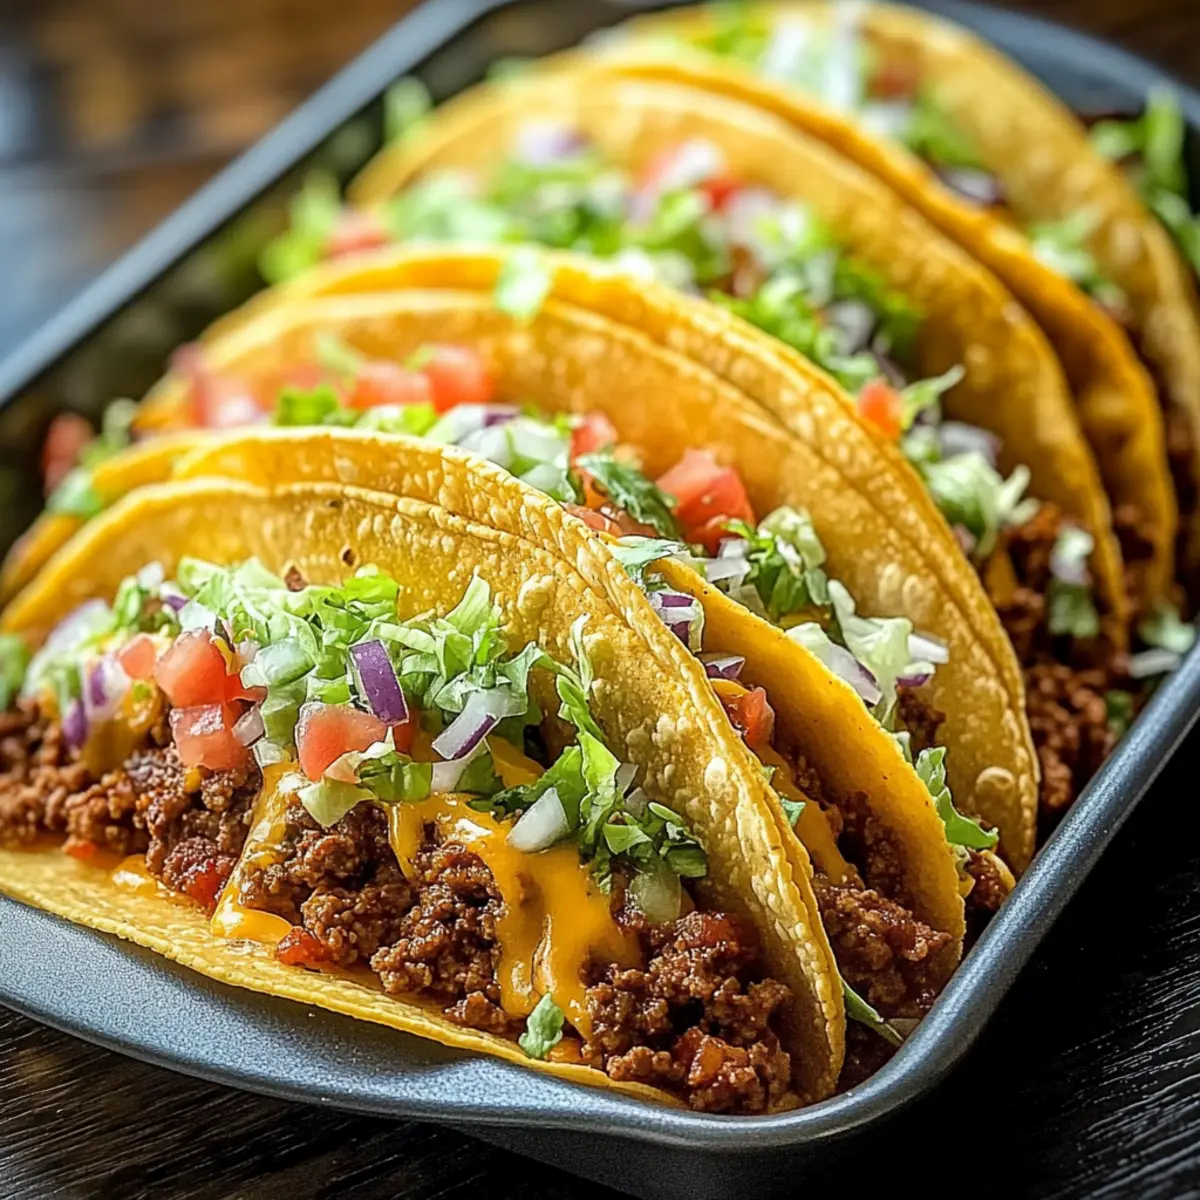
As I opened my pantry, I was greeted by an unexpected treasure trove—hard taco shells just waiting to come alive. That moment sparked my latest culinary adventure: Oven-Baked Cheesy Tacos (Crispy & Loaded). This taco recipe transforms a simple weeknight meal into a delightful feast in just 35 minutes, perfect for busy evenings or fun gatherings with friends and family. With the ability to customize everything from proteins to toppings, these crispy tacos cater to every taste and preference, making dinner less of a chore and more of an exciting experience. Ready to dive into a world of gooey, cheesy goodness? Let’s get cooking and see just how delicious homemade tacos can be!
Why Are These Tacos a Game Changer?
Quick and Easy: With just 35 minutes from prep to plate, these tacos fit perfectly into your busy week.
Endless Customization: Whether you prefer beef, turkey, or a veggie-filled delight, the options are limitless to suit every palate.
Crowd-Pleasing Flavors: Imagine gooey cheese melting into savory goodness—it’s a family favorite that’s sure to impress! Enjoy them alongside Cheesy Garlic Potatoes for a complete feast.
Perfectly Crispy: Get the satisfying crunch of hard shells baked to golden perfection, each bite showcases delightful textures and flavors.
Meal Prep-Friendly: Make the filling ahead of time and assemble when you’re ready to enjoy fuss-free, delectable tacos effortlessly. Dive into the joy of cooking with these irresistible Jalapeno Popper Cheesy tacos!
Oven-Baked Cheesy Tacos Ingredients
• Loaded with flavor and crunch!
For the Taco Filling
- Ground Beef – The star protein that delivers rich flavor; swap for ground turkey for a lighter option.
- Olive Oil – Essential for sautéing the onion and garlic, contributing a nice richness; any neutral oil will work.
- Onion – Sautéing this adds a sweet depth to your filling; yellow or white onions are great choices.
- Garlic – Intensifies the flavor profile; fresh minced garlic is preferred for the best results.
- Taco Seasoning – The magic blend for that classic taco taste; adjust according to your spice preference.
- Tomato Sauce – Adds moisture and a tangy touch; can be swapped with salsa for an extra kick.
For the Tacos
- Taco Shells – Choose hard shells for that satisfying crunch; gluten-free varieties are available for those with dietary restrictions.
- Shredded Cheese – Melts beautifully, creating a delicious, creamy texture; use cheddar or a Mexican blend for the best flavor.
For Fresh Toppings
- Fresh Toppings (e.g., lettuce, tomatoes, cilantro) – Brighten your tacos with freshness and color; customize to your liking.
- Optional Toppings (e.g., sour cream, jalapeños, guacamole) – Elevate the experience with your favorite toppings; mix and match for added flavor!
Dive into the delightful world of Oven-Baked Cheesy Tacos and transform your dinner into a fun experience!
Step‑by‑Step Instructions for Oven-Baked Cheesy Tacos
Step 1: Preheat the Oven
Begin by preheating your oven to 375°F (190°C). This crucial step ensures your taco shells achieve that desired crispy texture. While the oven warms up, grab a greased baking dish, ready to hold your assembled tacos. Getting the temperature right now avoids soggy shells later, so take this time to gather your other ingredients.
Step 2: Sauté Aromatics
Heat 1 tablespoon of olive oil in a skillet over medium heat. Once the oil is shimmering, add a diced onion and 2 minced garlic cloves; sauté for 2-3 minutes, or until the onion turns translucent and becomes fragrant. This step infuses the base of your savory filling with sweetness and depth, setting the stage for the taco flavor explosion.
Step 3: Cook the Ground Beef
Add 1 pound of ground beef to the skillet, breaking it apart with a spatula as it cooks. Stir in 1 tablespoon of taco seasoning and ½ cup of tomato sauce, mixing well to incorporate everything. Allow this mixture to simmer for about 5 minutes, or until the beef is fully browned. The beef should be juicy and stocked with flavorful seasoning, perfect for filling your taco shells.
Step 4: Assemble the Tacos
Take your hard taco shells and fill each one generously with the seasoned beef mixture. After filling, top each shell with a handful of shredded cheese, ensuring a snowy layer covers the beef. Place the filled taco shells upright in the greased baking dish, creating a cascade of deliciousness that will delight everyone at the table.
Step 5: Bake to Perfection
Slide the baking dish into the preheated oven and bake for 10-15 minutes. You’ll know they’re ready when the cheese is melted and bubbling, creating a delightful golden crust on top. Keep an eye on them to avoid over-browning, as the goal is a visually appealing and cheesy finish that invites hungry diners to dig in.
Step 6: Add Fresh Toppings
Once baked, carefully remove your Oven-Baked Cheesy Tacos from the oven. Allow them to cool for a minute before garnishing with fresh toppings like chopped lettuce, diced tomatoes, or fresh cilantro. These additions not only brighten the dish visually but also elevate the overall flavor profile, adding freshness to every delightful bite.
Make Ahead Options
These Oven-Baked Cheesy Tacos are perfect for meal prep enthusiasts! You can prepare the savory filling up to 3 days in advance—simply cook the ground beef, onion, garlic, taco seasoning, and tomato sauce, then store it in an airtight container in the refrigerator. To maintain the quality, make sure the beef mixture cools before refrigerating to prevent condensation. When you’re ready to enjoy your tacos, just reheat the filling in a skillet, fill the taco shells, and top with cheese before baking. This way, you can have a delicious, customized meal ready with minimal effort, making your busy weeknights a little easier and tastier!
How to Store and Freeze Oven-Baked Cheesy Tacos
Fridge: Store leftover Oven-Baked Cheesy Tacos in an airtight container for up to 3-4 days. Keep the shells separate from the filling to maintain crunchiness.
Freezer: You can freeze the taco filling in a sealed bag for up to 3 months. Simply reheat it on the stove before assembling with fresh taco shells.
Reheating: For best results, reheat any leftovers in the oven at 350°F (175°C) for about 10 minutes. This ensures your tacos regain their crispy texture.
Make-Ahead: Prepare the filling ahead of time and store it in the fridge for up to 2 days. Assemble and bake when ready for a quick, delicious meal!
What to Serve with Oven-Baked Cheesy Tacos?
Elevate your home dining experience by pairing these crispy, cheesy delights with complementary flavors and textures!
-
Mexican Rice: A classic side that brings a subtle warmth and absorbs all the delightful taco flavors, perfect for a hearty meal. The fluffy rice with a hint of spices will balance the richness of the cheesy tacos beautifully.
-
Fresh Garden Salad: Crisp greens with a zesty dressing add brightness and crunch, making a refreshing contrast to the cheesy richness. Toss in cherry tomatoes, cucumbers, and avocado for a delightful salad everyone can enjoy.
-
Refried Beans: Creamy and savory, these beans provide great texture and heartiness, making your meal even more satisfying. Enjoy them on the side or as a filling alternative for a vegetarian option.
-
Grilled Corn on the Cob: Sweet and smoky, this side fits a taco night perfectly. The kernels burst with flavor and offer a delightful texture that pairs well with the cheesy goodness of the tacos.
-
Guacamole and Chips: Creamy, zesty guacamole complements the crunch of taco shells, creating an irresistible dip to elevate your meal. The buttery texture of the avocado combined with salt and lime will have everyone reaching for more.
-
Margaritas: Whether classic lime or fruity variations, these refreshing cocktails add a festive touch that enhances your taco night. The tangy sweetness pairs perfectly with the savory elements of your tacos, creating an unforgettable dining experience.
Enjoy mixing and matching these suggestions for a memorable taco feast that brings everyone to the table!
Expert Tips for Oven-Baked Cheesy Tacos
-
Proper Preheating: Ensure your oven is fully preheated to 375°F (190°C) before baking. This crucial step prevents soggy shells and achieves that desirable crispiness.
-
Flavorful Fillings: Customize your taco fillings by experimenting with different proteins like turkey or plant-based options. You can even mix in black beans for added texture and nutrition!
-
Topping Balance: Be mindful of your toppings—while they add flavor, too many can overwhelm the taco. Start with fresh lettuce and tomatoes, then add a sprinkle of cheese for a perfect balance.
-
Cheese Choices: Opt for a blend of cheeses such as cheddar and Monterey Jack for a richer flavor profile. Just be careful not to skimp—lots of cheese is the key to gooey goodness!
-
Storage Tips: If you have leftovers, store the filling separately from the taco shells. This prevents them from getting soggy, making reheating easier and more enjoyable.
-
Reheat for Crispiness: When reheating any leftovers, place them back in the oven rather than the microwave. This will help maintain the crisp texture of the taco shells!
Oven-Baked Cheesy Tacos Variations
Feel free to let your creativity shine in the kitchen by customizing these tacos to suit your taste!
-
Gluten-Free: Opt for gluten-free taco shells to enjoy the same crispy goodness without the worry. It’s a simple switch that keeps everyone happy!
-
Veggie Delight: Substitute ground beef with black beans or sautéed mushrooms for a hearty vegetarian version. This twist adds a lovely, earthy flavor!
-
Spicy Kick: Spice things up by adding chopped jalapeños or a dash of hot sauce to the beef mixture. Your taste buds will thank you for the extra zing!
-
Cheese Lover’s Paradise: Go wild with a mix of cheeses—try pepper jack for a spicy twist or a blend of cheddar and mozzarella for a gooey delight. The more, the merrier!
-
Taco Salad: Turn the filling into a delicious taco salad by serving it over a bed of greens instead of in shells. Top it off with your favorite dressing and enjoy a lighter fare.
-
Creamy Avocado: For a velvety finish, mash avocado and spread it on top of your tacos before serving. It adds a creamy texture that perfectly balances the crunch.
-
Savory Switch-Up: Replace the tomato sauce with a rich salsa verde for a fresh flavor twist that brightens up your tacos. It’s a flavorful upgrade that everyone will love!
-
Cheesy Casserole: Layer the filling and shells in a baking dish, cover with cheese, and bake to create a delicious taco casserole—perfect for a cozy family dinner!
These creative ideas not only make your Oven-Baked Cheesy Tacos special but also give you a reason to whip them up again! If you’re interested in more delicious combinations, check out the amazing Cheesy Bolognese Gnocchi for dinnertime inspiration and side dishes like Cheesy Garlic Potatoes to elevate your meal!
Oven-Baked Cheesy Tacos Recipe FAQs
How do I select the right ground beef for my tacos?
Absolutely! Look for ground beef that is around 80% lean. This will provide a good balance of flavor and moisture without being too greasy. Fresh ground beef should be bright red; avoid any packages with a lot of dark spots or an off odor.
What is the best way to store leftover tacos?
Very good question! Store leftover Oven-Baked Cheesy Tacos in an airtight container for up to 3-4 days in the fridge. To maintain the crispness of the taco shells, I recommend storing the filling separately from the taco shells. Simply reassemble before reheating!
Can I freeze the taco filling?
You sure can! To freeze the filling, let it cool completely, then transfer it to a freezer-safe bag or container. It can be frozen for up to 3 months. When you’re ready to use it, thaw in the fridge overnight, then reheat on the stove before assembling your tacos.
What if my taco shells are getting soft when I bake them?
Oh no, soft taco shells aren’t what we want! Make sure your oven is fully preheated to 375°F (190°C) before you bake, as this ensures proper cooking and crisping. Additionally, placing the taco shells upright and filling them just before baking can help maintain their crunchiness.
Are these tacos suitable for a gluten-free diet?
Absolutely! To make Oven-Baked Cheesy Tacos gluten-free, simply choose hard taco shells labeled gluten-free, and be mindful of any sauces or seasonings you use. Always double-check ingredient labels, especially for taco seasoning mixes, as some may contain gluten.
Can I prepare the filling ahead of time?
Yes, you can! Prepare your taco filling a day or two in advance and store it in the fridge. This will save you time and make your weeknight dinner even easier. When you’re ready to eat, just assemble your tacos with freshly baked shells and enjoy!
Oven-Baked Cheesy Tacos That Are Crispy and Irresistible
Ingredients
Equipment
Method
- Preheat your oven to 375°F (190°C).
- Heat 1 tablespoon of olive oil in a skillet over medium heat. Add a diced onion and 2 minced garlic cloves; sauté for 2-3 minutes until translucent.
- Add 1 pound of ground beef, breaking it apart while cooking. Stir in 1 tablespoon of taco seasoning and ½ cup of tomato sauce. Simmer for about 5 minutes until beef is browned.
- Fill hard taco shells with seasoned beef mixture and top with shredded cheese. Place filled shells upright in greased baking dish.
- Bake for 10-15 minutes until cheese is melted and bubbling. Watch closely to avoid over-browning.
- Carefully remove from oven and garnish with fresh toppings like lettuce, tomatoes, and cilantro.
Leave a Reply