
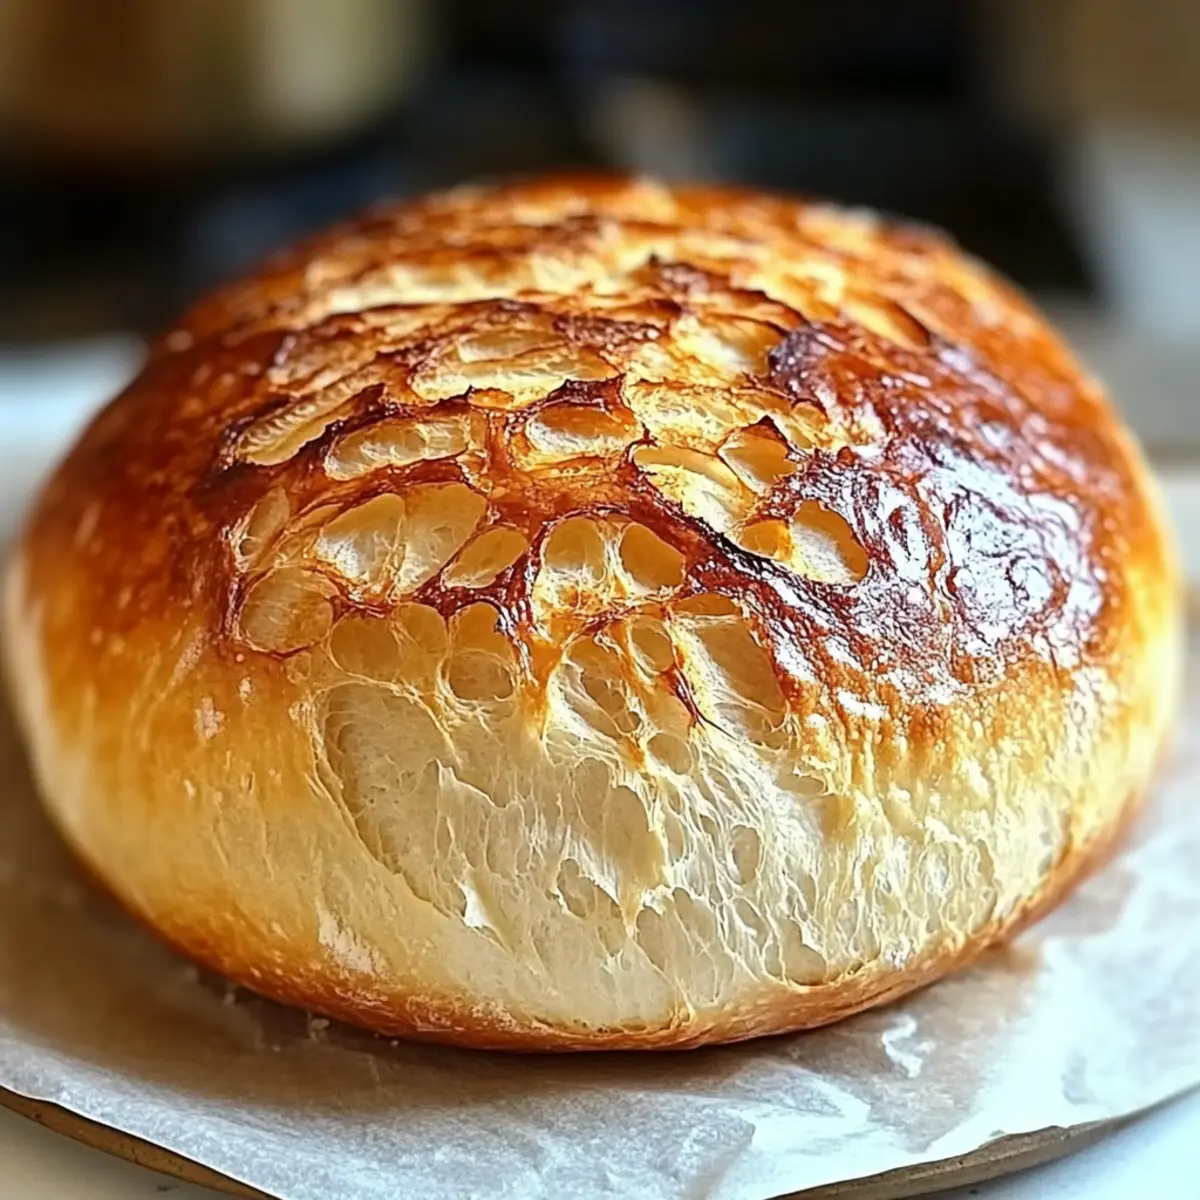
The aroma of freshly baked bread is like a warm hug on a chilly day, creating an instant sense of comfort. With my recipe for Quick and Easy No-Yeast Bread, you can bring that homey feeling to your kitchen in just 20 minutes! This beginner-friendly recipe is a game-changer, perfect for busy weeknights or when you’re in the mood to whip up something delightful without the wait for yeast to rise. You’ll love how soft the inside is, complemented by a slight crisp on the outside—ideal for pairing with your favorite soup or slathering with butter and jam. Plus, it’s easily customizable, allowing you to experiment with flavors like herbs, cheese, or even spices. What will you add to make it your own?
Why Make No-Yeast Bread Today?
Speedy baking means you can enjoy freshly baked bread in just 20 minutes—perfect for those busy days when you crave homemade goodness. Customizable flavors let you adapt this recipe to your taste, from aromatic herbs to delicious cheeses. No Yeast Needed simplifies the process, making it suitable for all skill levels, especially beginners. Texture is key here; with a crusty outside and soft inside, it’s delightful on its own or as a companion to soups and stews. Lastly, healthy substitutions like whole wheat flour or gluten-free blends ensure everyone at the table can enjoy this versatile bread. Don’t forget to check out Chicken Bacon Bread for another tasty option!
Quick and Easy Bread Ingredients
• You won’t believe how simple this is!
For the Dough
- All-Purpose Flour – The main structure of the dough; try whole wheat for added nutrition!
- Baking Powder – Acts as the leavening agent to make your bread rise without yeast; be sure it’s fresh for the best results.
- Salt – Enhances the flavor of the bread; essential for richer taste, but omit if you’re watching your sodium intake.
- Warm Water – Combines with dry ingredients to create the dough; use water around 110°F (43°C) for activation.
- Vegetable Oil or Olive Oil – Provides moisture and richness; melted butter or other oils can be good swaps!
Optional Flavor Additions
- Dried Herbs – A pinch of Italian seasoning or rosemary will infuse the bread with delightful fragrance.
- Shredded Cheese – Add cheddar or parmesan for a rich, cheesy flavor that will elevate your bread.
- Spices – Consider adding red pepper flakes or diced jalapeños for a hint of heat that will surprise your taste buds.
Now you’re ready to whip up your Quick and Easy Bread! That warm, crusty perfection awaits you, and feel free to let your creativity shine with those tasty variations.
Step‑by‑Step Instructions for Quick and Easy Bread
Step 1: Preheat the Oven
Begin by preheating your oven to 400°F (200°C). While the oven warms up, line a baking sheet with parchment paper to prevent sticking and make cleanup easier. This is the perfect time to gather your ingredients and measure out the all-purpose flour, baking powder, and salt, ensuring you have everything ready for this Quick and Easy Bread recipe.
Step 2: Mix Dry Ingredients
In a large mixing bowl, whisk together the all-purpose flour, baking powder, and salt until well combined. This ensures even distribution of the baking powder, which is crucial for achieving the perfect rise without yeast. The mixture should be light and airy, indicating that your dry ingredients are well-mixed and ready for the next step.
Step 3: Combine Wet Ingredients
Next, gradually pour in the warm water (around 110°F / 43°C) and your choice of vegetable oil or olive oil into the dry mixture. Stir with a wooden spoon or spatula until a shaggy dough begins to form. The dough will look slightly rough, but that’s normal! This is the key step in making your Quick and Easy Bread.
Step 4: Knead the Dough
Transfer the shaggy dough to a lightly floured surface. Knead the dough gently by hand for about 1 to 2 minutes, just until it becomes smooth and cohesive. Be careful not to over-knead, as you want to preserve that light texture. The dough should feel soft and pliable, ready to be shaped into a loaf.
Step 5: Shape the Loaf
Shape the kneaded dough into your desired form, whether it be a round or an oval loaf. Place it onto the prepared baking sheet. Use your hands to gently mold it, giving it a nice rounded appearance that promotes even baking throughout. Your Quick and Easy Bread is starting to take shape!
Step 6: Slashing for Aesthetic Appeal
Using a sharp knife, make a few shallow slashes on the top of the loaf. This step not only allows steam to escape while baking but also creates a beautiful crust. The slashes will open during baking, giving your bread a rustic charm while also helping it rise evenly.
Step 7: Bake the Bread
Slide the baking sheet into your preheated oven and bake for 18 to 20 minutes. Stay attentive to how the bread looks; it should develop a lovely golden-brown crust, and when tapped on the bottom, it should sound hollow—this is your sure sign that it’s done. This aroma will fill your kitchen with warmth!
Step 8: Cool Before Slicing
Once baked, remove the Quick and Easy Bread from the oven and let it cool on a wire rack for about 5 to 10 minutes. This cooling period allows the bread to firm up and finish cooking a bit from residual heat. After cooling, slice into your freshly baked bread, revealing its appetizing, soft interior.
Expert Tips for Quick and Easy Bread
-
Check Baking Powder Freshness: Always ensure your baking powder is fresh for optimal rise without yeast. Old baking powder can lead to dense bread.
-
Adjust Liquid as Needed: The amount of water may vary based on flour type and humidity; start with less if unsure and gradually add more until you reach the right dough consistency.
-
Avoid Over-Kneading: Gently knead the dough for just 1-2 minutes. Over-kneading can lead to tough bread, which is not what we want for our Quick and Easy Bread!
-
Monitor Baking Time: Check for doneness a few minutes early; oven temperatures can vary. The bread should be golden brown and sound hollow when tapped for best results.
-
Experiment with Flavors: Don’t hesitate to add your favorite herbs, cheese, or spices to make the bread your own. This Quick and Easy Bread is a blank canvas!
What to Serve with Quick and Easy No-Yeast Bread?
This delightful bread is not just a recipe; it’s an invitation to create a comforting meal experience filled with warmth and flavor.
-
Creamy Tomato Soup: The velvety richness of this classic soup pairs perfectly with the bread, making every dip sensational. Enjoy the warmth as it envelops the bread in a luscious embrace.
-
Garlic Herb Butter: Slather this aromatic butter on warm bread for an added layer of flavor that melts beautifully, elevating your simple loaf to gourmet status.
-
Fresh Garden Salad: Colorful, crisp vegetables provide a refreshing contrast to the warm bread, making every bite a crunchy delight and a healthy addition to your meal.
-
Cheese Platter: Include a variety of cheeses, such as sharp cheddar or creamy brie, for a flavorful pairing that complements the subtle flavors of the bread. Your guests will love choices!
-
Honey or Jam: Spread a touch of sweetness with honey or berry jam for a delightful contrast to the savory bread, perfect for a cozy breakfast or afternoon snack.
-
Spicy Chili: The robust flavors of a hearty chili create a lovely balance, as its warmth hugs each slice of bread, making every bite a fulfilling experience.
-
Herbed Olive Oil Dip: A simple blend of olive oil and fresh herbs offers a fragrant way to enjoy this bread, inviting a delightful dipping experience full of flavor.
-
Dark Roast Coffee: Pairing your bread with a rich cup of coffee enhances the experience, bringing a cozy cafe feel to your kitchen.
-
Chocolate Chip Cookies: End your meal on a sweet note with warm cookies, a comforting dessert that will leave everyone smiling.
Embrace the endless possibilities as you indulge in the delightful textures and flavors that make your meal unforgettable!
Storage Tips for Quick and Easy Bread
Room Temperature: Store your bread in an airtight container or tightly wrapped in plastic for up to 2-3 days to maintain freshness.
Freezer: For longer storage, wrap the bread tightly in plastic wrap and then in aluminum foil, freezing it for up to 2 months.
Reheating: To enjoy your Quick and Easy Bread, reheat slices in a toaster or a warm oven until heated through, about 5-10 minutes.
Quick and Easy Bread Variations
Feel free to let your culinary creativity shine by customizing this delightful bread recipe to suit your taste!
-
Herb-Infused:
Mix in dried herbs like Italian seasoning or rosemary for a fragrant, aromatic touch that makes each bite feel special. -
Cheesy Goodness:
Stir in shredded cheese such as cheddar or parmesan into the dough for a rich and savory flavor explosion that every cheese lover will adore. -
Spicy Kick:
Incorporate a pinch of cayenne pepper or diced jalapeños to give your bread a pleasant zing, perfect for those who enjoy a bit of heat. -
Sweet Twist:
Add a handful of chocolate chips or dried fruit like cranberries to infuse a sweet flavor, creating a delightful treat that pairs wonderfully with coffee. -
Whole Wheat Alternative:
For a healthier option, swap in whole wheat flour, making it heartier while still keeping that amazing texture. -
Gluten-Free Option:
Use a 1:1 gluten-free flour blend to cater to those with dietary restrictions, ensuring that everyone can enjoy this delicious bread. -
Multigrain Addition:
Throw in some seeds like flax or sunflower seeds to boost nutrition and add a delightful crunch to each slice. -
Mediterranean Style:
Incorporate sun-dried tomatoes and olives for a Mediterranean flair that pairs beautifully with soups or salads, making lunch feel a little more gourmet.
Let your imagination run wild! And while you’re at it, check out how this flavor-packed bread complements a bowl of warm soup or consider making some of those Heavenly Peach Bread for dessert afterward!
Make Ahead Options
These Quick and Easy No-Yeast Bread loaves are fantastic for meal prep! You can mix the dry ingredients (flour, baking powder, and salt) a day in advance and store them in an airtight container at room temperature. Additionally, you can prepare the dough up to 24 hours ahead; simply wrap the formed loaf tightly in plastic wrap and refrigerate it. This helps maintain its quality and ensures it’s just as delicious when baked. When you’re ready to bake, remove the dough from the refrigerator, allow it to come to room temperature for about 30 minutes, and then follow the final baking instructions. Enjoy warm, freshly baked bread without the last-minute rush!
Quick and Easy Bread Recipe FAQs
What type of flour should I use for the best results?
For this Quick and Easy Bread, all-purpose flour is ideal as it provides the perfect structure. If you’re looking for a healthier alternative, you can substitute it with whole wheat flour for a heartier texture. Just keep in mind that whole wheat might require slightly more water to achieve the right dough consistency.
How should I store my no-yeast bread?
After your bread cools, wrap it tightly in plastic wrap or place it in an airtight container to keep it fresh for up to 2-3 days at room temperature. If you want to store it longer, freeze it by wrapping it first in plastic and then in aluminum foil. This way, it can stay good for up to 2 months. When ready to enjoy, reheat slices in a toaster or warm oven for that fresh-baked experience.
Can I freeze this bread? How do I do that?
Absolutely! To freeze your Quick and Easy Bread, start by allowing it to cool completely. Once cooled, wrap the bread tightly with plastic wrap to prevent freezer burn, then wrap it again in aluminum foil for added protection. Place it in the freezer for up to 2 months. When you’re ready to eat, simply thaw at room temperature and reheat as desired.
What if my bread turns out dense?
If your bread comes out dense, it might be due to stale baking powder, which won’t provide the lift needed. Always check that your baking powder is fresh. Another factor can be not kneading the dough enough; 1-2 minutes is usually sufficient, as over-kneading can make the bread tough. For future batches, try adding a little extra water or adjusting your kneading time for that light, airy texture you desire.
Can I add any ingredients to adjust flavors?
Very! This Quick and Easy Bread welcomes all sorts of flavor enhancements. You can stir in dried herbs like rosemary or Italian seasoning for a fragrant touch. A handful of shredded cheese, such as cheddar or parmesan, can elevate it to another level of yum! Don’t shy away from a sprinkle of spices either—think red pepper flakes for a kick! Get creative and tailor it to your taste!
Is this bread suitable for dietary restrictions?
Yes! This recipe can easily accommodate various dietary needs. If you’re avoiding gluten, use a 1:1 gluten-free flour blend, adjusting the water based on how the flour absorbs moisture. For a lower-sodium option, just omit the salt. Always double-check for any personal allergens with added ingredients like cheese or spices. Your creativity is the limit!
Quick and Easy Bread: Crusty Perfection in Just 20 Minutes
Ingredients
Equipment
Method
- Preheat your oven to 400°F (200°C) and line a baking sheet with parchment paper.
- In a large mixing bowl, whisk together the all-purpose flour, baking powder, and salt.
- Gradually pour in the warm water and oil into the dry mixture and stir until a shaggy dough forms.
- Transfer the dough to a lightly floured surface and knead gently for 1 to 2 minutes.
- Shape the kneaded dough into a round or oval loaf and place it onto the prepared baking sheet.
- Make a few shallow slashes on the top of the loaf with a sharp knife.
- Bake in the preheated oven for 18 to 20 minutes until golden brown and hollow-sounding when tapped.
- Remove from the oven and cool on a wire rack for 5 to 10 minutes before slicing.
Leave a Reply