
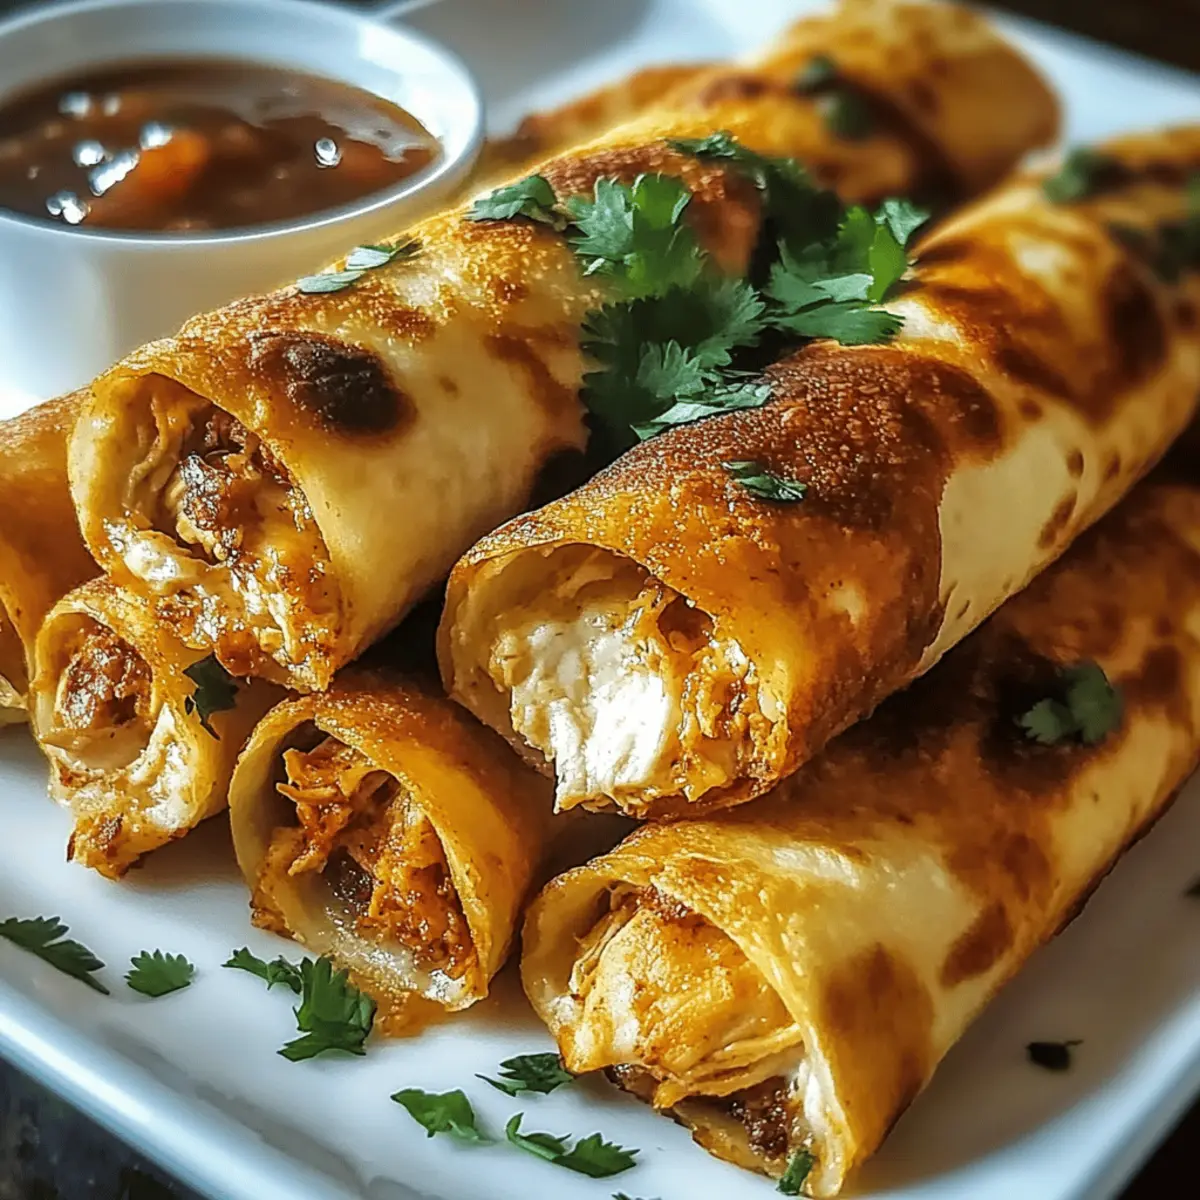
As I stood in my kitchen, the tantalizing aroma of sizzling chicken and melted cheese enveloped me, instantly transporting me back to sun-drenched gatherings filled with laughter and flavor. Today, I’m excited to share with you my super easy recipe for Chicken and Cheese Taquitos—these golden gems are not only a crowd-pleaser, but they also make busy weeknight dinners a breeze. Imagine biting into a perfectly crispy shell that encases a creamy, savory filling, delighting taste buds young and old alike. Whether you choose to whip them up for game night or simply crave a comforting meal, these taquitos promise to satisfy. Plus, they can easily be tailored to meet dietary preferences, making them versatile for everyone at the table. Ready to bring a piece of tradition with a personal twist to your next feast? Let’s dive into this scrumptious recipe.
Why are Chicken and Cheese Taquitos a hit?
Simplicity: This recipe is straightforward, requiring minimal ingredients and time.
Crowd-Pleaser: Perfect for gatherings, these taquitos cater to everyone from kids to adults, ensuring smiles all around.
Versatility: Easily adaptable, you can swap chicken for black beans for a vegetarian twist or add spices to kick it up a notch.
Meal Prepping: Make a batch ahead of time, store them, and just reheat for a quick meal—great for busy evenings!
Flavor Explosion: The crispy outside and gooey cheese filling combine for a delightful taste and texture experience, reminiscent of your favorite snack bar.
Whether served with fresh salsa or a hearty salad, your Chicken and Cheese Taquitos are sure to shine.
Chicken and Cheese Taquitos Ingredients
For the Filling
• Shredded Chicken – Use leftover cooked chicken for a quick and tasty solution.
• Cheese (Cheddar or Monterey Jack) – Provides a creamy texture; swap with dairy-free cheese for a vegan option.
• Spices (Chili Powder, Cumin, Garlic Powder, Onion Powder) – Enhance flavor; feel free to adjust spices to suit your personal taste.
For the Taquitos
• Corn Tortillas – Serve as the sturdy base; flour tortillas can be used but will alter the texture slightly.
• Olive Oil or Avocado Oil Spray – Helps achieve a crispy exterior; omit if using a non-stick baking sheet.
Feel free to experiment with flavors, but remember that these tasty Chicken and Cheese Taquitos are sure to become a favorite!
Step‑by‑Step Instructions for Chicken and Cheese Taquitos
Step 1: Preheat the Oven
Begin your culinary adventure by preheating your oven to 400°F (200°C). This step is crucial, as the hot oven will help achieve that golden and crispy texture we all love in our Chicken and Cheese Taquitos. Once the oven reaches temperature, it’s time to prepare the flavorful filling.
Step 2: Prepare the Filling
In a mixing bowl, combine the shredded chicken with your chosen cheese, along with the spices like chili powder, cumin, garlic powder, and onion powder. Stir until well-blended, ensuring the spices evenly coat the chicken and cheese mixture. This savory blend will be the heart of your taquitos, brimming with flavor.
Step 3: Warm the Tortillas
To make the corn tortillas pliable, warm them slightly in a skillet over medium heat for about 30 seconds on each side, or use a microwave for 10-15 seconds. Wrapping them up is easier when they’re warm! This step is essential, so they don’t crack when rolling your delicious Chicken and Cheese Taquitos.
Step 4: Assemble the Taquitos
Take a warm tortilla and spoon 2-3 tablespoons of the chicken and cheese filling near one edge. Roll the tortilla tightly, tucking in the sides, and place it seam-side down on a baking sheet. Repeat this process for each tortilla, ensuring they are snug and secure for baking.
Step 5: Spray with Oil
Once all the taquitos are assembled, lightly spray the tops with olive oil or avocado oil using a spray bottle. This will enhance the crispiness of your Chicken and Cheese Taquitos as they bake. Oil helps achieve that irresistible golden finish we all desire!
Step 6: Bake Until Golden
Now it’s time to bake! Place the taquitos in the preheated oven and bake for 15-20 minutes. Keep an eye on them, and remove them when they are golden brown and crispy. The tantalizing aroma will fill your kitchen just as the taquitos reach their prime.
Step 7: Let Rest and Serve
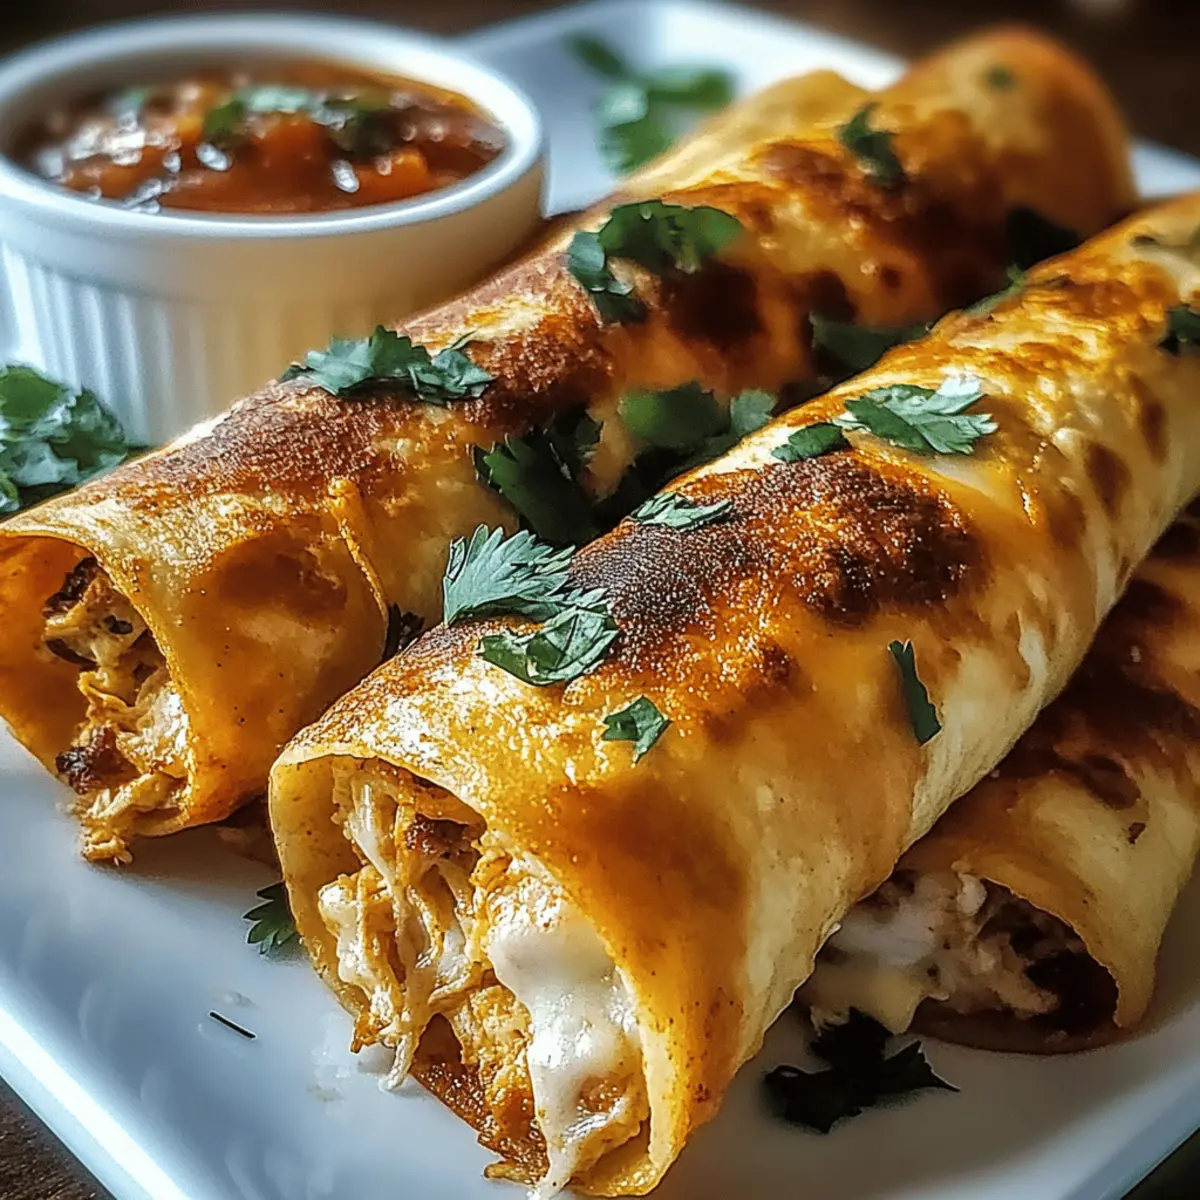
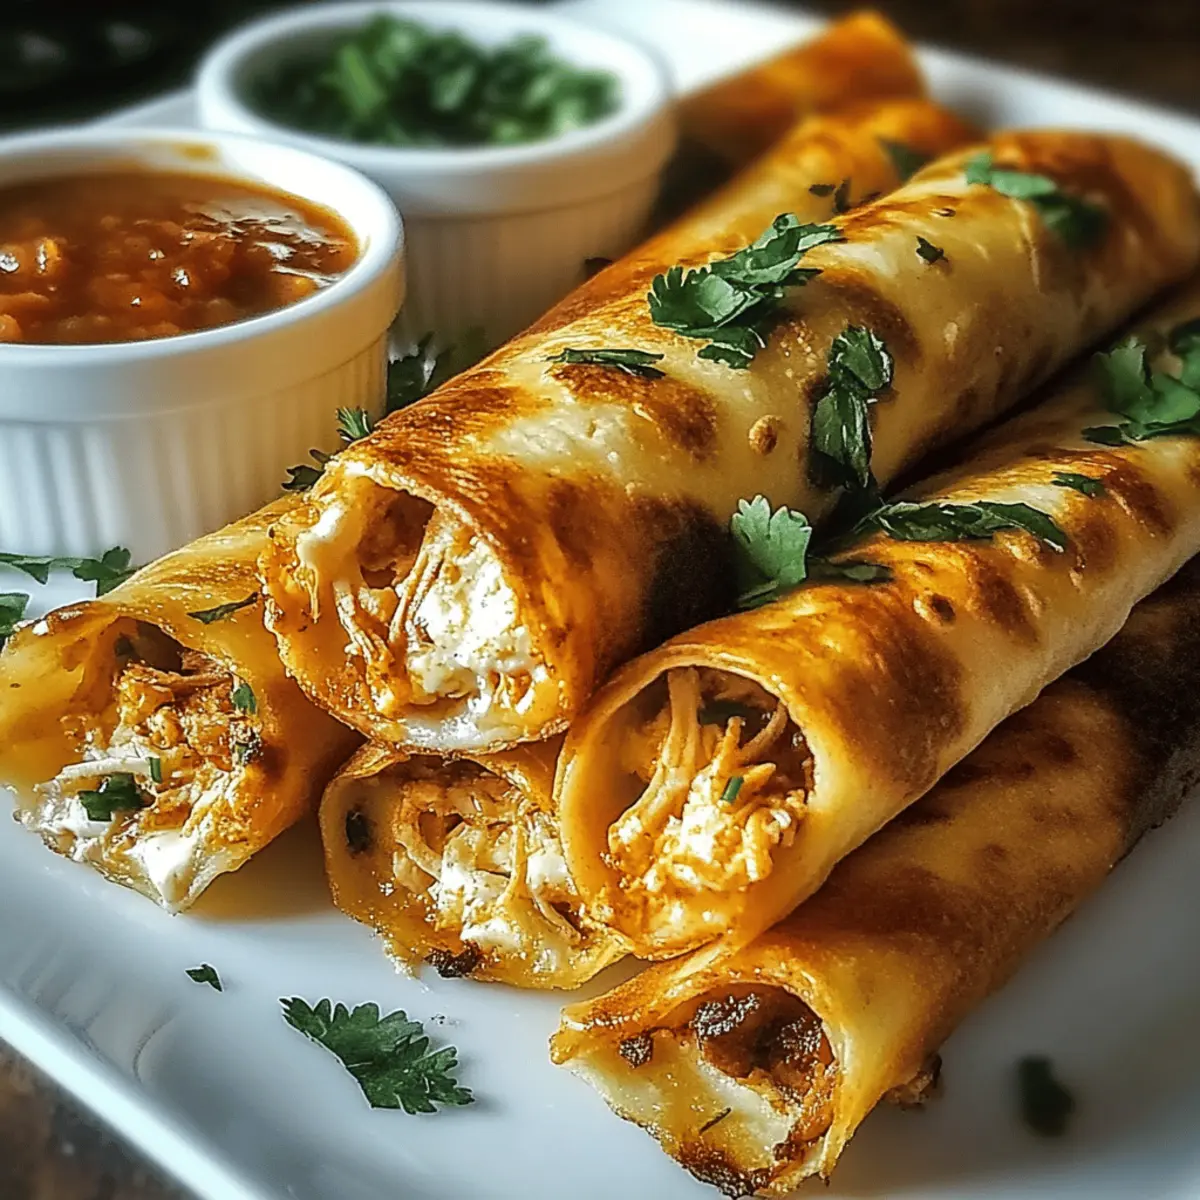
After taking the taquitos out of the oven, allow them to rest for a few minutes. This resting period helps the flavors marry beautifully, making every bite a delightful experience. Serve warm with your favorite dips like salsa or guacamole to complement your Chicken and Cheese Taquitos.
Chicken and Cheese Taquitos Variations
Give your Chicken and Cheese Taquitos a personal touch with these easy and delicious variations. The world of flavor awaits!
-
Vegetarian Delight: Substitute shredded chicken with black beans and sweet corn for a hearty vegetarian option. This combination offers a satisfying texture and a taste that sings with every bite.
-
Spicy Kick: Add diced jalapeños or a dollop of adobo sauce to the filling for a fiery twist. The heat will elevate your taquitos, making them a sensational choice for spice lovers.
-
Cheese Swap: Experiment with different cheeses such as pepper jack for a zesty flavor or cream cheese for an ultra-creamy filling. Every cheese brings a unique flavor profile, making it a fun tasting adventure.
-
Loaded Veggies: Incorporate sautéed bell peppers, onions, or zucchini into your filling mixture. These veggies not only add texture but also a burst of color and flavor, appealing to both the eyes and the palate.
-
Herb Infusion: Mixing in fresh herbs like cilantro or parsley can brighten the flavor profile of your taquitos. This herbaceous twist freshens up the entire dish, making it feel vibrant and alive.
-
Baked vs. Fried: For those craving a more indulgent option, consider frying instead of baking. Frying yields an extra-crispy exterior, but don’t forget to lightly drain them on paper towels when done.
-
Salsa Verde Option: Switch traditional toppings with salsa verde for a tangy and flavorful kick that pairs beautifully with the cheesy filling. It’s a refreshing contrast that brings a delightful dimension to your meal.
If you’re feeling adventurous, why not pair these taquitos with a delightful dip? Try them with Crockpot Cheese Tortellini for an amazing combo, or serve alongside a mouthwatering Salsa Verde Chicken to complement those flavors. Dive into the delicious world of Chicken and Cheese Taquitos and let your imagination run wild!
Make Ahead Options
These Chicken and Cheese Taquitos are a fantastic meal prep solution for busy weeknights! You can prepare the filling (chicken, cheese, and spices) up to 3 days in advance and store it in an airtight container in the refrigerator. Additionally, you can assemble the taquitos up to 24 hours ahead of baking. Just make sure to wrap them tightly in plastic wrap or foil to prevent them from drying out. When you’re ready to enjoy, simply take them out, allow them to sit at room temperature for about 15 minutes, spray with oil, and bake them straight from the fridge for optimal crispiness. This way, you’ll have delicious, homemade Chicken and Cheese Taquitos ready with minimal fuss!
Expert Tips for Chicken and Cheese Taquitos
-
Use Leftover Chicken: Opt for shredded rotisserie or leftover chicken to save time. It ensures that your taquitos are flavorful and quick to assemble.
-
Avoid Sogginess: Drain any excess moisture from the chicken thoroughly. This prevents your Chicken and Cheese Taquitos from becoming soggy and ensures a delightful crunch.
-
Warm Tortillas Properly: Don’t skip warming your tortillas! This extra step is essential; it prevents cracking and makes rolling much easier.
-
Mind the Filling: Avoid overfilling your tortillas; aim for 2-3 tablespoons of filling each. Overfilling can lead to them bursting open in the oven.
-
Crispy Finish: Always spray the taquitos with olive oil before baking. This helps achieve that coveted golden, crispy exterior everyone loves.
What to Serve with Chicken and Cheese Taquitos
Whether you’re hosting a lively gathering or enjoying a cozy family dinner, finding the perfect accompaniments can elevate your meal to new heights.
- Guacamole: Silky and rich, this avocado dip adds a creamy texture that balances the crunch of your taquitos.
- Sour Cream: Cool and tangy, sour cream provides a delightful contrast, enhancing the savory flavors of your filling. You can even mix in herbs or lime for an extra zing!
- Fresh Salsa: Bright and zesty, a fresh salsa bursts with tomatoes, onions, and cilantro, giving a vibrant flavor that complements every bite of taquito.
- Mexican Rice: Fluffy, flavorful rice offers a hearty side that rounds out the meal well. Infused with spices, it enhances the overall dining experience.
- Grilled Corn Salad: This crunchy, sweet side pairs beautifully, adding a fresh, summer-like essence alongside your crispy taquitos.
- Refried Beans: Creamy and rich, these provide a wonderful contrast in flavor and texture, perfect for slathering onto each bite.
- Mixed Green Salad: Crisp greens with a light vinaigrette bring a refreshing touch, cleansing the palate and balancing the richness of the dish.
- Lime Wedges: A squeeze of fresh lime over the taquitos brightens the entire dish, enhancing the flavors and making them even more irresistible.
- Margaritas: The perfect drink pairing, a refreshing margarita brings a festive flair to your taquito feast, making it an occasion to remember!
How to Store and Freeze Chicken and Cheese Taquitos
Fridge: Store your Chicken and Cheese Taquitos in an airtight container for up to 3-4 days. This will keep them fresh and ready for a quick snack or meal.
Freezer: If you want to enjoy these delicious taquitos later, freeze them in a single layer on a baking sheet, then transfer to a freezer-safe bag. They can last up to 3 months.
Reheating: For the best texture, reheat in an oven at 375°F (190°C) for about 10-15 minutes from frozen, or until hot and crispy. You can also use an air fryer for a quicker option!
Wrap Before Freezing: If freezing, ensure each taquito is wrapped snugly in plastic wrap before placing them in the bag. This helps prevent freezer burn and keeps your Chicken and Cheese Taquitos tasting fresh!

Chicken and Cheese Taquitos Recipe FAQs
How do I choose the right chicken for my taquitos?
Absolutely! The best option is to use shredded rotisserie chicken or leftover cooked chicken, as this not only saves time but also adds incredible flavor. If you’re using raw chicken, ensure it’s cooked through and well-seasoned before shredding.
How should I store my leftover Chicken and Cheese Taquitos?
Very simply! Place your taquitos in an airtight container in the refrigerator for up to 3-4 days. Make sure they’re cooled completely before sealing to maintain their crispiness.
Can I freeze Chicken and Cheese Taquitos?
Yes, you can! To freeze, lay the taquitos on a baking sheet in a single layer and freeze until solid. Then, transfer them to a freezer-safe bag, ensuring they’re wrapped well to prevent freezer burn. They can stay fresh for up to 3 months.
What’s the best way to reheat taquitos?
For the best crunchy texture, reheat frozen Chicken and Cheese Taquitos in an oven preheated to 375°F (190°C) for about 10-15 minutes. Alternatively, using an air fryer at the same temperature for a speedy option will get them hot and crispy again!
Can I make these taquitos gluten-free?
Absolutely! Just ensure you use 100% corn tortillas, as they are naturally gluten-free. When selecting other ingredients like cheese and spices, double-check labels for any gluten-related cross-contamination to keep everyone at the table safe.
What do I do if my taquitos come out soggy?
If you find your taquitos are soggy, make sure to drain any excess moisture from your chicken before mixing it with cheese and spices. Additionally, avoid overfilling your tortillas, as this can lead to extra liquid escaping during baking. For extra crispiness, don’t skip the oil spray before baking!
Satisfy Your Cravings with Chicken and Cheese Taquitos
Ingredients
Equipment
Method
- Preheat your oven to 400°F (200°C).
- In a mixing bowl, combine the shredded chicken, cheese, and spices. Stir until well-blended.
- Warm the corn tortillas in a skillet or microwave until pliable.
- Spoon 2-3 tablespoons of the filling onto a tortilla, roll tightly, and place seam-side down on a baking sheet.
- Lightly spray the tops with olive oil or avocado oil.
- Bake for 15-20 minutes until golden brown and crispy.
- Let rest for a few minutes before serving.
Leave a Reply