
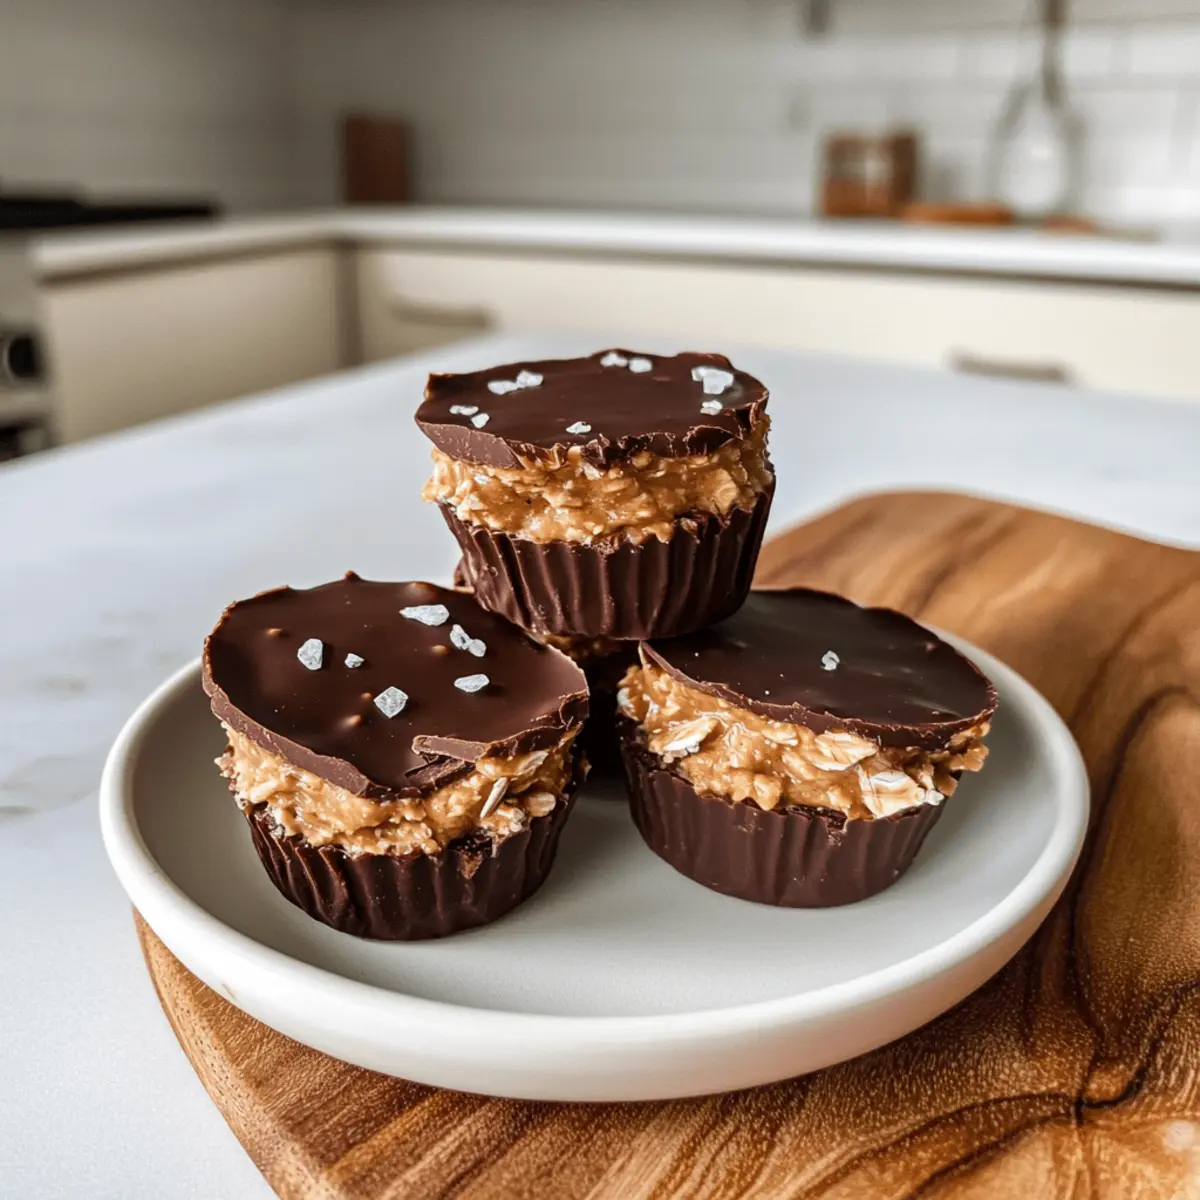
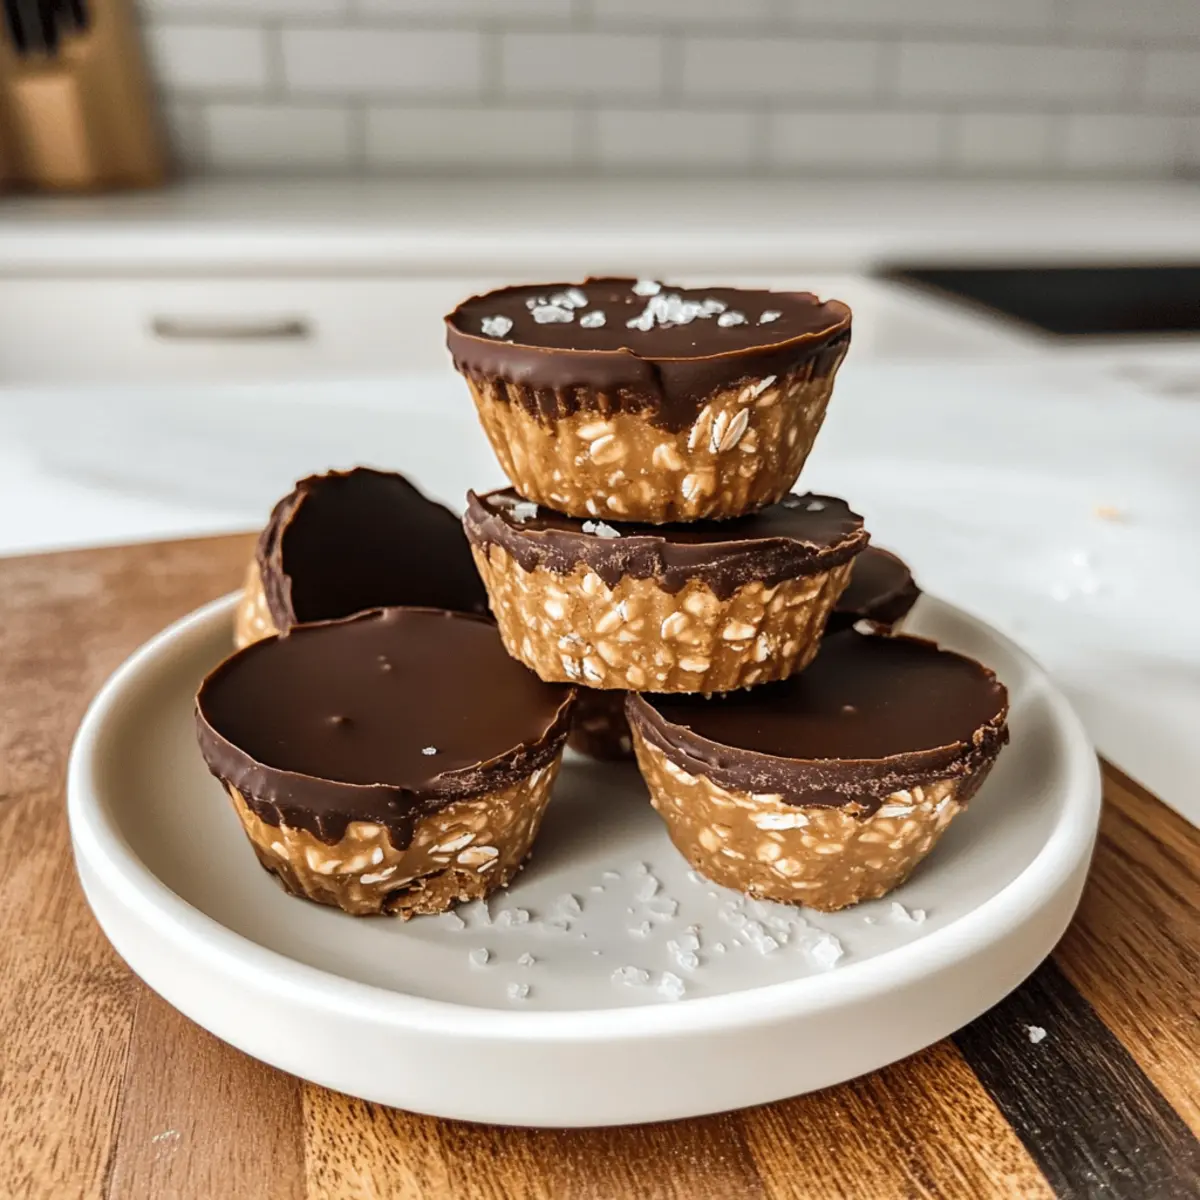
Standing in the kitchen, I could almost taste the nostalgia of childhood snacks as I whipped up these No-Bake Peanut Butter Oat Cups, a delightful crowd-pleaser that comes together in under 20 minutes. With a generous base of rolled oats embraced by creamy peanut butter and a luscious drizzle of dark chocolate, these cups are not just a treat; they cater to both gluten-free and vegan diets without sacrificing flavor. Whether you’re looking for a quick snack or something to impress friends, these cups deliver the perfect balance of convenience and indulgence, ensuring you can enjoy a sweet moment without the guilt. Ready to whip up a batch of these easy-to-make treats that are bound to become your new favorite?
Why Choose Peanut Butter Oat Cups?
Simplicity: These cups come together in under 20 minutes, making them the perfect treat for busy days.
Deliciously Nutritious: With a base of rolled oats and peanut butter, you get a satisfying snack packed with flavor.
Diet-Friendly: A great option for those following gluten-free or vegan diets, ensuring everyone can enjoy!
Endless Customization: Feel free to swap out peanut butter for almond or sunbutter, or even get adventurous with toppings like shredded coconut.
Kid-Approved: Kids love these cups, making them an ideal afterschool snack that keeps everyone happy!
You could even pair these treats with a glass of almond milk for a wholesome twist or check out my recipes for Yogurt Peanut Butter or Garlic Butter Chicken for more delicious ideas.
Peanut Butter Oat Cups Ingredients
For the Cups
• Peanut Butter – Provides creaminess and flavor. Substitutions: Use any nut or seed butter for a different taste or to make it nut-free.
• Old-Fashioned Rolled Oats – Acts as the base for structure. Substitutions: Quick oats can be used but will alter the texture.
• Maple Syrup – Adds sweetness. Substitutions: Honey or agave syrup can be used for a similar taste.
• Protein Powder – Optional ingredient for added nutrition. Use any protein powder; adjust the quantity based on preference.
For the Topping
• Chocolate Chips – Melted for topping, adds richness. Use dairy-free chocolate for a vegan alternative or any favorite variant.
• Flakey Sea Salt – Enhances flavor when sprinkled on top. Optional but recommended for finishing touch.
Step‑by‑Step Instructions for Peanut Butter Oat Cups
Step 1: Mix Peanut Butter and Maple Syrup
In a mixing bowl, combine creamy peanut butter with maple syrup. Use a spatula to blend them together until smooth and glossy, which should take about 1–2 minutes. This flavorful mixture will create the base for your Peanut Butter Oat Cups. Make sure it’s well combined to achieve a lovely consistency.
Step 2: Incorporate Rolled Oats
Add the old-fashioned rolled oats to the peanut butter mixture. Stir with a wooden spoon or spatula until the oats are thoroughly coated and evenly distributed, about 2–3 minutes. The mixture should start to clump together and have a sticky yet pliable texture, perfect for molding into cups.
Step 3: Portion into Molds
Spoon out approximately 2 tablespoons of the oat mixture into silicone molds. Press down firmly with the back of a spoon to create an even layer. This pressing action is crucial, as it ensures your Peanut Butter Oat Cups hold their shape once frozen, which should take about 20 seconds of attention per mold section.
Step 4: Add Peanut Butter Dollops
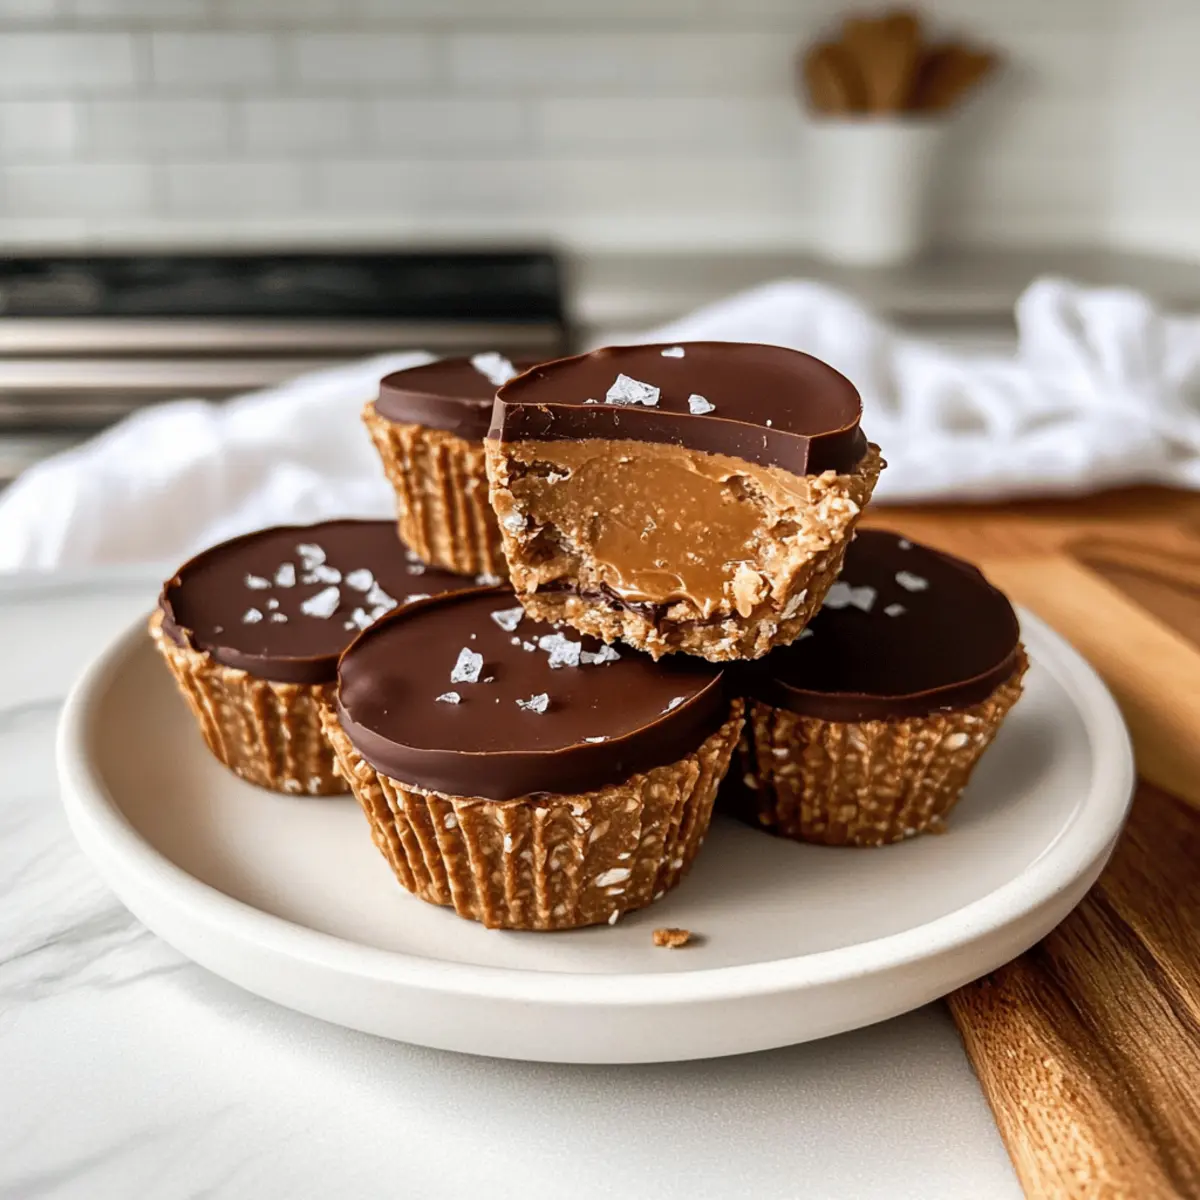
For an extra touch of indulgence, add a dollop of peanut butter on top of each mold filled with the oat mixture. Alternatively, stir in a scoop of protein powder into the dollops before spreading. Using the back of a spoon, gently flatten the peanut butter to create an even layer over the oat base.
Step 5: Freeze Until Firm
Place the filled silicone molds in the freezer and let them chill for about 20 minutes, or until firm to the touch. This step ensures that the Peanut Butter Oat Cups will maintain their structure when you remove them from the molds, helping to create a delightful chewy texture.
Step 6: Melt Chocolate
In a microwave-safe bowl, combine the chocolate chips with a teaspoon of oil. Heat the mixture in the microwave in increments of 30 seconds, stirring after each session until completely melted and smooth. This should take around 1–2 minutes total, creating a luscious topping for your Peanut Butter Oat Cups.
Step 7: Drizzle Over Cups
Carefully remove the molds from the freezer and drizzle the melted chocolate over each oat cup using a spoon. Ensure an even coating while being creative with your drizzling motion, as this adds a beautiful finish. Return the molds to the freezer for another 20 minutes to solidify the chocolate topping.
Step 8: Serve and Enjoy
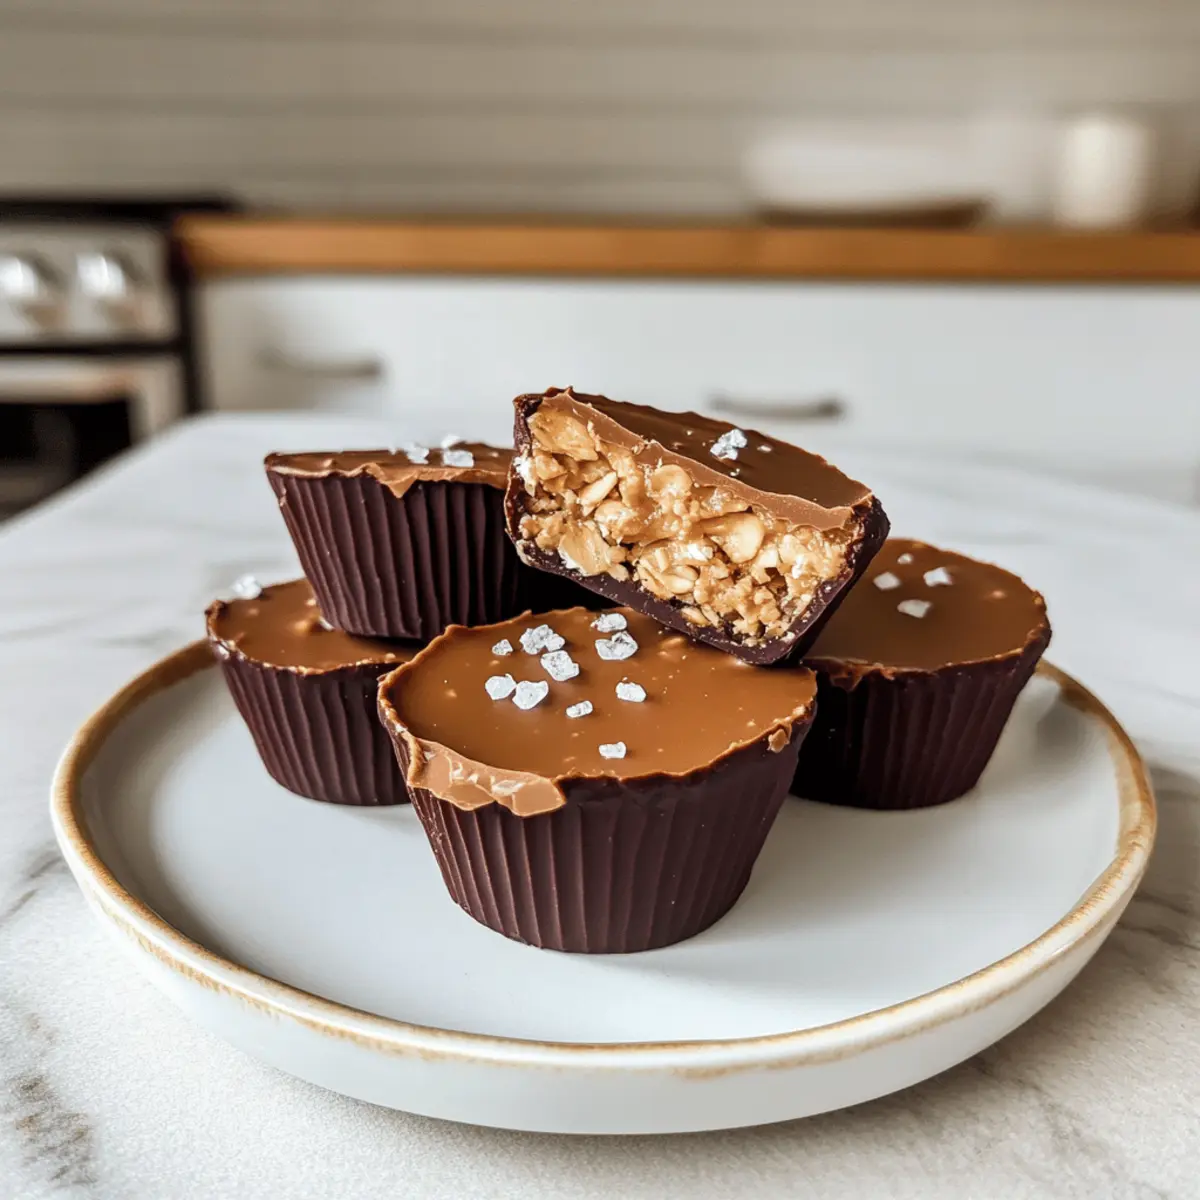
Once the chocolate is set, gently pop the Peanut Butter Oat Cups out of the silicone molds. For an extra burst of flavor, sprinkle a pinch of flaky sea salt on top. These delightful treats are perfect for snacking anytime, and their soft yet chewy texture will leave everyone asking for more!
What to Serve with No-Bake Peanut Butter Oat Cups?
Indulge in the simple yet delectable experience of pairing these creamy oat cups with delightful accompaniments that elevate your snack game.
- Fresh Fruit Salad: A bright medley of fruits adds refreshing sweetness and balances the richness of the oat cups, making for a wholesome treat.
- Coconut Yogurt: This creamy, tangy counterpart brings a tropical twist that complements the peanut butter while providing an extra layer of richness.
- Nutty Granola: A sprinkle of your favorite granola adds delightful crunch and textural contrast, creating a delicious mix of chewiness and crispness.
- Almond Milk Shake: Pairing with an almond milk blend brings a nutty creaminess that enhances the flavors, making for a satisfying snack experience.
- Dark Chocolate Dipping Sauce: For those who can’t resist more chocolate, serve with a warm, gooey dipping sauce that takes it to heavenly levels!
- Mini Chocolate Chip Cookies: Enjoying these cups alongside a few mini cookies creates a sweet platter everyone will adore, turning an afternoon snack into a dessert moment.
- Matcha Green Tea: The earthiness of matcha provides a beautiful contrast to the sweetness of the oat cups, making it an energizing pairing for any time of day.
- Cinnamon-Spiced Apple Slices: A crunchy, sweet accompaniment that offers freshness with a hint of spice, creating a well-rounded and pleasing combination.
Make Ahead Options
These Peanut Butter Oat Cups are an ideal candidate for meal prep, saving you time during your busy week. You can prepare the oat mixture and portion it into molds up to 24 hours in advance; just cover the molds and refrigerate to keep the mixture fresh. When you’re ready to finish the cups, take them out, press in your dollops of peanut butter, and freeze them for about 20 minutes. To maintain their quality, ensure the chocolate topping is made fresh right before serving to achieve that smooth, delightful drizzle. In this way, you can enjoy delicious Peanut Butter Oat Cups with minimal effort!
Peanut Butter Oat Cups Variations
Feel free to get creative with these Peanut Butter Oat Cups and make them your own!
-
Nut-Free Alternative: Substitute peanut butter with sunflower seed butter for a nut-free option that kids will love without sacrificing flavor.
-
Dairy-Free Delight: Use dairy-free chocolate chips instead of regular ones for a fully vegan treat that everyone can enjoy.
-
Flavor Boost: Add a teaspoon of vanilla extract or a sprinkle of cinnamon into the peanut butter mixture for a warm, aromatic twist.
-
Texture Twist: Mix in some chopped nuts or seeds for an extra crunch that contrasts perfectly with the creamy oat base.
-
Fruity Addition: Fold in some dried fruits like cranberries or raisins for a naturally sweet surprise in every bite. Your taste buds will thank you!
-
Salty-Sweet Harmony: Toss in some crushed pretzels for a delightful salty crunch that balances beautifully with the sweetness of the cups.
-
Chocolate Lovers: Drizzle some melt-in-your-mouth peanut butter chocolate sauce on top for a richer chocolate experience that will satisfy any sweet tooth.
You can also explore more flavor combinations like those in my Thai Peanut Chicken recipe for inspiration on how to spice things up! These variations promise to keep snack time fun and enticing!
How to Store and Freeze Peanut Butter Oat Cups
Fridge: Store your Peanut Butter Oat Cups in an airtight container for up to one week. This keeps them fresh and ready for snacking!
Freezer: For longer storage, freeze the cups in a single layer, then transfer to a freezer-safe container. They can last up to three months; just allow to thaw slightly before enjoying.
Reheating: If you prefer them slightly warm, microwave each cup for 10-15 seconds, just enough to soften the chocolate topping without melting it completely.
Tip: Always ensure they are sealed tightly to maintain flavor and texture, avoiding moisture and freezer burn.
Tips for the Best Peanut Butter Oat Cups
-
Use Silicone Molds: Opt for silicone molds for easy removal; they prevent sticking and ensure your Peanut Butter Oat Cups come out perfectly shaped.
-
Check Peanut Butter Consistency: Ensure the peanut butter is thick; a runny consistency can lead to mushy cups. Stir well for the best texture.
-
Monitor Freezing Time: Adjust freezing time based on the peanut butter’s thickness. If it’s too soft, your cups may not hold shape.
-
Melt Chocolate Carefully: Melt chocolate in short increments to avoid burning. Stir between heats for a smooth topping on your Peanut Butter Oat Cups.
-
Experiment With Mix-Ins: Feel free to customize! Add in nuts, seeds, or a sprinkle of cinnamon to enhance the flavor of your Peanut Butter Oat Cups.
Peanut Butter Oat Cups Recipe FAQs
What type of peanut butter should I use for the best texture?
Absolutely! For the best results, use a thicker, creamy peanut butter. Avoid runny varieties, as they can lead to mushy cups. If you want to ensure your mixture holds together, opt for natural peanut butter that has little to no added oils or sugars.
How long can I store these Peanut Butter Oat Cups?
Store your Peanut Butter Oat Cups in an airtight container in the fridge for up to one week. This method keeps them fresh, chewy, and ready for snacking any time you desire!
Can I freeze Peanut Butter Oat Cups?
Very! To freeze, place the cups in a single layer on a baking sheet and freeze until solid. Then, transfer them to a freezer-safe container or bag. They can last up to three months. Just remember to allow them to thaw slightly at room temperature or warm them in the microwave for 10-15 seconds for a soft treat.
What should I do if the cups don’t hold their shape?
If your Peanut Butter Oat Cups aren’t holding their shape, they may need a bit longer in the freezer. Ensure you’re pressing the oat mixture firmly into the molds during preparation. If they’re still soft, try using a thicker peanut butter or adding some extra rolled oats to the mixture to help absorb moisture.
Can these cups be made allergen-friendly?
Definitely! You can make these cups nut-free by substituting peanut butter with sunbutter or soy nut butter. Additionally, check the labels on your chocolate chips for dairy content if you are adhering to vegan or dairy-free diets.
Anything else I can add for extra flavor or texture?
Absolutely! Feel free to customize your Peanut Butter Oat Cups! You can mix in seeds, like chia or flax, or even add a handful of dark chocolate chunks. For a delightful twist, sprinkle in some cinnamon or add a few crushed pretzels for a salty crunch. The more, the merrier in flavor!
Delicious Peanut Butter Oat Cups: Quick No-Bake Bliss
Ingredients
Equipment
Method
- In a mixing bowl, combine creamy peanut butter with maple syrup. Blend until smooth and glossy.
- Add old-fashioned rolled oats to the mixture and stir until thoroughly coated.
- Spoon out approximately 2 tablespoons of the oat mixture into silicone molds and press down firmly.
- Add a dollop of peanut butter on top of each mold filled with the oat mixture.
- Place molds in the freezer for about 20 minutes, or until firm.
- Melt chocolate chips with a teaspoon of oil in the microwave, stirring until smooth.
- Drizzle the melted chocolate over each oat cup, ensuring even coating.
- Return the molds to the freezer for another 20 minutes to solidify the chocolate.
- Once set, gently pop the cups out of the molds and sprinkle a pinch of flaky sea salt on top.
Leave a Reply