
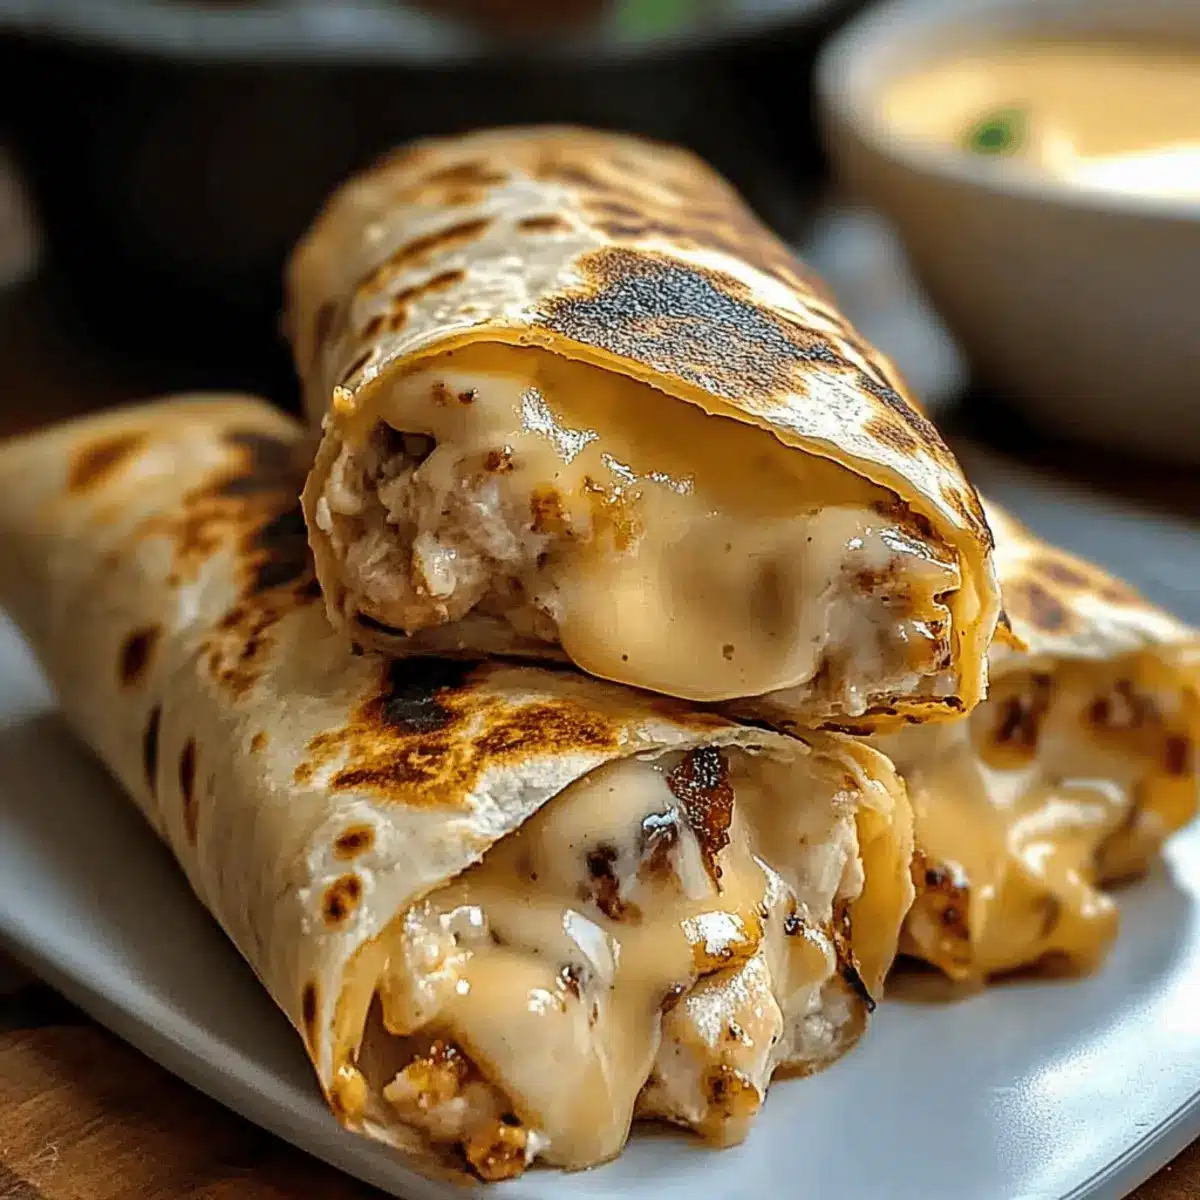
In the hustle and bustle of our busy lives, we often crave something scrumptious yet uncomplicated, and that’s where these Cheesy Garlic Chicken Wraps step in! Picture this: warm tortillas embracing tender chicken and gooey cheese, creating the perfect handheld delight. Not only do these wraps come together in a flash, making them a lifesaver for hectic weeknights, but they also invite a world of customization—whether you prefer classic flavors or want to spice it up with your favorite veggies. Each bite is not just satisfying; it offers the comfort we all need without the fast-food guilt. So, are you ready to dive into this cheesy goodness that transforms leftover chicken into a delicious meal?
Why Are These Wraps So Irresistible?
Quick and Easy: Whip up these Cheesy Garlic Chicken Wraps in mere minutes, perfect for busy weeknights when time is of the essence.
Customizable Delights: With a variety of cheeses and veggies, you can tailor each wrap to fit your taste—pepper jack for spice, or spinach for a boost of nutrition.
Comforting Flavors: Melty cheese combined with savory chicken wrapped in warm tortillas creates the ultimate comfort food experience—better than any takeout!
Crowd-Pleaser: Serve these at your next gathering—they’re sure to disappear quickly, leaving everyone hungry for more!
Guilt-Free Indulgence: Relish the satisfaction of homemade cooking without any fast food guilt. Want more savory options? Try pairing with Garlic Herb Roasted vegetables for a well-rounded meal!
Cheesy Garlic Chicken Wrap Ingredients
For the Filling
• Cooked Chicken – Use shredded or diced chicken for a hearty, protein-rich base; leftovers work great for quick prep.
• Shredded Mozzarella or Cheddar Cheese – Choose your favorite for a creamy, flavorful finish; blend them for a delightful twist.
• Cream Cheese (softened) – Adds velvety richness to the filling; you can substitute with ricotta or a dairy-free option if desired.
• Garlic (minced) – Fresh garlic infuses aromatic flavor; garlic powder can work as a quick alternative in a pinch.
• Sour Cream – Introduces a tangy creaminess; swap with Greek yogurt for a lighter take.
• Garlic Powder – Perfect for enhancing the garlic flavor; fresh garlic can be swapped in if you desire that extra punch.
• Italian Seasoning – A blend of herbs that elevates the taste; consider using dried oregano or basil for a similar flavor profile.
For the Wrap
• Large Tortillas – The essential wrap base; whole wheat or gluten-free tortillas can be a nutritious alternative.
• Butter (melted) – Ideal for sautéing garlic and crisping up the wraps; olive oil can be a healthier substitute.
• Salt and Pepper – Necessary for enhancing flavors—season generously to bring all the elements together.
• Fresh Parsley (for garnish, optional) – Adds a fresh, vibrant touch to your finished wraps.
Unleash the satisfying magic of Cheesy Garlic Chicken Wraps—they are sure to be a hit at any table!
Step‑by‑Step Instructions for Cheesy Garlic Chicken Wraps
Step 1: Prepare Chicken
If you’re using fresh chicken, begin by cooking it in a skillet over medium heat for about 6-8 minutes, or until fully cooked and no longer pink inside. Shred or dice the cooked chicken and set it aside. If you have leftover chicken, feel free to skip this step to save time in creating your cheesy garlic chicken wraps.
Step 2: Cook Garlic
In a spacious skillet, melt 2 tablespoons of butter over medium heat. Once melted, add 2 cloves of minced garlic and sauté for about 1 minute, just until fragrant and golden. Keep an eye on it to avoid burning, as the aromatic garlic is pivotal in enhancing the flavor of your Cheesy Garlic Chicken Wraps.
Step 3: Mix Filling
In a large mixing bowl, combine 1 cup of shredded cheese, 4 ounces of softened cream cheese, and ½ cup of sour cream. Stir in 1 teaspoon of garlic powder and 1 teaspoon of Italian seasoning until the mixture is smooth and creamy. Finally, fold in your cooked chicken and season generously with salt and pepper to taste, ensuring a delightful filling for your wraps.
Step 4: Warm Tortillas
To make the tortillas pliable, heat them in a skillet over low heat for about 30 seconds on each side, or microwave them for about 20 seconds. This warming process is crucial as it allows for easier rolling and prevents tearing when you assemble your cheesy garlic chicken wraps.
Step 5: Assemble Wraps
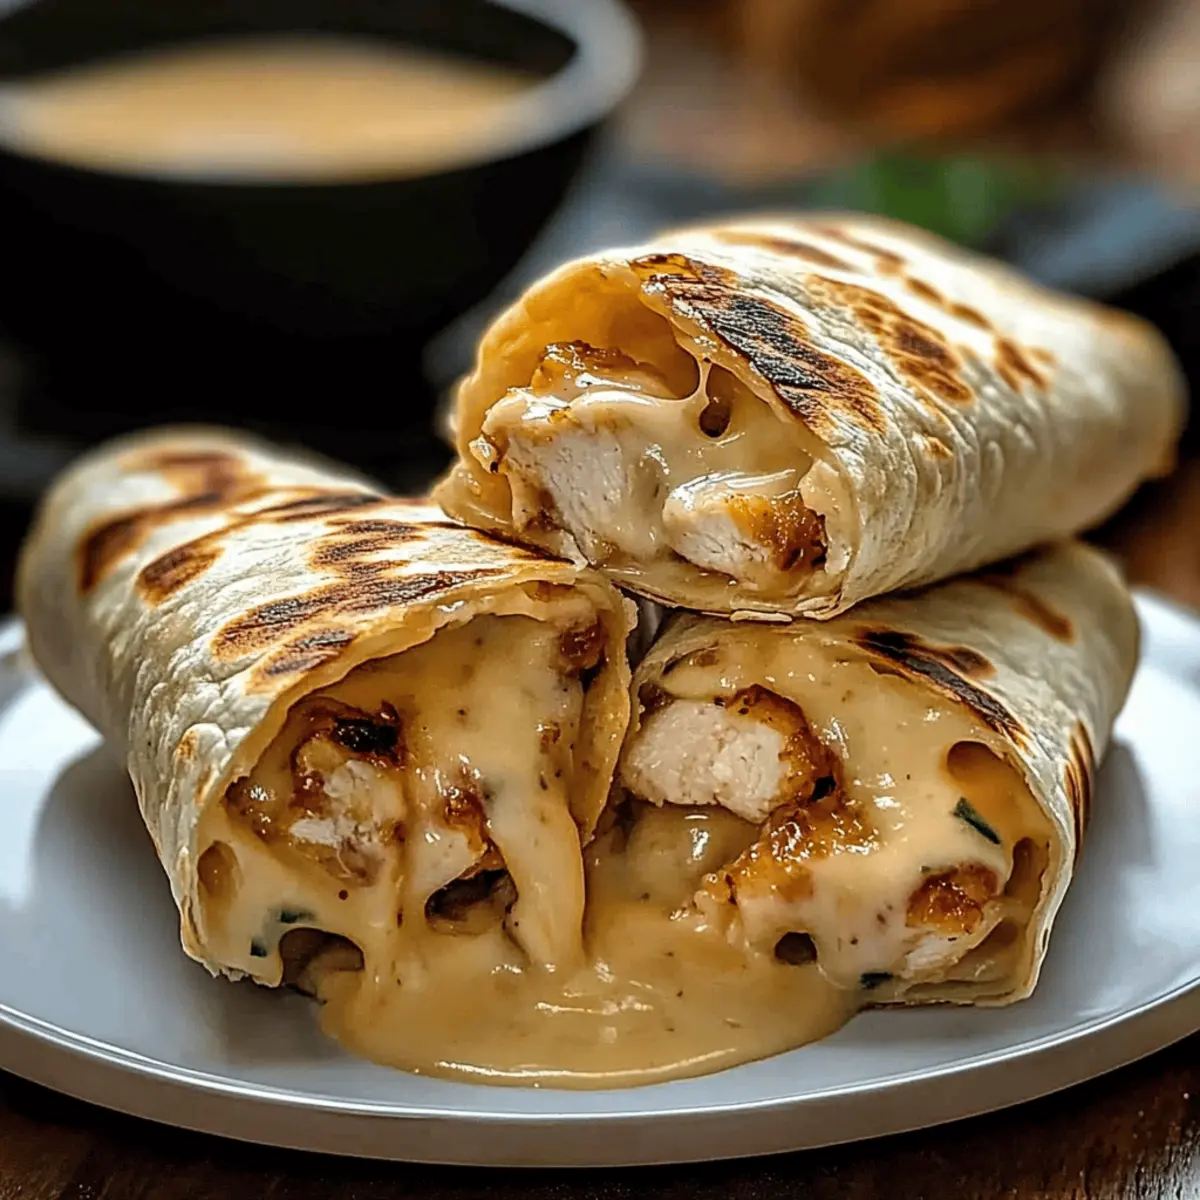
Lay a warm tortilla flat on a clean surface and scoop a generous portion of the filling mixture into the center. Fold the sides of the tortilla over the filling, then roll it tightly from the bottom up. Ensure the filling is securely wrapped to prevent any deliciousness from escaping during cooking!
Step 6: Fry Wraps
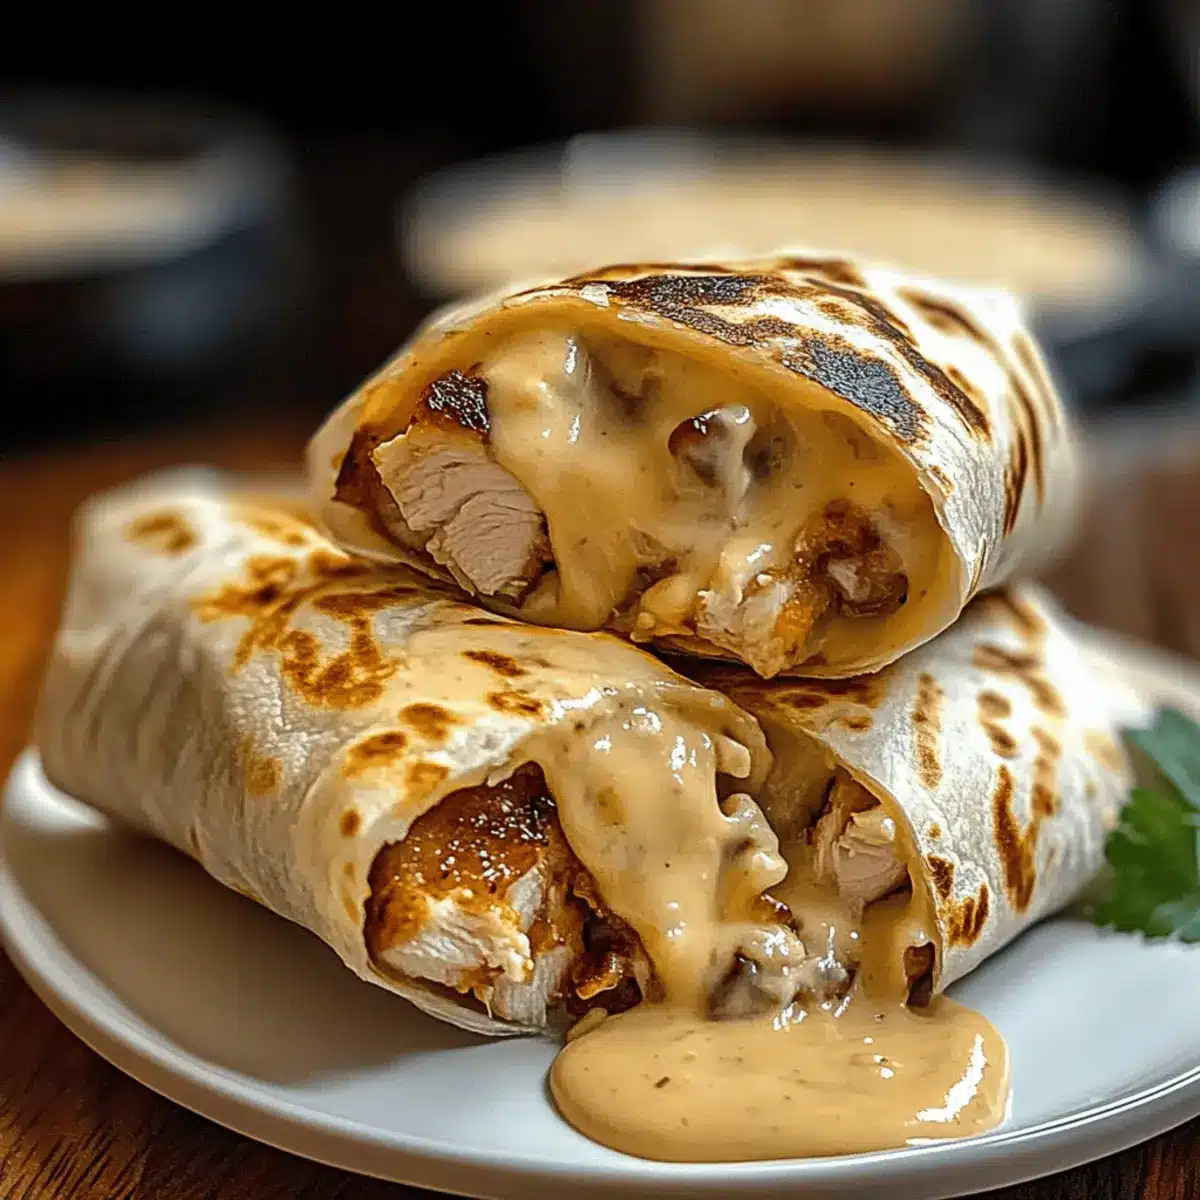
In the same skillet, add a little more butter or olive oil over medium heat. Place the wraps seam-side down and fry them for about 2-3 minutes until golden brown and crispy. Carefully flip the wraps and cook the other side for another 2-3 minutes, watching for that perfect golden hue as they become crispy on the outside.
Step 7: Serve & Garnish
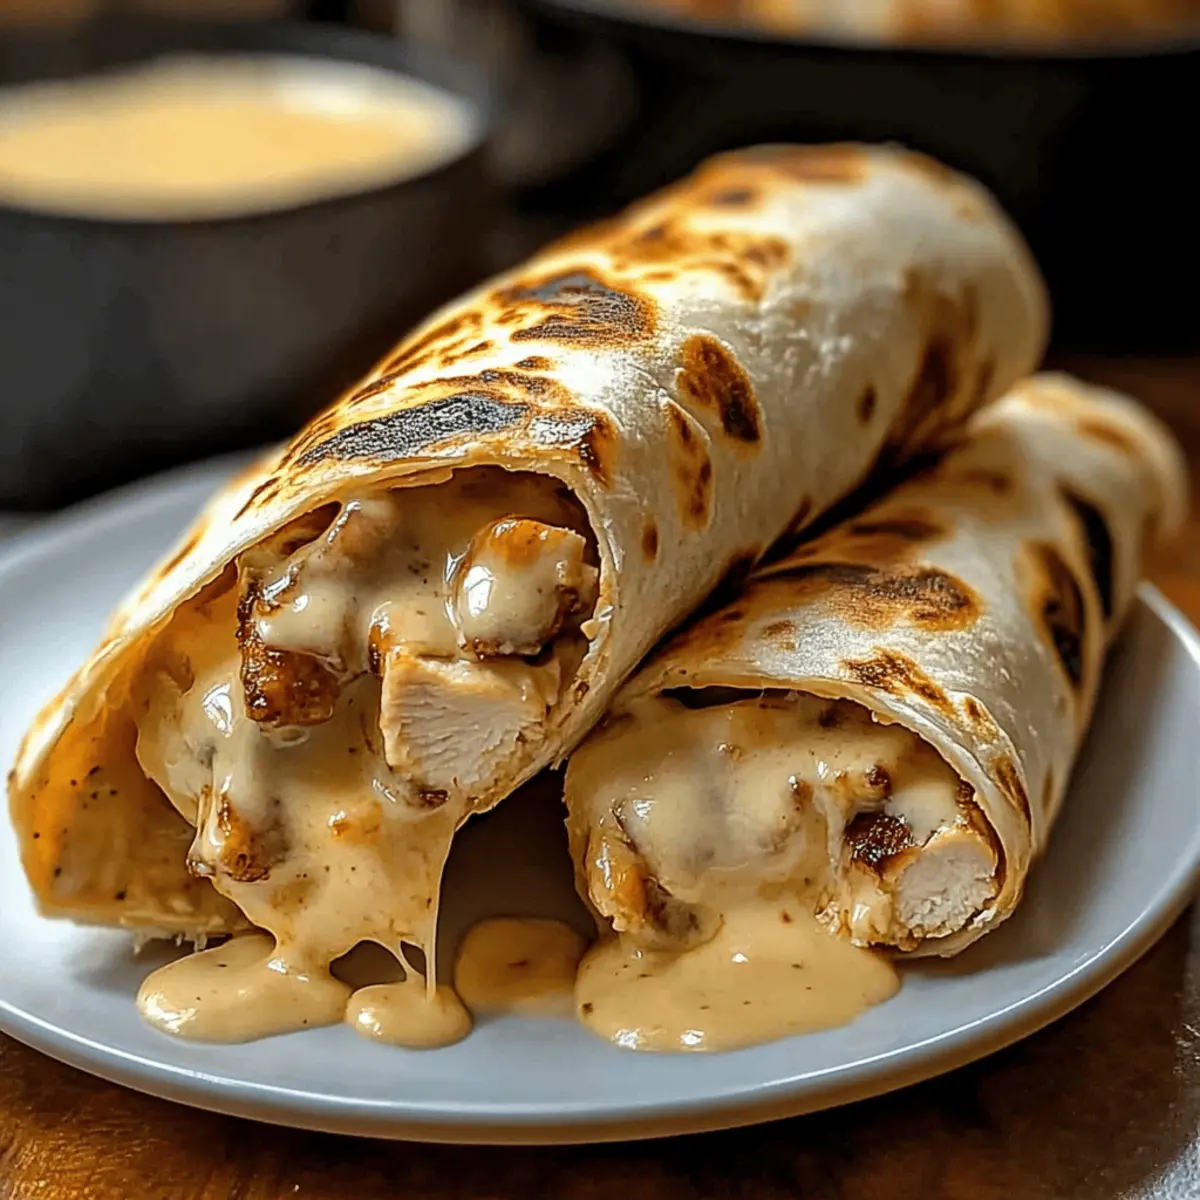
Once they’re beautifully crispy and golden, transfer your Cheesy Garlic Chicken Wraps to a plate. If desired, sprinkle with fresh parsley for a pop of color and freshness. These wraps are best enjoyed warm, so gather your loved ones around for a delightful meal that’s sure to be a hit!
Make Ahead Options
These Cheesy Garlic Chicken Wraps are ideal for meal prep, ensuring you have a delicious, homemade meal ready when you need it most! You can prepare the filling (chicken, cheeses, and seasonings) up to 24 hours ahead and store it in an airtight container in the refrigerator. To maintain the filling’s creamy texture and avoid drying out, make sure to cover it well. You can also warm the tortillas a few hours before assembly to keep them soft. When you’re ready to serve, simply assemble the wraps and fry them for about 2-3 minutes on each side until golden. This way, you’ll enjoy fresh, crispy wraps in no time!
Cheesy Garlic Chicken Wraps Variations & Substitutions
Feel free to get creative with these Cheesy Garlic Chicken Wraps—every twist makes them even more delightful!
- Dairy-Free: Swap cream cheese for a vegan cream cheese and use dairy-free cheese for a rich, guilt-free indulgence.
- Spicy Twist: Incorporate diced jalapeños or a splash of hot sauce in the filling for an exciting kick that ignites the flavors.
- Veggie-loaded: Add fresh spinach or bell peppers to the filling for a nutritious boost and a beautiful pop of color.
- Whole Grain: Choose whole wheat or spinach tortillas to elevate the nutritional content and add a unique flavor to each wrap.
- Protein Variations: Try shredded rotisserie chicken, turkey, or even beans for a satisfying meat-free alternative that’s equally comforting.
- Herb Explosion: Instead of Italian seasoning, sprinkle in fresh herbs like cilantro or basil for a vibrant, aromatic finish. These herbs promote freshness, making each bite even better.
- Crunch Factor: Add sliced cucumber or shredded carrots to the filling for a delightful crunch that complements the creamy texture.
- Sweet Addition: A hint of honey or a drizzle of warm BBQ sauce can transform the flavor profile, providing an unexpected sweet and savory contrast.
Want more scrumptious ideas? Pair these wraps with Garlic Herb Roasted veggies or serve them alongside quick and juicy Steak Bites Garlic for a complete feast that delights the senses!
What to Serve with Cheesy Garlic Chicken Wraps
Looking to create a well-rounded meal that enhances the joy of your cheesy wraps?
- Crispy Side Salad: A fresh salad with mixed greens, cherry tomatoes, and a light vinaigrette adds crunch and a burst of flavor to your meal.
- Garlic Herb Roasted Vegetables: Roasted vegetables like carrots, bell peppers, and zucchini complement the wraps’ cheesy richness, adding a healthy and colorful side.
- Creamy Potato Wedges: These lightly seasoned wedges are crispy on the outside and fluffy on the inside, making them the perfect comfort food pairing.
- Sour Cream Dip: A tangy sour cream or Greek yogurt dip drizzled with a bit of hot sauce can elevate your wraps to a new level of deliciousness.
- Cozy Tomato Soup: For a warm, comforting touch, a bowl of creamy tomato soup makes for a delightful dip for the wraps.
- Sparkling Lemonade: Refreshing and light, a fizzy lemonade balances the savory flavors of the wraps with its zesty sweetness.
- Fruit Salad: A light fruit salad adds sweetness and freshness to your meal, brightening up the plate and palate.
- Chocolate Chip Cookies: End on a sweet note with warm, chewy cookies; they’re perfect for satisfying your dessert cravings after a savory feast.
Expert Tips for Cheesy Garlic Chicken Wraps
• Warm Tortillas Well: Ensure your tortillas are adequately warmed to prevent tearing while rolling. A quick heat-up opens them up to easy wrapping.
• Avoid Burnt Garlic: When sautéing garlic, monitor closely as it can burn swiftly. Aim for a fragrant, golden brown—never dark brown.
• Adjust Filling Texture: If your chicken mixture seems too thick, add a splash of milk for a smoother, more spreadable consistency in your Cheesy Garlic Chicken Wraps.
• Experiment with Fillings: Don’t hesitate to include your favorite veggies or spices! Spinach, bell peppers, or hot sauce can elevate the flavor further.
• Seal Them Tight: When rolling your wraps, ensure a snug fit. This helps maintain the integrity of your delicious filling during frying.
How to Store and Freeze Cheesy Garlic Chicken Wraps
- Room Temperature: Enjoy your Cheesy Garlic Chicken Wraps fresh for the best flavor. If left out, consume them within 2 hours to ensure food safety.
- Fridge: Store leftovers in an airtight container for up to 3 days. This helps maintain their flavor and texture while keeping them safe to eat.
- Freezer: For longer storage, wrap each cooled wrap tightly in plastic wrap and then place them in a freezer-safe bag for up to 2 months.
- Reheating: To reheat, thaw in the fridge overnight, then warm in a skillet over medium heat for about 3-5 minutes on each side until heated through and crispy.
Cheesy Garlic Chicken Wraps Recipe FAQs
How do I choose the right chicken for my wraps?
Absolutely! You can use shredded or diced cooked chicken for these wraps. For quick prep, leftover chicken is perfect—just ensure it’s heated through. If using fresh chicken, cook it until no longer pink, about 6-8 minutes.
How should I store my leftover Cheesy Garlic Chicken Wraps?
Very simply; place them in an airtight container in the refrigerator. They’ll stay fresh for up to 3 days. When ready to enjoy, reheat them in a skillet for the best texture!
Can I freeze Cheesy Garlic Chicken Wraps?
Of course! To freeze, wrap each cooled wrap tightly in plastic wrap, then place them in a freezer-safe bag. They can last up to 2 months. When you’re ready to enjoy, thaw in the fridge overnight, then warm them in a skillet for about 3-5 minutes on each side until crispy.
What should I do if my garlic burns while cooking?
If you find that your garlic gets a bit too brown, don’t worry! Just adjust your heat next time. Ideally, sauté garlic at medium heat and keep an eye on it—it should be fragrant and golden, not dark brown. Remember, burnt garlic can impart a bitter taste to your dish.
Are there any dietary considerations I should keep in mind?
Absolutely! If you or your guests have allergies, consider substituting cream cheese with a dairy-free version and check tortillas for gluten-free options. Always ask about preferences and allergies before serving, ensuring everyone can enjoy these delicious Cheesy Garlic Chicken Wraps!
Delicious Cheesy Garlic Chicken Wraps for Quick Comfort Food
Ingredients
Equipment
Method
- Prepare Chicken: Cook fresh chicken in a skillet over medium heat for 6-8 minutes until fully cooked, then shred or dice. If using leftovers, skip this step.
- Cook Garlic: Melt butter in a skillet, add minced garlic, and sauté for about 1 minute until fragrant.
- Mix Filling: Combine shredded cheese, cream cheese, sour cream, garlic powder, and Italian seasoning in a bowl. Fold in cooked chicken, season with salt and pepper.
- Warm Tortillas: Heat tortillas in a skillet over low heat for 30 seconds on each side or microwave for 20 seconds.
- Assemble Wraps: Lay a tortilla flat, scoop filling into the center, fold sides, and roll it tightly.
- Fry Wraps: In a skillet, add more butter or olive oil, place wraps seam-side down, fry for 2-3 minutes until golden, then flip and repeat.
- Serve & Garnish: Transfer wraps to a plate, sprinkle with parsley if desired, and enjoy warm.
Leave a Reply