
Walking through the vibrant streets of New Orleans, I stumbled upon a charming café wafting the sweet aroma of freshly baked desserts. It was there I discovered the magic of a Red Velvet Oreo Cheesecake—a stunning creation that perfectly marries the classic richness of red velvet with the irresistible crunch of Oreos. This show-stopping dessert is more than just a treat; it brings people together, making it ideal for birthdays, holidays, or any gathering where you want to shine. With quick prep time and a luxurious, creamy texture that melts in your mouth, it’s hard to resist a second slice. Are you ready to dazzle your friends and family with a dessert that not only looks spectacular but tastes heavenly? Let’s dive into this delightful recipe!
Why is Red Velvet Oreo Cheesecake a Must-Try?
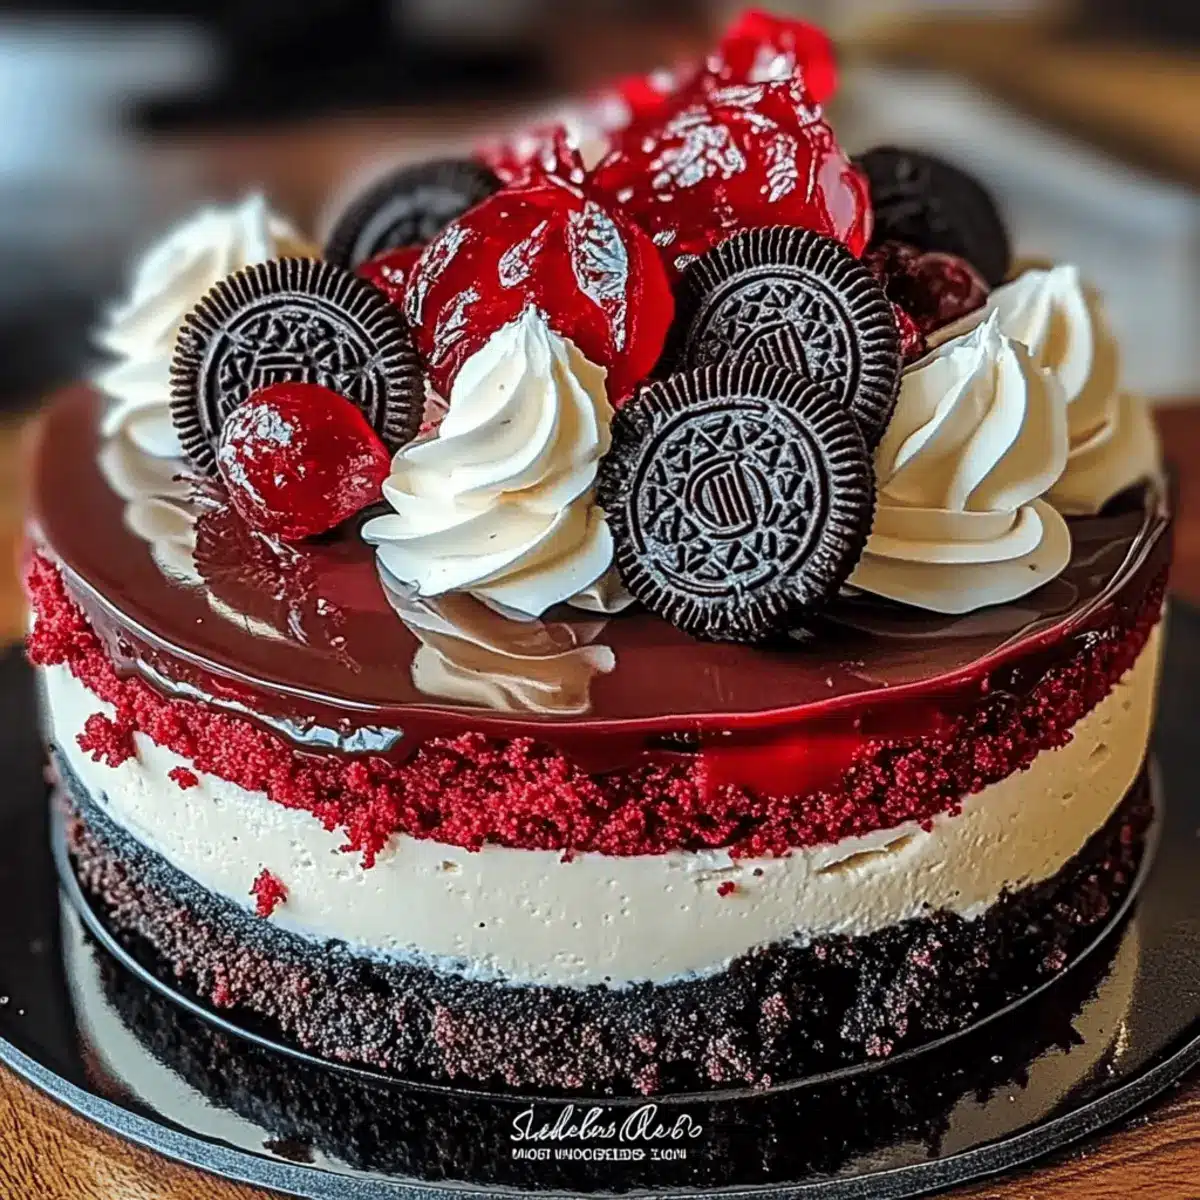
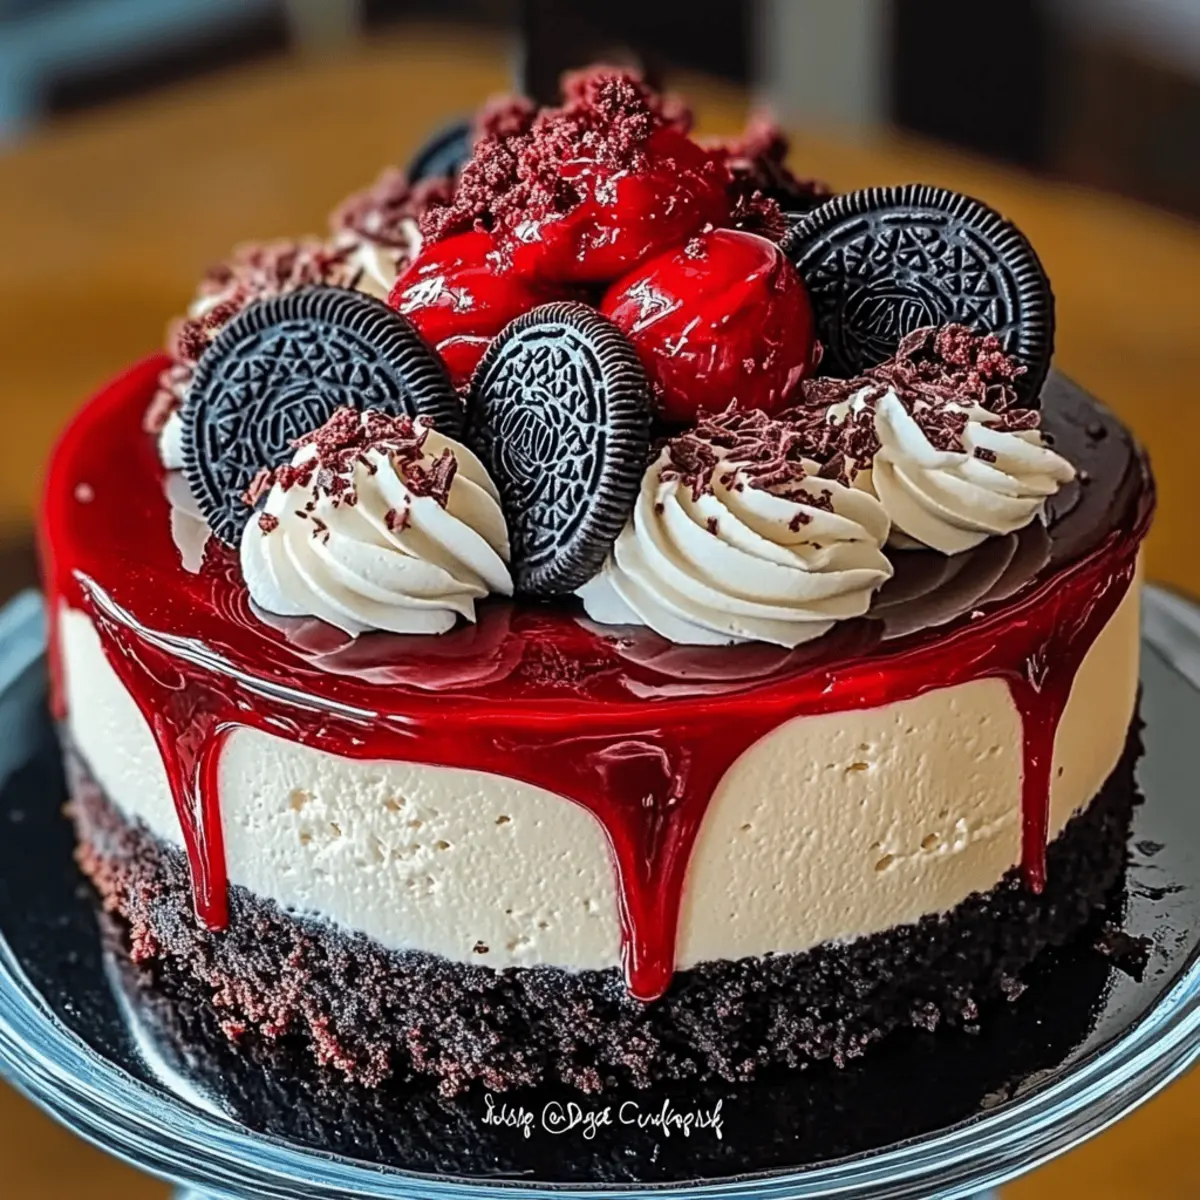
Decadent Layers: This cheesecake features velvety red velvet infused with rich cream cheese, layered atop a crunchy Oreo crust—an indulgent combination that will leave your guests asking for seconds.
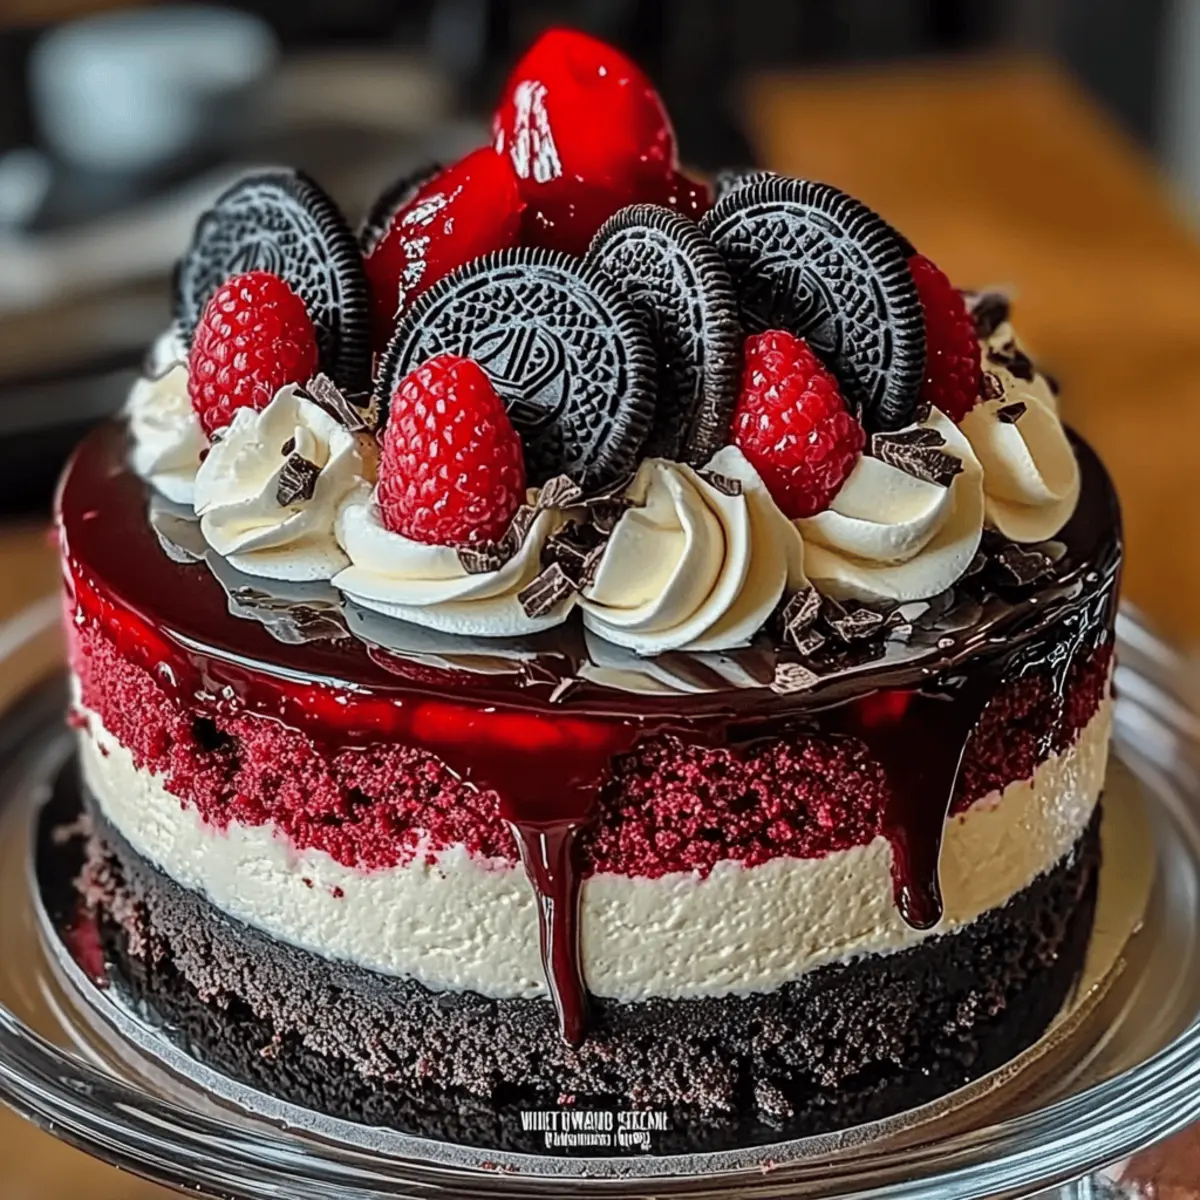
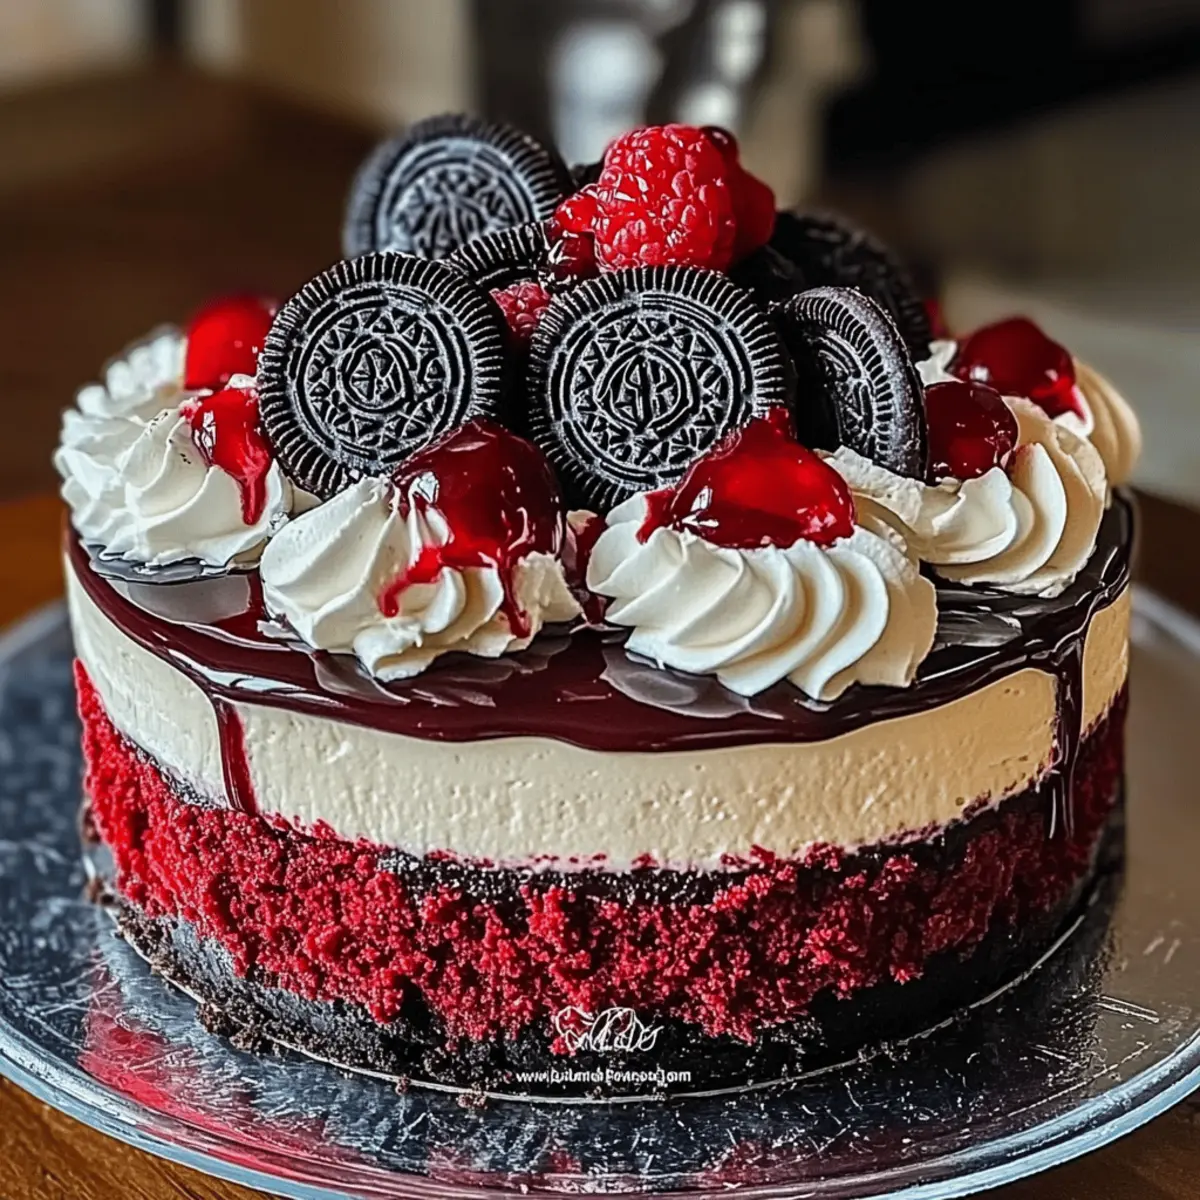
Stunning Presentation: Its vibrant colors and glossy ganache topping make it a standout centerpiece for any occasion.
Crowd-Pleasing Flavor: The melding of sweet and tangy notes, enhanced by the chocolate crunch, ensures everyone will fall in love.
Easier Than It Looks: Despite its impressive appearance, the step-by-step instructions make this recipe approachable for all skill levels.
Make-Ahead Friendly: Prep this dessert one to two days in advance, saving you time and stress on your special occasion!
Pair this delightful treat with a delicious Chicken Alfredo Tater for a memorable meal or follow it up with a slice of Caramel Brownie Cheesecake for a double dessert extravaganza!
Red Velvet Oreo Cheesecake Ingredients
For the Crust
• Oreo Cookies – Essential for a crunchy base that adds a rich chocolate flavor; consider switching to chocolate graham crackers if desired.
• Butter – Binds the crust together while adding depth; unsalted is best for better flavor control.
For the Cheesecake Layers
• Cream Cheese – The ultimate star for that creamy texture; full-fat is recommended for optimal richness.
• Sugar – Sweetens the cheesecake to perfection; feel free to adjust to your taste or use a sugar substitute if needed.
• Eggs – Provide binding and richness; using room temperature eggs encourages smoother mixing.
• Vanilla Extract – Adds a delightful flavor boost; opt for pure vanilla for the best results.
• Red Velvet Cake Mix – Brings both color and flavor; for a more homemade feel, consider mixing your own if avoiding boxed products.
For the Ganache
• Heavy Cream – Vital for creating a silky ganache; ensures a glossy finish that drapes beautifully over the cheesecake.
• Chocolate Chips – Make up the ganache topping; dark chocolate works wonderfully for an extra indulgent flavor.
For Garnish
• Whipped Cream – Adds a light and fluffy element atop the cheesecake; perfect for decorating and enhancing presentation.
Dive into creating your Red Velvet Oreo Cheesecake, and prepare to impress with its stunning layers and flavors that capture every dessert lover’s heart!
Step‑by‑Step Instructions for Red Velvet Oreo Cheesecake
Step 1: Prepare the Cookie Crust
Start by preheating your oven to 350°F (175°C). In a food processor, crush 24 Oreo cookies until fine crumbs form. Melt 1/2 cup of unsalted butter, then mix it with the Oreo crumbs until well combined. Press this mixture firmly into the bottom of a 9-inch springform pan to create an even crust. Bake for 10 minutes or until firm, then set aside to cool.
Step 2: Make Red Velvet Cheesecake Layer
In a large mixing bowl, beat 16 oz. of room temperature cream cheese with 1 cup of sugar until smooth. Add 3 large eggs, one at a time, mixing well after each. Gently fold in 1 cup of red velvet cake mix until just combined. Pour this luscious red velvet batter over the cooled Oreo crust, spreading it evenly with a spatula before moving to the next step.
Step 3: Prepare Vanilla Cheesecake Layer
In another bowl, mix 16 oz. of cream cheese with 1 cup of sugar until creamy. Add in 3 room temperature eggs and 1 teaspoon of pure vanilla extract, blending until smooth and well incorporated. Carefully pour this vanilla cheesecake layer over the red velvet layer, ensuring a gentle pour to maintain the layers and create a stunning visual effect.
Step 4: Bake
Place the cheesecake in your preheated oven and bake for approximately 60 minutes. You’re looking for a slight jiggle in the center; it should not be completely set. Once done, turn off the oven and let the cheesecake cool in the oven with the door slightly ajar for an additional hour, preventing cracks from sudden temperature changes.
Step 5: Chill
After cooling, transfer the cheesecake to the refrigerator and chill for at least 7 hours, or preferably overnight. This step allows the flavors to meld beautifully, ensuring a rich and satisfying slice of your Red Velvet Oreo Cheesecake when ready to serve.
Step 6: Make Ganache
When your cheesecake is fully chilled, prepare the ganache by heating 1 cup of heavy cream in a small saucepan over medium heat until it starts to simmer—not boil. Pour this hot cream over 1 cup of chocolate chips in a bowl, allowing it to sit for a few minutes before stirring until smooth and glossy.
Step 7: Finish and Serve
Pour the silky ganache over the chilled cheesecake, using a spatula to help it flow to the edges. Decorate with freshly whipped cream and any desired toppings for added flair. Slice and serve your impressive Red Velvet Oreo Cheesecake to delight friends and family, showcasing the stunning layers you’ve crafted!
Red Velvet Oreo Cheesecake: Creative Twists
Feel free to make this delightful cheesecake your own by trying these innovative variations!
-
Gluten-Free: Use gluten-free Oreo cookies or almond flour for the crust to cater to gluten sensitivities while enjoying the same delicious flavors.
-
Chocolate Lovers: Add 1/2 cup of melted chocolate to the red velvet layer for an extra chocolatey kick. The rich flavor will deepen the delight of every bite.
-
Nutty Crunch: Fold in 1/2 cup of crushed walnuts or pecans into the cheesecake mix for a delightful crunchy texture that complements the creamy layers beautifully.
-
Flavorful Extracts: Try swapping vanilla extract with almond or hazelnut extract for a unique twist on the classic flavor profile. It’s a simple change that can transform the taste entirely.
-
Fruit Enhancement: Add a layer of raspberry or strawberry puree beneath the vanilla cheesecake layer for a fruity surprise. It not only adds a pop of color but brings a tangy sweetness that pairs wonderfully.
-
Mini Cheesecakes: For a fun bite-sized version, use a muffin tin and mini cupcake liners. Adjust baking time to about 20-25 minutes, perfect for parties and gatherings!
-
Spicy Variations: Mix in a pinch of cinnamon or nutmeg into the cheesecake layers for a warm spice touch that beautifully complements the sweetness.
For further exploration, don’t miss trying the delectable Korean Inspired Kimchi for a savory dish, or the heavenly Caramel Brownie Cheesecake to cap off your dessert extravaganza!
What to Serve with Red Velvet Oreo Cheesecake
Indulge in a lavish dessert experience that perfectly complements your family gatherings with delightful flavors and textures.
-
Fresh Berries: A sprinkle of raspberries or strawberries brings a refreshing zing, balancing the cake’s rich sweetness and adding a vibrant color.
-
Whipped Cream: Light and airy, the whipped cream adds a lovely touch of creaminess on top or beside each slice, enhancing the cheesecake’s luxurious texture.
-
Chocolate Espresso Coffee: The robust flavors of a chocolate-infused espresso create a perfect pairing, cutting through the richness of the cheesecake while elevating the dessert experience.
-
Vanilla Ice Cream: Creamy vanilla ice cream melts beautifully with each bite of cheesecake, offering a delightful contrast and additional sweetness.
-
Caramel Sauce Drizzle: A warm drizzle of caramel sauce adds a sweet, buttery note that complements the chocolatey crunch and red velvet layers, making it even more irresistible.
-
Milkshakes: Serve a rich chocolate or vanilla milkshake alongside the cheesecake for a nostalgic treat that pairs harmoniously with each decadent bite.
-
Nutty Brownies: Pair each slice with a fudgy brownie sprinkled with nuts, adding a chewy texture that contrasts perfectly with the creamy cheesecake layers.
With these delightful accompaniments, your Red Velvet Oreo Cheesecake will truly shine during any gathering!
How to Store and Freeze Red Velvet Oreo Cheesecake
Refrigerator: Store your cheesecake covered in plastic wrap or in an airtight container for up to 5 days. This will maintain its rich flavor and luxurious texture.
Freezer: If you want to keep it longer, wrap the cheesecake tightly in plastic wrap and aluminum foil, then freeze for up to 2 months. Thaw in the refrigerator before serving.
Slice Storage: If you prefer individual slices, store them in airtight containers or wrapped in plastic for easy access. They can be kept in the fridge for up to 3 days.
Reheating: While cheesecake is best enjoyed chilled, you can gently warm individual slices in the microwave for about 10-15 seconds if desired.
Make Ahead Options
These Red Velvet Oreo Cheesecakes are perfect for busy home cooks looking to save time! You can prepare the crust and cheesecake layers up to 24 hours in advance. Simply make the Oreo crust and pour your cheesecake layers into the springform pan, then cover it tightly with plastic wrap and refrigerate. When you’re ready to serve, bake the cheesecake as directed and allow it to cool. To maintain that delectable texture, ensure the cheesecake is fully chilled for at least 7 hours or overnight before adding the ganache. Finish by pouring the ganache over the chilled cake just before presenting it to your guests for a show-stopping dessert!
Expert Tips for Red Velvet Oreo Cheesecake
-
Room Temperature Ingredients: Always use room temperature cream cheese and eggs for a smoother batter, preventing lumps and ensuring a creamy texture in your cheesecake.
-
Gentle Mixing: Avoid overmixing, especially after adding the eggs. This helps prevent cracks on the surface, ensuring your Red Velvet Oreo Cheesecake looks perfect.
-
Don’t Rush Cooling: Allow your cheesecake to cool slowly in the oven with the door ajar. This gradual temperature change helps prevent cracks while keeping the texture creamy.
-
Chill Overnight: For the best flavor, chilling the cheesecake overnight is ideal. This allows the layers to firm up and the flavors to meld beautifully.
-
Add a Topping Twist: Consider garnishing with crushed Oreos, fresh berries, or a drizzle of caramel sauce to enhance both flavor and presentation, making your dessert even more irresistible.
Red Velvet Oreo Cheesecake Recipe FAQs
What type of Oreo cookies should I use for the crust?
Absolutely use regular Oreo cookies for that delightful chocolate flavor! If you’re looking for a twist, chocolate graham crackers can also be great. Just keep in mind that it will slightly change the texture and taste.
How long can I store my Red Velvet Oreo Cheesecake in the fridge?
You can store your cheesecake in the refrigerator for up to 5 days! Make sure to cover it with plastic wrap or place it in an airtight container to keep that rich flavor and creamy texture intact.
Can I freeze leftovers or a whole cheesecake?
Yes, you can freeze your Red Velvet Oreo Cheesecake! To do this, first wrap it tightly in plastic wrap and then in aluminum foil. It can be frozen for up to 2 months. When you’re ready to enjoy it, just thaw it in the refrigerator overnight before serving.
What if my cheesecake cracks while baking?
No worries! If you see cracks, it may be due to overmixing or a sudden temperature change. To prevent this in the future, mix gently after adding the eggs and don’t rush the cooling process by opening the oven door. If it cracks, just cover it with the ganache; it will look lovely and taste just as good!
Is there a way to make this cheesecake gluten-free?
Certainly! To make a gluten-free version of the Red Velvet Oreo Cheesecake, simply use gluten-free Oreo cookies for the crust. All other ingredients remain the same, ensuring that your dessert is just as delicious while accommodating dietary restrictions.
What should I do if my cheesecake isn’t firm after baking?
If your cheesecake isn’t firm after the baking time, it may need more time in the oven. A gentle jiggle in the center is okay, but it should not be overly liquidy. If you’re unsure, keep it baking for an additional 10-15 minutes, checking frequently. Once out, chill it thoroughly to help it set.
Irresistible Red Velvet Oreo Cheesecake to Wow Your Guests
Ingredients
Equipment
Method
- Preheat your oven to 350°F (175°C). Crush 24 Oreo cookies in a food processor until fine crumbs form. Mix with 1/2 cup melted unsalted butter until combined. Press into the bottom of a 9-inch springform pan. Bake for 10 minutes, then let cool.
- Beat 16 oz. cream cheese with 1 cup of sugar until smooth. Add 3 large eggs one at a time, mixing well. Fold in 1 cup of red velvet cake mix and pour over cooled Oreo crust.
- In a separate bowl, mix 16 oz. cream cheese with 1 cup of sugar until creamy. Add 3 room temperature eggs and 1 teaspoon pure vanilla extract. Pour over red velvet layer.
- Bake for about 60 minutes until the center has a slight jiggle. Turn off the oven and let cool inside with the door ajar for 1 hour.
- Transfer to the refrigerator and chill for at least 7 hours or overnight.
- To make the ganache, heat 1 cup of heavy cream until simmering and pour over 1 cup of chocolate chips. Stir until smooth.
- Pour the ganache over the chilled cheesecake and decorate with whipped cream. Slice and serve.
Leave a Reply