
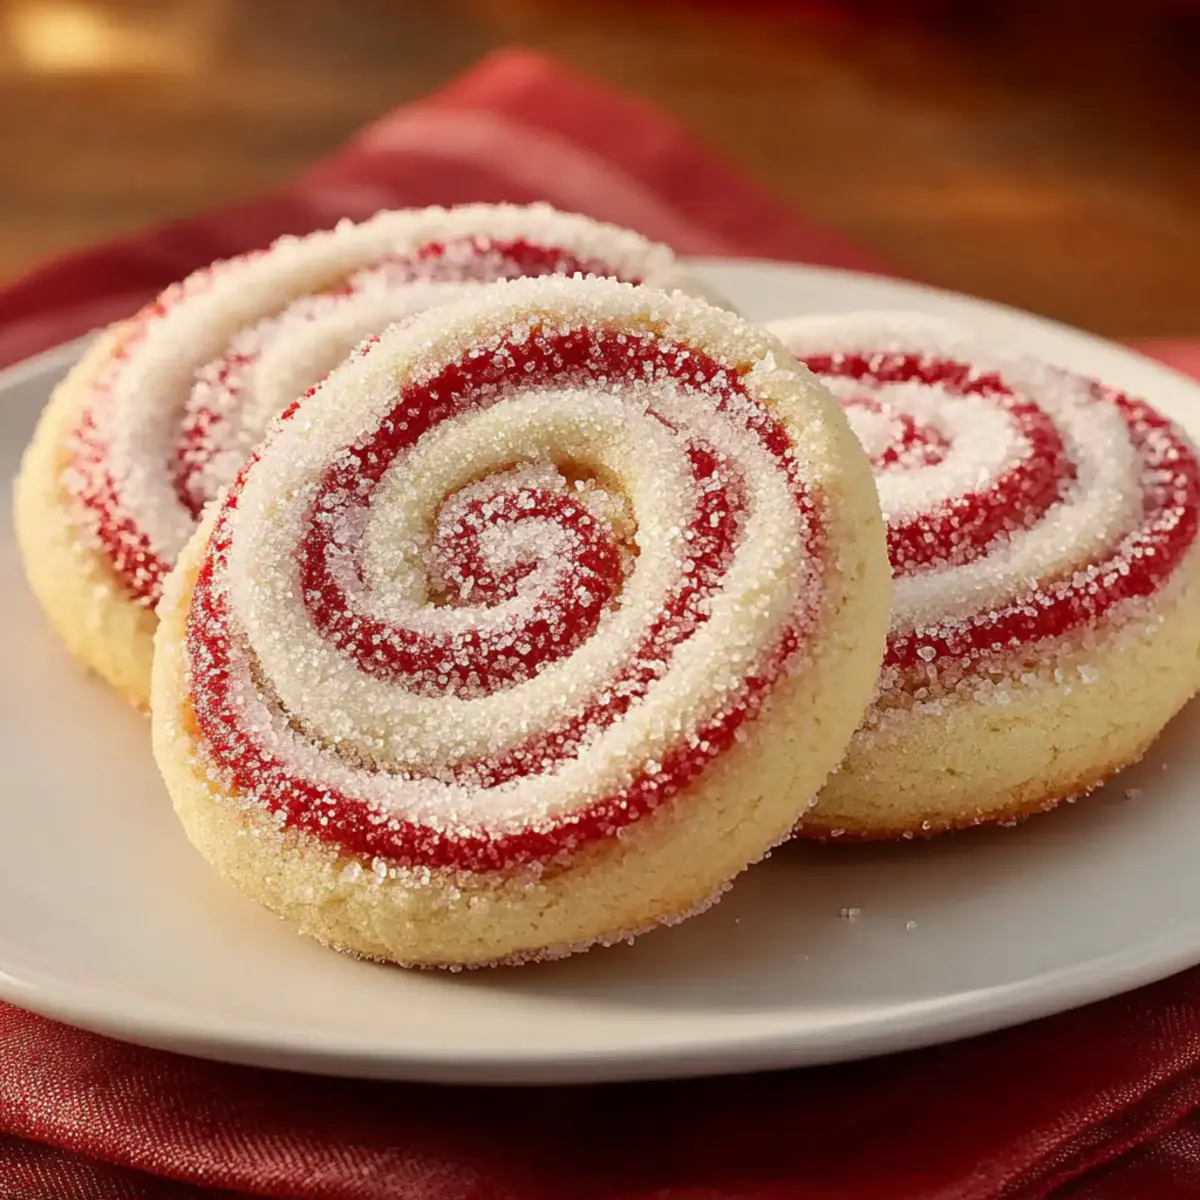
There’s something undeniably enchanting about walking into a kitchen filled with the aroma of freshly baked cookies, especially during the holiday season. With my Perfect Peppermint Swirl Cookies, you can create those joyful memories in your own home! This festive treat, adorned with vibrant swirls of minty goodness, is not only eye-catching but also super easy to make, perfect for bakers of all skill levels. Plus, the recipe allows for a gluten-free adaptation, accommodating various dietary needs while still being a crowd-pleaser at any gathering. Imagine sharing these delightful cookies with friends and family, each bite enveloping you in the spirit of the holidays. Curious about how to get those stunning swirls just right? Let’s dive into the magic of baking!
Why are Peppermint Swirl Cookies a must-try?
Festive Fun: These Peppermint Swirl Cookies are a cheerful addition to any holiday spread, making them perfect for festive gatherings.
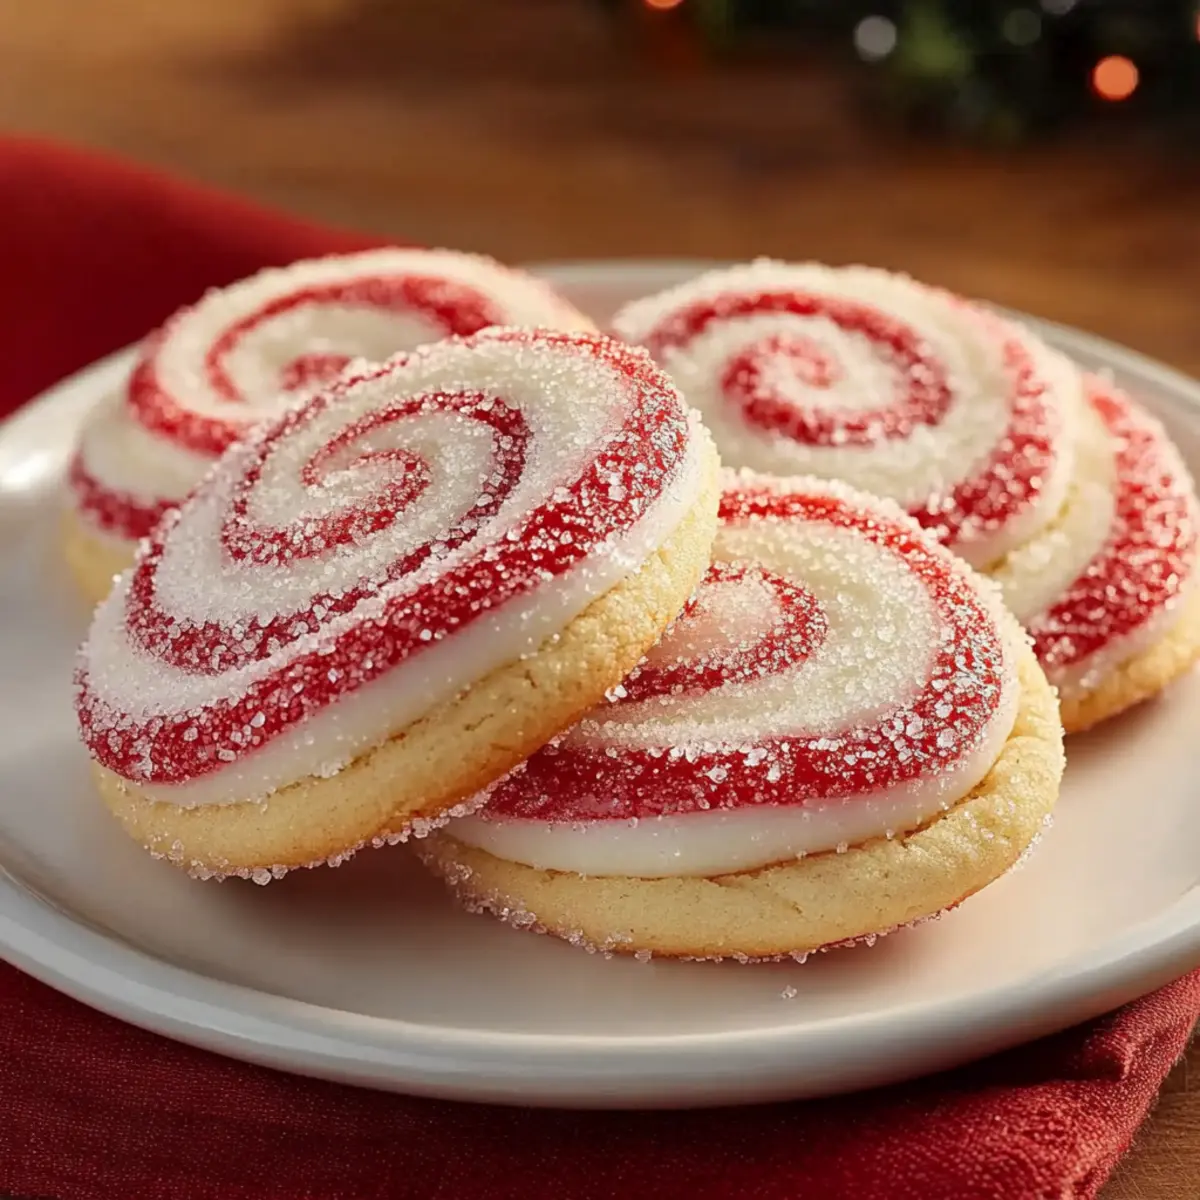
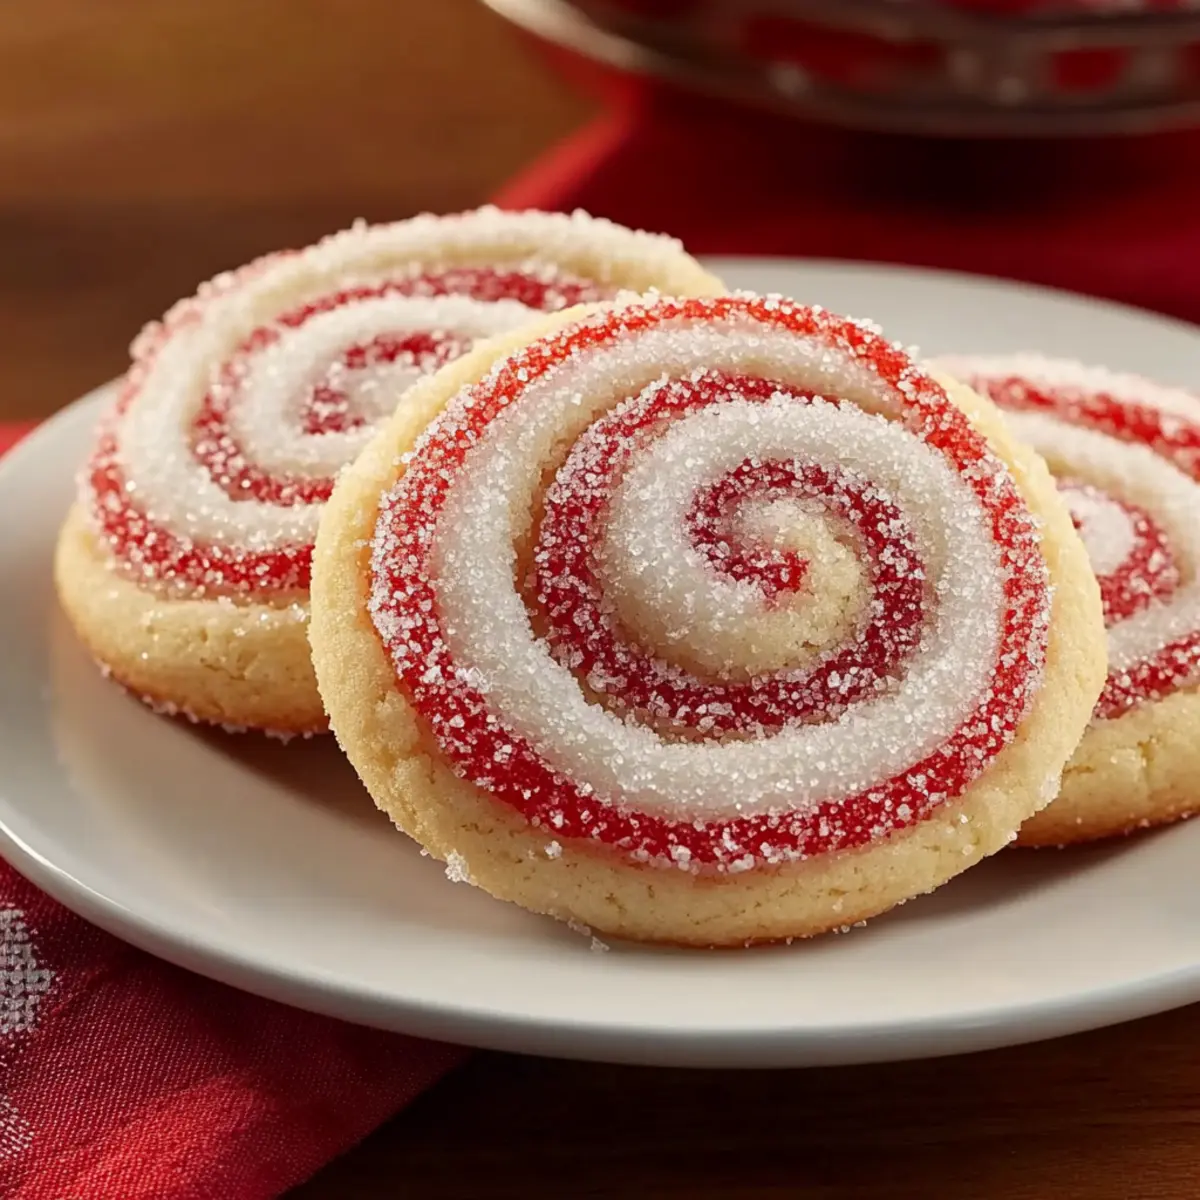
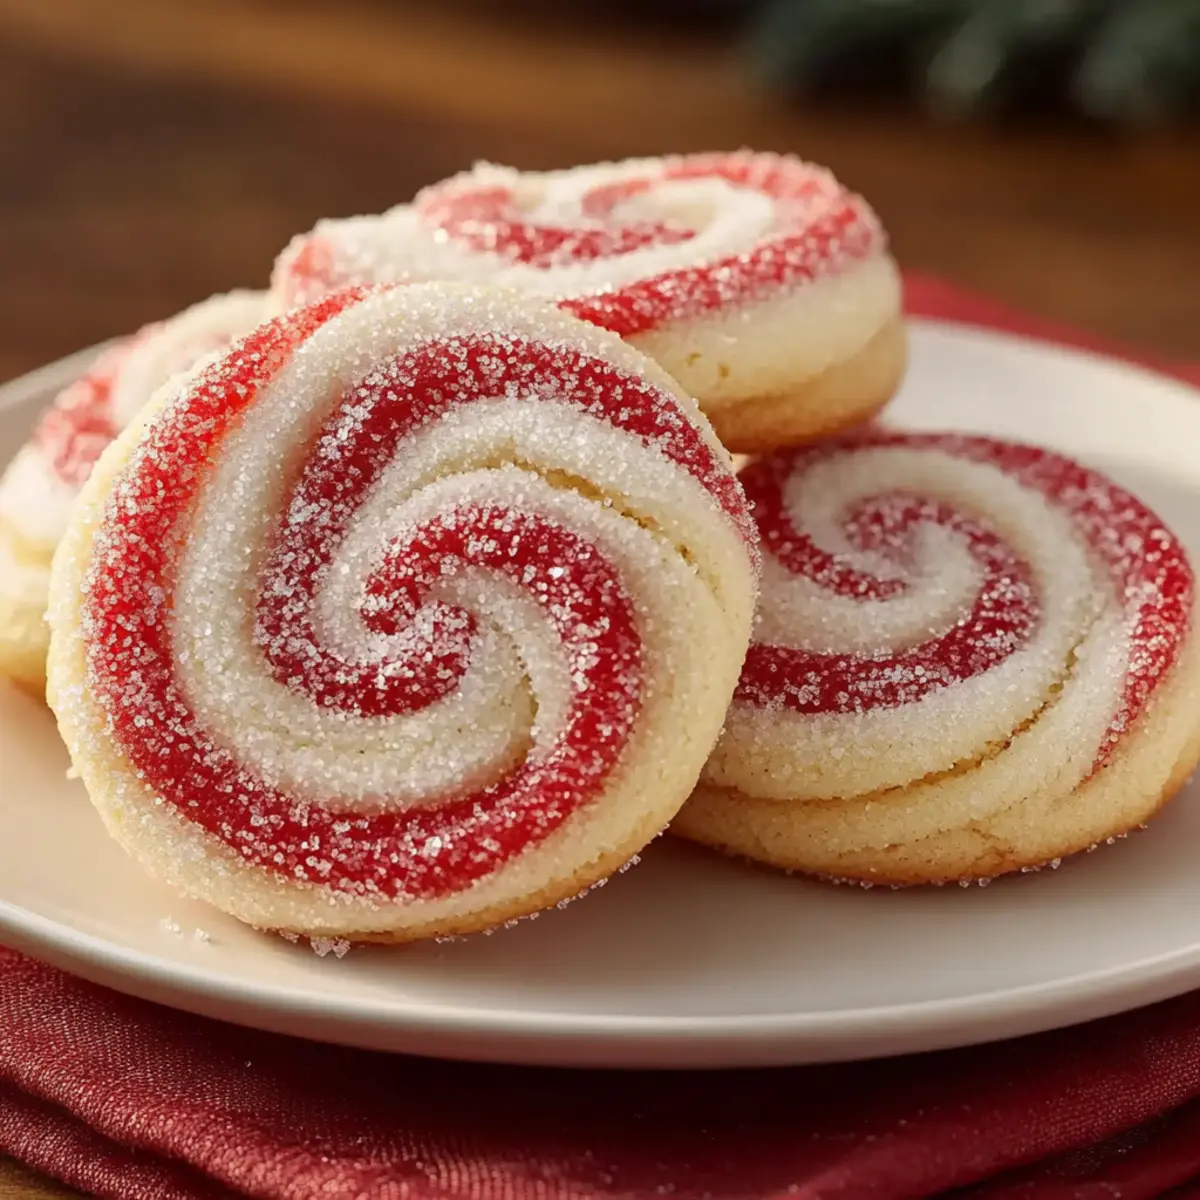
Visual Appeal: The striking red and white swirls make these cookies not just delicious but visually stunning, guaranteed to impress guests.
Easy to Make: With simple instructions, bakers of all levels can whip up these bakery-quality treats without stress.
Versatile Variations: You can easily adapt the flavors by switching peppermint for almond or orange zest, keeping things fresh. Consider pairing these cookies with a cozy cup of hot cocoa or alongside other festive favorites like Apple Fritter Cookies for a delightful dessert platter.
Crowd-Pleasing Treats: Everyone loves them! These cookies are the perfect way to share holiday joy with family and friends.
Peppermint Swirl Cookies Ingredients
For the Cookie Dough
• All-purpose flour – Provides structure and stability for cookies; no substitutions necessary for traditional recipes.
• Baking powder – Acts as a leavening agent for a light lift; ensure freshness for best results.
• Salt – Enhances flavor balance in sweet cookies; use fine sea salt.
• Unsalted butter – Creates a rich, tender crumb; substitute with vegan butter for a dairy-free option.
• Granulated sugar – Sweetens and contributes to texture; brown sugar can add moisture and a slight caramel flavor.
• Large egg – Binds ingredients and contributes to moisture; use a flax egg as a vegan substitute.
• Vanilla extract – Adds aromatic depth; almond extract can be used for a twist.
• Peppermint extract – Defines the signature flavor of the cookies; replace with other extracts like almond for variation.
For the Color & Coating
• Red gel food coloring – Delivers vibrant color without adding moisture; avoid liquid food coloring for best clarity.
• Coarse sugar or crushed peppermint candies – Provides decoration and a delightful crunch; consider chocolate chips for a fun alternative.
Step‑by‑Step Instructions for Peppermint Swirl Cookies
Step 1: Prepare the Dry Ingredients
In a medium bowl, whisk together 2 cups of all-purpose flour, 1 teaspoon of baking powder, and 1/2 teaspoon of salt until well combined. This mixture will serve as the base for your Peppermint Swirl Cookies, so ensure there are no lumps. Once combined, set it aside while you work on the wet ingredients.
Step 2: Cream Butter and Sugar
In a large mixing bowl, beat 1 cup of softened unsalted butter and 1 cup of granulated sugar using an electric mixer on medium speed for about 2-3 minutes until the mixture is light and fluffy. The fluffy texture indicates it’s ready to move on to the next steps in creating the delicious dough for the Peppermint Swirl Cookies.
Step 3: Incorporate Egg and Extracts
Add in 1 large egg, 1 teaspoon of vanilla extract, and 1/2 teaspoon of peppermint extract to the creamed mixture. Beat on low speed until all the ingredients are combined, usually about 1-2 minutes. The dough should start to form and develop a lovely minty aroma, setting the stage for your vibrant cookies.
Step 4: Combine Mixtures
Gradually add the dry ingredients from the first step to the wet mixture, mixing on low speed until a cohesive dough forms. Make sure not to overmix; just blend until all the flour is incorporated, and you can see the dough pulling away from the sides of the bowl.
Step 5: Divide and Color Dough
Once the dough is combined, divide it into two equal parts. Leave one half plain, and add 1 tablespoon of red gel food coloring to the other half. Use your hands to knead the color into the dough until evenly distributed, achieving a bright, festive red color for your Peppermint Swirl Cookies.
Step 6: Chill Dough
Wrap each colored half of the dough in plastic wrap and chill them in the refrigerator for at least 30 minutes. This step is crucial as it allows the fats to solidify, which will help you achieve beautiful swirls when you roll them out later.
Step 7: Roll Out Dough
After chilling, take both dough halves out of the fridge. On a floured surface, roll each half into identical rectangles measuring about 10″x12″ with a thickness of 1/4 inch. Keep your edges as straight as possible to ensure even swirling in the final cookies.
Step 8: Layer and Roll
Lay the red dough rectangle on top of the white dough rectangle and gently press them together. Starting from one edge, carefully roll the dough tightly into a log. The vibrant colors should be visible on the edges, creating cheerful swirls throughout the Peppermint Swirl Cookies.
Step 9: Second Chill
Wrap the dough log in plastic wrap and return it to the refrigerator to chill for at least 2 hours. This chilling step will help the cookies retain their shape while baking, ensuring those beautiful swirls stay intact.
Step 10: Preheat and Prepare Baking Sheet
While the dough chills, preheat your oven to 375°F (190°C). Line two baking sheets with parchment paper to prevent sticking, preparing for the delightful Peppermint Swirl Cookies that will be coming out of the oven soon.
Step 11: Slice and Bake
Once the dough is firm, slice the log into rounds about 1/4-inch thick. Place the cookies on the prepared baking sheets, spacing them about 2 inches apart. Bake in the preheated oven for 8-10 minutes or until the edges are lightly golden, watching carefully for that perfect doneness.
Step 12: Cool Cookies
After baking, let the cookies cool on the baking sheet for 3-5 minutes until they firm up slightly. Then, transfer them to a wire rack to cool completely. This final step allows them to develop that delightful crunch, completing your Peppermint Swirl Cookies with festive perfection.
Peppermint Swirl Cookies Variations
Feel free to get creative with your Peppermint Swirl Cookies and elevate your holiday baking experience!
-
Gluten-Free: Swap all-purpose flour for a gluten-free blend to cater to gluten-sensitive guests. Just ensure the blend contains xanthan gum for the best texture.
-
Dairy-Free: Substitute unsalted butter with vegan butter to make these festive treats accessible for those avoiding dairy. They’ll still be rich and delicious!
-
Flavor Infusion: Replace peppermint extract with almond or orange zest for a fresh, unique twist. Each variation introduces a new dimension of flavor.
-
Chocolatey Delight: Add 1/2 cup of chocolate chips to the dough for a delightful chocolate-mint combination that elevates your festive cookies to new heights.
-
Chunky Coating: Instead of coarse sugar or crushed peppermint candies, roll the cookie rounds in finely chopped nuts for an added crunch and nutty flavor.
-
Size Matters: Experiment with the size of the cookies by rolling the dough into different dimensions for various cookie sizes. Just remember to adjust baking times accordingly!
-
Colorful Swirls: Mix in other gel food colors to create multi-colored swirls. Imagine vibrant greens and reds celebrating the joy of the season!
-
More Festive Sprinkles: After baking, drizzle or dip the cooled cookies in white chocolate, then sprinkle with crushed peppermint or candy canes for an extra festive touch.
These ideas not only keep your baking interesting but also inspire delightful variations for everyone’s taste. If you’re looking for more cookie options, consider exploring my Pumpkin Sugar Cookies with Cream Cheese Frosting or the delicious Apple Cider Whoopie Pie Cookies with Caramel for a cozy seasonal treat!
Make Ahead Options
These Peppermint Swirl Cookies are perfect for making ahead, saving you precious time during the busy holiday season! You can prepare the cookie dough up to 24 hours in advance by following the first six steps, wrapping the colored dough securely in plastic wrap and refrigerating it. Alternatively, the rolled log of dough can be frozen for up to 2-3 months; just slice and bake directly from frozen, adding a minute or two to the baking time. To maintain their delightful flavor and texture, store baked cookies in an airtight container for 5-7 days or freeze them for one month. When you’re ready to enjoy, simply bake the prepped dough, and you’ll have fresh, bakery-quality Peppermint Swirl Cookies at your fingertips!
How to Store and Freeze Peppermint Swirl Cookies
Airtight Container: Store your Peppermint Swirl Cookies in an airtight container for up to 5-7 days at room temperature to maintain their delightful crunch.
Refrigeration: If you live in a warm climate, consider refrigerating the cookies to prolong freshness, but allow them to come to room temperature before serving.
Freezing Baked Cookies: Baked cookies can be frozen for up to one month. Place them in a single layer on a baking sheet until firm, then transfer to a freezer-safe bag.
Freezing Dough: The unbaked dough can be frozen for up to 2-3 months. Wrap tightly in plastic wrap, then store in a freezer bag. Thaw in the refrigerator before rolling and baking.
Expert Tips for Perfect Peppermint Swirl Cookies
-
Even Thickness: Ensure you roll out the dough to an even thickness of 1/4 inch for uniform baking and perfect swirls. Inconsistent thickness can lead to uneven cookies.
-
Handle with Care: Avoid overmixing when combining wet and dry ingredients; this will keep your cookies tender. Mix just until the flour disappears to prevent toughness.
-
Chilling is Crucial: Do not skip the chilling phases! Chilling allows the dough to firm up, ensuring those beautiful peppermint swirls hold their shape while baking.
-
Sharp Knife Essential: Use a very sharp, non-serrated knife for slicing the dough log. A dull knife can distort the cookie shapes, compromising the stunning visual appeal of your Peppermint Swirl Cookies.
-
Timing Matters: Keep a close watch on your cookies while they bake. The edges should just be turning golden, indicating they are perfectly baked.
What to Serve with Peppermint Swirl Cookies
These delightful treats bring a festive cheer that perfectly complements cozy warm drinks and sweet accompaniments.
- Hot Cocoa: A rich, creamy mug of hot cocoa enhances the minty flavors, making your cookie experience even more special.
- Peppermint Tea: The soothing warmth and additional peppermint notes create a lovely holiday theme, truly embracing the spirit of the season.
- Sugar Cookies: These classic cookies have a softer texture, providing a delightful contrast to the crunchy Peppermint Swirl Cookies, making them great companions on a dessert platter.
- Chocolate Dipped Fruit: Fresh strawberries or orange slices dipped in chocolate lend a fruity freshness that balances the rich peppermint flavor.
- Festive Cheeseboard: Include brie, prosciutto, and pear slices for a savory touch. The sweetness of the cookies pairs surprisingly well with the creaminess of the cheese.
- Holiday Punch: A fruity holiday punch filled with citrus can cleanse the palate and enhance the festive atmosphere of your gathering.
- Gingerbread Cookies: Another holiday classic, gingerbread cookies add warm spices that complement the coolness of peppermint in a delightful way.
- Vanilla Ice Cream: A scoop beside a warm cookie creates a melt-in-your-mouth combination, delivering the ultimate dessert indulgence.
- Eggnog: Creamy and sweet, this traditional holiday drink adds richness, pairing wonderfully with the minty cookies.
- Caramel Sauce: Drizzling a bit of caramel over your cookies introduces a sweet, buttery flavor, enhancing the overall treat experience.
Peppermint Swirl Cookies Recipe FAQs
What should I look for when selecting peppermint extract?
Absolutely! When choosing peppermint extract, opt for a pure extract without any added artificial flavors or colors for the best flavor. Look for a clear, dark brown liquid; if it has a very bright green hue or smells overly sweet, it may not provide an authentic minty taste to your cookies.
How long can I store my Peppermint Swirl Cookies?
Store your delicious Peppermint Swirl Cookies in an airtight container for up to 5-7 days at room temperature. To help maintain their crispness, I often pop a slice of bread into the container; it breathes moisture, ensuring your cookies stay fresh and delightful.
Can I freeze Peppermint Swirl Cookies?
Yes, you can! Baked cookies can be frozen for up to one month. To do this, place them in a single layer on a baking sheet until firm, then transfer to a freezer-safe bag. For unbaked dough, wrap tightly in plastic wrap and store it in a freezer bag for up to 2-3 months. When ready to bake, simply thaw the dough in the refrigerator overnight before rolling and baking.
What if my dough is too sticky to roll out?
If your dough is too sticky, it might be that the butter was too soft or the dough wasn’t chilled long enough. Simply sprinkle a small amount of flour on your work surface and on the top of the dough before rolling it out. Chilling the dough for an additional 15-30 minutes in the fridge can also help firm it up and make it easier to work with.
Are there any allergy considerations for these cookies?
Yes, I recommend checking the ingredient labels for potential allergens. The standard recipe includes gluten (from flour), dairy (from butter), and eggs. For gluten-free options, use a 1:1 gluten-free flour blend. Substitute vegan butter and a flax egg for a dairy-free and egg-free version. Always confirm with guests if they have any allergies before sharing!
Can I make these cookies in advance for holiday gatherings?
Absolutely! You can prepare the dough ahead of time and freeze it for up to 2-3 months. This allows for quick baking when you’re ready to impress your guests. Just remember to thaw the dough overnight before rolling and slicing into cookies!
Irresistible Peppermint Swirl Cookies for Festive Joy
Ingredients
Equipment
Method
- In a medium bowl, whisk together 2 cups of all-purpose flour, 1 teaspoon of baking powder, and 1/2 teaspoon of salt until well combined.
- In a large mixing bowl, beat 1 cup of softened unsalted butter and 1 cup of granulated sugar using an electric mixer for about 2-3 minutes until light and fluffy.
- Add in 1 large egg, 1 teaspoon of vanilla extract, and 1/2 teaspoon of peppermint extract to the creamed mixture. Beat on low speed until combined.
- Gradually add the dry ingredients to the wet mixture, mixing on low speed until a cohesive dough forms.
- Divide the dough into two equal parts. Leave one half plain and add 1 tablespoon of red gel food coloring to the other half.
- Wrap each half of the dough in plastic wrap and chill in the refrigerator for at least 30 minutes.
- After chilling, roll each half into rectangles about 10"x12" with a thickness of 1/4 inch.
- Lay the red dough on top of the white dough and gently press together. Roll tightly from one edge to create a log.
- Wrap the dough log in plastic wrap and chill for at least 2 hours.
- Preheat the oven to 375°F (190°C) and line two baking sheets with parchment paper.
- Slice the log into rounds about 1/4-inch thick and place on the baking sheets, spacing about 2 inches apart.
- Bake for 8-10 minutes or until the edges are lightly golden.
- Cool on the baking sheet for 3-5 minutes before transferring to a wire rack to cool completely.
Leave a Reply