
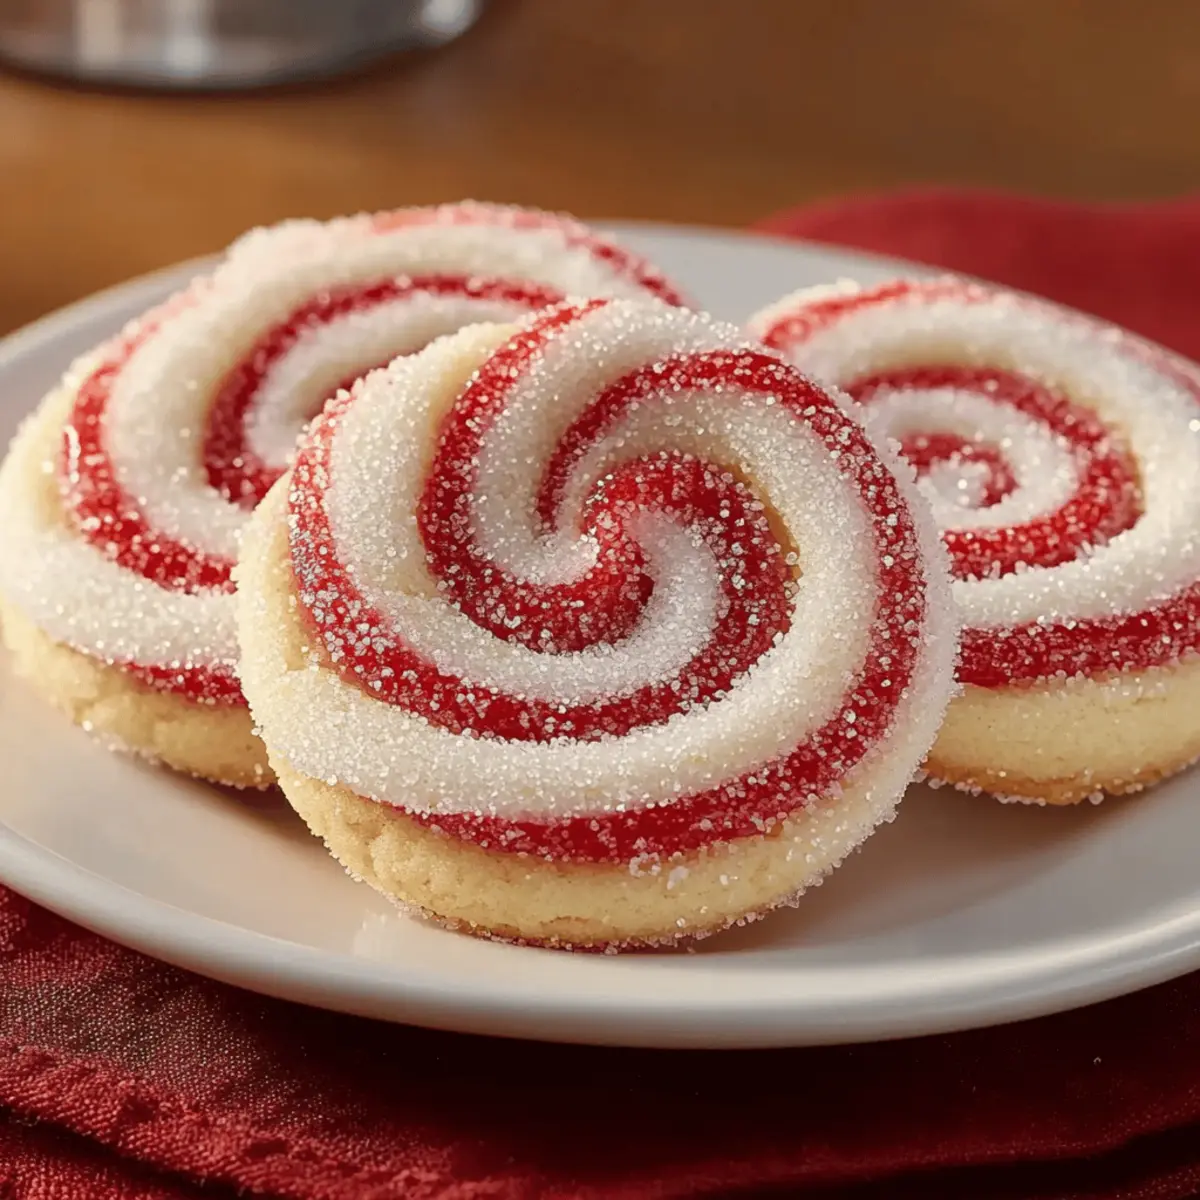
Amid the twinkling lights and cozy aromas of the holiday season, a sweet surprise awaits in your kitchen: Peppermint Swirl Cookies! These delightful confections bring forth vibrant spirals that not only impress with their festive look but also offer an unforgettable melt-in-your-mouth texture. With easy-to-follow steps, even novice bakers can master the art of these stunning cookies, ensuring they’re a stress-free addition to your holiday spread. You’ll love how quick they come together, leaving you with more time to enjoy the festivities and share delicious bites with family and friends. Curious about how to achieve those picture-perfect swirls? Let’s dive in and create some holiday magic together!
Why Are Peppermint Swirl Cookies a Must-Bake?
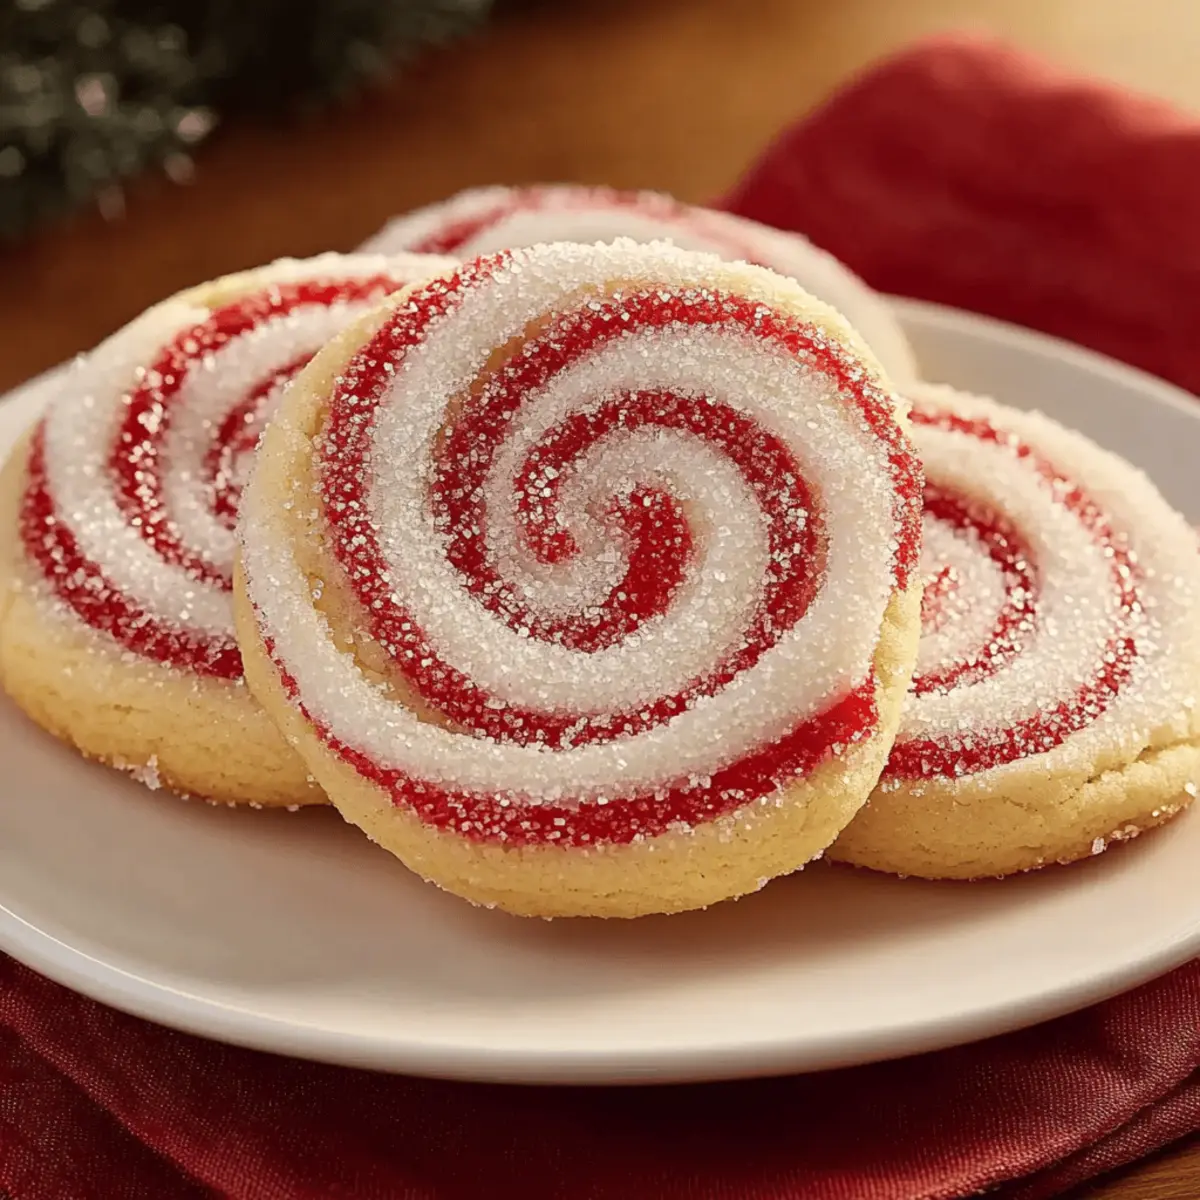
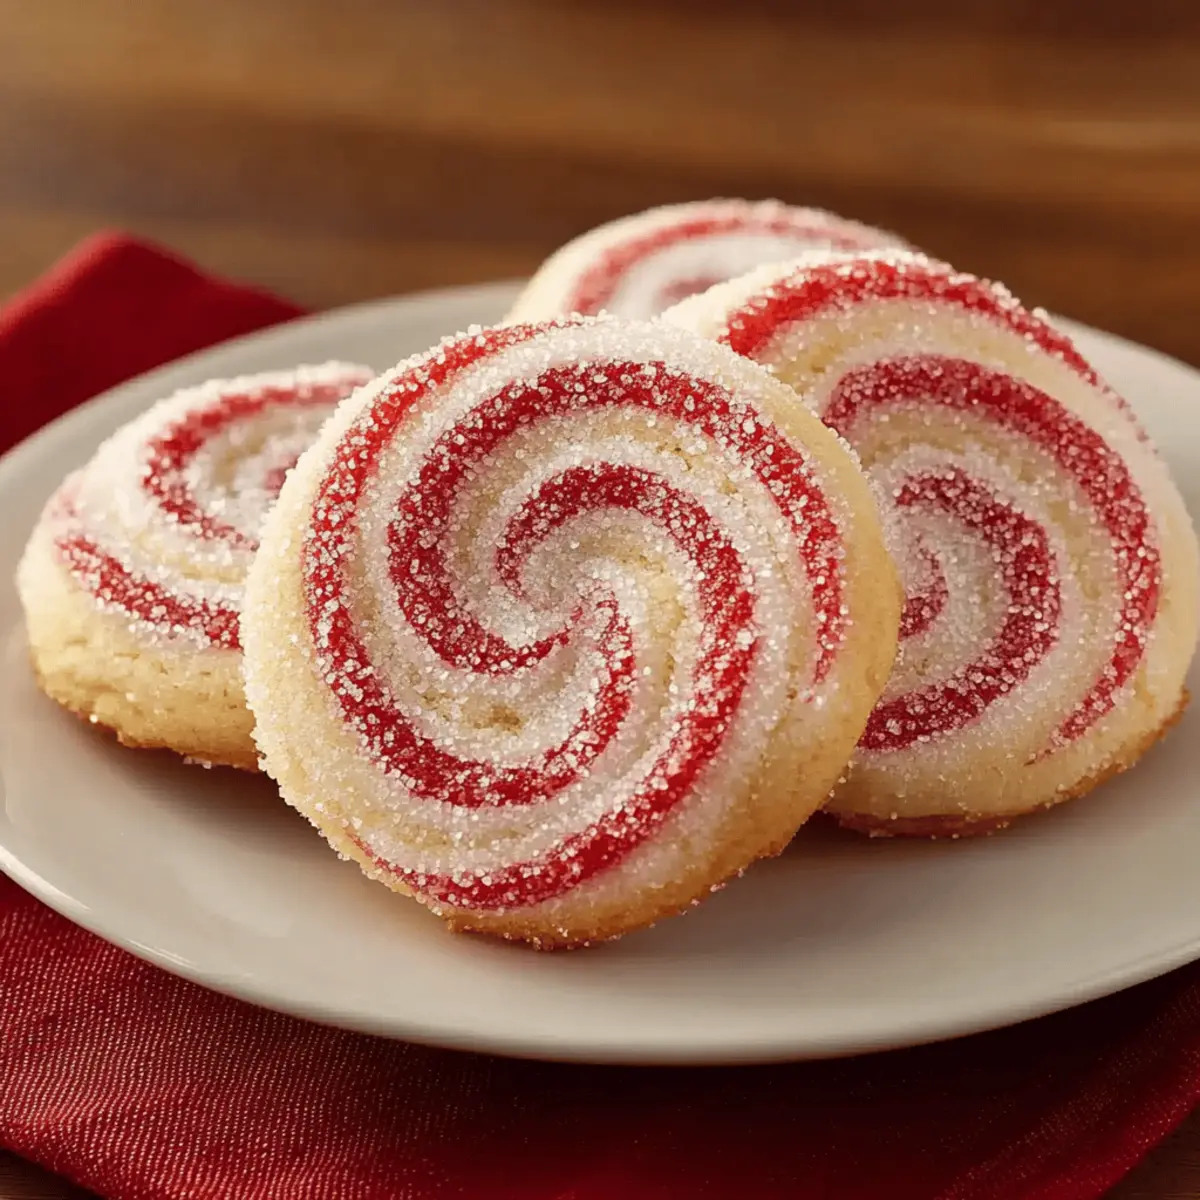
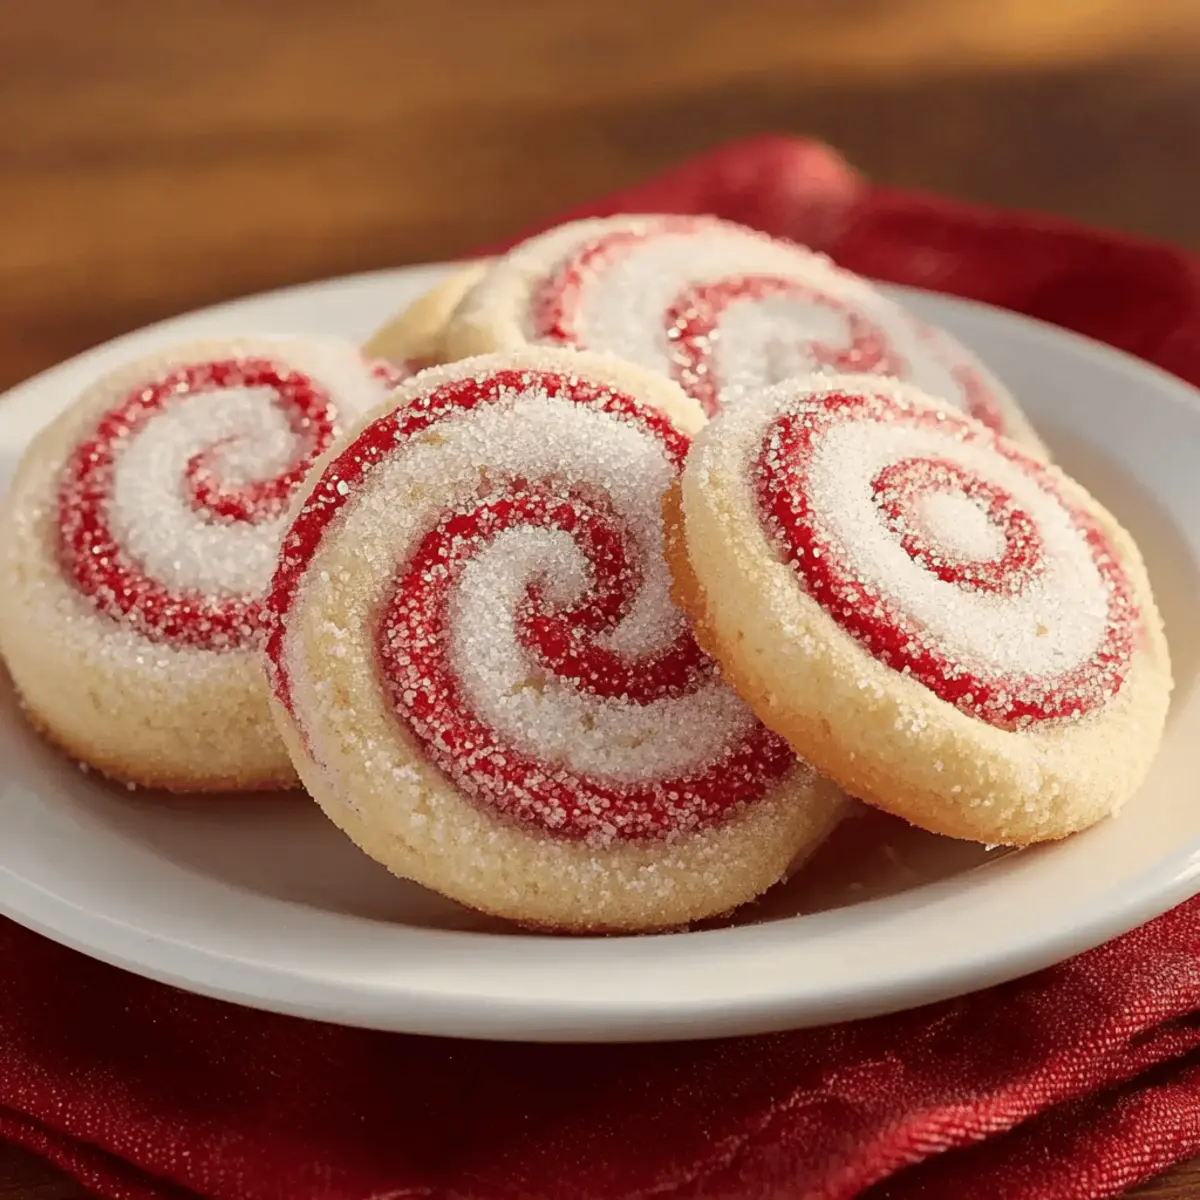
Festive Appeal: These cookies are a feast for the eyes with their vibrant swirls, making them a perfect centerpiece for holiday gatherings.
Delightfully Easy: With simple steps to follow, even beginners can whip up these impressive treats without breaking a sweat.
Melt-in-Your-Mouth Goodness: The tender crumb and refreshing peppermint flavor will have everyone reaching for seconds.
Versatile Flavor Options: Experiment with different extracts, like almond or orange zest, to personalize your festive treat.
Time-Saving Delight: You can prepare the dough ahead of time, freezing it for later baking—perfect for busy holiday schedules!
Enjoy these alongside a steaming cup of hot cocoa or while cozying up with loved ones.
Peppermint Swirl Cookies Ingredients
For the Cookie Dough
- All-purpose flour – Provides essential structure, ensuring your cookies hold their shape beautifully. Substitution: A 1:1 gluten-free flour blend with xanthan gum works well.
- Baking powder – This leavening agent gives the cookies a light, delicate lift. No substitutions; it’s crucial for achieving the perfect texture.
- Salt – Enhances the flavor profile, allowing all ingredients to shine. Essential for overall taste.
- Unsalted butter – Softened to room temperature for a tender crumb and rich flavor. Avoid margarine, as it can impact taste.
- Granulated sugar – Sweetens and contributes to a light, fluffy texture. For a deeper flavor, you can substitute with brown sugar, but expect a slight texture change.
- Large egg – Binds ingredients and adds moisture and richness. Consider using a flax egg for a vegan alternative.
- Vanilla extract – Provides aromatic depth and balances the peppermint’s intensity. Opt for pure extract for the best flavor.
- Peppermint extract – Delivers that signature minty flavor that makes these cookies festive. For different flavors, almond or orange zest can be substituted.
For the Visual Swirls
- Red gel food coloring – Creates vibrant red swirls without altering moisture content. Avoid liquid food coloring, as it can affect cookie consistency.
- Coarse sugar or crushed peppermint candies – Adds sparkle and texture to cookie exteriors. Optional, but enhances the festive appearance of your lovely Peppermint Swirl Cookies.
Step‑by‑Step Instructions for Peppermint Swirl Cookies
Step 1: Prep Dry Ingredients
In a medium bowl, whisk together 2 cups of all-purpose flour, 1 teaspoon of baking powder, and 1/2 teaspoon of salt until they are well combined and evenly blended. This step ensures that the rising agent and salt are distributed uniformly throughout the dry ingredients, setting the foundation for tender Peppermint Swirl Cookies.
Step 2: Cream Butter and Sugar
In a large mixing bowl, use an electric mixer on medium speed to cream together 1 cup of softened unsalted butter and 1 cup of granulated sugar until the mixture is light and fluffy, about 2-3 minutes. The texture should be pale yellow and airy, indicating that the butter has been well aerated, which is essential for a delicate cookie crumb.
Step 3: Combine Wet Ingredients
Add 1 large egg, 1 teaspoon of vanilla extract, and 1 teaspoon of peppermint extract to the creamed butter and sugar mixture. Beat on low speed until all the wet ingredients are fully incorporated, creating a rich and creamy base. This adds moisture and flavor, crucial for the delightful taste of these Peppermint Swirl Cookies.
Step 4: Mix Dry and Wet Ingredients
Gradually add the whisked dry ingredients to the wet mixture, mixing on low speed just until the dough comes together. Aim for no visible flour; a little streaking is okay, but be careful not to overmix as it could lead to tough cookies. This is where the beautiful Peppermint Swirl Cookies start to take shape!
Step 5: Divide and Color Dough
Once mixed, divide the dough in half; leave one half plain. To the other half, add red gel food coloring, a few drops at a time, mixing until you achieve a vibrant red color, fully integrated and uniform throughout. This contrast is what makes the Peppermint Swirl Cookies visually stunning and festive.
Step 6: Chill Dough
Wrap each half of the dough separately in plastic wrap and place them in the refrigerator to chill for at least 30 minutes. Chilling the dough is crucial; it firms up the butter, making rolling and slicing easier while also helping the cookies retain their shape during baking.
Step 7: Roll Out Dough
On a lightly floured surface, roll each colored dough into a rectangle measuring about 10×12 inches and about 1/4 inch thick. Use a rolling pin to ensure an even thickness, which will help create that perfect swirl effect in your Peppermint Swirl Cookies once you layer the colors.
Step 8: Layer and Roll
Carefully place the red dough on top of the plain dough, pressing them gently together to bond. Starting from one long edge, roll the dough tightly into a log, ensuring the swirl is intact, then wrap it in plastic wrap for an extra layer of chilling. Chill this log in the refrigerator for at least 2 hours to firm it up.
Step 9: Preheat Oven
Once the dough has chilled sufficiently, preheat your oven to 375°F (190°C). This ensures that your oven is at the ideal baking temperature right when you’re ready to bake those delicious Peppermint Swirl Cookies, allowing them to rise and set perfectly.
Step 10: Prepare for Baking
Slice the chilled dough log into 1/4-inch rounds using a sharp knife to maintain the integrity of the swirls. Place the cookie rounds on prepared baking sheets, spaced about 2 inches apart. For a festive touch, you can roll the edges in coarse sugar or crushed peppermint candies to enhance the visual appeal.
Step 11: Bake
Bake the cookies in your preheated oven for 8-10 minutes, until the edges are just lightly golden but the centers remain soft. Keep an eye on them, as baking times can vary; they should be set yet slightly underbaked for that perfect melt-in-your-mouth texture characteristic of delightful Peppermint Swirl Cookies.
Step 12: Cool Completely
Once baked, remove the trays from the oven and let the cookies cool on the baking sheets for about 5 minutes before transferring them to wire racks to cool completely. This resting period allows them to firm up and maintain their beautiful shape, ensuring your Peppermint Swirl Cookies are both beautiful and delicious.
How to Store and Freeze Peppermint Swirl Cookies
Airtight Container: Store your Peppermint Swirl Cookies in an airtight container at room temperature for up to 5-7 days to maintain their freshness and texture.
Slice of Bread: To keep your cookies soft and prevent them from drying out, include a slice of bread in the container; it helps absorb moisture.
Freezing Baked Cookies: If you want to enjoy these delightful cookies later, freeze baked Peppermint Swirl Cookies for up to 1 month. Thaw at room temperature before serving for the best texture.
Freezing Raw Dough: You can also freeze raw, unsliced dough logs for up to 2-3 months. Simply slice and bake them straight from the freezer when you’re ready for a fresh batch!
Peppermint Swirl Cookies Variations
Feel free to get creative and tailor these delightful cookies to your taste and dietary needs!
-
Chocolate Peppermint: Substitute half of the flour with cocoa powder for a rich chocolate twist that complements the mint beautifully. These cookies become a chocolate lover’s dream while still retaining that festive peppermint flair.
-
Nut-Free: Replace the peppermint extract with a splash of vanilla for a delicious nut-free option. This variation keeps the cookies holiday-appropriate without sacrificing flavor, perfect for gatherings where allergies are a concern.
-
Vegan Delight: Swap the egg for a flax egg (1 tablespoon ground flaxseed mixed with 2.5 tablespoons water). This change allows everyone to enjoy these cookies while sticking to plant-based diets, providing a lovely texture and taste.
-
Gluten-Free: Use a 1:1 gluten-free flour blend with xanthan gum instead of all-purpose flour. These cookies will still deliver on texture and flavor, making them ideal for gluten-sensitive friends and family.
-
Zesty Orange Swirl: Add orange zest along with your peppermint for a refreshing burst of citrus flavor. The bright notes of orange and peppermint make for a delightful seasonal surprise that truly stands out!
-
Spicy Peppermint: Incorporate a pinch of cayenne or ground ginger into the dough to add warmth and a subtle kick. This unique twist turns traditional holiday baking into an adventurous flavor experience.
-
Seasoned Crunch: Use crushed peppermint candies or pecans between the layers of dough for added texture and crunch. This delightful layer makes each bite even more enjoyable and festive!
For more inspiration, you might want to check out these Apple Fritter Cookies or perhaps indulge in some Chocolate Brownie Cookies. Add your own twist to the fantastic recipes you create!
Expert Tips for Perfect Peppermint Swirl Cookies
-
Butter Temperature: Ensure your butter is truly softened to room temperature. This is key to achieving that light and fluffy texture during creaming, essential for your Peppermint Swirl Cookies.
-
Chill Time Matters: Don’t skip or shorten the chilling times for the dough; it’s vital for shaping and prevents the cookies from spreading too much during baking.
-
Dough Consistency: Avoid overmixing when you combine the dry and wet ingredients. Just mix until you no longer see flour, as overmixing can lead to tough cookies.
-
Sharp Knife: Use a sharp knife when slicing the chilled dough into rounds. This keeps the swirls intact and ensures beautifully presented cookies.
-
Baking Sheet Spacing: Make sure to space your cookies at least 2 inches apart on the baking sheet. This allows them to spread and bake evenly without merging into one another.
Make Ahead Options
These Peppermint Swirl Cookies are an excellent choice for busy bakers looking to save time during the holidays! You can prepare the cookie dough in advance and refrigerate it for up to 24 hours before baking. To maintain quality, wrap the dough tightly in plastic wrap to prevent it from drying out. Additionally, if you’re looking to bake later, freeze the unbaked cookie log for up to 2-3 months. When ready to bake, simply slice the chilled or frozen dough and bake as directed—there’s nothing quite like fresh cookies without the rush! This way, you can enjoy delightful Peppermint Swirl Cookies with ease during the festive season!
What to Serve with Peppermint Swirl Cookies
Indulging in Peppermint Swirl Cookies creates a festive moment worth savoring, especially when paired with delightful accompaniments.
-
Hot Cocoa: The warm, rich flavors of hot cocoa enhance the minty freshness, making for a cozy holiday treat. Imagine sipping on chocolatey goodness as you nibble on the sweet swirls!
-
Peppermint Bark: Double down on the peppermint theme with layers of chocolate and crunchy peppermint candy. This sweet pairing elevates the festive spirit and adds fun textures to your dessert spread.
-
Coffee: A warm cup of coffee beautifully contrasts the sweetness of the cookies, balancing flavors with its bold robustness. Sipping on coffee while enjoying the cookies creates a heartwarming holiday moment.
-
Vanilla Ice Cream: A scoop of creamy vanilla ice cream serves as a cool, dreamy accompaniment to the cookies, enhancing every bite with smooth richness. Picture this luscious combination melting in your mouth!
-
Sugar Cookies: Create a delightful cookie platter by adding classic sugar cookies to the mix. Their simplicity provides a lovely backdrop to the vibrant peppermint flavors.
-
Fruit Platter: Fresh fruit like strawberries and oranges offers a bright, juicy balance to the sweetness of the cookies. Their tartness cuts through the rich flavors nicely, refreshing the palate.
-
Nutella Dip: Serve a small bowl of Nutella alongside for a delightful twist. The silky chocolate hazelnut spread is a rich indulgence that pairs beautifully with the minty flavors of your Peppermint Swirl Cookies.
-
Eggnog: Try pairing these cookies with a glass of creamy eggnog for a traditional holiday experience. The spiced flavor adds harmony to the festive peppermint notes.
-
Milk: While a classic choice, nothing beats the nostalgia of dipping these cookies in a glass of cold milk. It’s a comforting pairing that never goes out of style!
Create cherished holiday memories by sharing these delicious combinations with family and friends this season!
Peppermint Swirl Cookies Recipe FAQs
How do I choose the best ingredients for my Peppermint Swirl Cookies?
Absolutely! For the best results, select high-quality unsalted butter that’s softened at room temperature for creaming. This aids in achieving that lovely, fluffy texture. Ensure your peppermint extract is pure, as it enhances the cookies’ flavor dramatically. If incorporating food coloring, opt for gel as it won’t alter the moisture content—avoid liquid food colorings.
What is the best way to store Peppermint Swirl Cookies?
To maintain freshness, store your Peppermint Swirl Cookies in an airtight container at room temperature for up to 5-7 days. A handy tip: place a slice of bread in the container to keep them soft, as the bread absorbs excess moisture.
Can I freeze Peppermint Swirl Cookies?
Absolutely! You can freeze baked cookies for up to 1 month. Just place them in a single layer in an airtight container, and when ready to enjoy, simply thaw them at room temperature. If you prefer to freeze the raw dough, wrap it tightly in plastic wrap and store in the freezer for up to 2-3 months. When you’re ready to bake, slice the dough from frozen and bake directly—it’s an easy time-saver!
What should I do if my cookie dough is too sticky to roll out?
If your Peppermint Swirl Cookie dough feels excessively sticky, it’s likely due to warmer temperatures or an imbalance in moisture. I recommend placing the dough in the refrigerator to chill for another 15-20 minutes. This will firm it up, making it easier to roll out without tearing.
Are these cookies suitable for anyone with dietary restrictions?
Yes! For those with gluten sensitivities, you can substitute all-purpose flour with a 1:1 gluten-free flour blend that includes xanthan gum for added structure. If you’re looking to make these cookies vegan, a flax egg can replace the large egg—simply mix one tablespoon of ground flaxseed with two and a half tablespoons of water, letting it sit to thicken. Always check your extracts and food coloring for any allergens.
How can I achieve perfectly distinct swirls in my cookies?
To get those beautiful swirls, ensure dough is well-chilled before rolling. After coloring the dough, layer it carefully and roll tightly into a log. Using a sharp knife to slice will help maintain the swirls’ integrity. Lastly, chilling the log again for 2 hours before baking keeps shapes intact while baking, leading to stunning visual appeal in your Peppermint Swirl Cookies!
Irresistible Peppermint Swirl Cookies to Brighten Your Holidays
Ingredients
Equipment
Method
- In a medium bowl, whisk together 2 cups of all-purpose flour, 1 teaspoon of baking powder, and 1/2 teaspoon of salt until well combined.
- In a large mixing bowl, cream together 1 cup of softened unsalted butter and 1 cup of granulated sugar until light and fluffy, about 2-3 minutes.
- Add 1 large egg, 1 teaspoon of vanilla extract, and 1 teaspoon of peppermint extract to the creamed mixture, beating on low until incorporated.
- Gradually add the whisked dry ingredients, mixing on low just until the dough comes together.
- Divide the dough in half; leave one half plain and color the other half with red gel food coloring.
- Wrap each half in plastic wrap and refrigerate for at least 30 minutes.
- Roll each colored dough into a rectangle measuring about 10x12 inches and about 1/4 inch thick.
- Layer the red dough on top of the plain dough, roll tightly into a log, and chill for at least 2 hours.
- Preheat your oven to 375°F (190°C).
- Slice the chilled dough log into 1/4-inch rounds and place on prepared baking sheets, spaced 2 inches apart.
- Bake for 8-10 minutes until edges are lightly golden and centers remain soft.
- Cool on baking sheets for 5 minutes before transferring to wire racks to cool completely.
Leave a Reply