
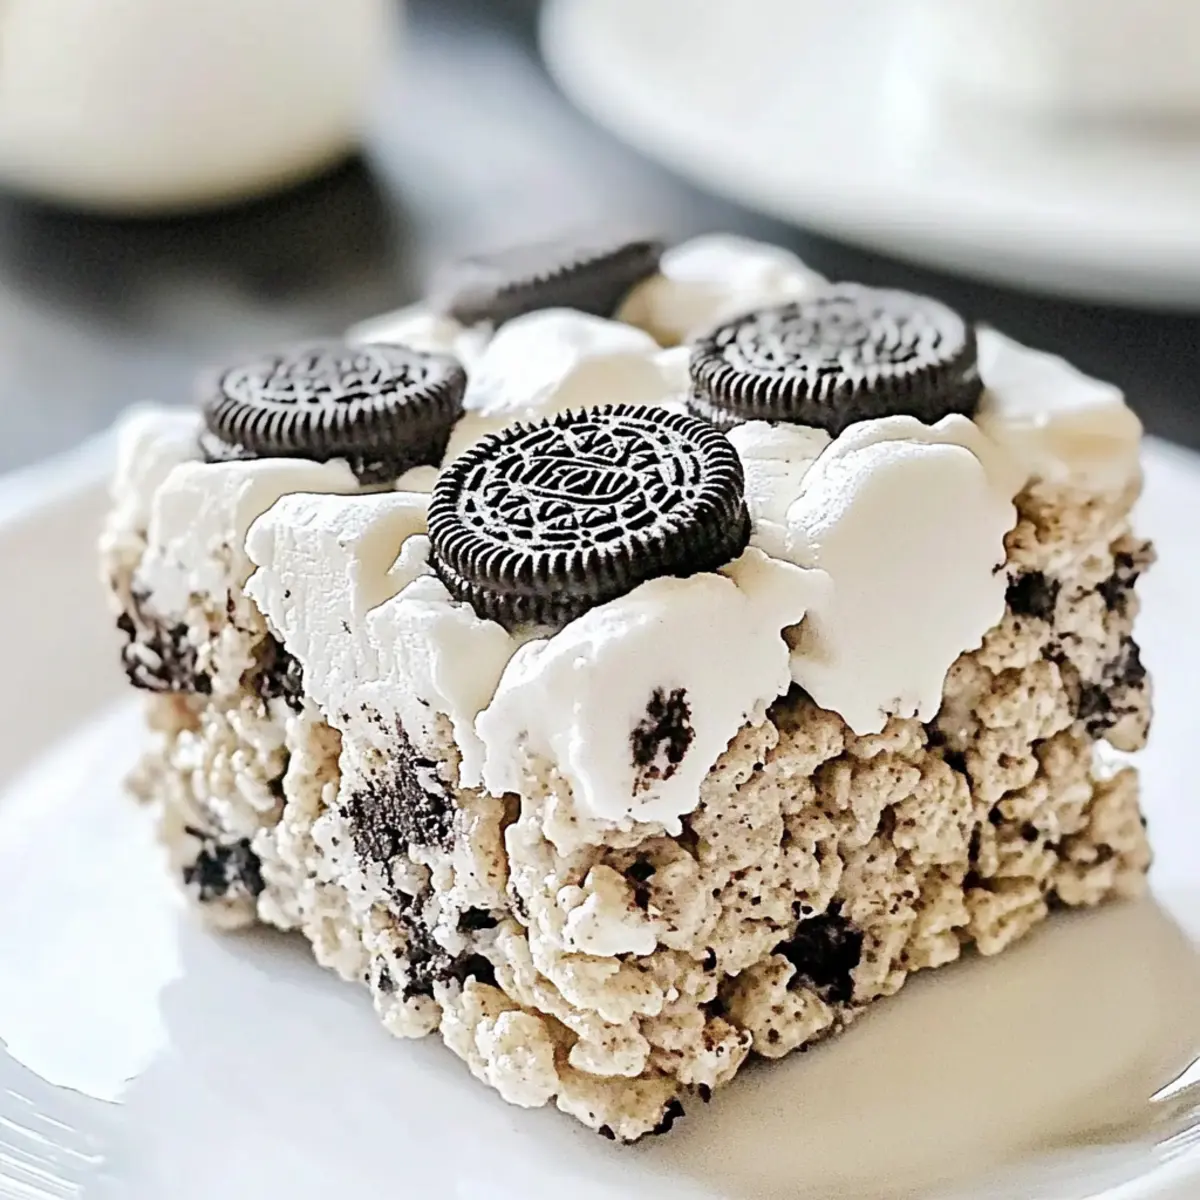
“Can you believe how easy it is to make dessert without even turning on the oven?” my friend exclaimed, glancing at the colorful tray of treats in front of us. Enter the no-bake Oreo Krispies—an absolute delight that combines crunchy Oreos with sticky marshmallows to create pure bliss in bar form. In just 10 minutes, you can whip up these thick, chewy bars that are not only kid-friendly but also fully customizable to suit your taste buds. Perfect for family movie nights or casual gatherings, these treats eliminate the stress of baking while delivering a fun, sweet surprise in every bite. So why not grab some simple ingredients and get ready to impress your loved ones? What thrilling twists will you add to make your Oreo Krispies uniquely yours?
Why Are Oreo Krispies a Must-Make?
Quick and Easy: With just 10 minutes of hands-on time, these no-bake treats are incredibly simple to whip up when cravings strike!
Customizable Delight: You can put your own spin on this recipe—think peanut butter swirls or festive toppings. It caters to all palates!
Kid-Friendly Fun: Kids will love both making and eating these bars, making them a great activity for family bonding.
Crowd-Pleaser: Whether it’s a movie night or a birthday party, these chewy bars are sure to wow guests and loved ones alike.
Mess-Free Option: No oven means less cleanup, leaving you more time to enjoy the delicious results! Try this dessert, and who knows? You might discover a new favorite treat!
Oreo Krispies Ingredients
For the Base
• Butter – 4 tablespoons; adds richness and helps bind the ingredients—use salted for balanced flavor.
• Mini Marshmallows – 8 cups; provides the gooey texture that holds the bars together—regular ones work best.
• Krispie Cereal – 6 cups; serves as the base giving a light crispy texture—feel free to substitute with other puffed cereals.
For Flavor
• Oreo Cookies – 1 cup; infuses the classic cookies and cream flavor—use whole Oreos for maximum taste.
• Salt – 1 pinch; enhances flavors, but can be omitted if using salted butter.
Unleash your creativity with these Oreo Krispies ingredients, and make a sweet indulgence that’s sure to delight!
Step‑by‑Step Instructions for Oreo Krispies
Step 1: Prep Ingredients
Start by gathering your ingredients. In a large mixing bowl, combine 6 cups of Krispie cereal, 1 cup of crushed Oreo cookies, and 1 cup of mini marshmallows. Make sure all ingredients are ready to go since you’ll want to work quickly while the marshmallow mixture is warm and pliable for creating the perfect Oreo Krispies.
Step 2: Melt Butter & Marshmallows
In a medium saucepan over medium heat, melt 4 tablespoons of butter until it starts bubbling gently. Next, add in 8 cups of mini marshmallows along with a pinch of salt. Stir continuously for about 3-4 minutes until the marshmallows are fully melted and the mixture becomes smooth and glossy, ensuring a perfect base for your Oreo Krispies.
Step 3: Combine Mixtures
Once your butter and marshmallow mixture is ready, carefully pour it over the cereal and Oreo blend in the large mixing bowl. Gently fold the ingredients together using a spatula, making sure to coat everything evenly without crushing the cereal or Oreos. This mix should be sticky and gooey, providing a delicious binding for your Oreo Krispies.
Step 4: Transfer & Press
Prepare a 9-inch square pan by greasing it lightly with butter or cooking spray. Pour the sticky mixture into the pan, and with a piece of parchment paper or your hands, press it down evenly to create a smooth and compact top. This ensures your Oreo Krispies will hold their shape once fully set.
Step 5: Cool & Cut
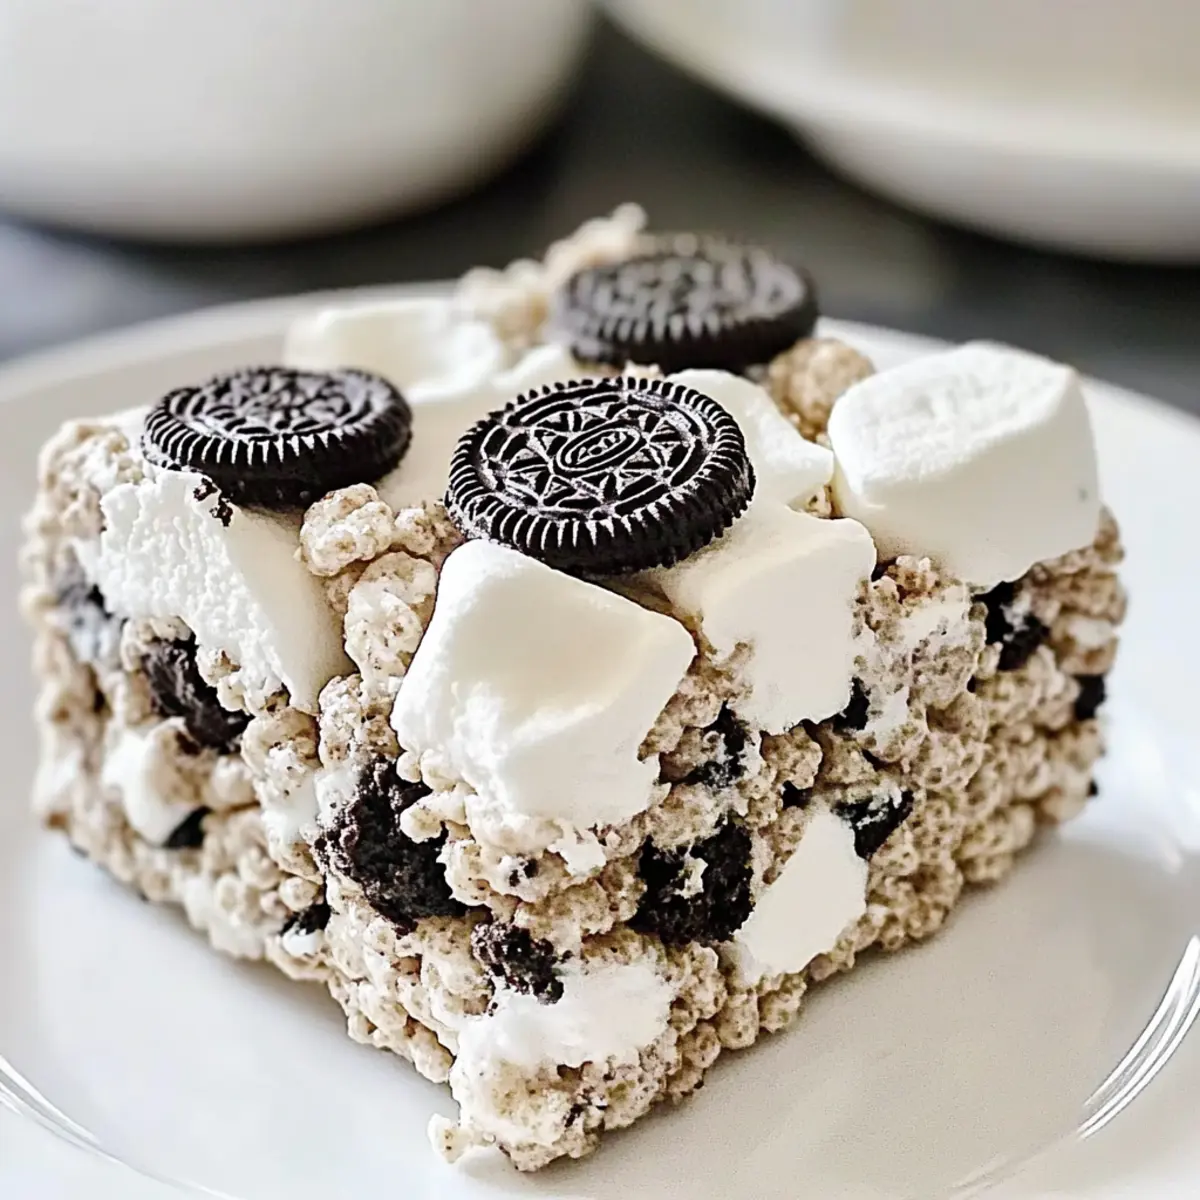
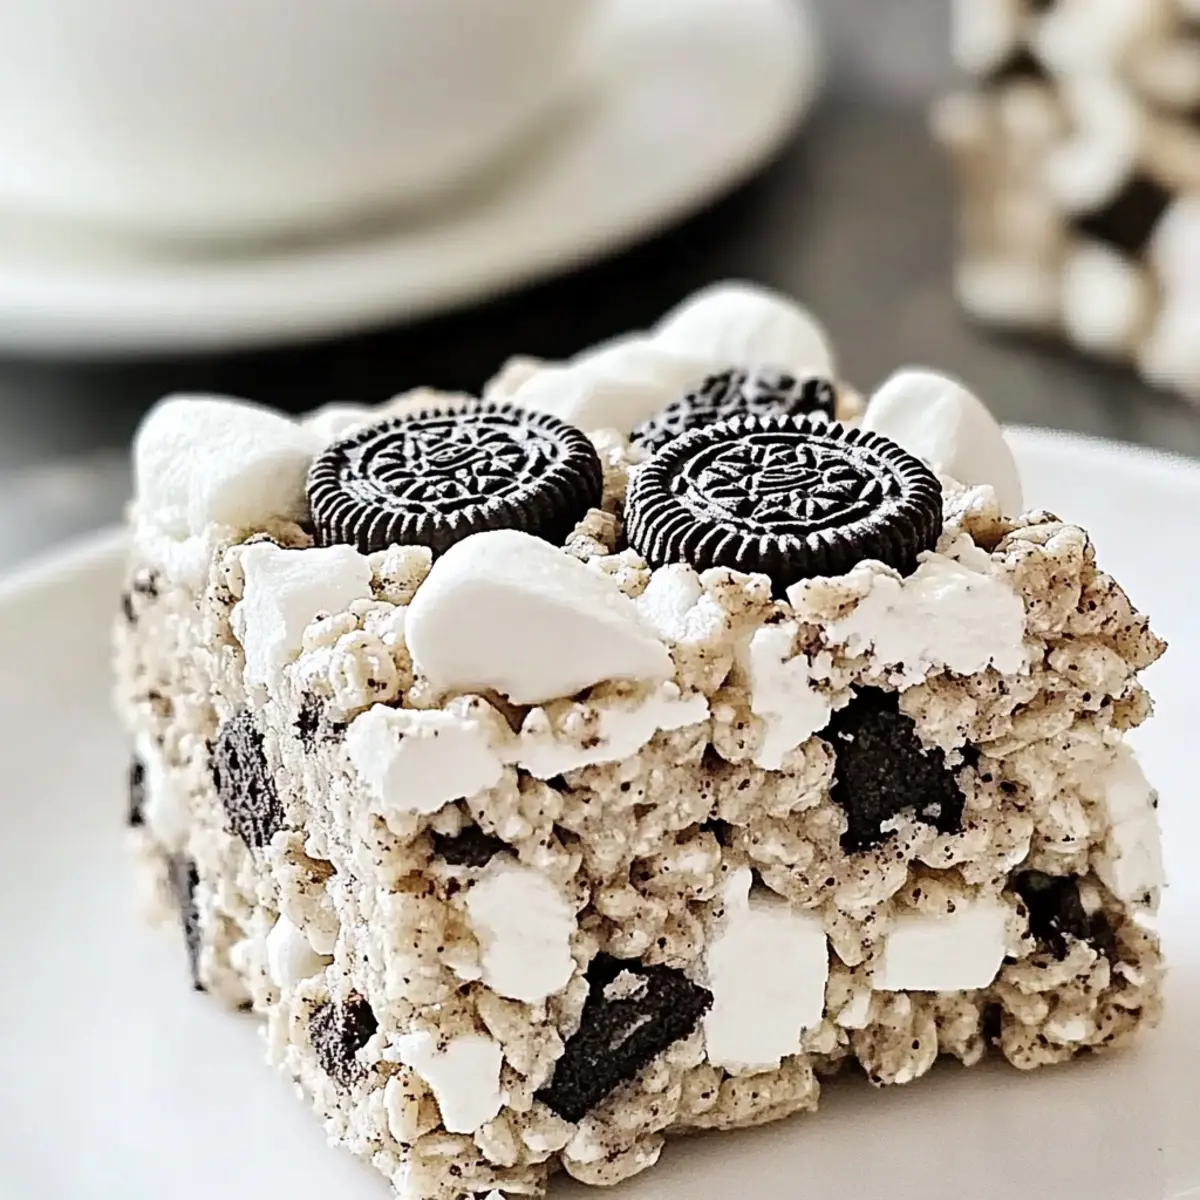
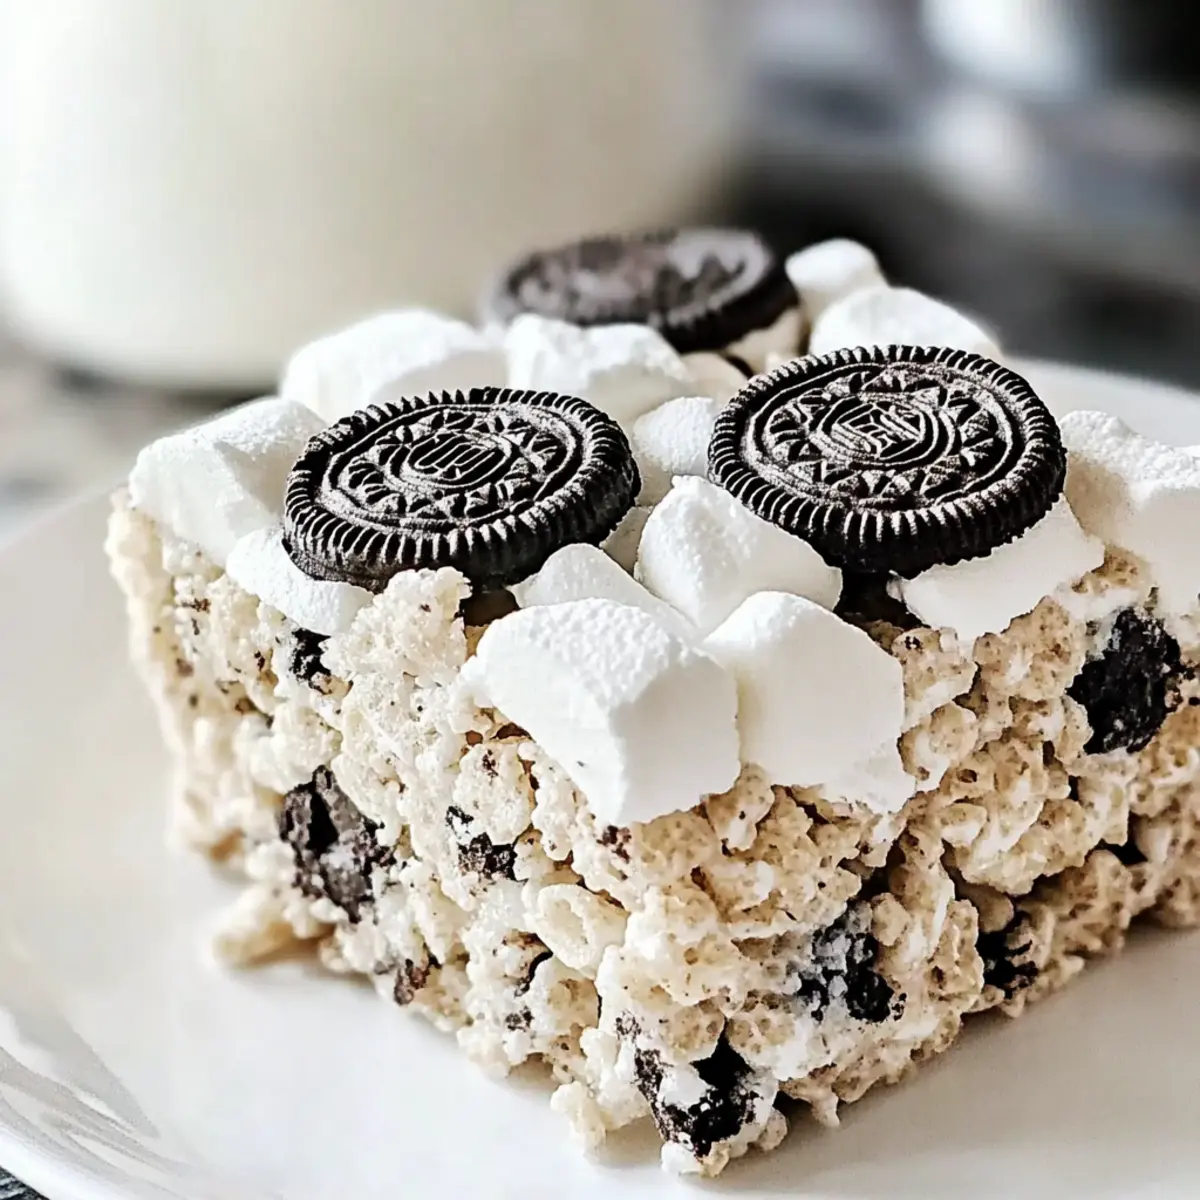
Allow the packed Oreo Krispies to cool at room temperature for about 30 minutes. Once they’ve set and firmed up, take a sharp knife (greased for easier slicing) and cut them into squares. The result will be thick, chewy bars that perfectly capture that delightful cookies and cream flavor everyone loves.
Expert Tips for Oreo Krispies
- Perfectly Melted Marshmallows: Ensure marshmallows are fully melted before combining to avoid clumps; this helps form a cohesive mixture for your Oreo Krispies.
- Gentle Folding: Be careful when folding the mixture to avoid crushing the crispy texture; a light touch keeps the treats airy and perfect.
- Greased Knife Trick: Use a greased sharp knife for cutting the bars smoothly; this prevents the sticky mixture from sticking to the blade.
- Cool Completely: Allow bars to cool fully for at least 30 minutes; this helps them set properly and makes slicing easier.
- Storage Know-How: Store in an airtight container at room temperature for up to one week; this keeps your Oreo Krispies fresh and chewy!
Oreo Krispies: Endless Possibilities
Feel free to get creative with your Oreo Krispies, transforming them into a unique delight that suits your taste perfectly!
-
Chocolate Swap: Replace Oreos with fudge cream cookies for a deep chocolate flavor that will satisfy any sweet tooth.
-
Nutty Additions: Stir in chopped pecans or almonds for a crunchy surprise that complements the chewy marshmallows beautifully.
-
Peanut Butter Swirl: Mix in creamy peanut butter when melting the marshmallows to create a rich, nutty twist that’s simply irresistible!
-
Festive Topping: Drizzle with melted chocolate or sprinkle colorful sprinkles on top before they set for a fun, eye-catching dessert.
-
S’mores Style: Use graham cracker crumbs in place of Krispie cereal, then add mini marshmallows and chocolate chips for a nostalgic campfire flavor.
-
Dairy-Free Delight: Substitute regular butter with coconut oil and choose dairy-free marshmallows for an equally tasty treat that everyone can enjoy.
-
Fruit Medley: Add dried fruits such as cranberries or chopped dried apricots for a fruity twist that brings a pop of flavor and color.
-
Spicy Kick: For some heat, mix in a pinch of cayenne pepper or chili powder to your chocolate drizzle—unexpected, but it works wonders!
Each variation adds its own charm to the classic Oreo Krispies and keeps your dessert game fresh and thrilling. You’re just a scoop away from fabulous!
What to Serve with No-Bake Oreo Krispies
Imagine gathering around a cozy table, sharing laughter and sweet treats that perfectly complement those chewy, chocolatey bites.
- Cold Glass of Milk: The classic pairing! A refreshing glass of cold milk enhances the rich flavors, making each bite even more decadent.
- Chocolate Drizzle: Add a luxurious touch by drizzling melted chocolate on top, which beautifully contrasts with the crunchy and creamy textures of the bars.
- Fresh Fruit Skewers: Light, juicy fruits like strawberries or bananas provide a burst of freshness that balances the sweetness of the Oreo Krispies.
- Vanilla Ice Cream Scoop: Serve a scoop of velvety vanilla ice cream alongside for a delightful melt-in-your-mouth experience that screams indulgence.
- Whipped Cream Topping: A dollop of whipped cream adds a fluffy finish that elevates the bars into a dreamy dessert, perfect for special occasions.
- Fun Sprinkles: Add colorful sprinkles before slicing for a festive touch that beckons kids (and adults) to indulge in the sugary fun!
- Chocolate Milk: For a cozy twist, opt for a glass of rich chocolate milk—it mirrors the cookie’s flavor while enhancing the experience.
- Coffee: Enjoy with a warm cup of coffee to balance the sweetness while offering a comforting vibe—ideal for after-dinner indulgence.
- Peanut Butter Dip: Serve alongside a creamy peanut butter dip for those who love a nutty contrast to the sweet Oreo flavors.
- Mini Cupcakes: For a delightful dessert spread, mini cupcakes can provide additional flavors, making the gathering even sweeter!
Make Ahead Options
These Oreo Krispies are perfect for busy home cooks looking to save time! You can prepare the dry ingredients (Krispie cereal, crushed Oreos, and mini marshmallows) up to 24 hours in advance, simply store them in an airtight container to maintain their freshness. Additionally, you can make the marshmallow mixture and refrigerate it for up to 3 days; just be sure to reheat it gently before combining it with the dry ingredients to achieve that gooey, irresistible texture. When you’re ready to serve, follow the final steps by pouring and pressing the mixture into the pan, allowing it to cool at room temperature before slicing. This way, you’ll have delicious Oreo Krispies ready in no time, leaving you more moments to enjoy with family and friends!
How to Store and Freeze Oreo Krispies
Room Temperature: Keep your Oreo Krispies stored in an airtight container at room temperature for up to 1 week. This will maintain their chewy texture and deliciousness.
Fridge: For longer freshness, you can refrigerate them for up to 2 weeks; just ensure they are well-wrapped to avoid drying out.
Freezer: If you want to enjoy these delightful treats later, freeze them for up to 3 months. Wrap individual squares tightly in plastic wrap before placing them in a freezer-safe bag or container.
Thawing: To restore their delightful texture, allow the frozen Oreo Krispies to thaw at room temperature for about 30 minutes before serving.
Oreo Krispies Recipe FAQs
How do I choose the best Oreos for my Krispies?
Absolutely! For the best flavor, I recommend using whole, classic Oreos as they provide the rich cookies and cream taste that pairs perfectly with the marshmallows. If you’re feeling adventurous, you could try flavored Oreos to mix things up!
How should I store leftover Oreo Krispies?
Keep your Oreo Krispies stored in an airtight container at room temperature for up to 1 week. If you prefer longer freshness, refrigerate them where they’ll last for about 2 weeks. Just make sure they’re well-wrapped to prevent drying out!
Can I freeze Oreo Krispies for later?
Yes! You can freeze your Oreo Krispies for up to 3 months. I suggest wrapping each square tightly in plastic wrap, then placing them in a freezer-safe bag or container to prevent freezer burn. For the best results, thaw them at room temperature for about 30 minutes before enjoying.
What if my marshmallows didn’t melt properly?
No worries! If your marshmallows are clumpy or didn’t melt fully, return them to the heat and stir constantly until smooth. Make sure to use medium-low heat to avoid scorching. Keeping the heat gentle allows the marshmallows to melt evenly, creating the perfect gooey mixture for your Krispies!
Are there any allergy considerations for Oreo Krispies?
Great question! While Oreo cookies are generally dairy-free, be sure to check the packaging as recipes may vary. Also, if anyone has a nut allergy, consider using nut-free alternatives for any variations you’d like to add, especially if you’re incorporating nutty ingredients.
Can I add other ingredients to the Krispies?
Very! The possibilities are endless! Feel free to stir in ingredients like chopped nuts, peanut butter, or even mini chocolate chips for a more decadent treat. Just remember to keep the proportions roughly the same to maintain the balance of flavors in your Oreo Krispies.
Decadent Oreo Krispies: No-Bake Treat for Everyone!
Ingredients
Equipment
Method
- Start by gathering your ingredients. In a large mixing bowl, combine 6 cups of Krispie cereal, 1 cup of crushed Oreo cookies, and 1 cup of mini marshmallows.
- In a medium saucepan over medium heat, melt 4 tablespoons of butter until it starts bubbling gently. Next, add in 8 cups of mini marshmallows along with a pinch of salt. Stir continuously for about 3-4 minutes until the marshmallows are fully melted and the mixture becomes smooth and glossy.
- Once your butter and marshmallow mixture is ready, carefully pour it over the cereal and Oreo blend in the large mixing bowl. Gently fold the ingredients together using a spatula, making sure to coat everything evenly without crushing the cereal or Oreos.
- Prepare a 9-inch square pan by greasing it lightly with butter or cooking spray. Pour the sticky mixture into the pan, and with a piece of parchment paper or your hands, press it down evenly to create a smooth and compact top.
- Allow the packed Oreo Krispies to cool at room temperature for about 30 minutes. Once they’ve set and firmed up, take a sharp knife (greased for easier slicing) and cut them into squares.
Leave a Reply