
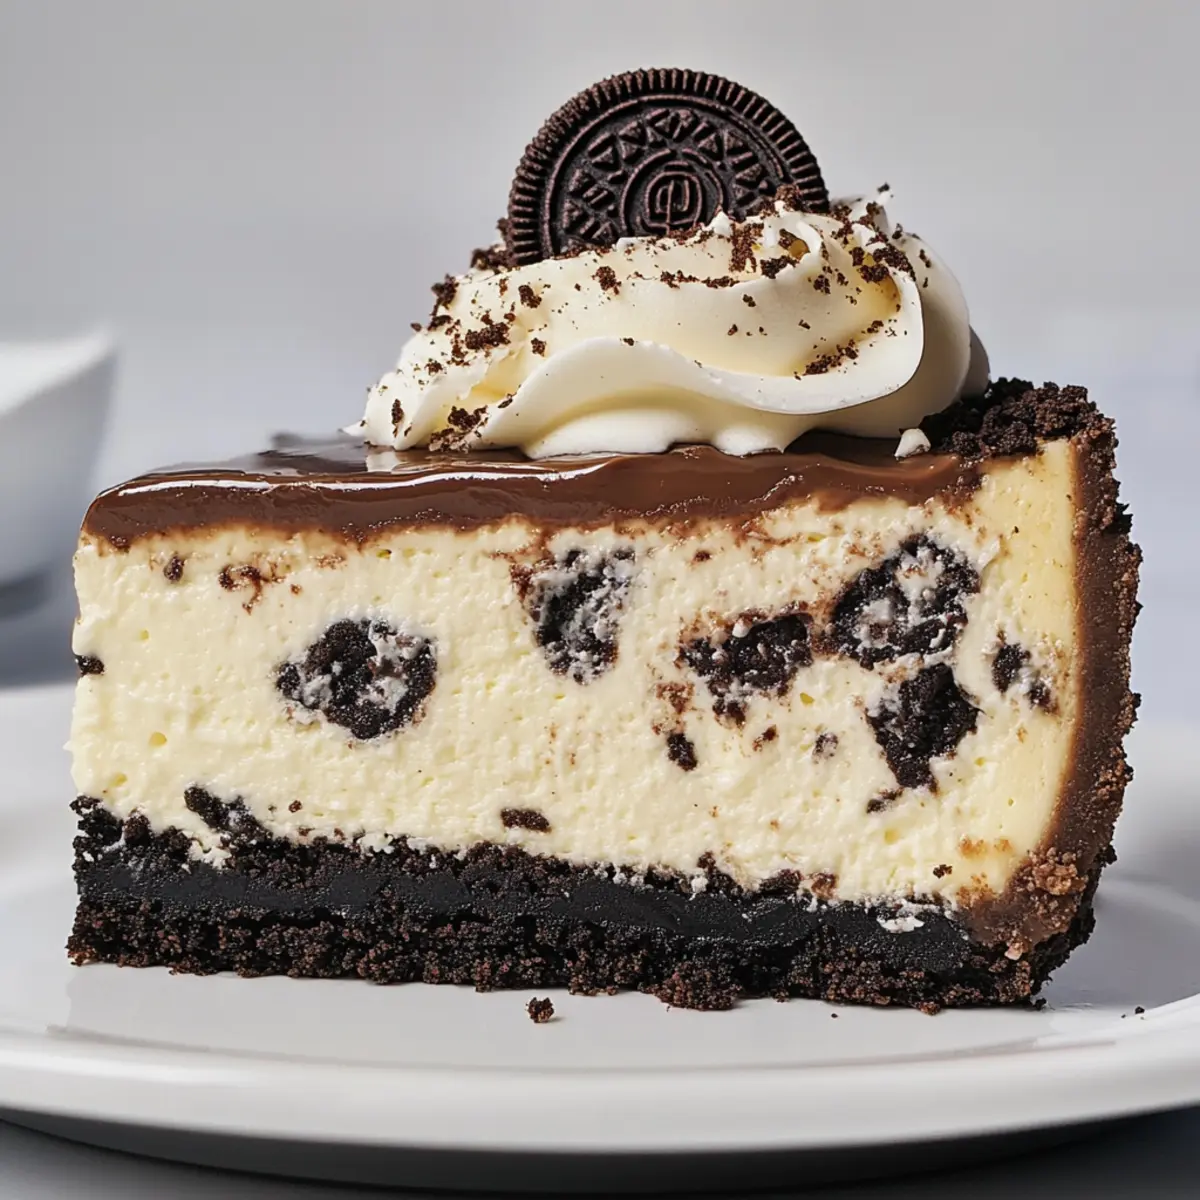
The kitchen was filled with the subtle scent of chocolate as I prepared to dive into my latest indulgence: an unforgettable Oreo Cheesecake. This dessert doesn’t just satisfy a sweet craving; it’s a harmonious blend of creamy cheesecake and a crunchy Oreo crust—truly a match made in dessert heaven. What I adore about this Oreo Cheesecake is how it’s not only a crowd-pleaser, but it can also be prepped ahead of time, allowing you more time to enjoy the moment. Perfect for a casual gathering or a special celebration, this no-bake option can be dressed up or down with a velvety ganache and a dollop of whipped cream. Are you ready to elevate your dessert game and impress your friends with this creamy delight? Let’s get started!
Why is this Oreo Cheesecake a must-try?
Indulgence at its finest: This Oreo Cheesecake combines the rich and creamy flavors of traditional cheesecake with the beloved taste of Oreo cookies, making it a showstopper dessert. No-bake option: Perfect for those hot days when you want a sweet treat without turning on the oven. Make-ahead friendly: Prepare it a day in advance and simply chill, freeing you up on the day of your event. Versatile variations: Whether you want to add a layer of chocolate ganache or switch up the cookies, the possibilities are endless! Crowd-pleaser: Bring it to gatherings, and watch as everyone comes back for seconds! This dessert is sure to be a hit, just like a classic Caramel Brownie Cheesecake but with an Oreo twist.
Oreo Cheesecake Ingredients
• Perfect for your creamy creation!
For the Crust
- Oreo Cookies – Give a delightful chocolate flavor and crunchy texture; feel free to swap them for chocolate wafer cookies for a twist.
- Butter – Helps bind the crust together; using unsalted butter allows you to control the saltiness perfectly.
For the Filling
- Cream Cheese – Provides that smooth, creamy texture; make sure it’s fully softened for easy mixing.
- Eggs – Adds richness and stability; let them come to room temperature before mixing for the best results.
- Granulated Sugar – Sweetens the filling, enhancing the overall flavor; coconut sugar can be an interesting substitute for a different taste.
- Sour Cream – Adds a delicious tang and creaminess; Greek yogurt works as a healthier alternative.
- Vanilla Extract – Enhances the flavor; always go for pure vanilla extract for the best results.
- Semisweet Chocolate Chips – Used in the ganache topping for added richness; consider dark chocolate chips for a deeper flavor.
For the Topping
- Heavy Cream – Whipped into a luscious topping but can be replaced with coconut cream for a dairy-free treat.
- Powdered Sugar – Sweetens the whipped cream; feel free to skip it if you prefer unsweetened whipped cream.
Get ready to whip up this luscious Oreo Cheesecake that’s sure to steal the spotlight at your next gathering!
Step‑by‑Step Instructions for Oreo Cheesecake
Step 1: Preheat the Oven
Begin by preheating your oven to 325°F (163°C). This is crucial, as the right temperature will ensure your cheesecake bakes evenly. While the oven warms, gather your ingredients and get your 9-inch springform pan ready so you’ll be prepared for the crust.
Step 2: Prepare the Crust
In a food processor, pulse the Oreo cookies into fine crumbs until they resemble sand. Combine these crumbs with melted unsalted butter, mixing until evenly coated. Press the mixture firmly into the bottom of your prepared springform pan. Bake for 10 minutes until firm, then set aside to cool while you work on the filling.
Step 3: Make the Cream Cheese Filling
In an electric mixer, beat the softened cream cheese until completely smooth and creamy, about 2-3 minutes. Gradually add in the eggs, mixing one at a time to ensure each is fully incorporated before adding the next. This will help create a luscious texture in your Oreo cheesecake.
Step 4: Incorporate Additional Ingredients
Add the granulated sugar, sour cream, and vanilla extract into the cream cheese mixture. Mix on low speed until just combined, being careful not to overmix. Gently fold in chopped Oreo cookie pieces with a spatula, adding delightful chunks of flavor to your filling.
Step 5: Combine Filling and Crust
Pour the creamy filling over the cooled Oreo crust in the springform pan, spreading it out evenly with a spatula. Place the pan in the preheated oven and bake for approximately 1 hour. The edges should be set, while the center will still slightly jiggle, indicating it is perfectly cooked and ready to cool.
Step 6: Cool the Cheesecake
Once baked, turn off the oven and crack the door open, allowing the cheesecake to cool inside for 30 minutes. This gradual cooling process reduces the chances of cracks forming on the surface of your Oreo cheesecake, helping maintain its beautiful appearance.
Step 7: Chill the Cheesecake
After cooling in the oven, run a knife around the edges of the cheesecake to loosen it from the pan. Then, transfer it to the refrigerator and let it chill for at least 5 hours, or ideally overnight. This allows the flavors to meld and results in a firmer texture.
Step 8: Prepare the Ganache Topping
To make the ganache, heat the heavy cream in a small saucepan over medium heat until it simmers. Remove from heat and pour it over the semisweet chocolate chips in a bowl. Let it sit for about 5 minutes to melt the chocolate, then stir until smooth and glossy, ready to adorn your chilled Oreo cheesecake.
Step 9: Add Whipped Cream and Finishing Touches
Once the ganache has cooled slightly, spread it evenly over the chilled cheesecake. Next, whip heavy cream with powdered sugar until soft peaks form. Carefully top the ganache with an elegant swirl of whipped cream, then garnish with reserved Oreo crumbs for an extra touch of decadence.
Expert Tips for Oreo Cheesecake
-
Smooth Texture: Beat the cream cheese until fully smooth. This helps avoid any lumps in your cheesecake, ensuring a creamy filling.
-
Egg Incorporation: Add eggs one at a time to maintain a consistent mixture. Overmixing can introduce too much air, causing cracks in your Oreo cheesecake.
-
Cool Gradually: Allow the cheesecake to cool slowly in the oven with the door cracked open. This simple step helps prevent unsightly surface cracks.
-
Chill Properly: Chill the cheesecake for at least 5 hours or overnight. This improves the flavor and texture, creating the perfect indulgent dessert.
-
Garnish Creativity: Don’t hesitate to get creative with toppings! Add more crushed Oreos or drizzle caramel sauce for an exciting flavor twist.
What to Serve with Decadent Oreo Cheesecake?
An irresistible Oreo cheesecake deserves some delightful accompaniments to elevate your dessert experience.
-
Fresh Berries: Bright, juicy strawberries or raspberries provide a sweet contrast to the rich cheesecake, adding a burst of freshness to each bite.
-
Chocolate Drizzle: A warm chocolate sauce over the cheesecake adds an extra layer of indulgence and enhances the chocolatey flavors of the dessert.
-
Coffee: Pairing a warm cup of coffee with your Oreo cheesecake rounds out the experience, creating a perfect balance of flavors between sweet and bitter.
-
Vanilla Ice Cream: A scoop of creamy vanilla ice cream brings a delightful creaminess and temperature contrast, making it a decadent treat for indulgence seekers.
-
Mint Leaves: Fresh mint leaves not only brighten up the plate visually but also complement the rich flavors with an aromatic freshness that elevates the dessert.
-
Toasted Coconut Flakes: Adding a sprinkle of toasted coconut enhances the texture and imparts a subtle tropical flavor that works beautifully with the chocolate and creaminess of the cheesecake.
Storage Tips for Oreo Cheesecake
Fridge: Keep your Oreo cheesecake covered with plastic wrap or in an airtight container, allowing it to stay fresh for up to 5 days.
Freezer: To freeze, wrap the cheesecake tightly in plastic wrap and then in aluminum foil. It can be stored in the freezer for up to 2 months without the whipped cream topping.
Thawing: When ready to enjoy, transfer the cheesecake from the freezer to the fridge and let it thaw overnight before serving.
Reheating: There’s no need to reheat this dessert; simply slice it cold and serve for the best flavor and texture in your delicious Oreo cheesecake.
Make Ahead Options
Preparing this luxurious Oreo Cheesecake ahead of time is a fantastic way to save on stress during busy gatherings! You can assemble the entire cheesecake, including the crust and filling, up to 24 hours in advance. Just be sure to cover it tightly with plastic wrap to prevent any refrigerator odors from seeping in. It can chill overnight, allowing the flavors to meld beautifully. For longer storage, feel free to freeze the cheesecake (without the ganache and whipped cream) for up to 2 months; just thaw it in the refrigerator overnight before serving. When you’re ready to enjoy, top it with ganache and whipped cream, ensuring that it remains absolutely divine and just as delicious!
Oreo Cheesecake Variations to Explore
Feel free to put your own spin on this delicious cheesecake, making it uniquely yours!
-
No-Bake Option: Skip the oven entirely by using a chilled mixture of cream cheese and whipped cream for a smooth texture.
-
Minty Twist: Replace standard Oreos with mint-flavored cookies for a refreshing, seasonal touch that brings a hint of coolness.
-
Edible Cookie Dough: Swirl in dollops of safe-to-eat cookie dough for a fun texture and an ultra-indulgent experience.
-
Peanut Butter Bliss: Add swirls of creamy or crunchy peanut butter to the filling for a delightful combination that’s simply irresistible.
-
Mini Cheesecakes: Make individual servings in a muffin tin or small jars for a fun and portable dessert option.
-
Add a Layer: Consider adding a layer of chocolate ganache between the cheesecake and the crust to enhance the flavor and texture contrast, much like in a Caramel Brownie Cheesecake.
-
Fruit Infusion: Stir in fresh raspberries or strawberries into the filling for a burst of fruitiness that balances the richness of the cheesecake.
-
Advanced Toppings: Get creative with toppings by adding chocolate shavings, caramel drizzle, or even crushed pretzels for a salty-sweet crunch.
Whichever variation you choose, this Oreo Cheesecake will surely delight!
Oreo Cheesecake Recipe FAQs
How do I choose the best Oreos for the crust?
Absolutely! For the crust, I recommend using regular Oreo cookies for classic flavor and texture. If you’re feeling adventurous, chocolate wafer cookies can add a different chocolatey twist. Ensure the cookies are fresh, avoiding those with any moisture or dark spots that can compromise the final taste.
What’s the best way to store leftover Oreo cheesecake?
Very simple! Store your leftover Oreo cheesecake in the refrigerator, covered with plastic wrap or in an airtight container. It will stay fresh for up to 5 days. For longer storage, you can freeze it for up to 2 months, but make sure to do this without the whipped cream topping to ensure the best texture once thawed.
Can I freeze Oreo cheesecake? If so, how?
Yes, you can! To freeze your Oreo cheesecake, first make sure it’s fully chilled. Wrap it tightly in plastic wrap, followed by aluminum foil for extra protection against freezer burn. When ready to enjoy, let it thaw overnight in the fridge before serving. This will help maintain its creamy texture.
Why is my cheesecake cracking, and how can I prevent it?
Cracking can be a common issue, but don’t worry! To prevent cracks, ensure that you don’t overmix the batter, especially after adding the eggs, as this introduces excess air. Additionally, cooling the cheesecake gradually in the oven with the door slightly ajar helps minimize temperature shock, which can lead to cracks on the surface.
Can I make this recipe for someone with dietary restrictions?
Certainly! For those who are lactose intolerant or vegan, you can substitute cream cheese with a dairy-free cream cheese alternative, and replace heavy cream with coconut cream. For eggs, flaxseed meal (1 tablespoon mixed with 2.5 tablespoons of water per egg) can often work as a good binding alternative. Check labels for any Oreo alternatives, as they may vary in ingredients for allergens.
How long do I need to chill the cheesecake for optimal taste?
For the best flavor and texture, chill your Oreo cheesecake in the refrigerator for at least 5 hours or, ideally, overnight. This resting period allows the flavors to meld beautifully and the cheesecake to firm up, giving you that perfect slice on serving day!
Irresistible Oreo Cheesecake: Creamy Bliss Awaits You
Ingredients
Equipment
Method
- Preheat the oven to 325°F (163°C).
- Pulse the Oreo cookies into fine crumbs and mix with melted unsalted butter. Press the mixture into the bottom of the springform pan. Bake for 10 minutes until firm and then cool.
- Beat the softened cream cheese until smooth, then gradually add eggs one at a time.
- Add granulated sugar, sour cream, and vanilla extract, mixing until just combined. Fold in chopped Oreo cookie pieces.
- Pour the filling over the cooled crust and bake for approximately 1 hour. The edges should be set, while the center will jiggle slightly.
- Cool the cheesecake in the oven with the door cracked open for 30 minutes.
- Run a knife around the edges, loosen it from the pan, and chill in the refrigerator for at least 5 hours or overnight.
- For ganache, heat the heavy cream until simmering, pour over the chocolate chips, let sit for 5 minutes, then stir until smooth.
- Spread ganache over the chilled cheesecake. Whip heavy cream with powdered sugar until soft peaks form and top the ganache.
Leave a Reply