
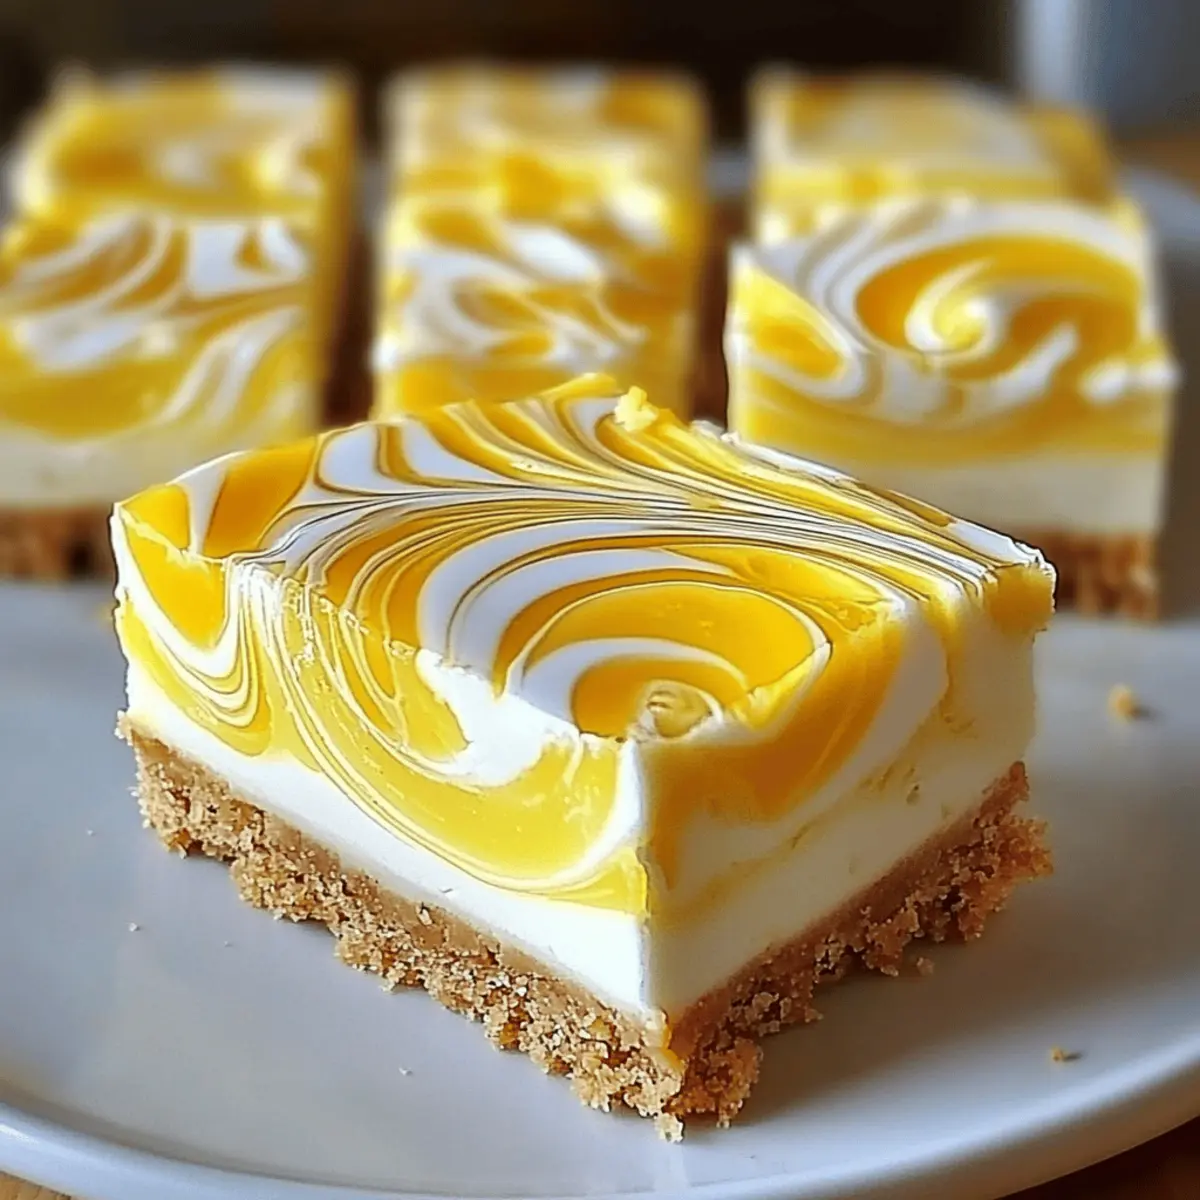
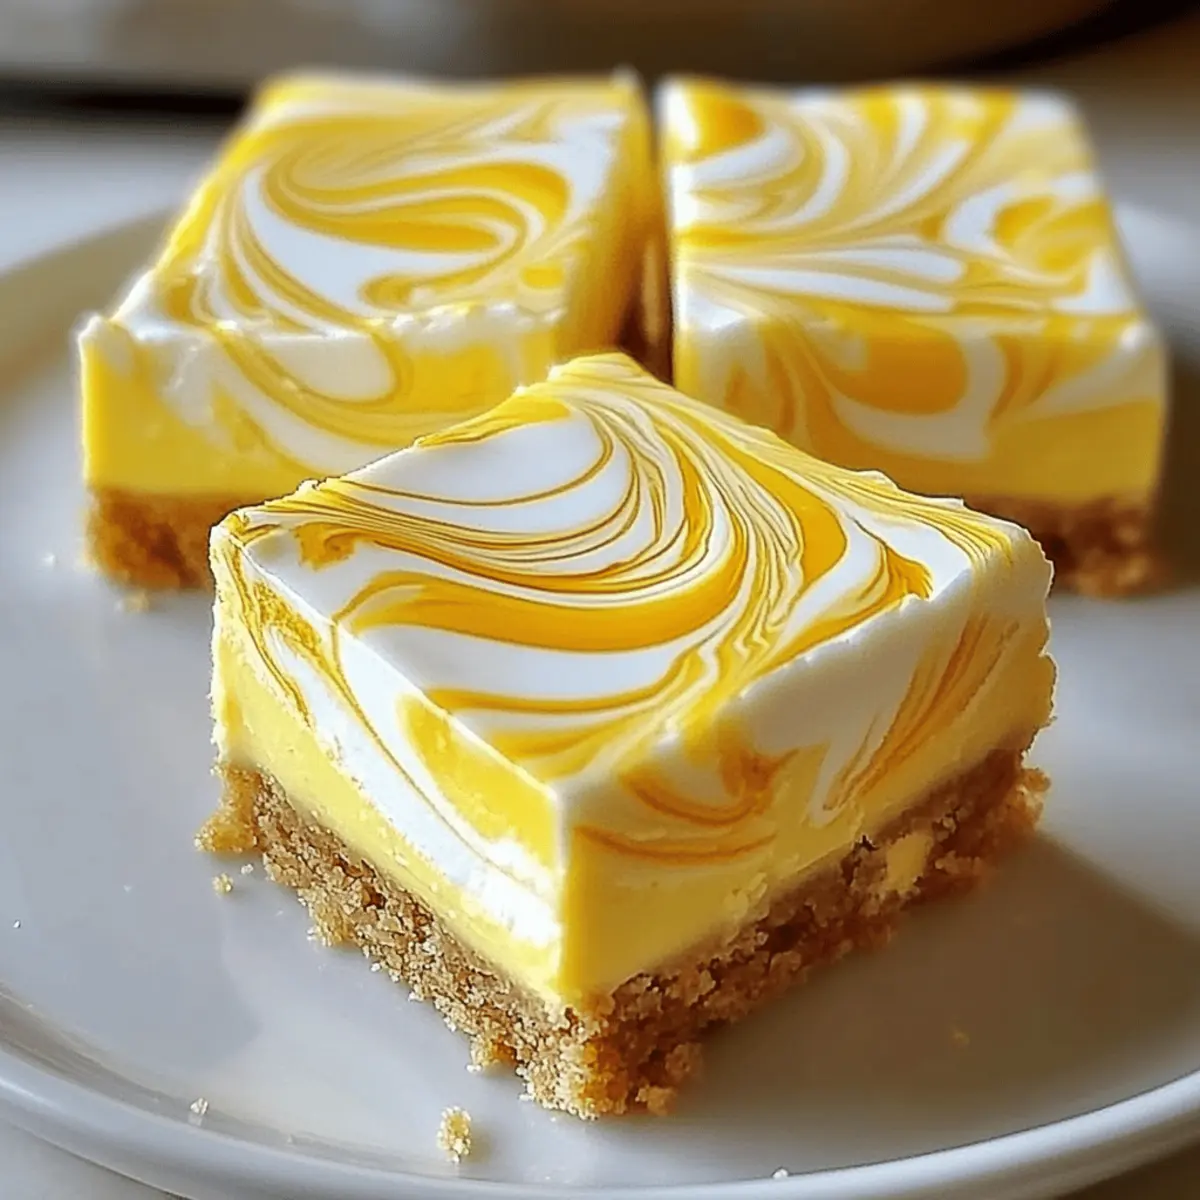
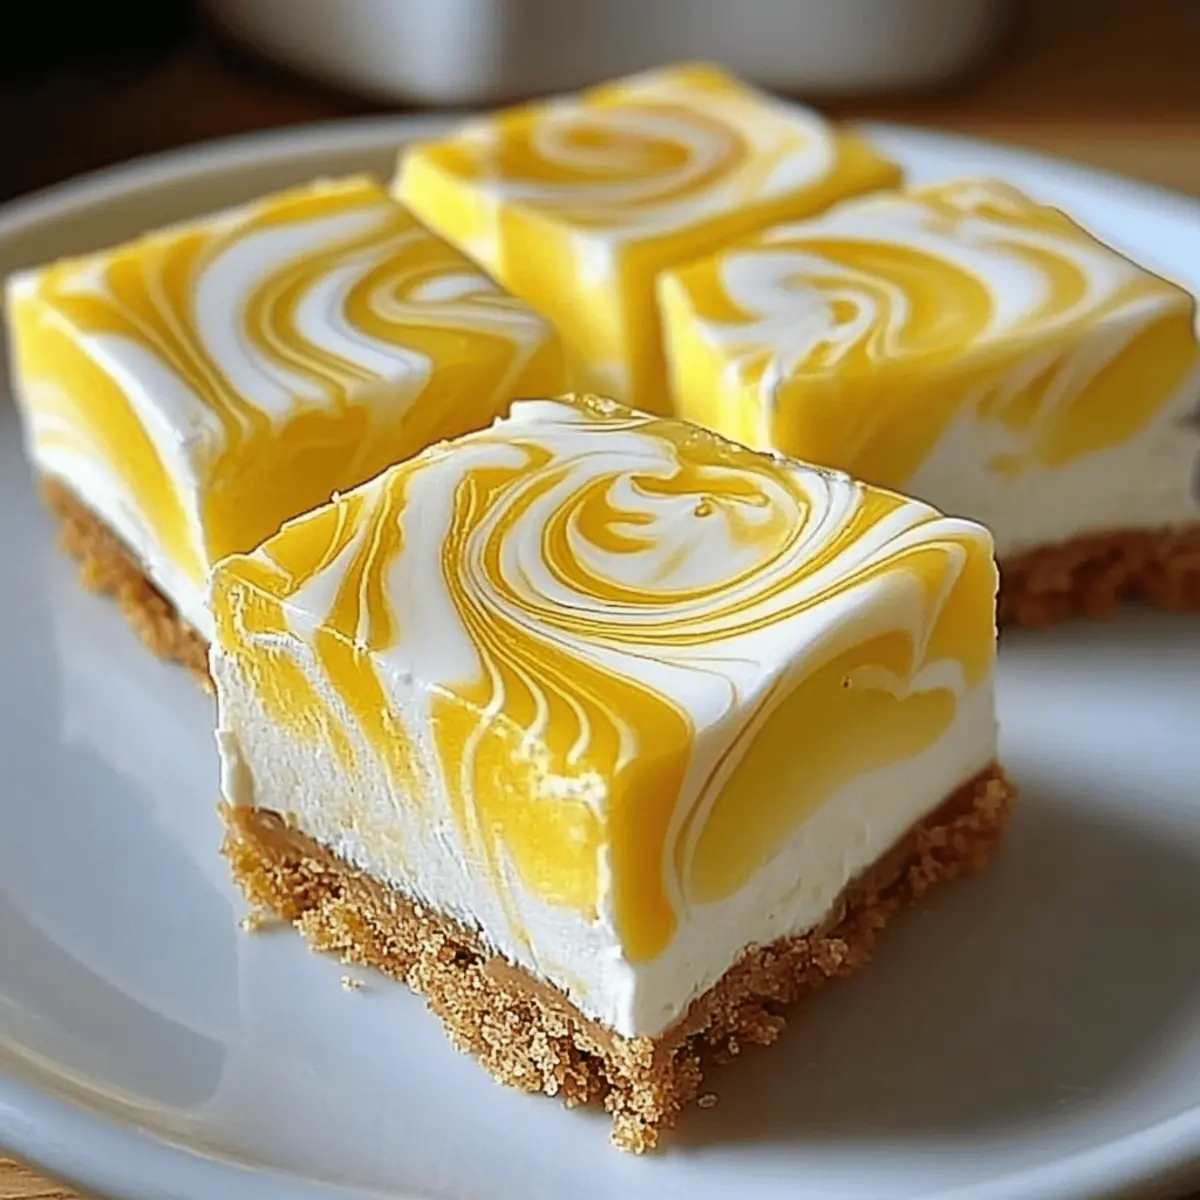
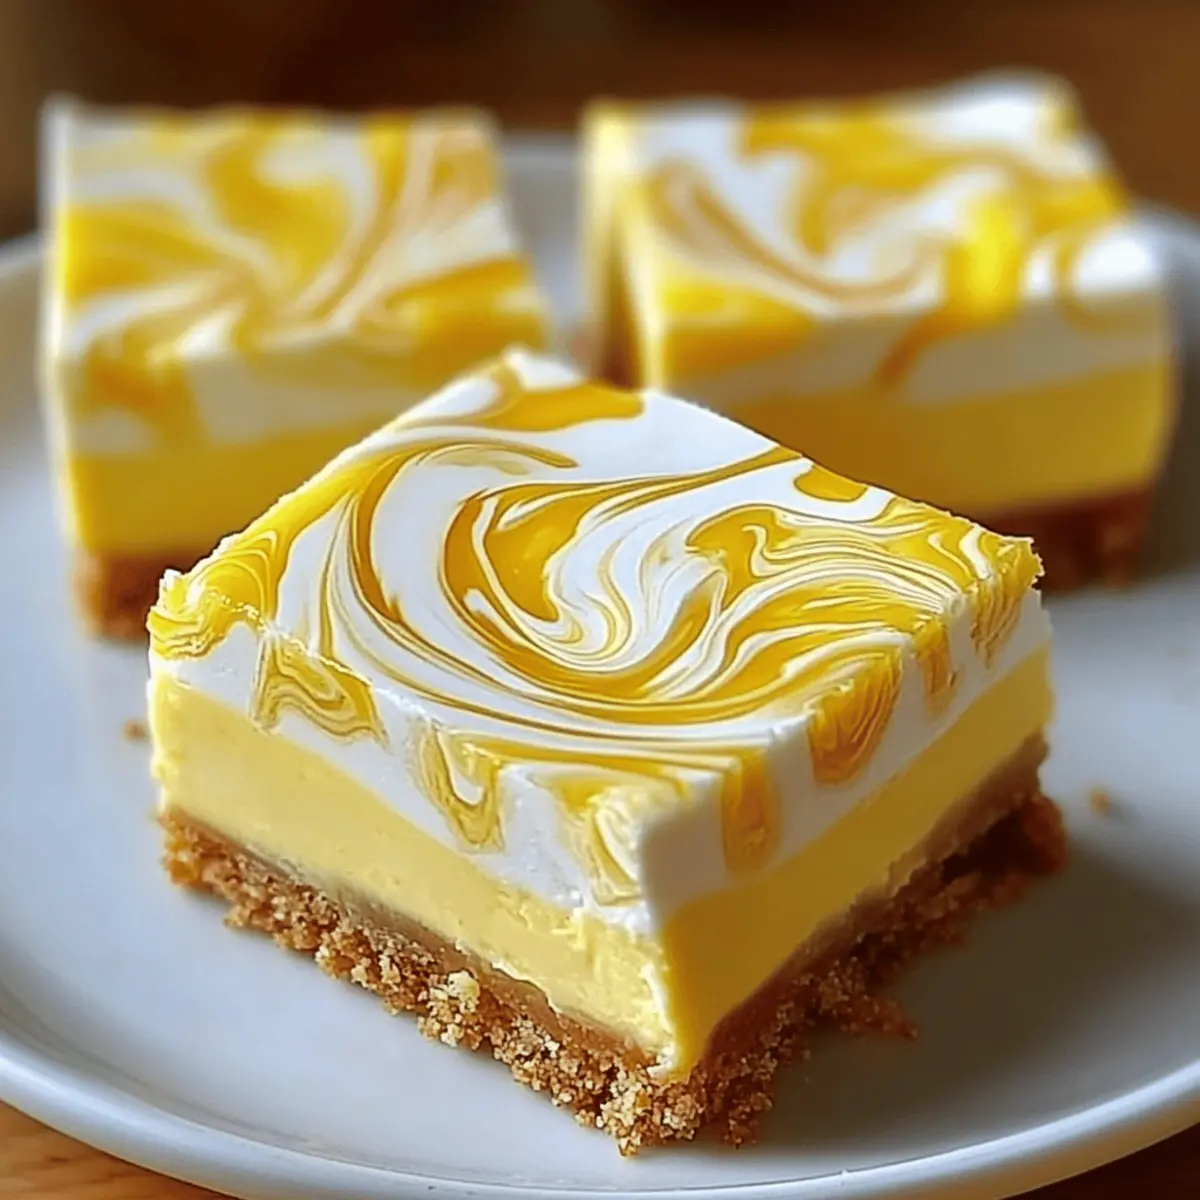
As the warm sun starts to set and a gentle breeze sweeps through, I find myself craving something light yet indulgent. That’s when I whip out my favorite recipe for Lemon Marbled Cheesecake Bars. This delightful treat combines the creamy richness of cheesecake with the zesty brightness of lemon, creating a stunning dessert that’s sure to impress. What I love most about these bars is how effortlessly they come together—a perfect solution for last-minute gatherings or a sweet escape after a long day. Plus, with a gluten-free option available, everyone can join in on the sweet fun. Curious to see how you can transform simple ingredients into a show-stopping dessert? Let’s dive into the recipe!
Why Try Lemon Marbled Cheesecake Bars?
Effortless Indulgence: These bars are a breeze to whip up in just 30 minutes, making them the perfect last-minute dessert for any occasion.
Vibrant Flavor Fusion: The combination of creamy cheesecake and tangy lemon curd creates an exciting burst of flavor that tantalizes your taste buds.
Versatile Delight: Enjoy them as they are, or pair them with fresh berries or a scoop of vanilla ice cream for an indulgent twist.
Gluten-Free Friendly: With the option to substitute graham crackers with almond flour, these bars cater to various dietary needs without sacrificing taste.
Impressive Presentation: The stunning marbled design not only looks sophisticated but also elevates your dessert spread, making it bound to impress family and friends.
Make-Ahead Magic: Perfect for meal prep, these bars freeze beautifully, allowing you to have a delightful dessert ready whenever you crave something sweet.
Lemon Marbled Cheesecake Bars Ingredients
For the Crust
- Graham Crackers – Ideal for building a buttery foundation; replace with almond flour for a gluten-free option.
- Butter – Use melted butter to bind crust ingredients effectively.
For the Cheesecake Filling
- Cream Cheese – Ensures a rich, creamy texture; always use room temperature to avoid lumps.
- Granulated Sugar – This sweetens the filling, or cut back for a lower sugar alternative.
- Eggs – Acts as a binder for the cheesecake; mix until just combined for the best texture.
- Vanilla Extract – Adds depth and enhances overall flavor; opt for pure vanilla for a richer taste.
- Lemon Zest – Brings a burst of citrus brightness; fresh zest delivers the best flavor.
- Lemon Juice – Essential for tanginess; fresh lemon juice is always a better choice than bottled.
- Yellow Food Coloring – Optional for a vibrant look; adds a cheerful touch to your dessert.
For the Decoration
- Fresh Berries – Add a pop of color and freshness on the side; perfect for enhancing the experience of your Lemon Marbled Cheesecake Bars.
Step‑by‑Step Instructions for Lemon Marbled Cheesecake Bars
Step 1: Prepare the Baking Pan
Begin by preheating your oven to 325°F (160°C). While it heats, line an 8×8-inch baking pan with parchment paper, allowing some overhang for easy removal later. This simple step ensures your Lemon Marbled Cheesecake Bars will lift out effortlessly once baked, showcasing their stunning marbled design.
Step 2: Make the Crust
In a medium bowl, combine crushed graham crackers and melted butter. Mix until the crumbs resemble wet sand, then firmly press this blend into the bottom of your prepared pan. Bake in the preheated oven for 10 minutes until set and lightly golden. This deliciously buttery crust provides the perfect foundation for your cheesecake filling.
Step 3: Prepare the Cheesecake Filling
In a large mixing bowl, beat the softened cream cheese with an electric mixer until smooth and creamy. Gradually add granulated sugar, continuing to mix until combined. Next, incorporate the eggs, one at a time, followed by vanilla extract and lemon zest. Beat until your mixture is fluffy and uniform, creating a rich filling for your Lemon Marbled Cheesecake Bars.
Step 4: Divide the Batter
Carefully reserve half of the cheesecake batter into a separate bowl. To the remaining batter in the original bowl, mix in fresh lemon juice and a few drops of yellow food coloring, if desired. This vibrant lemon-infused batter will bring life and brightness to your dessert, enhancing the marbled effect in your bars.
Step 5: Assemble the Bars
Pour the plain cheesecake batter over the cooled graham cracker crust, spreading it evenly. Next, take the lemon-infused batter and drizzle it on top. Using a butter knife or a skewer, gently swirl the two batters together to create a beautiful marbled pattern. The artistry of this step is what truly elevates your Lemon Marbled Cheesecake Bars.
Step 6: Bake the Cheesecake Bars
Place your assembled bars into the oven and bake for 30 to 35 minutes. Look for the edges to be set while the center remains slightly jiggly. This indicates your cheesecake is perfectly baked, resulting in creamy, luscious bars with that delightful lemon zing.
Step 7: Cool and Chill
Once baked, turn off the oven and leave the door ajar, allowing the bars to cool gradually inside for about an hour. Afterward, transfer your Lemon Marbled Cheesecake Bars to the refrigerator and let them chill for at least 4 hours, or overnight, to fully set. This cooling period is essential for the best texture and flavor development.
How to Store and Freeze Lemon Marbled Cheesecake Bars
Fridge: Store in an airtight container in the refrigerator for up to 3 days. Chilling keeps the bars fresh while enhancing their flavor.
Freezer: For longer storage, wrap the bars tightly in plastic wrap and then in aluminum foil. They can be frozen for up to 2 months.
Thawing: When ready to enjoy, simply transfer the Lemon Marbled Cheesecake Bars to the fridge and let them thaw overnight for the best texture.
Reheating: These bars are best served chilled, but if you prefer them slightly warm, pop them in the microwave for a few seconds—just be careful not to overheat!
Make Ahead Options
These Lemon Marbled Cheesecake Bars are a fantastic choice for meal prep, saving you precious time during busy weeks! You can prepare the graham cracker crust and the cheesecake batter up to 24 hours in advance; simply store them separately in airtight containers in the refrigerator to maintain freshness and prevent the crust from becoming soggy. When you’re ready to bake, just pour the batter over the crust, drizzle the lemon mixture, and swirl as instructed. Remember, chilling the bars in the refrigerator for at least 4 hours allows them to set properly and develop their flavors, ensuring you get just as delicious results as if you made them fresh on the day of serving!
What to Serve with Lemon Marbled Cheesecake Bars
Elevate your dessert experience with delightful pairings that will have your taste buds dancing.
-
Fresh Berries: Juicy strawberries, raspberries, or blueberries provide a burst of color and refreshing acidity to balance the creamy richness of the bars. Their natural sweetness complements the lemon perfectly.
-
Vanilla Bean Ice Cream: A scoop of this creamy treat melts beautifully over the warm bars, creating a luxurious contrast that takes each bite to another level of indulgence.
-
Mint Leaves: A sprinkle of fresh mint adds a pop of vibrant color and an aromatic freshness that brightens the entire dessert experience. This herbal note enhances the lemon and creates a lovely visual on the plate.
-
Lemon Sorbet: Serve alongside a chilled scoop of lemon sorbet to double down on the citrus magic. Its icy texture refreshes the palate and prolongs the uplifting flavor journey.
-
Chardonnay or Sparkling Wine: A glass of chilled Chardonnay or bubbly complements the citrusy notes of your Lemon Marbled Cheesecake Bars beautifully while maintaining a light, celebratory feel to your dessert table.
-
Coconut Whipped Cream: Light and airy, this whipped cream drizzle adds a tropical touch to your dessert. The slight sweetness and fluffy texture create a delightful contrast to the cheesecake bars.
-
Dark Chocolate Shavings: For those who crave a touch of decadence, sprinkle dark chocolate shavings on top for a rich, bittersweet counterpart to the lemony delight. Each bite becomes a sophisticated indulgence.
Expert Tips for Lemon Marbled Cheesecake Bars
• Prevent Cracks: Avoid overmixing the batter after adding eggs. This helps to create a smooth finish and prevents the cheesecake from cracking during baking.
• Chill for Texture: Allowing the crust to chill before adding the filling ensures a crisp base. This step is vital for achieving the perfect texture in your Lemon Marbled Cheesecake Bars.
• Parchment Perfection: Line your pan with parchment paper for easy removal. This prevents the bars from sticking and allows you to cut perfect squares.
• Fresh Ingredients: Always opt for fresh lemon juice and zest for the most vibrant flavor. Bottled juice won’t yield the same tangy brightness in your cheesecake.
• Cooling Down: Let the cheesecake cool gradually in the oven after baking. This slow cooling helps to reduce the risk of cracks and ensures a creamier texture.
Lemon Marbled Cheesecake Bars Variations
Feel free to unleash your creativity and adjust these delightful bars to suit your taste and dietary preferences!
-
Gluten-Free: Substitute graham crackers with almond flour for a gluten-free crust while keeping the same delicious flavors.
-
Fruit Swirl: Add a layer of berry puree, like raspberry or strawberry, to create a fruity swirl that adds a vibrant color and flavor twist.
-
Nutty Crust: Use crushed pecans or walnuts mixed with melted butter instead of graham crackers for a nuttier, more complex flavor.
-
Herb Infusion: Try infusing the cheesecake batter with fresh mint or basil for a unique, refreshing flavor that pairs beautifully with lemon.
-
Creamy Chocolate: Drizzle melted dark chocolate over the top or mix some into the cheesecake filling for a chocolatey contrast that will brighten your day even more.
-
Layered Delight: Layer the batter by first adding a cheesecake layer, then the lemon layer, followed by the cheesecake layer again, creating different bites in every square.
-
Spiced Up: Mix in a pinch of cinnamon or ginger to the crust or filling for a warm, spicy note that makes these bars perfect for autumn gatherings.
Pair your bars with fresh fruits or even a scoop of vanilla bean ice cream for a delightful finish. And if you’re feeling adventurous, consider browsing through other recipes like Caramel Brownie Cheesecake for that sweet indulgence or even One Pan Lemon for a savory hit that balances out all that sweetness. Enjoy exploring these variations as you hone your home-chef skills!
Lemon Marbled Cheesecake Bars Recipe FAQs
What kind of graham crackers should I use for the crust?
You can use classic graham crackers for the crust, but if you’re looking for a gluten-free option, almond flour works beautifully as a substitute. Simply mix the almond flour with melted butter to achieve a similar texture!
How long can I store surplus cheesecake bars in the fridge?
These Lemon Marbled Cheesecake Bars can be stored in an airtight container in the refrigerator for up to 3 days. Keeping them chilled helps maintain their freshness and enhances the flavors.
Can I freeze Lemon Marbled Cheesecake Bars?
Absolutely! To freeze, wrap each bar tightly in plastic wrap and then cover with aluminum foil. This prevents freezer burn and keeps them delicious. They can be frozen for up to 2 months, allowing you to stock up on this delightful treat!
How do I thaw frozen cheesecake bars?
When you’re ready to enjoy your frozen Lemon Marbled Cheesecake Bars, simply transfer them to the fridge and let them thaw overnight. This gentle thawing ensures the perfect texture when you’re ready to serve them!
What should I do if my cheesecake cracks while baking?
If you notice cracks forming, don’t worry too much! To minimize this, avoid overmixing the batter after adding the eggs, as this can introduce too much air. Also, make sure to cool the bars gradually in the oven after baking; this slow cooling helps create a creamy texture and reduces cracking.
Are these cheesecake bars pet-friendly?
No, these Lemon Marbled Cheesecake Bars are not suitable for pets, particularly due to the cream cheese and sugar content. Always keep such desserts away from furry friends to ensure their safety.
Lemon Marbled Cheesecake Bars That Brighten Your Day
Ingredients
Equipment
Method
- Preheat your oven to 325°F (160°C) and line an 8x8-inch baking pan with parchment paper.
- In a medium bowl, combine crushed graham crackers and melted butter. Press the mixture into the pan and bake for 10 minutes.
- In a large bowl, beat the cream cheese until smooth. Gradually add sugar, then eggs one at a time, followed by vanilla and lemon zest.
- Reserve half of the cheesecake batter, then mix lemon juice and food coloring into the remaining batter.
- Pour the plain batter over the crust, drizzle the lemon batter on top, and swirl to create a marbled effect.
- Bake for 30 to 35 minutes until the edges are set and the center is slightly jiggly.
- Let cool in the oven with the door ajar for an hour, then refrigerate for at least 4 hours.
Leave a Reply