
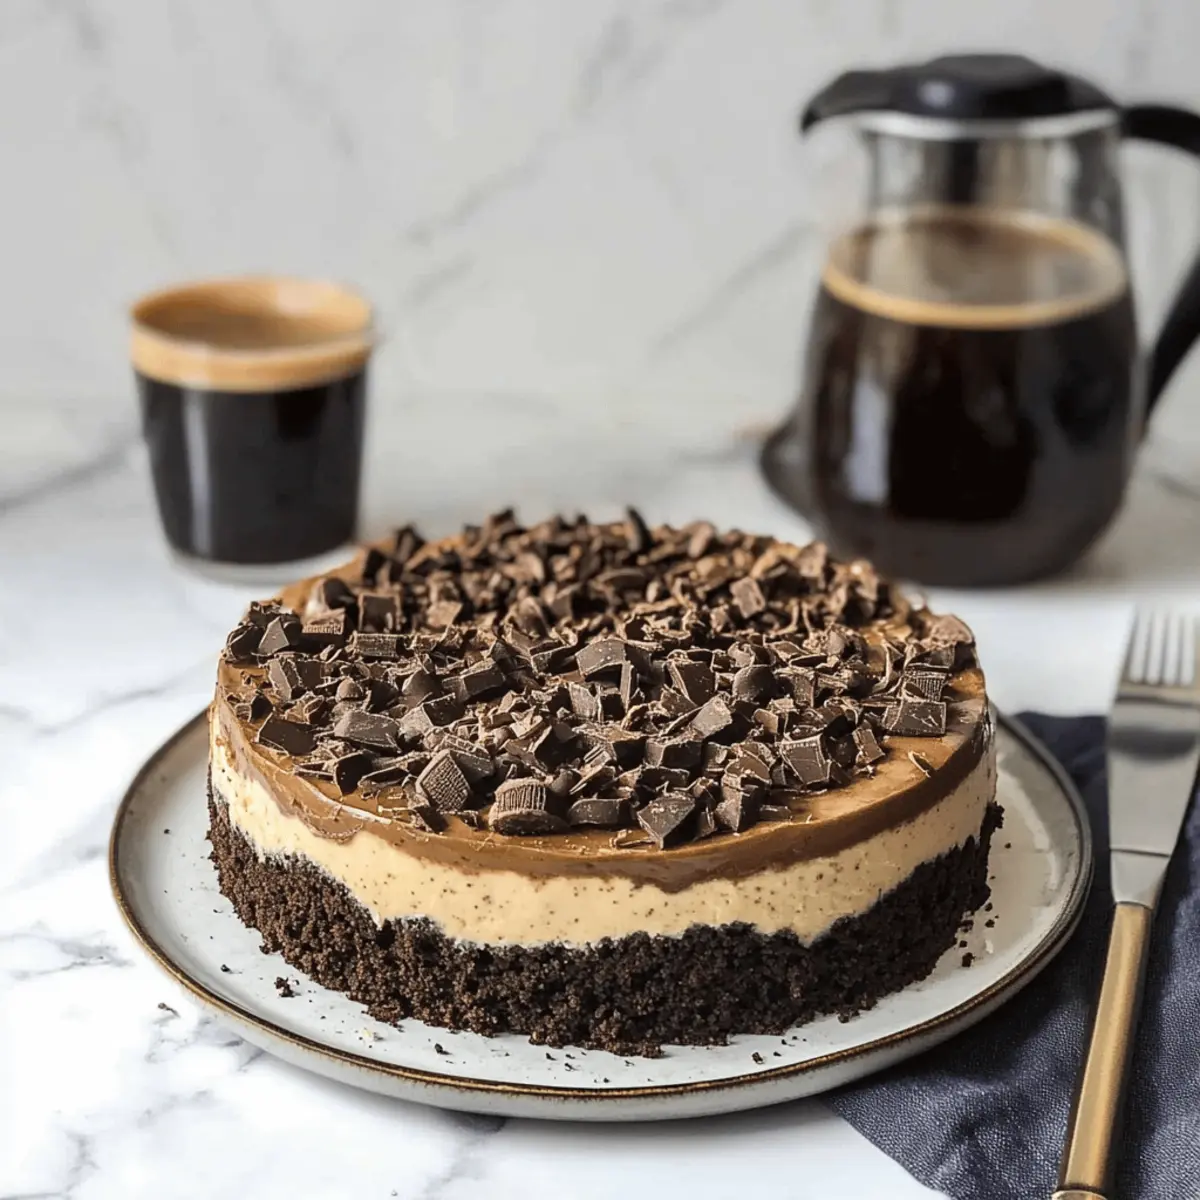
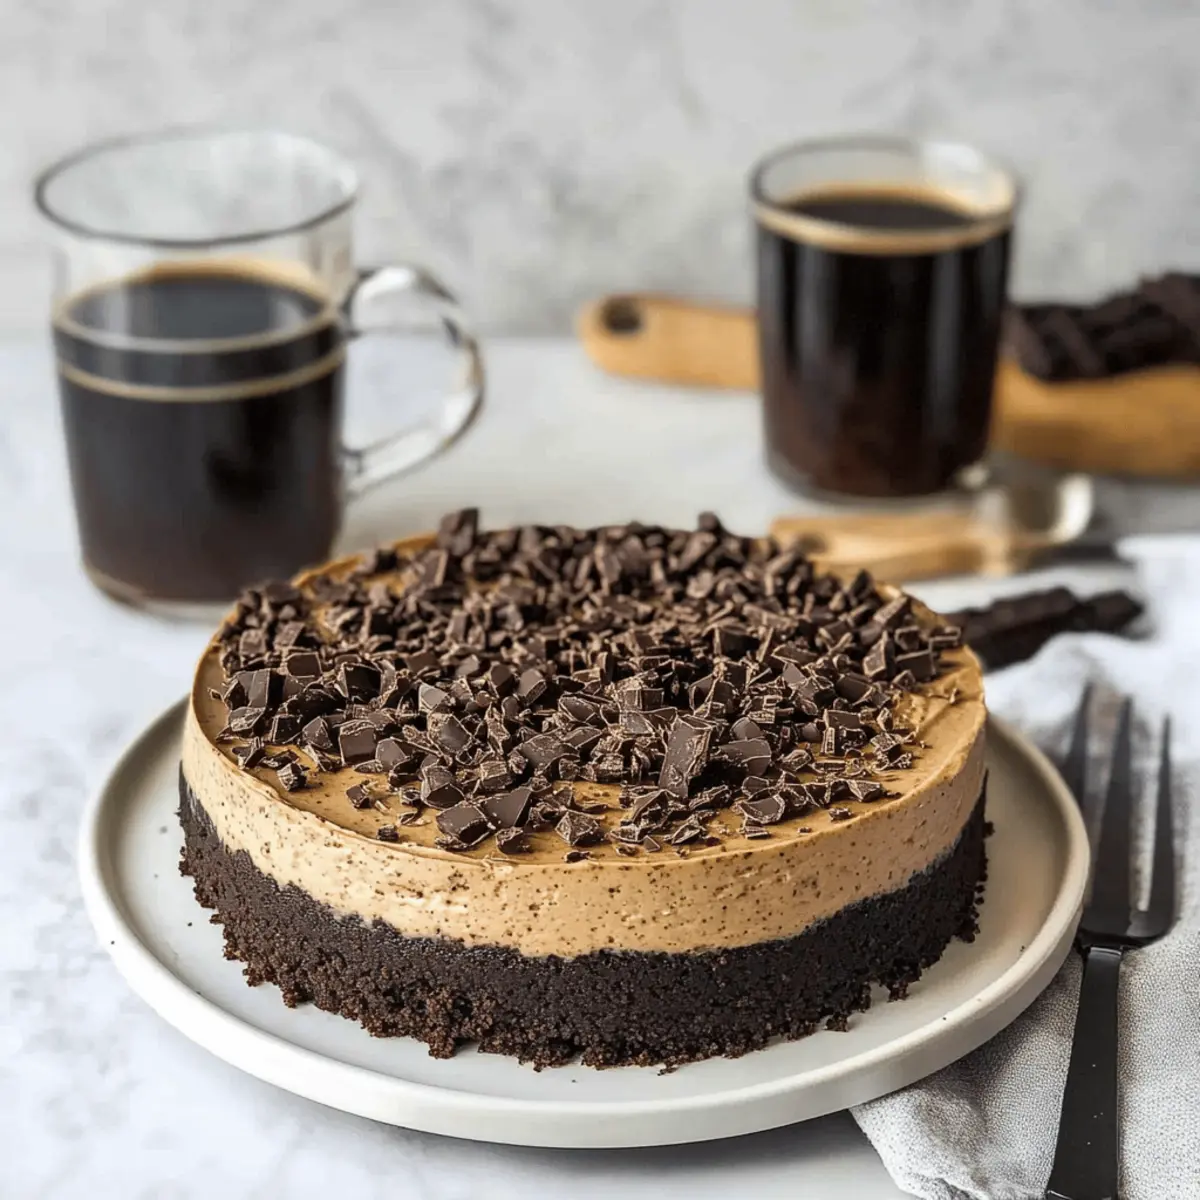
As I took my first bite of this Ultimate Espresso Coffee Cheesecake, the rich harmony of flavors whisked me away to a cozy café in Italy. This dessert isn’t just for the coffee lovers or cheesecake enthusiasts; it’s a celebration of indulgence, featuring a luscious coffee-infused filling cradled by a delightful Oreo crust. Quick to prepare and irresistible to everyone around, this recipe serves as a perfect sweet finish to any meal while satisfying your cravings for both coffee and creamy goodness. Topped with velvety chocolate ganache, this cheesecake promises a symphony of textures and flavors on every forkful. Ready to create a dessert that will elevate your next gathering? Let’s dive into the sweet world of coffee cheesecake!
Why is this cheesecake a must-try?
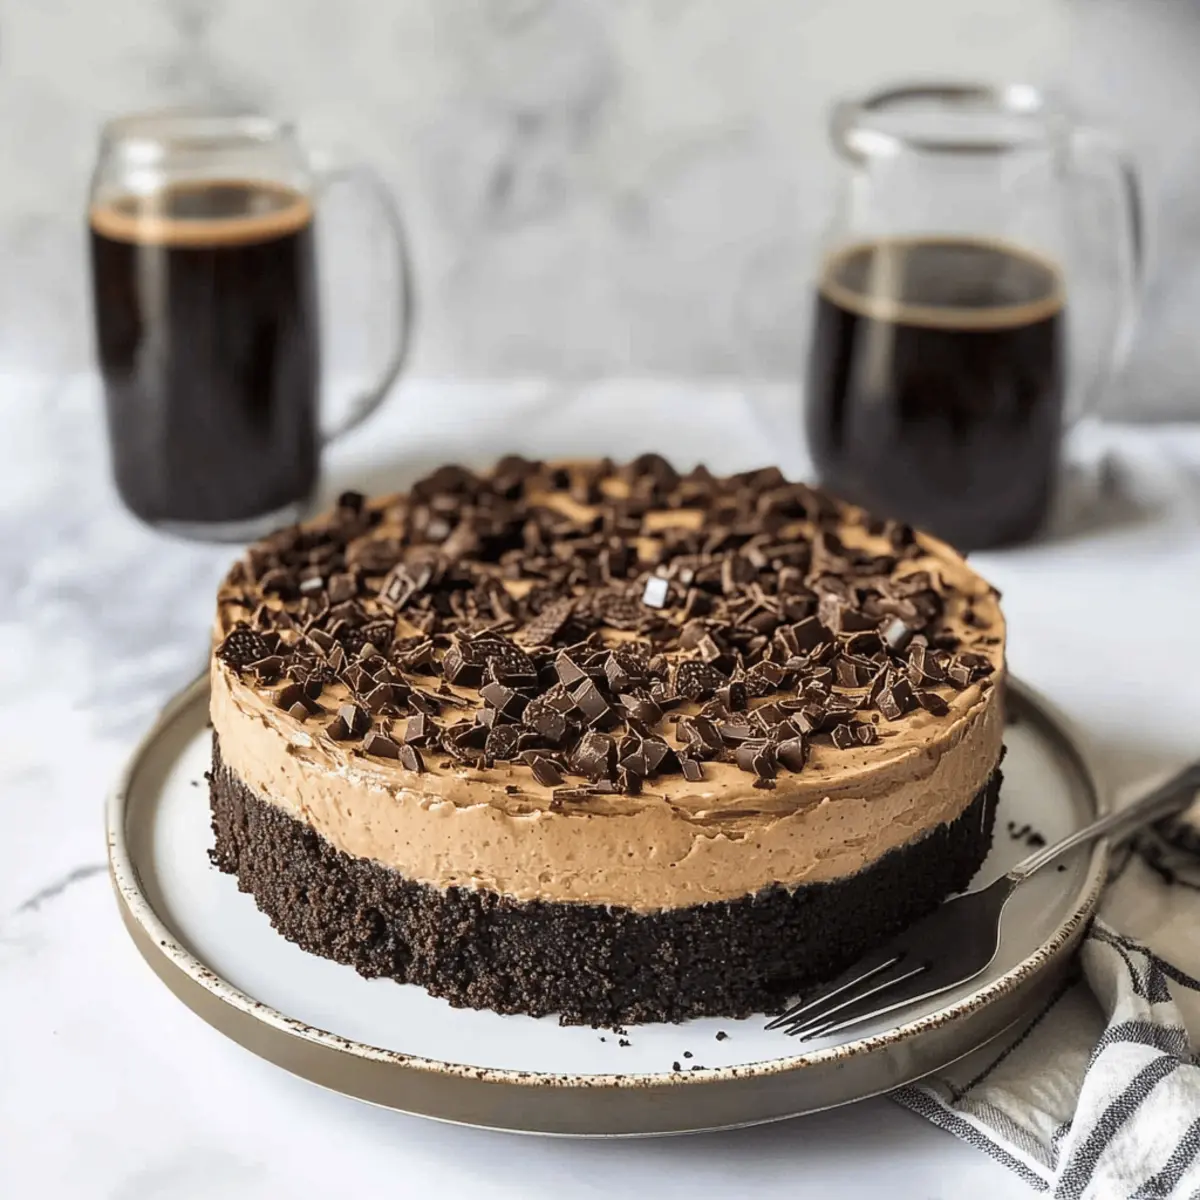
Decadent Delight: This Ultimate Espresso Coffee Cheesecake is a sensory experience, combining the rich flavors of coffee and cream cheese with the crunch of an Oreo crust.
Simple and Fast: Enjoy a dessert that looks impressive but requires minimal baking skills—perfect for busy home chefs!
Crowd-Pleaser: Whether it’s a casual get-together or a special occasion, this cheesecake will surely impress and satisfy your guests, just like my popular Caramel Brownie Cheesecake.
Customizable: Feel free to incorporate caramel or seasonal fruits for a unique twist that caters to every palate!
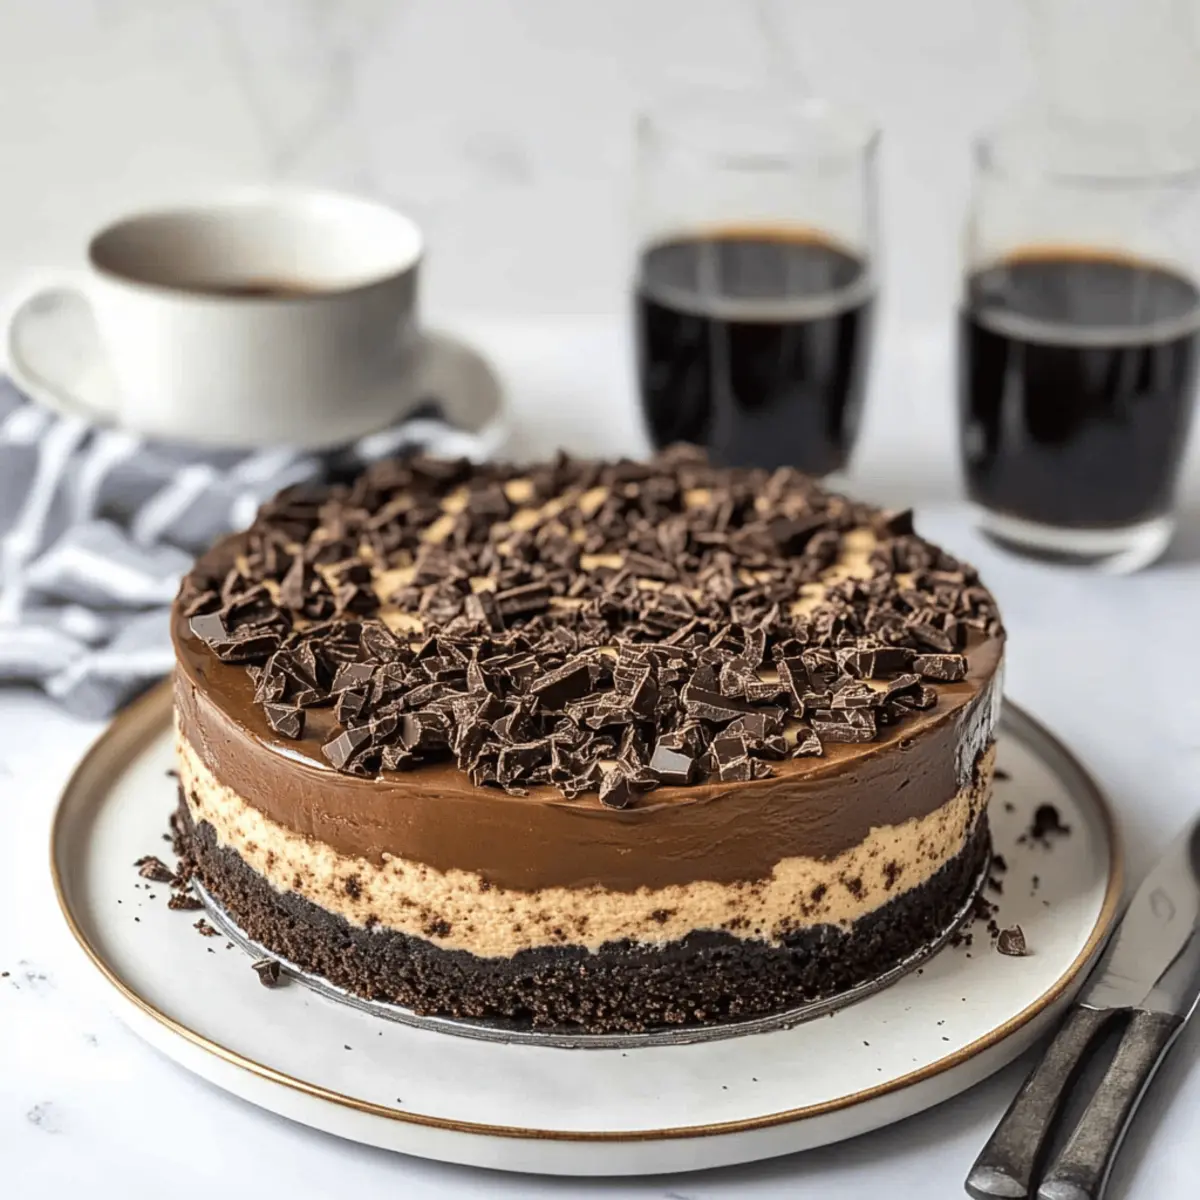
Luxurious Presentation: Topped with glossy chocolate ganache and delicate shavings, this cheesecake isn’t just a treat for your taste buds; it’s a feast for the eyes.
Indulge yourself and create memorable moments with this irresistible dessert!
Coffee Cheesecake Ingredients
For the Crust
• Oreo crumbs – Provides a sweet, chocolatey base; use chocolate graham crackers if preferred.
• Unsalted butter – Binds the crust together and adds richness; ensure it is melted before mixing with crumbs.
For the Cheesecake Filling
• Cream cheese (3 packages, 8 oz each) – Acts as the main filling ingredient, creating a creamy texture; full-fat cream cheese is recommended for the best results.
• Granulated sugar (1 cup) – Adds sweetness to the filling; adjust to taste for sweeter profiles.
• Vanilla extract (1 tsp) – Enhances the flavor of the filling; opt for pure vanilla for better flavor.
• Brewed espresso (1/3 cup) – Provides a bold coffee flavor; instant espresso powder can also work if dissolved in hot water.
• Eggs (3 large) – Provide stability and richness; add eggs one at a time to prevent air bubbles.
For the Ganache
• Heavy cream (1/2 cup) – Used in the ganache for a smooth texture; whipping cream can be a suitable alternative.
• Chocolate chips (1 cup) – Forms the ganache layer and adds chocolatey richness; consider using dark chocolate chips for a different flavor.
Step‑by‑Step Instructions for Ultimate Espresso Coffee Cheesecake with Oreo Crust
Step 1: Preheat the Oven
Begin by preheating your oven to 350°F (175°C). While the oven heats, prepare a 9-inch springform pan by lightly greasing the sides with butter or cooking spray. Line the bottom with parchment paper for easier release. This step is crucial for the even baking of your Ultimate Espresso Coffee Cheesecake.
Step 2: Make the Crust
In a food processor, pulse the Oreo cookies into fine crumbs until they resemble sand. Transfer the crumbs to a mixing bowl, then add melted unsalted butter, stirring until the mixture resembles wet sand. Press this mixture firmly into the bottom of the prepared springform pan, creating an even layer. Bake the crust for 10 minutes, then allow it to cool while you prepare the filling.
Step 3: Prepare the Cheesecake Filling
In a large mixing bowl, beat the three packages of cream cheese with an electric mixer on medium speed until smooth and creamy, about 2-3 minutes. Gradually add sugar, vanilla extract, and brewed espresso, mixing until combined. Incorporate the eggs one at a time, ensuring each egg is fully mixed in before adding the next. Be careful not to overmix to keep your filling smooth and creamy.
Step 4: Assemble the Cheesecake
Carefully pour the prepared cheesecake filling over the cooled Oreo crust in the springform pan. Use a spatula to spread the filling evenly. For an extra layer of security, set the springform pan inside a larger roasting pan. Fill the roasting pan with about one inch of hot water; this water bath will help prevent cracks in your Ultimate Espresso Coffee Cheesecake while it bakes.
Step 5: Bake the Cheesecake
Place the roasting pan with the springform pan into the preheated oven. Bake at 325°F (160°C) for 65-85 minutes. The cheesecake is done when the edges look set while the center remains slightly jiggly. Keep an eye on it to avoid overbaking, as overcooked cheesecake can give a dry texture.
Step 6: Cool the Cheesecake
Once baked, turn off the oven and crack the door open slightly. Allow the cheesecake to cool in the oven for 60-90 minutes, which helps it gradually cool and reduces the risk of cracking. After it has cooled, cover it and refrigerate overnight to let the flavors fully develop and the texture set.
Step 7: Make the Ganache
On the day of serving, heat the heavy cream in a small saucepan over medium heat until it just begins to boil. Remove from heat and pour it over the chocolate chips in a mixing bowl. Let it sit for a few minutes, then stir until the mixture is smooth and glossy. This velvety ganache will create a beautiful topping for your cheesecake.
Step 8: Finish the Cheesecake
Remove the chilled cheesecake from the springform pan and place it on a serving plate. Pour the ganache over the top, letting it drip down the sides for an elegant look. If desired, garnish with chocolate shavings for a decorative finish. Now your Ultimate Espresso Coffee Cheesecake is ready to impress at your next gathering!
Coffee Cheesecake Variations & Substitutions
Feel free to explore and personalize this irresistible recipe with flavorful twists and substitutions that cater to your taste and dietary needs!
- Dairy-Free: Substitute cream cheese with vegan cream cheese and use coconut cream in the ganache for a dairy-free option.
- Gluten-Free: Make the crust with gluten-free Oreos or ground almonds for a gluten-free delight without compromising on flavor.
- Flavor Boost: Mix in a splash of almond extract or a bit of orange zest to elevate the flavor profile. This adds a surprising twist that will make your cheesecake even more memorable.
- Nutty Crunch: Fold in chopped nuts like hazelnuts or walnuts into the cheesecake batter for delightful texture contrasts and an extra nutty flavor.
- Chocolate Lovers: Try a cookie crust made from chocolate cookies instead of Oreos to intensify the chocolate flavor in your cheesecake.
- Bolder Espresso: For coffee aficionados, double the amount of brewed espresso for an extra kick that will awaken your senses with each bite.
- Fruity Finish: Serve with a topping of fresh raspberries or strawberries to enhance the flavors and add a refreshing touch; their brightness complements the rich cheesecake perfectly.
- No-Bake Option: Substitute eggs with gelatin for a no-bake version. Let it chill until set, creating a creamy and refreshing dessert for hot days.
As you experiment, don’t forget to check out my delicious Maple Pumpkin Coffee for that perfect morning pick-me-up, or indulge in my scrumptious Caramel Brownie Cheesecake for another delightful dessert option! Each twist is just a way to make this indulgent cheesecake truly yours. Enjoy crafting your masterpiece!
Storage Tips for Coffee Cheesecake
Fridge: Store the coffee cheesecake tightly covered in the refrigerator for up to 5 days. This keeps it fresh and allows the flavors to blend beautifully.
Freezer: If you want to store the cheesecake longer, wrap it securely in plastic wrap and then in aluminum foil. It can be frozen for up to 3 months.
Thawing: To enjoy your frozen coffee cheesecake, move it to the fridge for 24 hours before serving. This ensures a smooth texture upon reheating.
Reheating: If desired, you can gently reheat individual slices in the microwave for about 10-15 seconds. Enjoy a delightful treat that feels freshly made!
What to Serve with Ultimate Espresso Coffee Cheesecake
Elevate your dessert experience by pairing this luscious cheesecake with delightful accompaniments that enhance its rich flavors.
-
Fresh Berries: The tartness of strawberries or raspberries brightens up every slice, balancing the cheesecake’s creamy sweetness perfectly. They add a refreshing contrast that your taste buds will celebrate with each bite.
-
Whipped Cream: A dollop of lightly sweetened whipped cream adds an airy texture to the dense cheesecake, making every forkful feel light and indulgent. It’s a classic addition that never disappoints!
-
Espresso Martini: For the coffee lovers, serving an espresso martini alongside your cheesecake creates a harmonious coffee experience. The cocktail’s rich flavors echo the cheesecake, making it a cohesive delight.
-
Chocolate Mint Cookies: These chocolatey treats provide an extra crunch and a refreshing minty flavor. Perfect for those who enjoy a little bit of contrast with their desserts!
-
Vanilla Ice Cream: Creamy vanilla ice cream provides a luscious counterpoint to the robust flavors of the cheesecake, creating a delectable temperature contrast that’s hard to resist.
-
Chocolate Ganache Tart: For the chocolate enthusiasts, pairing the cheesecake with a rich ganache tart intensifies the dessert experience. The velvety chocolate complements the espresso beautifully.
-
Port Wine: A glass of sweet port wine enhances the dessert, adding depth to the flavors of the cheesecake while introducing a luxurious note to your meal.
-
Dusted Cocoa Powder: For an elegant touch, a light dusting of cocoa powder on the cheesecake brings out the chocolate notes, adding a sophisticated finish prior to serving.
Make your coffee cheesecake experience unforgettable with these delightful pairings that tap into various flavors and textures!
Make Ahead Options
These Ultimate Espresso Coffee Cheesecakes are perfect for meal prep enthusiasts! You can prepare the crust and cheesecake filling up to 24 hours in advance. Simply make the Oreo crust, press it into the springform pan, and refrigerate it covered, ensuring it’s tightly sealed to maintain its crunch. For the filling, mix all the ingredients and refrigerate it separately in an airtight container. When ready to bake, pour the filling over the chilled crust and proceed with the baking instructions. This way, you’ll save time on busy weeknights without compromising on taste—your cheesecake will be just as delicious, if not more flavorful, after resting overnight!
Expert Tips for Coffee Cheesecake
-
Perfectly Pressed Crust: Ensure the Oreo crust is firmly pressed into the pan to avoid crumbling when you slice the cheesecake.
-
Avoid Overmixing: Once you add eggs to the filling, mix just until combined to prevent cracks. Overmixing can introduce air bubbles.
-
Water Bath It: Use a waterproof springform pan or wrap it tightly in aluminum foil. This prevents leaks during the water bath, which keeps your coffee cheesecake moist.
-
Chill Overnight: For the best flavor and texture, make your cheesecake a day ahead, allowing it to set overnight in the fridge.
-
Serve with Flair: Add whipped cream or fresh fruit on the side for an elegant touch when serving your coffee cheesecake.
Coffee Cheesecake Recipe FAQs
How do I select the perfect ingredients for my coffee cheesecake?
Absolutely! For the best flavor and texture, choose full-fat cream cheese for a creamy filling. Ensure your eggs are fresh, and opt for high-quality brewed espresso for that bold coffee punch. When it comes to Oreos, pick a package without dark spots or moisture to make a crunchy crust.
What is the proper way to store leftover coffee cheesecake?
Very! After serving, cover any leftover cheesecake tightly and refrigerate it. It will stay fresh for up to 5 days—just enough time to savor those delicious flavors. If you want to keep it longer, consider freezing it as detailed below.
Can I freeze my coffee cheesecake? How?
Absolutely! To freeze your coffee cheesecake, first wrap it securely in plastic wrap, then cover it with aluminum foil. This double protection helps maintain freshness and flavor. It can be stored in the freezer for up to 3 months. When you’re ready to enjoy it again, simply place it in the refrigerator to thaw for about 24 hours before serving.
What should I do if my cheesecake cracks while baking?
Ah, the dreaded cracks! If this happens, don’t despair. The key is to avoid overmixing the filling once you add eggs, as it can incorporate too much air. Always use a water bath to keep moisture in check while baking—this also helps prevent cracks. If cracks do appear, you can use ganache as a delicious covering; no one will notice!
Is this coffee cheesecake suitable for those with dietary restrictions?
Good question! This coffee cheesecake contains dairy and gluten, so it may not be suitable for individuals with lactose intolerance or gluten sensitivities. If you have specific dietary needs, consider using gluten-free cookie crumbs or dairy-free cream cheese alternatives. Always check labels for allergens, especially if serving to guests!
How long will the flavors of my coffee cheesecake improve after making it?
Indeed! For optimal flavor, I recommend making the cheesecake a day ahead. Refrigerating overnight allows the flavors to meld beautifully, giving you an even richer coffee experience when you finally slice into it. Trust me; your taste buds will thank you!
Irresistible Coffee Cheesecake with Oreo Crust Bliss
Ingredients
Equipment
Method
- Preheat your oven to 350°F (175°C). Prepare a 9-inch springform pan by greasing the sides and lining the bottom with parchment paper.
- Pulse the Oreo cookies into fine crumbs in a food processor. Mix with melted butter until sandy. Press into the bottom of the springform pan and bake for 10 minutes, then cool.
- Beat cream cheese until smooth, then gradually mix in sugar, vanilla, and brewed espresso. Incorporate eggs one at a time, mixing just until combined.
- Pour the filling over the cooled crust. For even heating, place the springform pan in a larger roasting pan filled with 1 inch of hot water.
- Bake at 325°F (160°C) for 65-85 minutes, until edges are set and center is slightly jiggly. Avoid overbaking to prevent drying.
- Turn off the oven and crack the door open, allowing the cheesecake to cool for 60-90 minutes. Cover and refrigerate overnight.
- Warm heavy cream until boiling, then pour over chocolate chips. Stir until smooth to make ganache.
- Remove cheesecake from the pan and pour ganache on top, letting it drip down the sides. Optionally garnish with chocolate shavings.
Leave a Reply