
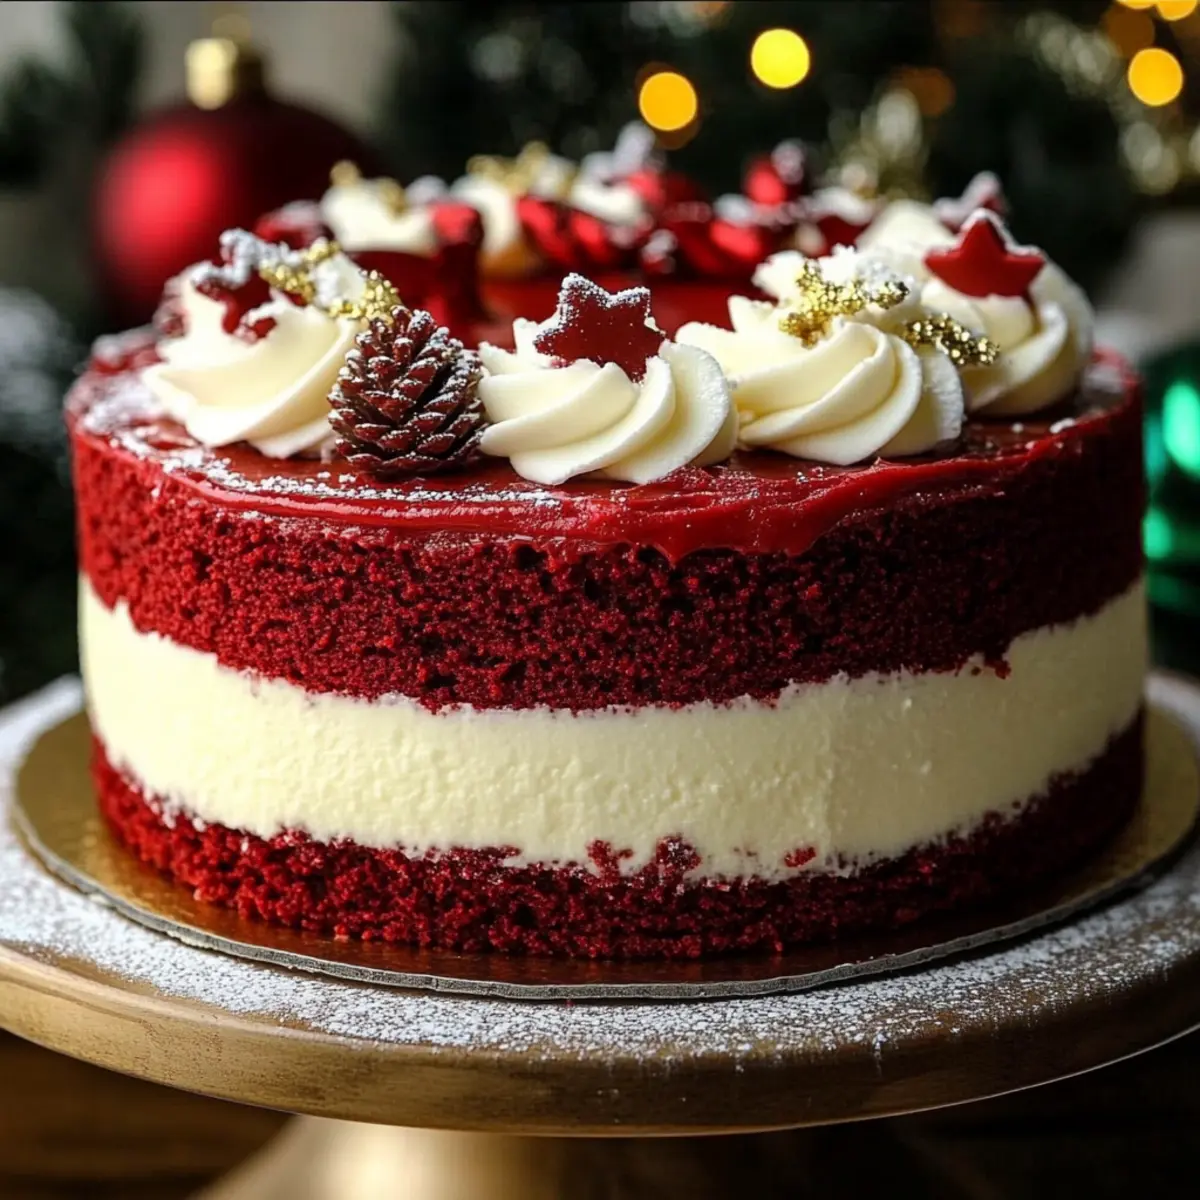
As the holiday season approaches, my kitchen transforms into a vibrant symphony of colors, scents, and flavors. Just recently, while picking out my favorite festive recipes, the Christmas Red Velvet Cheesecake caught my eye, its striking red and white layers whispering promises of indulgence and joy. This dessert is not only a spectacular showstopper, making it a perfect centerpiece for gatherings, but it also fuses two beloved classics—rich red velvet cake and creamy cheesecake—into a delightful treat. Whether you’re hosting a holiday party or just want to share a sweet moment with loved ones, this indulgent recipe brings warmth and cheer, along with a fun twist that sets it apart. Are you ready to create a masterpiece that will leave everyone asking for seconds? Let’s dive in and make this festive delight together!
Why Is This Cheesecake a Holiday Must-Have?
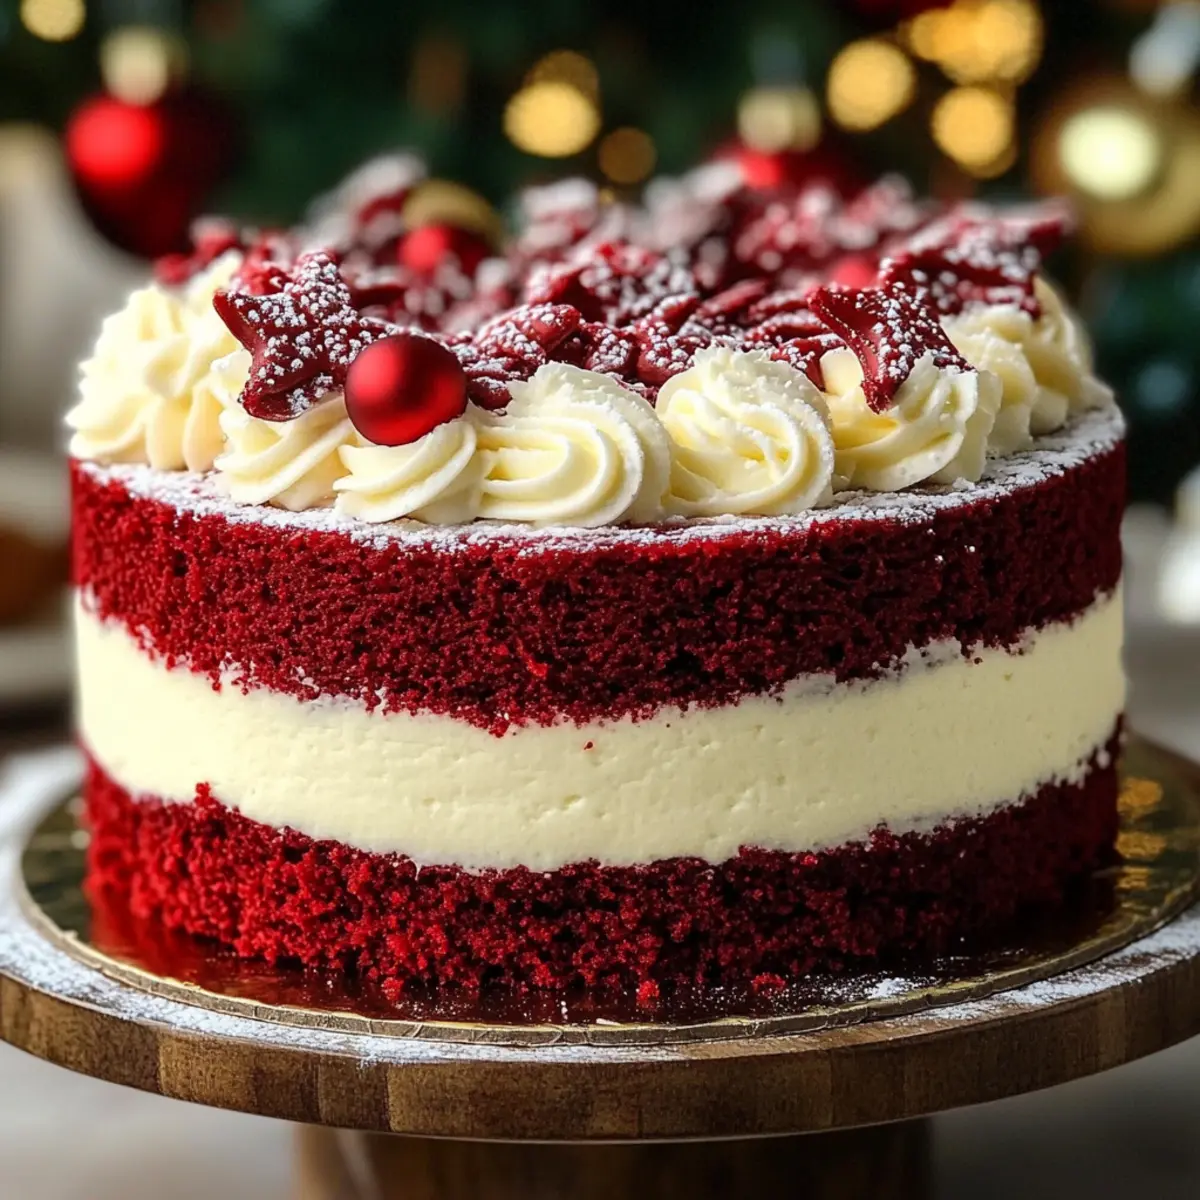
Visually Stunning: The vibrant red and white layers create a breathtaking centerpiece that will wow your guests at any festive gathering.
Rich & Creamy: Combining rich red velvet with smooth cheesecake layers results in a dessert that feels indulgent with each bite.
Easy to Customize: Add a splash of peppermint extract or a sprinkle of crushed candy canes to elevate the festivity even further, making it truly your own!
Perfect for Sharing: This cheesecake serves beautifully, making it ideal for holiday parties and family gatherings.
Make-Ahead Friendly: With the option to prepare it a day in advance, you can enjoy more time with loved ones and less time in the kitchen!
Explore more delightful holiday treats like Jingle Jangle Christmas or consider pairing with a Caramel Brownie Cheesecake for a dessert spread that dazzles!
Christmas Red Velvet Cheesecake Ingredients
For the Cake Layers
• All-Purpose Flour – Provides structure; substitute with gluten-free blend for a gluten-free option.
• Unsweetened Cocoa Powder – Adds a rich chocolate flavor; consider Dutch-processed for a deeper taste.
• Baking Powder – Helps the cake rise; ensure it’s fresh for the best results.
• Baking Soda – Reacts with acidity for additional rise in baking.
• Salt – Enhances flavor and balances sweetness; don’t skip this ingredient!
• Granulated Sugar – Adds sweetness and moisture; brown sugar can provide a richer flavor.
• Vegetable Oil – Ensures moisture and richness; melted coconut oil is a delicious alternative.
• Buttermilk – Contributes tang and tenderness; mix regular milk with vinegar if you don’t have buttermilk.
• Large Eggs – Binds everything together while adding moisture; flax eggs work well for a vegan option.
• Red Food Coloring – Gives the cake its vibrant hue; gel food coloring is recommended for consistency.
• Vanilla Extract – Offers aromatic flavor notes; opt for pure extract for a more robust taste.
• White Vinegar – Works with baking soda for leavening; lemon juice can be used as a substitute.
For the Cheesecake Layer
• Cream Cheese – Essential for creaminess; let it reach room temperature for easier mixing.
• Granulated Sugar (for cheesecake) – Sweetens the mixture; powdered sugar can be used for smoother texture.
• Sour Cream – Adds creaminess and tang; Greek yogurt makes a good substitute if needed.
For the Frosting
• Unsalted Butter – A key ingredient for frosting; ensure it’s at room temperature for easy mixing.
• Powdered Sugar – Sweetens and thickens the frosting; sifting ensures a smooth consistency.
Indulge in this luscious Christmas Red Velvet Cheesecake, combining all these delightful ingredients for an unforgettable holiday treat!
Step‑by‑Step Instructions for Christmas Red Velvet Cheesecake
Step 1: Prep Cake Layers
Preheat your oven to 350°F (175°C) and line two 9-inch round cake pans with parchment paper for easy removal. In a mixing bowl, sift together 2 cups of all-purpose flour, 1 tablespoon of cocoa powder, 1 teaspoon of baking powder, 1 teaspoon of baking soda, and ½ teaspoon of salt. In another bowl, whisk together 1 cup of vegetable oil, 1 ½ cups of granulated sugar, 1 cup of buttermilk, 2 large eggs, 2 tablespoons of red food coloring, 1 tablespoon of white vinegar, and 1 teaspoon of vanilla extract until fully blended. Gradually add the dry ingredients to the wet mixture until just combined, ensuring not to overmix.
Step 2: Bake
Divide the red velvet batter evenly between the prepared cake pans and smooth the tops. Place the pans in the preheated oven and bake for approximately 25-30 minutes, or until a toothpick inserted in the center comes out clean. Allow the cakes to cool in the pans for about 10 minutes before gently transferring them onto wire racks to cool completely; this prevents sogginess and preserves the moist texture.
Step 3: Prepare Cheesecake Layer
In a large mixing bowl, beat 16 ounces of softened cream cheese until smooth, followed by adding 1 cup of granulated sugar, 1 cup of sour cream, 2 large eggs, and 1 teaspoon of vanilla extract. Mix until the cheesecake mixture is creamy and thoroughly combined. Pour the batter into a greased 9-inch springform pan, creating a silky layer. To ensure even baking, place this pan into a larger baking dish filled with hot water and bake at 325°F (163°C) for about 50-60 minutes, or until the edges are set but the center still jiggles slightly. Cool completely in the refrigerator.
Step 4: Assemble
Once the cake layers and the cheesecake layer are completely cool, carefully remove the cheesecake from the springform pan. Place one red velvet layer on a serving plate, followed by the cheesecake layer, and top with the second red velvet layer. Gently press down to secure the layers together.
Step 5: Prepare Frosting
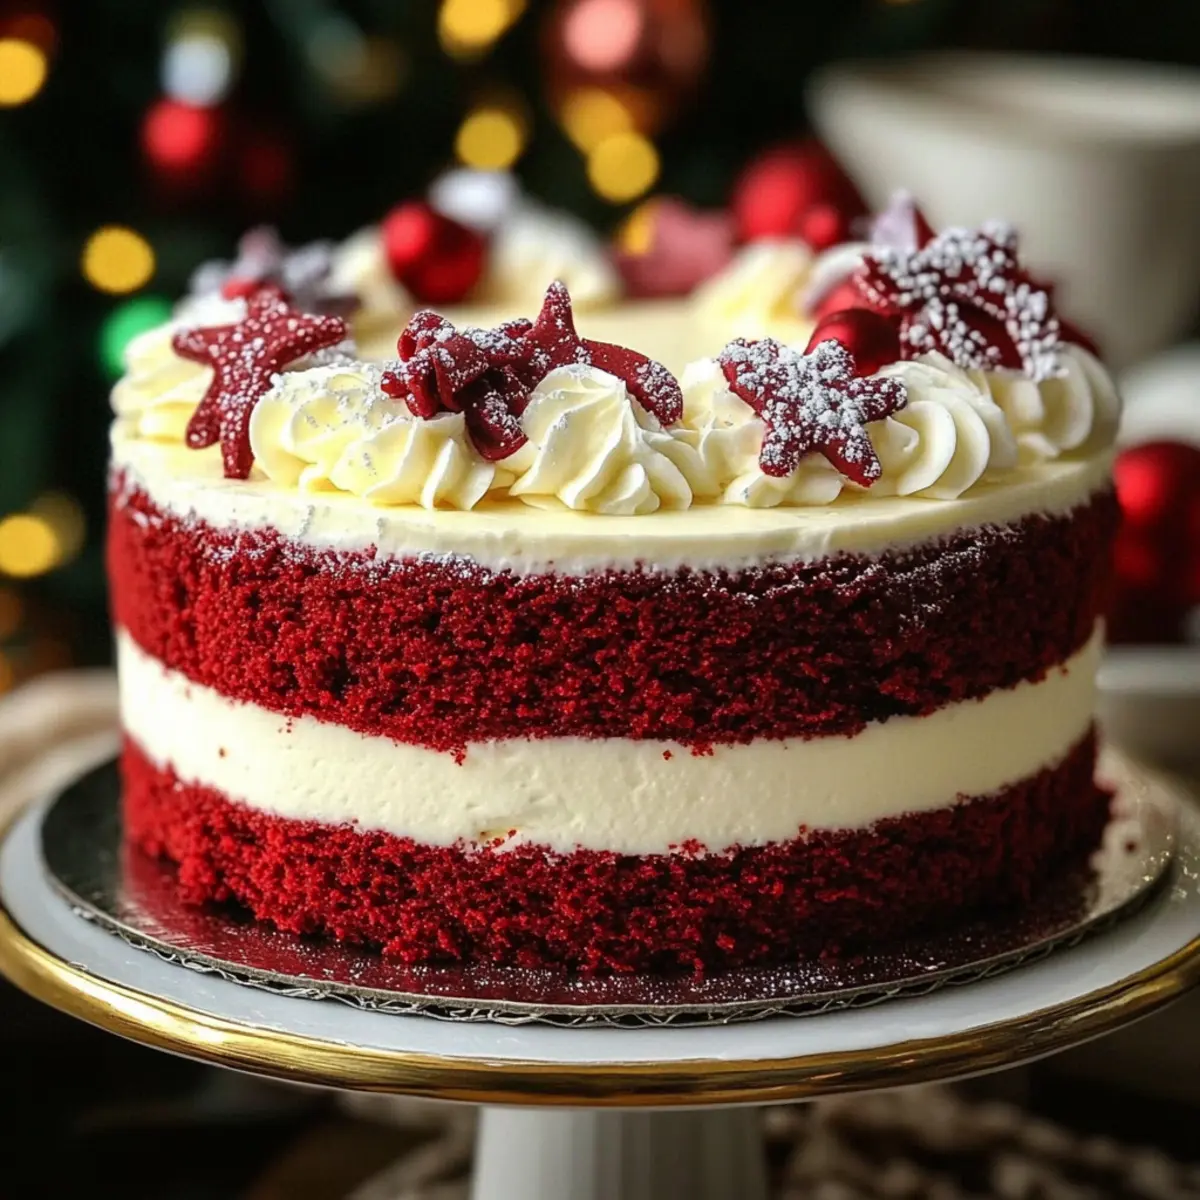
To make the frosting, beat 8 ounces of softened unsalted butter with 8 ounces of cream cheese until creamy. Gradually add 4 cups of powdered sugar, mixing until smooth and fluffy. Adjust the consistency with a tablespoon of milk if needed. Once ready, frost the top and sides of the assembled Christmas Red Velvet Cheesecake generously, creating a charming and festive finish.
Step 6: Chill and Serve
For the best texture and flavor, refrigerate the frosted cheesecake for at least an hour to firm up the layers and allow flavors to meld. Before serving, slice the cake into generous portions and enjoy this showcase of indulgence and cheer, perfect for your holiday gatherings!
Make Ahead Options
Preparing the Christmas Red Velvet Cheesecake ahead of time is a wonderful way to save yourself stress during the busy holiday season! You can make the cheesecake layer up to 3 days in advance and refrigerate it tightly wrapped in plastic wrap to keep it fresh. The red velvet cake layers can also be baked and cooled, then stored in an airtight container for up to 2 days. When you’re ready to serve, simply assemble the layers and frost the cheesecake. Allow it to chill for at least an hour before serving for best flavor and texture. This make-ahead strategy ensures your dessert is just as delicious, and you’ll have more time to enjoy with friends and family!
How to Store and Freeze Christmas Red Velvet Cheesecake
Fridge: Keep leftover cheesecake tightly wrapped in plastic wrap or in an airtight container for up to 5 days to maintain its freshness and flavor.
Freezer: For longer storage, freeze slices of the cheesecake in a single layer, wrapped in plastic and then foil, for up to 3 months.
Thawing: When ready to enjoy, thaw the frozen slices in the fridge overnight or at room temperature for a few hours. This will help preserve the texture of the Christmas Red Velvet Cheesecake.
Reheating: If you prefer to enjoy it slightly warmed, lightly microwave each slice for 10-15 seconds, just enough to take off the chill without melting the frosting.
Expert Tips for Christmas Red Velvet Cheesecake
-
Room Temperature Ingredients: Ensure all ingredients, including cream cheese and eggs, are at room temperature. This helps achieve a silky smooth texture in your cheesecake layer.
-
Don’t Overmix: When combining the cake batter, mix until just combined to prevent a dense texture in the Christmas Red Velvet Cheesecake.
-
Chill the Cheesecake: Refrigerate the cheesecake layer thoroughly before assembly. This makes it firmer and easier to handle, creating a neater presentation.
-
Sift the Sugar: Sift the powdered sugar for the frosting to avoid lumps and achieve a smooth, creamy consistency that spreads beautifully on your cake.
-
Use Gel Food Coloring: Opting for gel food coloring gives you vibrant color without altering the texture, making your cheesecake visually stunning at any holiday table.
-
Water Bath for Cheesecake: Baking the cheesecake layer in a water bath prevents cracking and promotes even baking, ensuring a creamy texture that compliments the cake layers.
Christmas Red Velvet Cheesecake Variations
Feel free to let your creativity shine with these delightful twists on my Christmas Red Velvet Cheesecake!
- Peppermint Twist: Add 1 teaspoon of peppermint extract to the cheesecake layer for a refreshing holiday flavor. It’ll feel like a winter wonderland with every bite!
- Fruit Topping: Top your cheesecake with fresh berries or seasonal fruits for a burst of color and a hint of natural sweetness. The contrast between the juicy fruit and creamy cheesecake is simply irresistible.
- Chocolate Drizzle: Drizzle melted chocolate over the top for an extra layer of indulgence. This will enhance the dessert’s richness and provide a beautiful finish.
- Gluten-Free Option: Replace all-purpose flour with a gluten-free blend to cater to guests with dietary needs. No one will miss the gluten in this delectable dessert!
- Light Cream: Swap cream cheese frosting for a homemade whipped cream topping for a lighter finish. This fluffy alternative will add a delightful freshness that balances the cheesecake’s richness perfectly.
- Nutty Crunch: Add crushed nuts, such as pecans or walnuts, to the crust for added texture. This nutty flavor intertwined with the creamy layers will make every bite a little more exciting.
- Coffee Infusion: Mix a tablespoon of instant coffee granules into the cheesecake for a subtle coffee flavor that complements the chocolate. It’s a delightful surprise for coffee lovers!
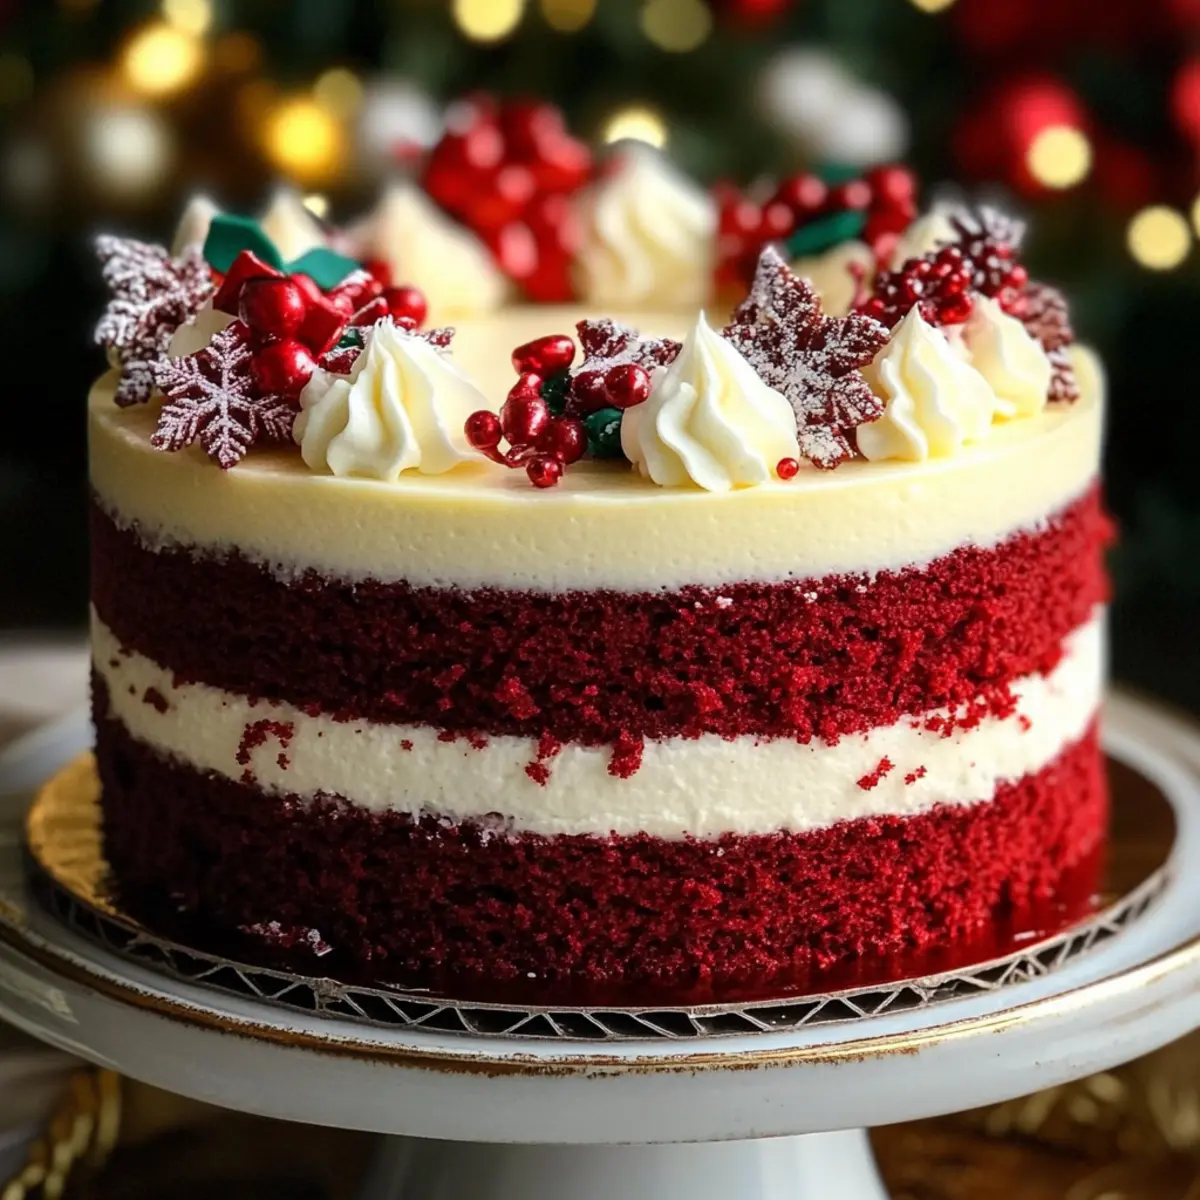
- Festive Sprinkles: Finish off the cheesecake with holiday-themed sprinkles or edible glitter. This simple touch adds fun and festivity, making it perfect for holiday gatherings!
These variations not only make your Christmas Red Velvet Cheesecake unique, but they also allow you to experiment and share something special with your loved ones. Plus, while you’re at it, why not explore the delicious flavors of Jingle Jangle Christmas or indulge in a slice of Caramel Brownie Cheesecake as another sweet ending to your holiday meals? Enjoy the festivities!
What to Serve with Christmas Red Velvet Cheesecake
Picture this: a festive gathering, twinkling lights, and laughter filling the air—now imagine pairing your stunning Christmas Red Velvet Cheesecake with delightful accompaniments that elevate its celebration.
-
Creamy Mashed Potatoes: These velvety, buttery potatoes provide a rich contrast that complements the sweetness of the cheesecake, balancing your flavors beautifully.
-
Peppermint Hot Chocolate: This warm, comforting drink adds a touch of nostalgia and holiday cheer, making each bite of cheesecake even more magical.
-
Spiced Apple Cider: The warm spices from apple cider harmonize with the cheesecake’s richness, offering a fragrant and festive sip that invites you to indulge.
-
Chocolate-Covered Strawberries: The freshness of strawberries alongside decadent chocolate creates a delightful textural contrast that pairs wonderfully with the cheesecake’s creamy layers.
-
Pecan Pie Bars: Enhance your dessert spread with these nutty bars, offering a chewy texture and caramel notes that perfectly complement the indulgence of your cheesecake.
-
Vanilla Bean Ice Cream: A scoop of creamy vanilla ice cream provides a refreshing contrast to the dense layers of your cheesecake, making each bite a delightful experience.
-
Gingerbread Cookies: Their rich spices echo the holiday spirit and bring a crunchy texture to your dessert table, inviting guests to taste and indulge.
-
Festive Fruit Platter: A colorful assortment of seasonal fruits, like pomegranates and citrus, offers a light, refreshing contrast to the richness of the cheesecake, making for a balanced meal.
-
Mulled Wine: This warm, spiced wine is a holiday classic that enhances the festive atmosphere, pairing beautifully with dessert and providing warmth and comfort.
-
Dark Chocolate Truffles: Rich, velvety truffles are the perfect luxurious finish to your meal, enhancing the red velvet’s sweetness with their deep, chocolatey flavor.
Christmas Red Velvet Cheesecake Recipe FAQs
How do I choose the ripest ingredients for this recipe?
Absolutely! For best results, select ripened ingredients: look for overripe bananas for sweeter batter, and choose bright red food coloring in gel form which provides consistent coloring. Ensure your cream cheese is at room temperature to make for a smoother cheesecake layer.
What’s the best way to store any leftover cheesecake?
Very simple! Store your leftover Christmas Red Velvet Cheesecake wrapped in plastic wrap or in an airtight container in the refrigerator. It will stay fresh for up to 5 days. Just ensure it’s well covered to avoid absorbing any odors from the fridge.
Can I freeze slices of this cheesecake?
Yes! To freeze the cheesecake, slice it and wrap each piece individually in plastic wrap, followed by a layer of aluminum foil. This prevents freezer burn and keeps it fresh for up to 3 months. Make sure to mark the date on the foil for your reference.
How do I properly thaw frozen cheesecake?
For the best texture, thaw your frozen slices overnight in the refrigerator. Alternatively, you can let them sit at room temperature for about 3 to 4 hours if you’re in a hurry. This gentle approach maintains the creamy quality while ensuring they’re ready to indulge.
What if my cheesecake cracks while baking?
Don’t worry! Cracking can happen, but you can avoid it by baking the cheesecake in a water bath—this keeps the temperature stable. If cracks do appear, just cover them up with frosting or some festive decorations! They’ll be delicious regardless.
Are there any dietary considerations I should keep in mind?
Absolutely! If you’re making this for guests, consider allergies: you can replace eggs with flax eggs for a vegan option and use a gluten-free flour blend for those with gluten sensitivities. Always check the ingredients repeatedly to ensure they meet dietary needs!
These Christmas Red Velvet Cheesecake Recipe FAQs will help you create, enjoy, and share this indulgent dessert with confidence and joy!
Indulge in Christmas Red Velvet Cheesecake Bliss
Ingredients
Equipment
Method
- Preheat your oven to 350°F (175°C) and line two 9-inch round cake pans with parchment paper for easy removal. In a mixing bowl, sift together the flour, cocoa powder, baking powder, baking soda, and salt.
- In another bowl, whisk together the vegetable oil, granulated sugar, buttermilk, eggs, red food coloring, white vinegar, and vanilla extract until fully blended.
- Gradually add the dry ingredients to the wet mixture until just combined, ensuring not to overmix.
- Divide the batter evenly between the prepared cake pans and smooth the tops. Bake for approximately 25-30 minutes, or until a toothpick inserted in the center comes out clean.
- Allow the cakes to cool in the pans for about 10 minutes before transferring them onto wire racks to cool completely.
- In a large mixing bowl, beat the softened cream cheese until smooth. Add the granulated sugar, sour cream, eggs, and vanilla extract. Mix until creamy and thoroughly combined.
- Pour the batter into a greased 9-inch springform pan. Place this pan into a larger baking dish filled with hot water and bake at 325°F (163°C) for about 50-60 minutes.
- Cool completely in the refrigerator.
- Once fully cooled, remove the cheesecake from the springform pan. Layer one red velvet cake layer on a serving plate, followed by the cheesecake layer, then top with the second red velvet layer.
- To make the frosting, beat the softened butter with cream cheese until creamy. Gradually add the powdered sugar until smooth and fluffy. Frost the top and sides generously.
- Refrigerate for at least an hour before serving to allow flavors to meld.
Leave a Reply