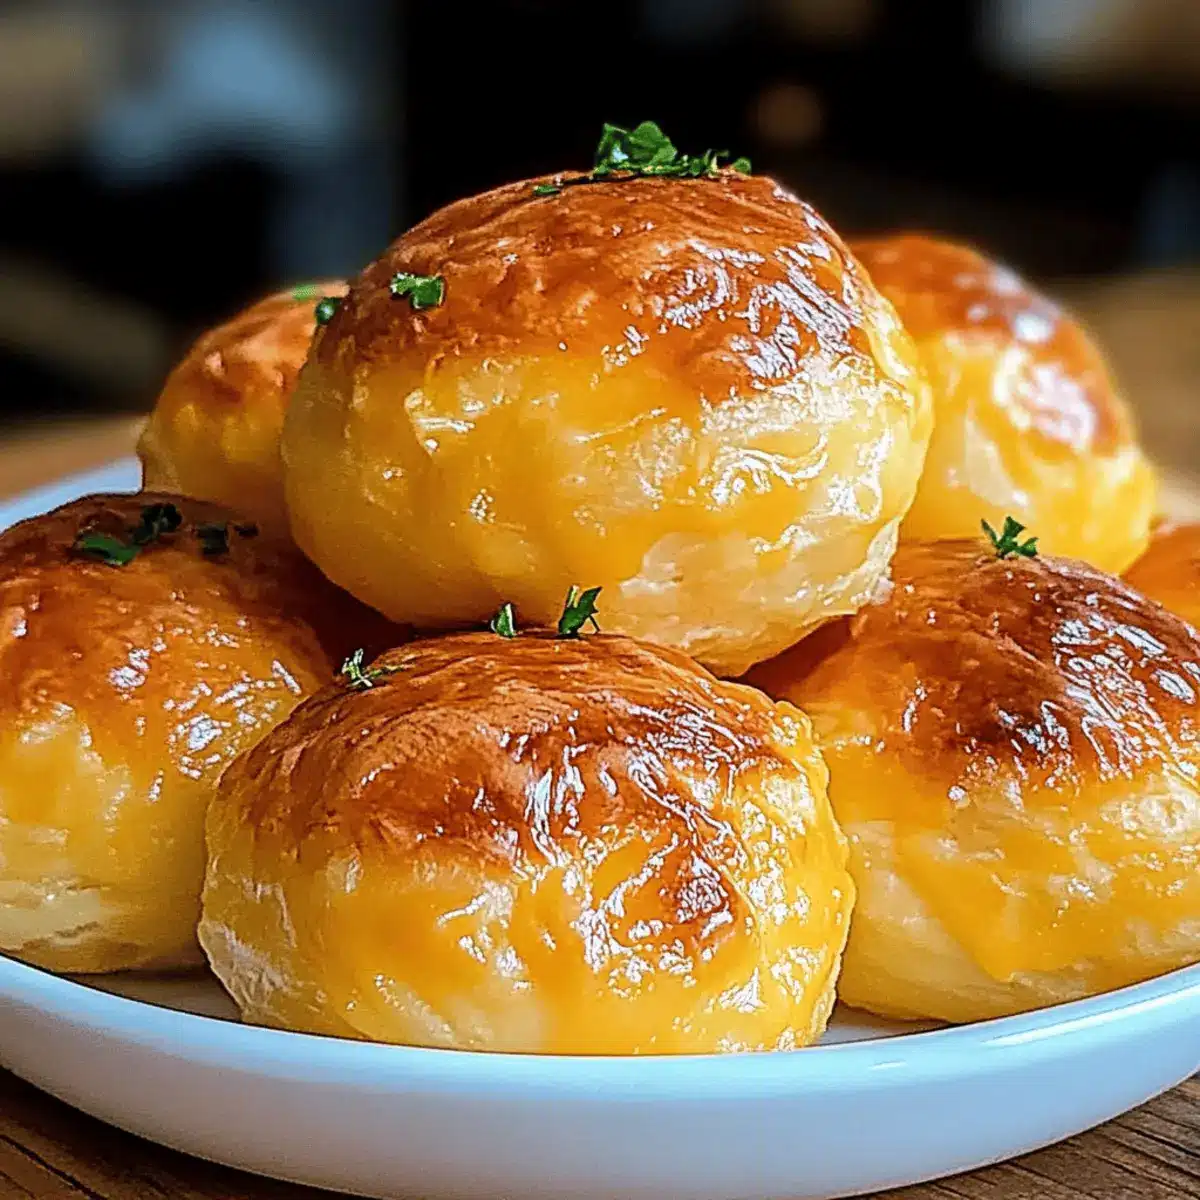
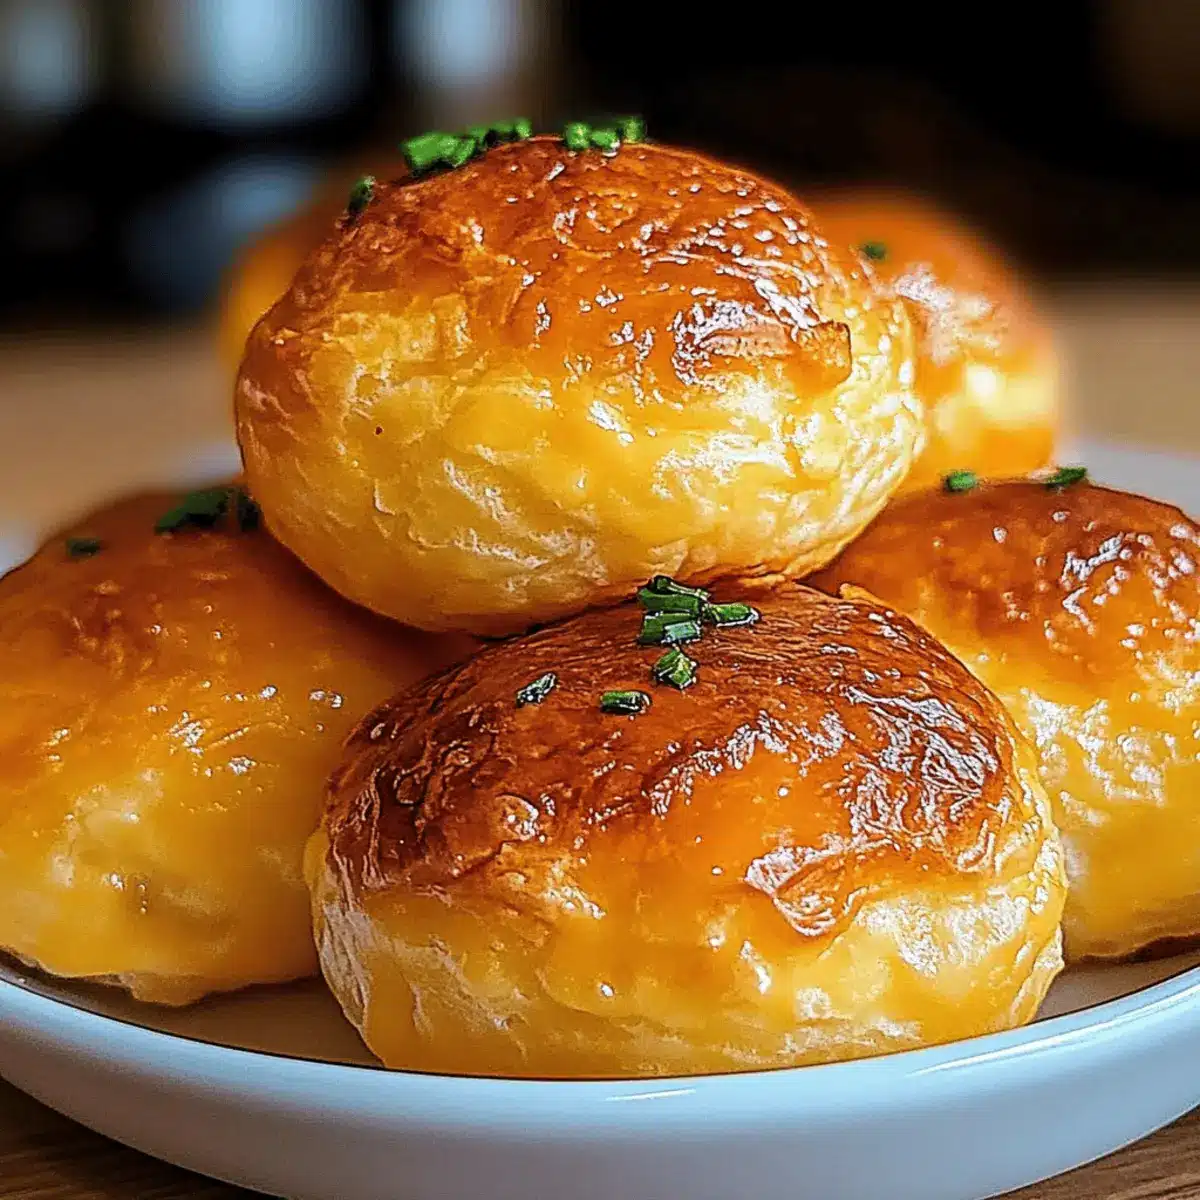
The aroma wafting from my kitchen was enough to ignite a little excitement in me today. I had a batch of Cheese Puffs in the oven, and the golden, crispy exteriors promised a delightful surprise inside. These delightful bites are the epitome of comfort food—easy to whip up, yet a surefire crowd-pleaser for any gathering. Best of all, they are baked, making them a healthier alternative to their fried counterparts without sacrificing flavor. With endless variations using different cheeses, you can customize these puffs to match your mood or the occasion. Whether you’re preparing for brunch, a cozy dinner, or just a snack attack, these Cheese Puffs are bound to elevate your culinary game. Curious about how to create this cheesy delight? Let’s dive into the recipe!

Why Are Cheese Puffs So Irresistible?
Crowd-Pleaser: They’re perfect for any gathering, whether it’s a brunch with friends or a cozy family dinner.
Endless Variations: Use your favorite cheeses like sharp cheddar or parmesan, and customize with garlic or herbs for extra flavor!
Baked, Not Fried: Enjoy all the cheesy goodness without the guilt—these puffs are baked to crispy perfection.
Quick & Easy: With just a few simple ingredients, you’ll have these delicious bites ready in no time, making them a go-to snack.
Melt-in-Your-Mouth Texture: Expect a light, airy interior that contrasts beautifully with the golden, crispy shell—it’s a texture lovers’ dream!
Elevate your next meal with these delightful puffs that pair wonderfully with dishes like Crockpot Cheese Tortellini or a fresh salad!
Cheese Puffs Ingredients
• To create those perfect Cheese Puffs, gather these key ingredients to ensure a delightful experience!
For the Dough
- All-purpose flour – Provides structure; gluten-free flour can be used for a gluten-free version.
- Butter – Adds richness and flavor; substitute with margarine for a dairy-free option.
- Milk – Creates a tender texture; any milk type works, including non-dairy alternatives.
- Eggs – Binds the mixture and adds height; remember to use room temperature eggs for the best results.
For the Cheese Mixture
- Cheese (cheddar, gruyère, parmesan) – Main flavor contributor; mix several types for a complex taste or add mozzarella for gooeyness.
- Salt – Enhances flavor; adjust based on the saltiness of your cheese.
Optional Flavor Enhancements
- Garlic powder – Adds depth and aroma; perfect for those who love a little zing.
- Paprika – Offers a subtle smokiness; consider using smoked paprika for an earthy twist.
Get ready to whisk up some cheesy goodness that will have everyone coming back for more!
Step‑by‑Step Instructions for Cheese Puffs
Step 1: Preheat and Prepare
Begin by preheating your oven to 400°F (200°C). While it heats, line a baking sheet with parchment paper to prevent the cheese puffs from sticking. This step sets the stage for perfect, golden treats that are crispy on the outside and fluffy inside.
Step 2: Simmer Milk and Butter
In a saucepan over medium heat, combine 1 cup of milk, 1/2 cup of butter, and a pinch of salt. Stir the mixture until it reaches a gentle simmer, allowing the butter to melt completely—this should take about 3 minutes. Removing it from heat at the right moment ensures a rich base for your cheese puffs.
Step 3: Form the Dough
Once the butter is fully melted, add 1 cup of all-purpose flour to the saucepan all at once. Stir vigorously with a wooden spoon until a cohesive dough forms and pulls away from the sides of the pan. This process typically takes about 2-3 minutes and is crucial for achieving that light, airy texture characteristic of delightful cheese puffs.
Step 4: Cool and Incorporate Eggs
Let the dough cool for about 5 minutes, then add 3 room temperature eggs one at a time. Mix thoroughly after each addition until the dough becomes thick and glossy. This emulsification is essential as it allows air to incorporate into the dough, leading to the fluffy interior of your baked cheese puffs.
Step 5: Add Cheese and Seasoning
Now, fold in 1 to 1.5 cups of grated cheese—your choice between sharp cheddar, gruyère, or parmesan—until fully incorporated. Taste your mixture and adjust the seasoning by adding salt or optional spices, like garlic powder or paprika, to amplify the flavor before shaping your cheese puffs.
Step 6: Portion the Dough
Using a tablespoon, drop portions of the cheese puff dough onto the prepared baking sheet, spacing them 1.5 inches apart. This spacing is key to ensure they puff up without merging during baking. As you work, you’ll begin to see the promise of delicious cheese puffs forming!
Step 7: Bake to Perfection
Place the baking sheet in the preheated oven and bake for 20-25 minutes. Keep an eye on your cheese puffs; they should turn golden-brown and crisp on the outside while remaining airy inside. A visual cue is when they puff up beautifully and develop a lovely crust!
Step 8: Cool and Serve
Once baked, remove the cheese puffs from the oven and let them cool on the baking sheet for a few minutes. This brief cooling period allows the delicious cheese puffs to set, making them easier to enjoy. Serve them warm for the best melt-in-your-mouth experience!

Expert Tips for Cheese Puffs
-
Choose Fresh Cheese: Freshly grated cheese melts better and provides a more pronounced flavor, enhancing the overall cheese puffs experience.
-
Know Your Oven: Ensure your oven is fully preheated before baking. This prevents flat puffs; a hot oven is crucial for achieving that signature rise.
-
Mix with Care: Avoid overmixing the dough after adding the eggs; keep it gentle to maintain puffiness and ensure light, airy cheese puffs.
-
Experiment with Cheese: Don’t be afraid to mix cheese varieties! Combining flavors like sharp cheddar and creamy mozzarella can elevate your cheese puffs to new heights.
-
Proper Cooling: Allow cheese puffs to cool slightly on the baking sheet before serving. This lets them set, ensuring a perfect texture and easier handling.
What to Serve with Irresistibly Cheesy Baked Cheese Puffs
These delightful cheese puffs are perfect for pairing, whether it’s a cozy brunch or a lively dinner party!
- Tomato Soup: A classic pairing that enhances the flavor of the cheese puffs and creates a comforting, hearty experience.
- Mixed Greens Salad: The freshness and crunch of greens provide a lovely contrast to the rich, cheesy puffs, keeping your meal balanced.
- Chili: Pairing these puffs with a warm, spiced chili makes for a satisfying meal, perfect for chilly evenings.
- Sliced Veggies & Hummus: Offer a refreshing, crunchy element alongside the soft texture of cheese puffs for a light snack platter.
- Creamy Garlic Dip: Elevate your cheese puffs with a homemade dip that adds a burst of flavor and creaminess to each bite!
- Mimosa: Start your brunch off right with a bubbly mimosa; the citrusy notes will brighten the cheesy flavors beautifully.
- Fruit Salad: A sweet, vibrant fruit salad will cut through the richness of the cheese puffs, adding a delightful sweetness to your spread.
- Chocolate Fondue: For dessert, why not dip into something sweet? Pair your cheesy puffs with chocolate fondue for a surprising twist!
- Herbed Butter: Simply whip up a herb-infused butter to serve alongside the cheese puffs for an extra layer of flavor that delights the senses.
- Red Wine: A smooth red wine complements the savory notes of the cheese, elevating your dining experience with rich flavors.
Make Ahead Options
These Cheese Puffs are perfect for meal prep enthusiasts needing a quick solution for busy weeknights! You can prepare the cheese puff dough up to 24 hours in advance and refrigerate it in an airtight container. This helps to preserve the puffiness and flavor. Simply follow the recipe steps up to the portioning stage, then cover the dough tightly. When you’re ready to bake, drop the dough onto your baking sheet and bake as directed. For those looking to store for an even longer timeframe, you can freeze the portioned puffs, and when craving a cheesy delight, bake them straight from the freezer—just add a couple of extra minutes to the bake time for perfect results. You’ll enjoy delicious, homemade Cheese Puffs with minimal effort!
Cheese Puffs: Endless Customization
Feel free to explore delightful twists and turns with your cheese puffs that awaken your taste buds and spark your creativity.
-
Cheese Variety: Mix and match cheeses like mozzarella for extra gooiness or gruyère for a nutty accent.
Enhancing the cheese options not only adds complexity but allows you to cater to your personal cravings each time you make them. -
Herbs & Spices: Add fresh herbs such as chives or rosemary to the dough for a fragrant infusion.
This simple twist elevates the flavor profile, creating a gourmet experience that bells ‘home cooking’! -
Vegetable Add-Ins: Incorporate sautéed spinach or roasted red peppers into the dough for a nutritious burst.
Your cheese puffs become a sneaky veggie treat, making them perfect for both kids and adults alike. -
Savory Fillings: Surprise guests by tucking in small cubes of ham or cream cheese before baking.
The delightful burst of flavor in every bite turns an ordinary snack into an extraordinary delight! -
Spicy Kick: Add a pinch of cayenne pepper or red pepper flakes for an unexpected heat.
These puffs become a memorable hit at parties, tickling the taste buds and kicking boredom to the curb! -
Sweet Twist: Consider adding a touch of grated parmesan or cheddar into your sweet cream cheese frosting.
Pair these cheesy confections with a side of sweet dipping sauce for a unique dessert experience. -
Gluten-Free Option: Swap all-purpose flour with a gluten-free blend to cater to sensitive tummies.
Creating inclusive deliciousness ensures that everyone can join in the cheese puff fun! -
Air Fryer Version: For those short on time, try air frying the cheese puffs for extreme crunch and less guilt!
It’s a handy time saver that still preserves that inviting golden exterior and fluffy interior.
Indulge in these variations to keep things fresh and exciting, and pair these puffs with dipping sauces or a warm bowl of tomato soup for an unforgettable culinary experience!
How to Store and Freeze Cheese Puffs
Fridge: Store cooked cheese puffs in an airtight container for up to 3 days to maintain freshness and prevent sogginess.
Freezer: For longer storage, freeze cheese puffs on a baking sheet until firm, then transfer to a sealed bag for up to 2 months.
Reheating: Reheat directly from the freezer in a preheated oven at 350°F (175°C) for about 10-15 minutes, ensuring they regain their crispy texture.
Make-Ahead Option: Prepare the dough ahead of time and refrigerate for a few hours; bake when you’re ready for a warm, cheesy snack!

Cheese Puffs Recipe FAQs
What type of cheese should I use for cheese puffs?
Absolutely! For the best flavors, consider using a mix of cheeses. Sharp cheddar offers a bold taste, while gruyère brings a nutty richness, and parmesan adds a salty tang. For gooeyness, mozzarella is an excellent addition. Feel free to experiment with your favorites!
How do I store leftover cheese puffs?
Store your cooked cheese puffs in an airtight container in the fridge for up to 3 days. Just make sure they’re completely cooled before sealing to prevent moisture buildup that can make them soggy. Enjoy them as a delightful snack or appetizer!
Can I freeze cheese puffs? If so, how?
Yes, you can freeze them! Place your cheese puffs on a baking sheet, ensuring they’re not touching, and freeze until firm—about 1 to 2 hours. Once frozen, transfer them to a sealable bag or airtight container. They’ll stay fresh for up to 2 months. To reheat, bake from frozen at 350°F (175°C) for 10-15 minutes, allowing them to regain that crispy texture!
What should I do if my cheese puffs don’t puff up?
Oh no, let’s troubleshoot! If your cheese puffs aren’t rising, it might be due to a few reasons: ensure your oven is preheated as a hot oven helps in achieving the rise. Check that you didn’t overmix the dough after adding the eggs—this can make them dense. Lastly, remember to space them at least 1.5 inches apart on the baking sheet; inadequate space can hinder their puffing ability.
Can I make cheese puffs in advance?
Certainly! You can prepare the dough ahead of time and refrigerate it for up to 3 hours before baking. When ready to enjoy those cheesy delights, simply scoop them onto a baking sheet and bake as directed. This way, you can offer warm cheese puffs whenever the craving strikes without the last-minute rush!
Are cheese puffs safe for pets?
It’s best to keep cheese puffs away from pets. While the ingredients aren’t toxic, they can be rich and high in salt, which isn’t great for our furry friends. If your pet manages to snag a bite, just keep an eye on them—small amounts typically won’t cause harm, but it’s always safer to stick to treats made specifically for them.

Cheese Puffs That Melt in Your Mouth: Easy Baked Delight
Ingredients
Equipment
Method
- Preheat your oven to 400°F (200°C) and line a baking sheet with parchment paper.
- In a saucepan over medium heat, combine milk, butter, and a pinch of salt. Stir until it simmers and the butter melts, about 3 minutes.
- Add all-purpose flour to the saucepan and stir vigorously until a cohesive dough forms, about 2-3 minutes.
- Let the dough cool for 5 minutes, then add the eggs one at a time, mixing until thick and glossy.
- Fold in the grated cheese and adjust seasoning with salt and optional spices.
- Drop tablespoon-sized portions onto the baking sheet, spacing them 1.5 inches apart.
- Bake for 20-25 minutes until golden brown and crisp on the outside.
- Let cool slightly before serving warm.

Leave a Reply