
At the first hint of fall, something magical happens—pumpkins start to appear in every corner, and my kitchen transforms into a cozy haven of seasonal flavors. This year, I’m excited to share my cherished recipe for Pumpkin Oreo Balls—a delightful no-bake dessert that’s both effortless and utterly enchanting. These bite-sized treats are perfect for fall gatherings, combining the timeless appeal of Oreos with a creamy and slightly spiced pumpkin filling. With only five simple ingredients, you’ll whip up a crowd-pleaser that’s not just fun to make but also gluten-free! Imagine serving these adorable pumpkin-shaped delights at Thanksgiving or during family game nights, where they’ll surely bring smiles to both kids and adults alike. Ready to dive into this easy dessert adventure? Let’s get started!
Why are Pumpkin Oreo Balls a Must-Try?
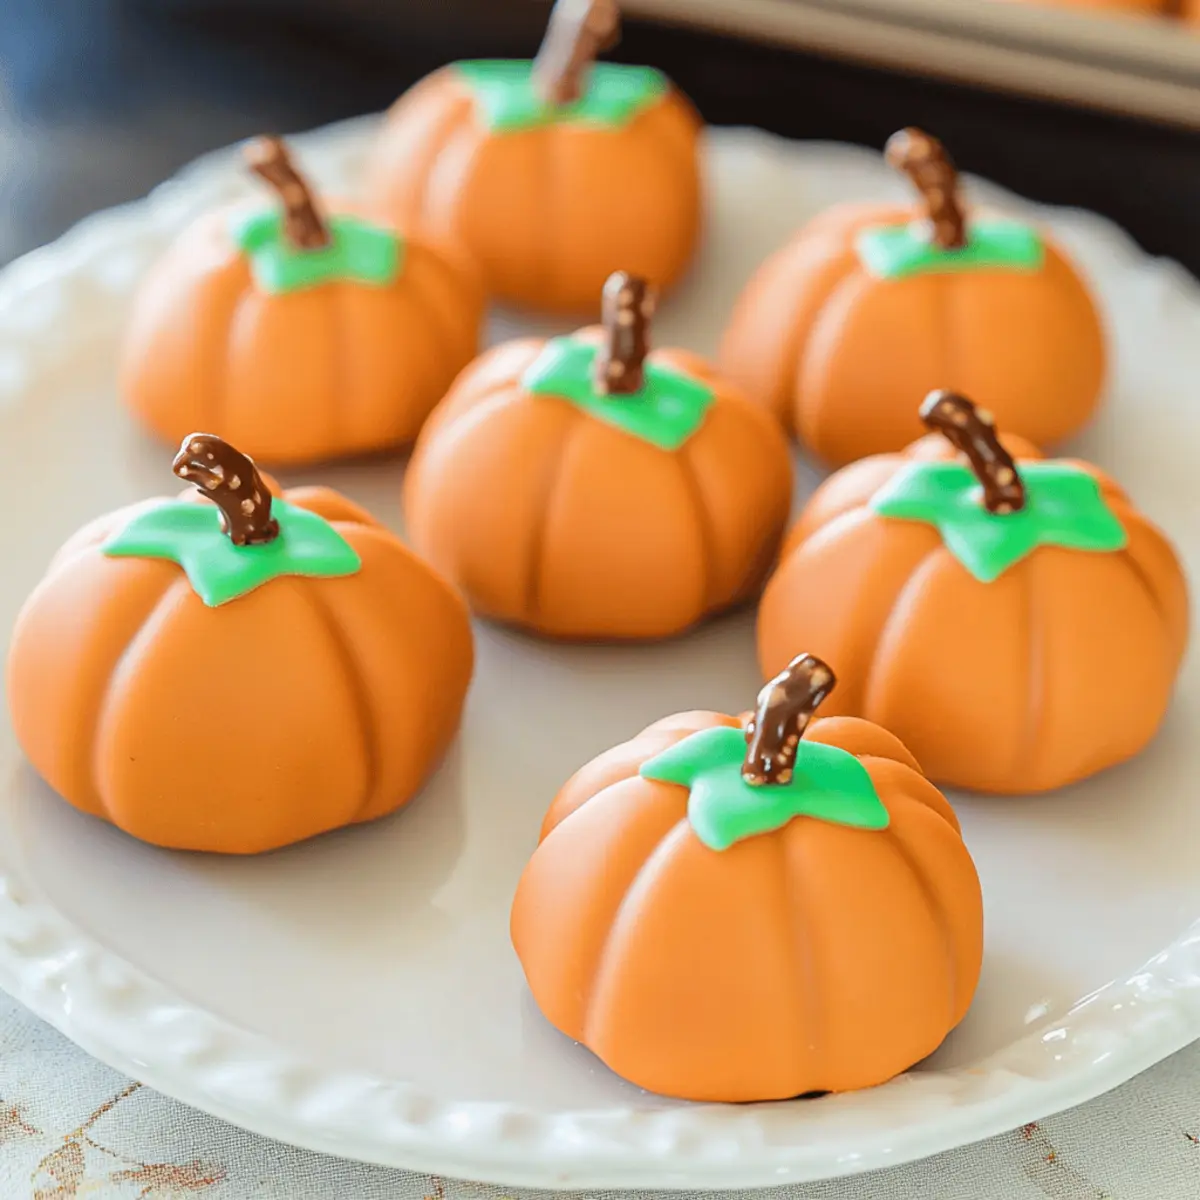
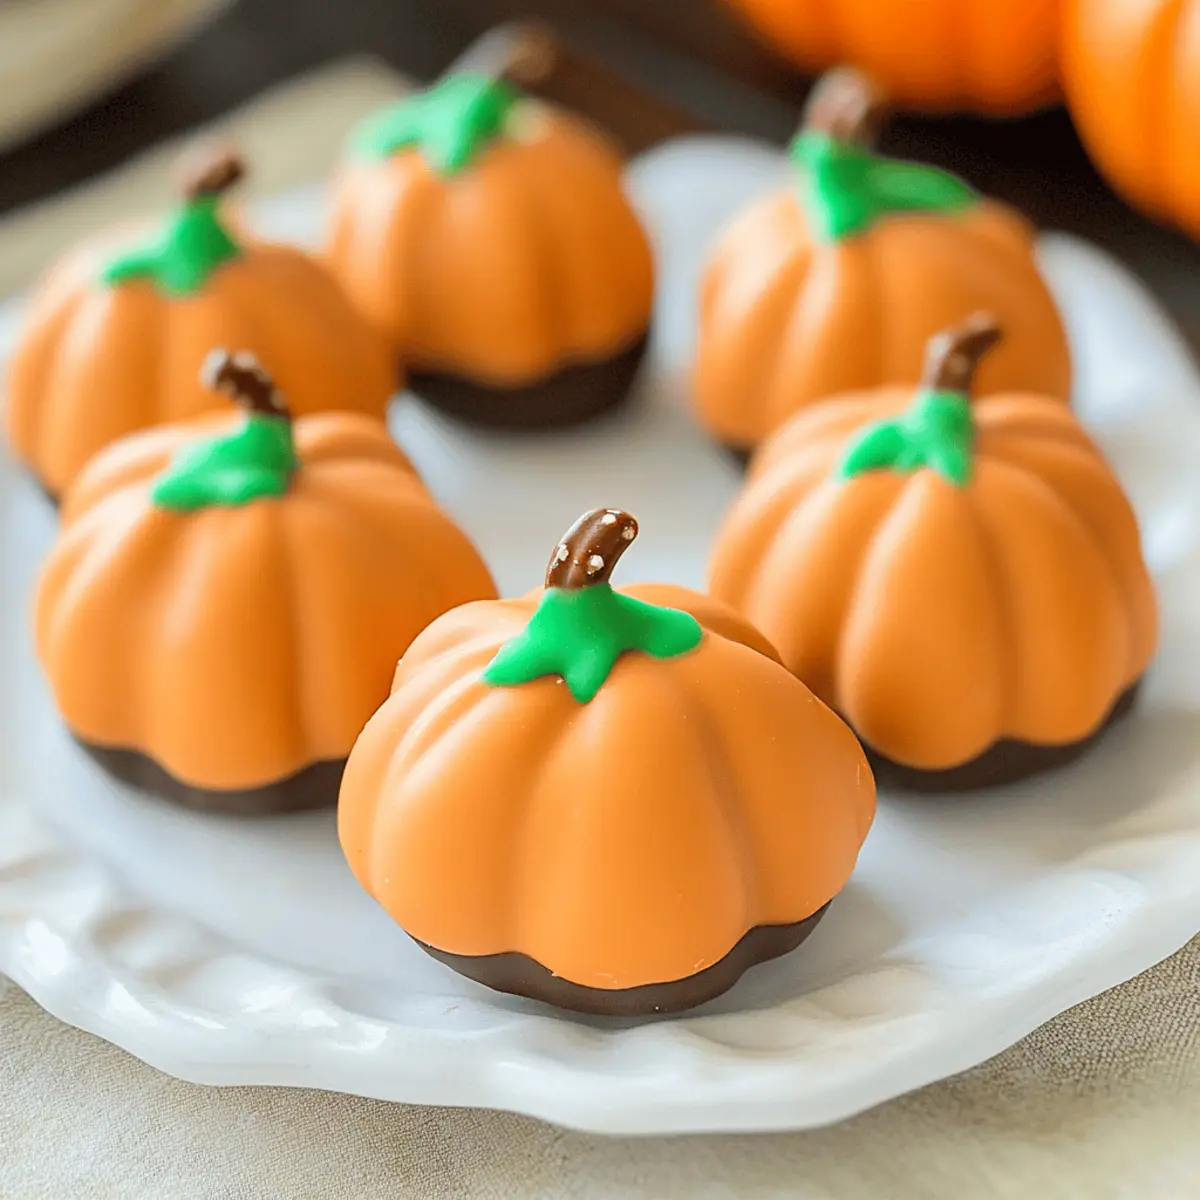
Festive Design: These adorable treats are shaped like pumpkins, making them a perfect addition to your fall gatherings and a fantastic conversation starter.
Easy Preparation: With just five ingredients, this no-bake recipe is a breeze for anyone, whether you’re a seasoned chef or a beginner in the kitchen.
Crowd-Pleasing Flavor: The combination of rich Oreos and creamy filling creates a delightful sweetness that appeals to guests of all ages.
Versatile Inspirations: Feel free to switch it up—try using pumpkin spice Oreos for an extra flavor kick, or decorate with seasonal sprinkles for added fun!
Make-Ahead Friendly: Plan ahead by preparing these Pumpkin Oreo Balls a day or two in advance; they’ll stay fresh in the fridge, perfect for those busy holiday prep days while you coordinate your Thanksgiving feast!
Pumpkin Oreo Balls Ingredients
For the Filling
• Oreo Cookies – Provides sweetness and structure; can substitute with pumpkin spice Oreos for an enhanced fall flavor.
• Cream Cheese – Adds creaminess and binds ingredients together; ensure cream cheese is softened for easy mixing.
For the Coating
• Orange Candy Melts – Used for coating to give a vibrant pumpkin color; can use white chocolate or other candy melts if desired.
For Decoration
• Pretzel Sticks – Acts as the pumpkin stem decoration; a small piece of a pretzel stick works best—green candies can also be used for decoration.
• Green Leaf Icing Decoration – A finishing touch for presentation; substitute with green M&Ms or green icing if unavailable.
Step‑by‑Step Instructions for Pumpkin Oreo Balls
Step 1: Prepare Cookies
Begin by placing the Oreo cookies in a food processor. Pulse until they form fine crumbs resembling sand, which should take about 30 seconds. You want a uniform texture for your Pumpkin Oreo Balls, so ensure there are no large chunks.
Step 2: Mix Filling
In a mixing bowl, combine the finely crumbled Oreos with softened cream cheese. Use a sturdy spatula or electric mixer to blend them together until the mixture is smooth and well incorporated, which should take about 2-3 minutes. This creamy mixture forms the delightful filling of your Pumpkin Oreo Balls.
Step 3: Form Balls
Using your hands or a cookie scoop, portion out the mixture into 1-inch balls. Place these formed balls onto a parchment-lined baking sheet. Once shaped, transfer the baking sheet to the refrigerator to chill the cookie balls for approximately 15 minutes, allowing them to firm up for easier handling.
Step 4: Shape Pumpkins
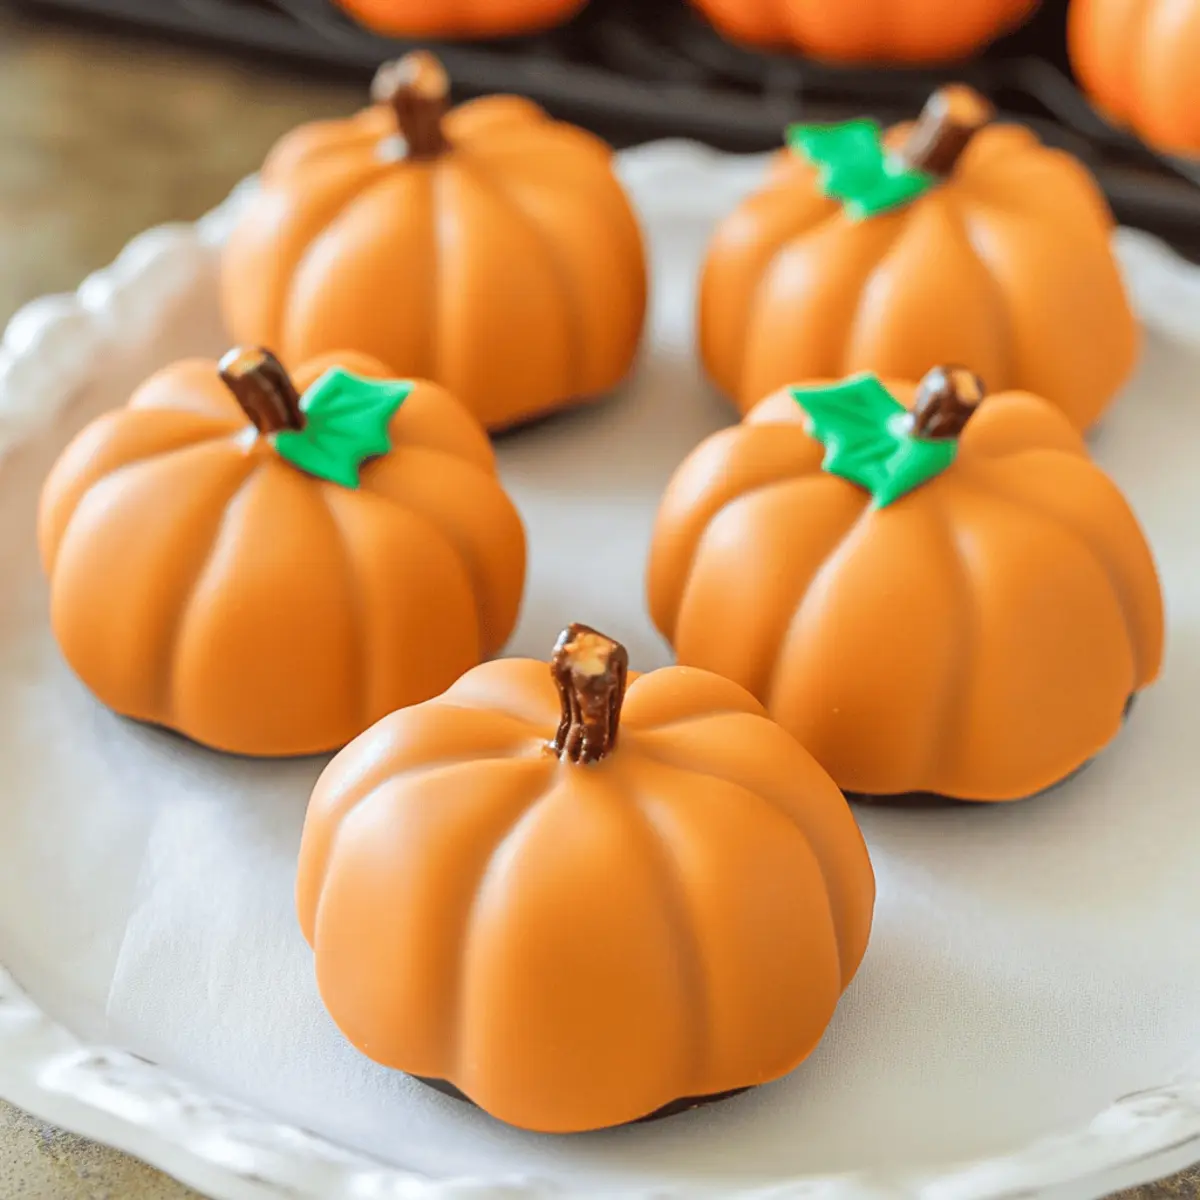
After chilling, remove the cookie balls from the refrigerator. Using a toothpick, gently score lines around each ball to create a pumpkin design. This simple technique adds character to your treats. Once scored, return them to the refrigerator for another 10 minutes to set.
Step 5: Melt Chocolate
While the balls are chilling, prepare your coating. Melt the orange candy melts according to the package instructions, using either a microwave in 30-second bursts or a double boiler. Stir until smooth and completely melted, creating a vibrant coating for your Pumpkin Oreo Balls.
Step 6: Coat Balls
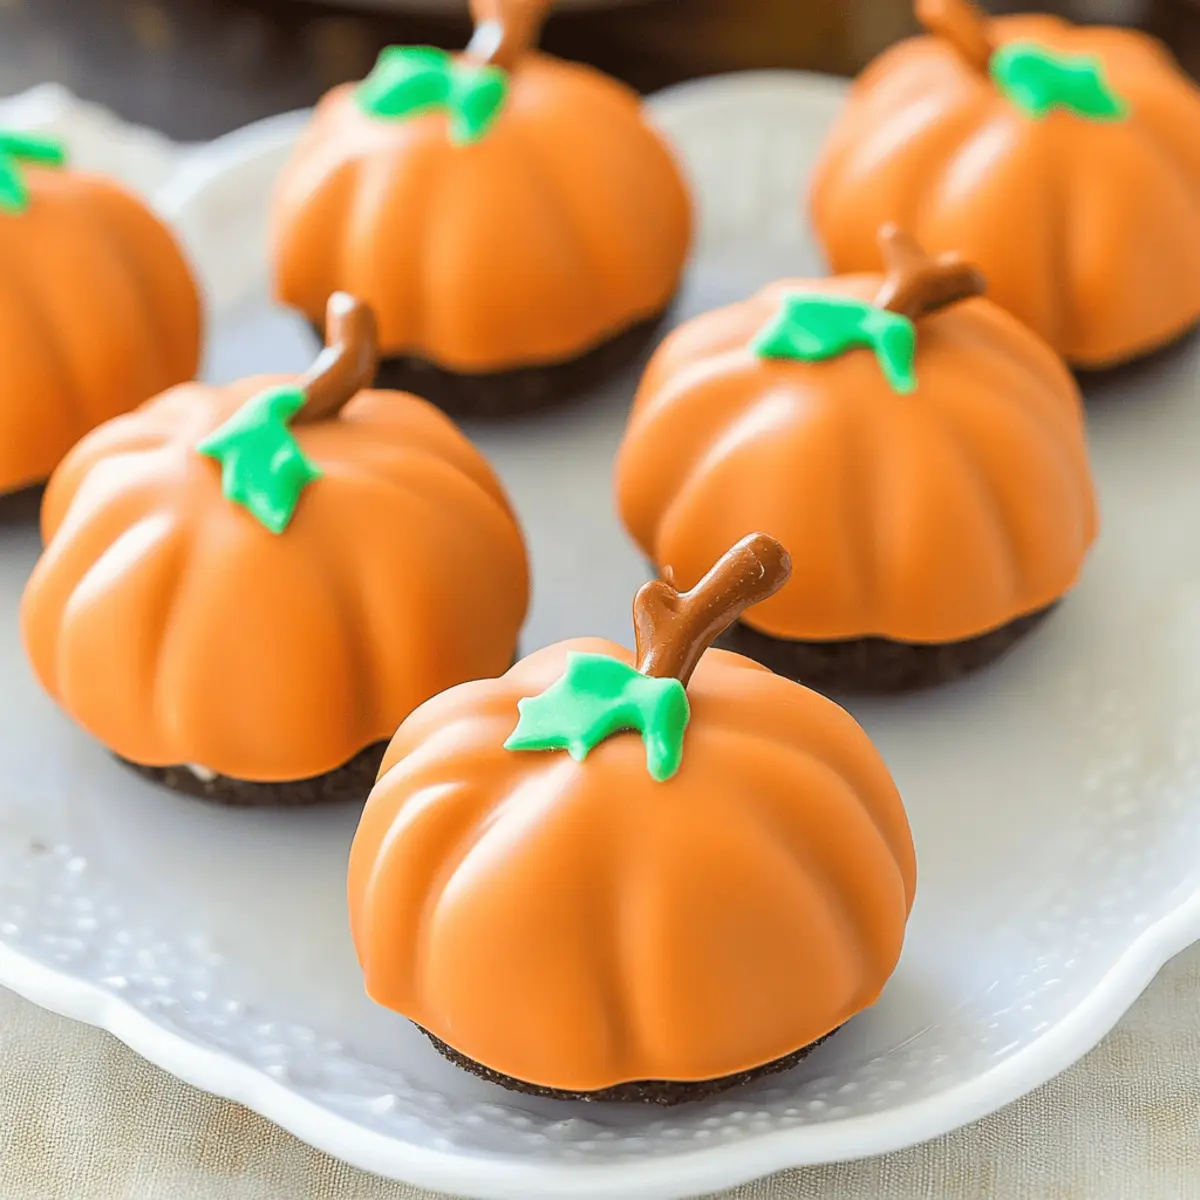
Carefully dip each chilled pumpkin-shaped ball into the melted orange chocolate, using a fork to help coat them evenly. Allow excess chocolate to drip off before placing them back onto the lined baking sheet. Ensure each ball is fully covered for that festive look, then let them sit for a moment until the coating begins to set.
Step 7: Decorate
As soon as you’ve coated all the balls, insert a small piece of pretzel stick into the top of each for the pumpkin stem. To finish, add a green leaf decoration, whether it’s icing or a green candy. Finally, place the decorated Pumpkin Oreo Balls into the refrigerator until you’re ready to serve.
Expert Tips for Pumpkin Oreo Balls
• Chill Before Serving: Make sure to keep the Oreo balls refrigerated until serving to maintain their firmness from the cream cheese.
• Try Seasonal Oreos: For a festive twist, using pumpkin spice Oreos can enhance the flavor of your Pumpkin Oreo Balls, making them even more autumnal.
• Avoid Soft Chocolate: Limit the time the dessert sits out at room temperature; if left too long, the chocolate coating can lose its appealing texture.
• Perfect Oreo Crumbs: Pulse the Oreo cookies until they are a fine consistency to ensure your Pumpkin Oreo Balls hold their shape nicely.
• Creative Decorations: Let your creativity shine with garnishes—consider using edible glitter or colorful sprinkles to make your Pumpkin Oreo Balls stand out.
Make Ahead Options
These Pumpkin Oreo Balls are a fantastic treat to prepare ahead of time, saving you precious minutes during busier days. You can make the filling—combining the crumbled Oreo cookies and cream cheese—up to 24 hours in advance, just be sure to keep it stored in an airtight container in the refrigerator to maintain its freshness. Once you’re ready to impress your guests, simply scoop and shape the mixture into balls, chill for 15 minutes, and then coat them in melted chocolate and decorate as instructed. This way, you’ll have delicious, festive Pumpkin Oreo Balls ready with minimal effort on the day of your event!
Pumpkin Oreo Balls: Delicious Twists Await
Feel free to explore these fun variations of the recipe that will elevate your Pumpkin Oreo Balls to new heights of flavor and creativity!
-
Pumpkin Spice Oreos: Swap regular Oreos for pumpkin spice Oreos to embrace the full fall flavor experience. This little change makes a delightful difference!
-
Dairy-Free Delight: Use vegan cream cheese and dairy-free chocolate for an equally delicious and heart-friendly treat everyone can enjoy. You won’t miss the regular ingredients!
-
Sandy Crunch: Stir in finely chopped pecans or walnuts into the filling for a nutty crunch. This adds a lovely texture contrast that complements the creaminess beautifully.
-
Chocolate Variety: Replace the orange candy melts with milk or dark chocolate for a different taste. This variation adds richness and can impress chocolate lovers at your gathering.
-
Seasonal Sprinkles: Instead of a pretzel stem, try using seasonal sprinkles or edible glitter for a sparkling touch. It brings a touch of whimsy and festivity to your final design!
-
Spicy Kick: Add a pinch of cayenne pepper or chili powder to the filling for an unexpected heat that contrasts wonderfully with the sweet chocolate coating.
-
Flavorful Pairing: Enjoy these Pumpkin Oreo Balls alongside a warm cup of Pumpkin Spice Latte or with Pumpkin Sugar Cookies – perfect for a cozy fall gathering.
-
Gluten-Free Option: Ensure your Oreos are gluten-free if you’re serving those with dietary restrictions, allowing everyone to indulge in this festive treat!
Let your imagination run wild and make these Pumpkin Oreo Balls your own!
What to Serve with Pumpkin Oreo Balls
Imagine creating a delightful spread that elevates your pumpkin treats to a whole new level of deliciousness.
-
Creamy Mashed Potatoes: Their smooth, buttery texture balances the sweetness of the Pumpkin Oreo Balls, making for a hearty contrast.
-
Apple Cider: This warm, spiced beverage enhances the cozy autumn vibe and pairs perfectly with the sweet flavors of your dessert.
-
Roasted Brussels Sprouts: A touch of savory with caramelized edges offers a nice crunch, balancing the creamy sweetness of the Oreo balls while adding an earthy note.
-
Caramel Sauce: Drizzling this rich, buttery sauce over the Pumpkin Oreo Balls amplifies their sweetness, creating an indulgent experience that’s hard to resist.
-
Spiced Pumpkin Latte: The rich coffee flavor combined with warm spices brings a cozy, festive touch, enhancing the pumpkin theme of your gathering.
-
Chocolate Chip Cookies: A classic pairing, the soft and chewy texture complements the creamy center of your Pumpkin Oreo Balls, providing a comforting nostalgia.
-
Vanilla Ice Cream: A scoop adds a cool creaminess that contrasts beautifully with the rich chocolate coating, perfect for balancing flavors.
-
Maple Pecan Pie: For dessert lovers, serving this traditional pie will captivate those with a sweet tooth while complementing the pumpkin theme nicely.
-
Spiced Nuts: A crunchy, salty snack brings a delightful texture and flavor contrast, enhancing the overall tasting experience at your fall gatherings.
Storage Tips for Pumpkin Oreo Balls
Fridge: Store your Pumpkin Oreo Balls in an airtight container in the refrigerator for up to one week to keep them creamy and fresh.
Freezer: These treats can be frozen for up to three months; just ensure they are well-wrapped or in a freezer-safe container to prevent freezer burn.
Thawing: When ready to enjoy, simply thaw the Pumpkin Oreo Balls in the fridge overnight for the best texture and flavor recovery before serving.
Reheating: There’s no need to reheat these no-bake delights; serve them cold for a refreshing treat that everyone will love!
Pumpkin Oreo Balls Recipe FAQs
How do I select the right ripeness for my ingredients?
For this recipe, you’ll want your cream cheese to be softened to room temperature—this typically takes about 30 minutes out of the fridge. It should be creamy and easy to mix without clumps. As for the Oreo cookies, there’s no special ripeness needed since they come pre-packaged; just ensure they’re fresh and have no visible damage to the packaging.
What are the best storage methods for Pumpkin Oreo Balls?
Store your Pumpkin Oreo Balls in an airtight container in the refrigerator. They’ll stay fresh and creamy for up to one week. If you’re making these ahead of time or have leftovers, just make sure they’re completely covered to avoid any absorption of other scents in your fridge.
Can I freeze Pumpkin Oreo Balls, and how?
Absolutely! You can freeze your Pumpkin Oreo Balls for up to three months. To do this, first, place them in a single layer on a baking sheet and freeze until solid. Once frozen, transfer them to a freezer-safe container or a zip-top bag, ensuring to remove as much air as possible. When you’re ready to enjoy them, just thaw them in the fridge overnight.
What should I do if my chocolate coating is too thick?
If your orange candy melts are too thick when melting, add a small amount of vegetable oil or shortening to thin it out. Start with just a teaspoon, as you can always add more if needed, stirring until you achieve a smooth, dip-able consistency. This will make coating the Pumpkin Oreo Balls easier and give a smoother finish.
Are Pumpkin Oreo Balls safe for people with gluten allergies?
Yes! Pumpkin Oreo Balls are a delightful gluten-free treat since they’re made with Oreo cookies, which now offer gluten-free options. Just ensure you check the packaging to confirm the specific Oreos you’re using are indeed gluten-free to keep this dessert friendly for those with gluten sensitivities or allergies.
Can my pets eat Pumpkin Oreo Balls?
Generally, it’s not safe for pets, particularly dogs and cats, to consume these treats. The chocolate coating can be harmful to them, so it’s best to keep these yummy Pumpkin Oreo Balls away from your furry friends and treat them instead to some pet-friendly snacks!
Pumpkin Oreo Balls: Easy No-Bake Treats to Wow Your Guests
Ingredients
Equipment
Method
- Begin by placing the Oreo cookies in a food processor. Pulse until they form fine crumbs resembling sand, about 30 seconds.
- In a mixing bowl, combine the finely crumbled Oreos with softened cream cheese. Blend until smooth and well incorporated, about 2-3 minutes.
- Portion out the mixture into 1-inch balls and place onto a parchment-lined baking sheet. Chill in the refrigerator for approximately 15 minutes.
- Remove the cookie balls from the refrigerator. Using a toothpick, gently score lines around each ball to create a pumpkin design, then chill for another 10 minutes.
- Melt the orange candy melts according to package instructions until smooth.
- Dip each chilled pumpkin-shaped ball into the melted orange chocolate, allowing excess chocolate to drip off before placing back onto the lined baking sheet.
- Insert a small piece of pretzel stick into the top of each ball for the pumpkin stem and add a green leaf decoration. Refrigerate until ready to serve.
Leave a Reply