
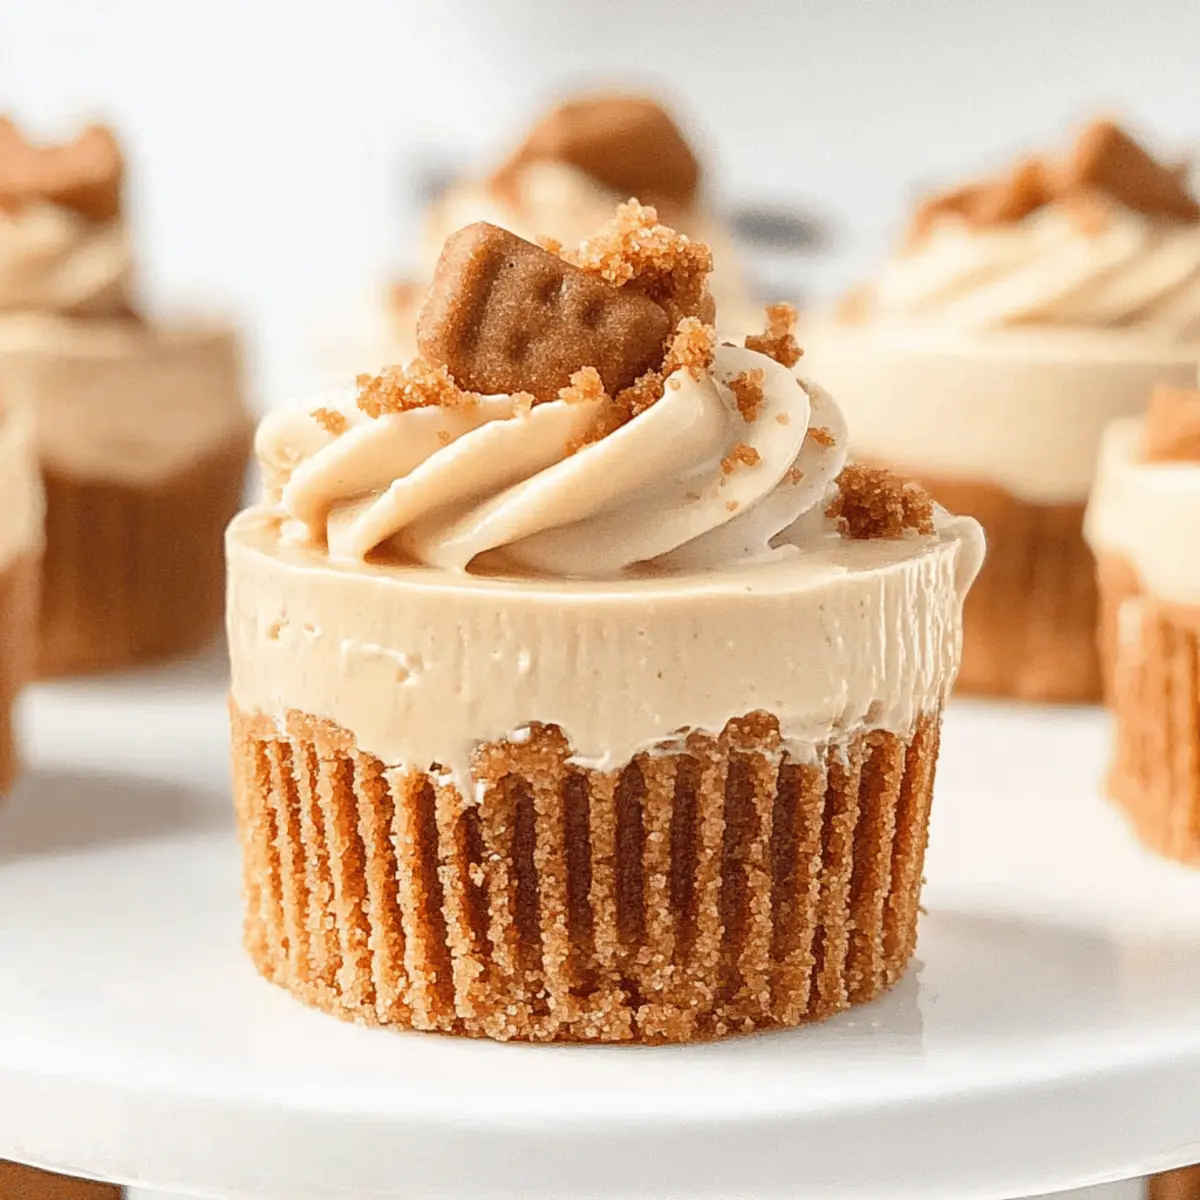
A waft of warm, spiced caramel envelops me as I crack open a box of Biscoff cookies—an invitation to create magic in my kitchen. These Mini Biscoff Cheesecakes are my latest obsession, combining the rich, creamy goodness of cheesecake with the nostalgic flavor of beloved Speculoos cookies. As a no-bake dessert (with a touch of baking!), they’re a quick triumph for any gathering, making them perfect for delighting your guests or treating yourself on a cozy night in. The light Biscoff whipped cream topping adds a dreamy, velvety finish, elevating this treat into an unforgettable experience. Ready to indulge in a dessert that feels as special as it tastes? Let’s dive into this luscious recipe!
Why are Mini Biscoff Cheesecakes a Must-Try?
Irresistible Flavor: The distinct caramel notes of Biscoff cookies bring unparalleled richness to these mini cheesecakes, transforming every bite into a delightful experience.
No-Bake Delight: Perfect for novice bakers, this recipe requires minimal baking while allowing you to create a show-stopping dessert.
Crowd-Pleasing Treat: Whether it’s a party, holiday gathering, or simply a cozy night in, these cheesecakes are sure to impress your guests!
Quick to Prepare: Don’t let time constraints hold you back; these cheesecakes can be made ahead, letting you chill out while they set beautifully in the fridge.
Versatile Options: Feel free to customize your toppings, from luscious whipped cream to fresh fruits—each version creates a unique twist on this classic dessert!
Indulge in these little bites of joy or explore our related recipes like Decadent Chocolate Cheesecake and No-Bake Berry Tart for more delicious ideas!
Mini Biscoff Cheesecake Ingredients
For the Crust
• Unsalted Butter – Provides richness and binds the crust; margarine can work in a pinch.
• Biscoff Cookies – Forms the aromatic base for the crust; feel free to substitute with digestive biscuits for a different flavor.
For the Cheesecake Filling
• Cream Cheese – The main filling, offering rich creaminess; Greek yogurt can be a lighter option.
• Sour Cream – Adds tanginess and moisture; buttermilk serves as a good alternative.
• Biscoff Spread – Imparts that signature flavor for both filling and topping; any cookie butter is a worthy substitute.
• Brown Sugar – Sweetens the cheesecake beautifully; swap for coconut sugar for a deeper taste.
• Speculoos Spices – Enhances the dessert’s flavor; a pumpkin pie spice mix can substitute effectively.
• Eggs – Provides structure to the cheesecake; unsweetened applesauce is a great vegan replacement.
For the Topping
• Heavy Cream – Creates a light and fluffy whipped topping; coconut cream is a delicious dairy-free alternative.
• Extra Biscoff Cookies – Optional for decoration; crushed pieces elevate presentation irresistibly.
Enjoy the delightful process of making these Mini Biscoff Cheesecakes and savor the sweet moments!
Step‑by‑Step Instructions for Mini Biscoff Cheesecakes
Step 1: Prepare the Crust
Begin by melting the unsalted butter in a small saucepan over low heat. In a mixing bowl, combine the melted butter with crushed Biscoff cookies, stirring until the mixture resembles wet sand. Line a muffin pan with muffin liners, and press the crust mixture firmly into the bottom of each liner, creating an even layer. Chill the crust in the refrigerator for at least 20 minutes to set.
Step 2: Make the Cheesecake Filling
While the crust is chilling, beat room temperature cream cheese and sour cream in a large mixing bowl using an electric mixer on medium speed. Mix until smooth and creamy, about 2 minutes. Gradually add the melted Biscoff spread and brown sugar, followed by the Speculoos spices, blending until well combined. You should have a smooth mixture with a rich aroma.
Step 3: Incorporate Eggs
With the cheesecake filling ready, add the eggs one at a time to the mixture, blending on low speed after each addition. Mix just until incorporated to avoid incorporating too much air, which can cause cracks when baking. The filling should be thick and creamy, exemplifying the wonderful flavor of your Mini Biscoff Cheesecakes.
Step 4: Bake the Cheesecakes
Preheat your oven to 140°C (285°F). Carefully pour the cheesecake filling over the chilled crusts in the muffin pan, filling each liner about three-quarters full. Bake for 20-25 minutes, or until the edges are set and the centers are slightly wobbly. Turn off the oven but leave the cheesecakes inside for another 15 minutes to cool down gradually, then transfer to the fridge to chill for at least 1 hour.
Step 5: Prepare Toppings
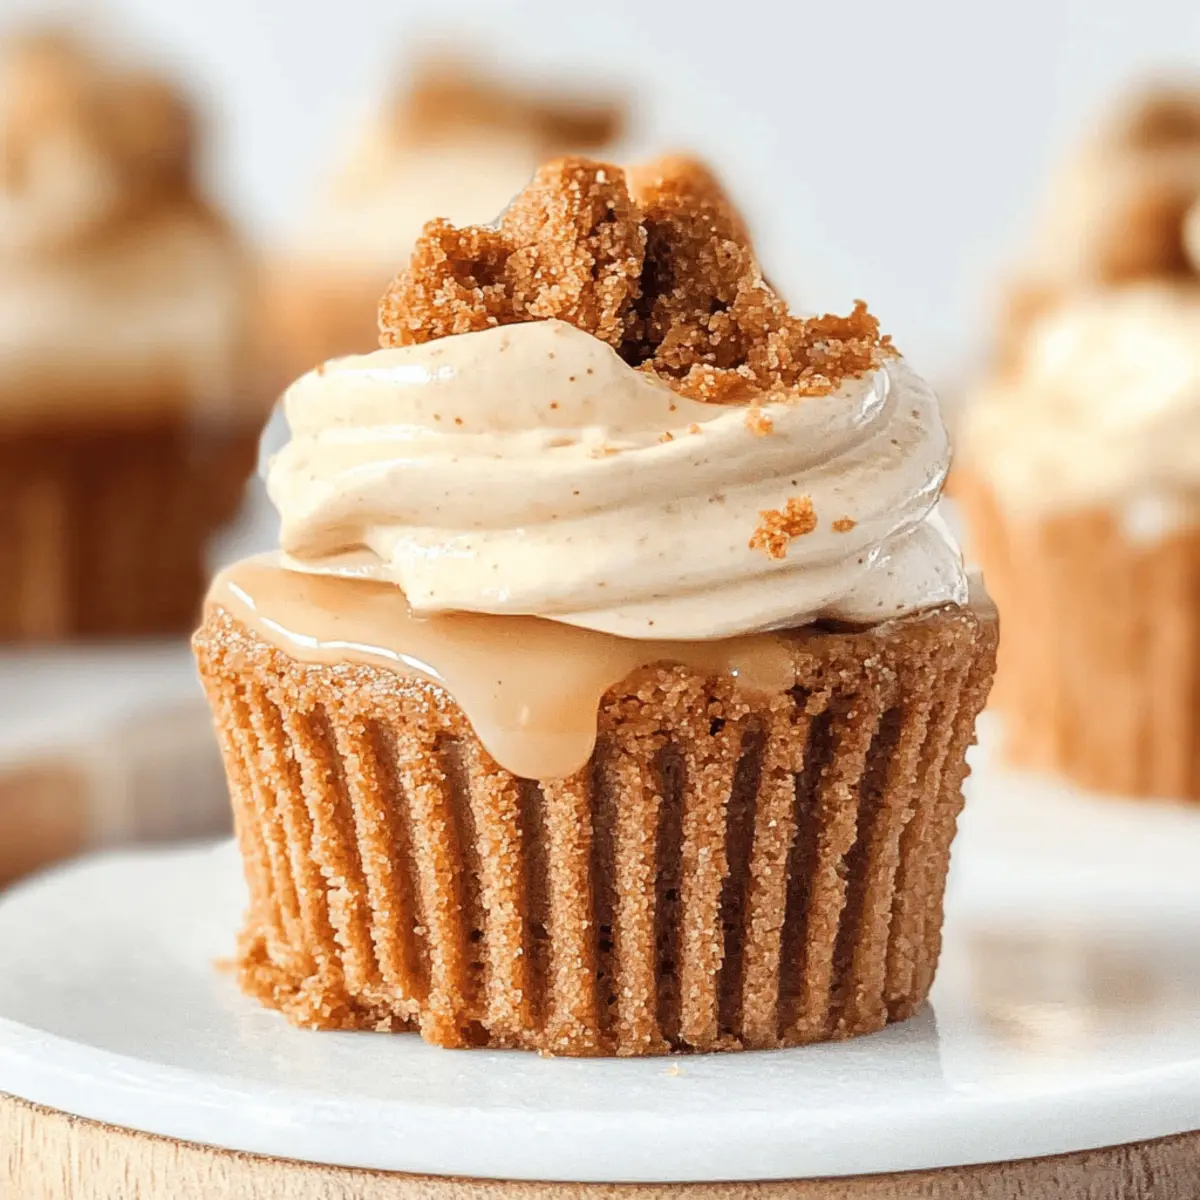
For the glaze and whipped topping, start by warming the remaining Biscoff spread in the microwave for about 15-20 seconds until melted. Set aside to cool slightly. In a separate bowl, whip the heavy cream using an electric mixer until soft peaks form. Gradually add the slightly melted Biscoff spread, continuing to whip until stiff peaks are achieved. This will give a lovely lightness to your topping.
Step 6: Serve the Mini Biscoff Cheesecakes
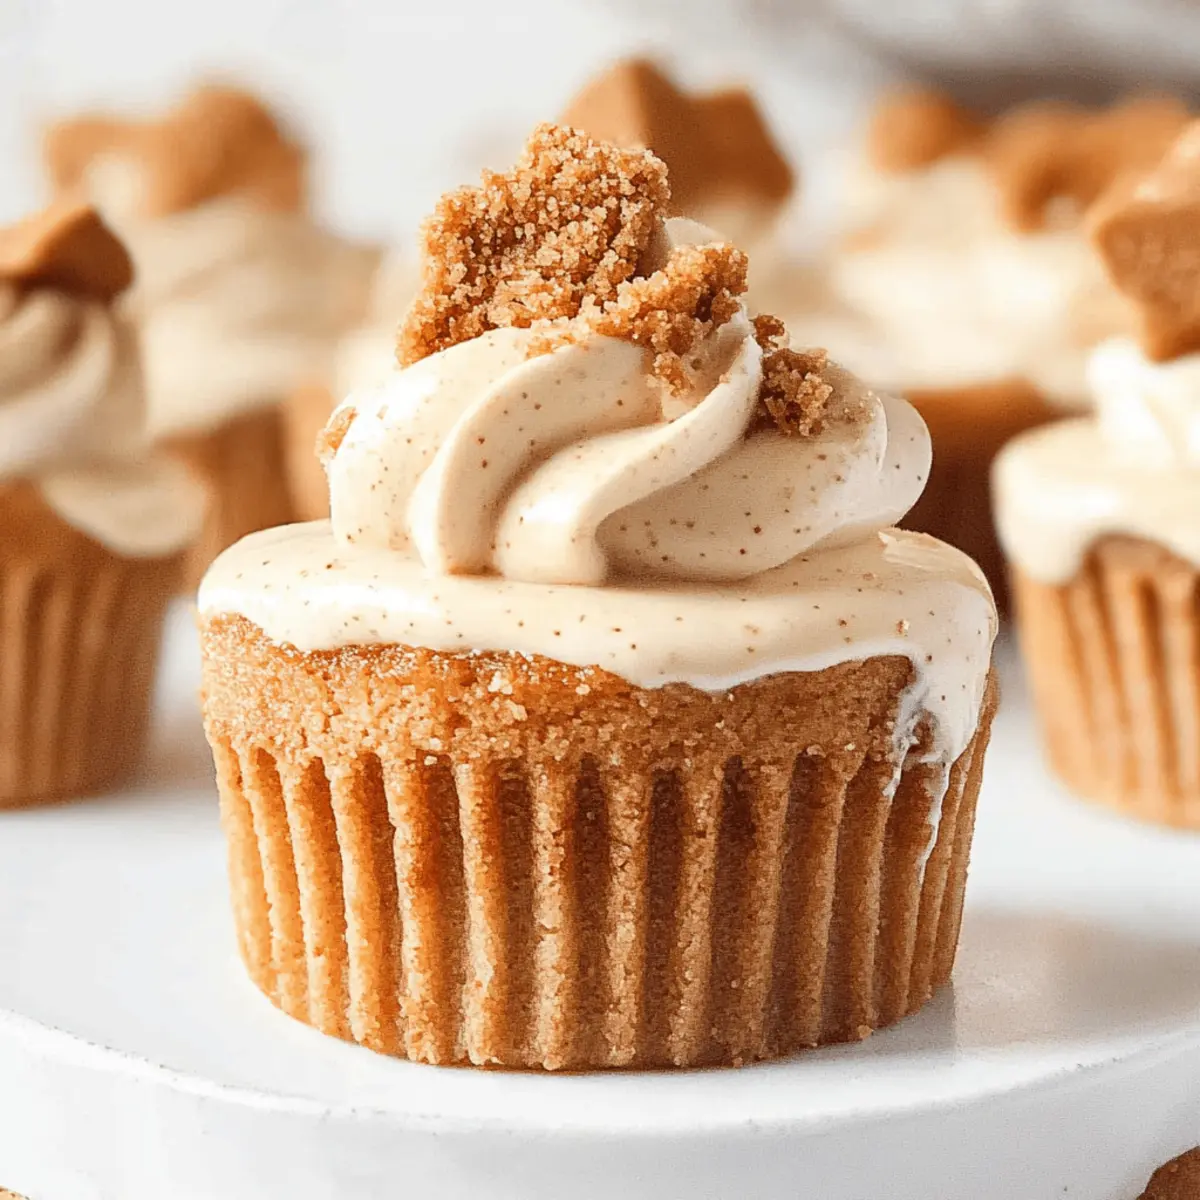
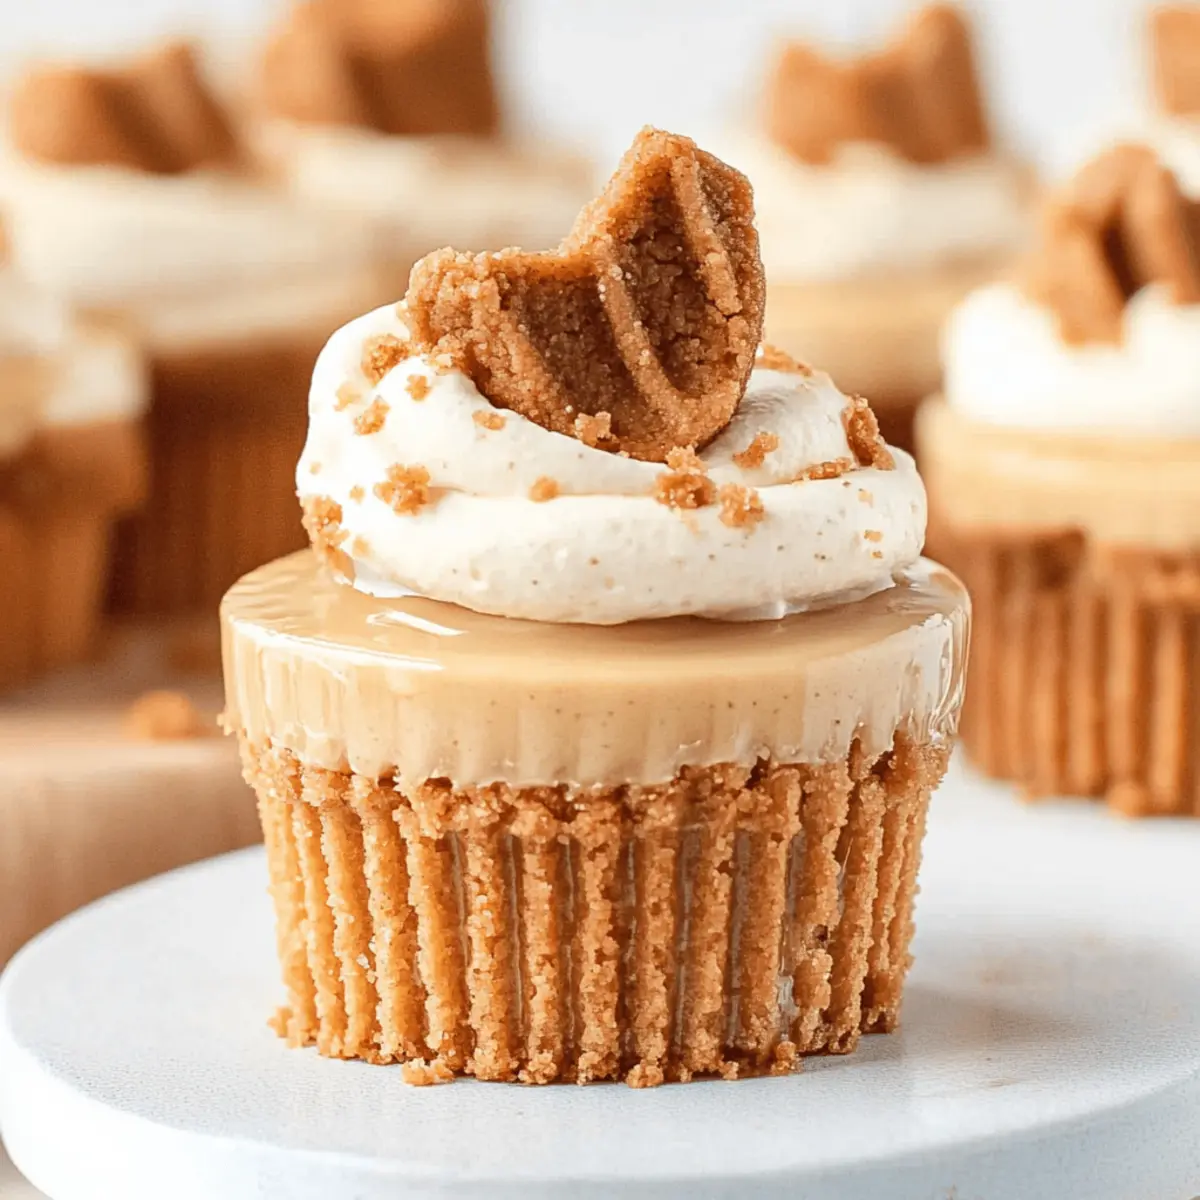
Once the cheesecakes have chilled completely, carefully remove them from the muffin pan. Pipe the creamy Biscoff whipped topping generously over each cheesecake using a piping bag. For an elegant presentation, garnish with crushed Biscoff cookies and a half cookie on top of each one. Enjoy these delightful Mini Biscoff Cheesecakes as a sweet treat for any occasion!
Expert Tips for Mini Biscoff Cheesecakes
-
Room Temperature Ingredients: Ensure all dairy ingredients are at room temperature. This helps achieve a smooth, creamy batter without lumps.
-
Gentle Mixing: When incorporating the eggs, mix just until combined. Overmixing can introduce too much air, causing cracks in the finished cheesecake.
-
Cooling in Oven: After baking, let the cheesecakes cool in the oven with the door slightly ajar. This gradual cooling helps prevent cracking by reducing temperature shock.
-
Chill Time Matters: Don’t skip the chilling step! Allowing the cheesecakes to firm up in the refrigerator ensures a perfect texture and makes them easier to remove from the liners.
-
Whip Smart: For the whipped cream topping, avoid overwhipping. Stop once stiff peaks form; overwhipped cream can turn into butter and won’t have the desired lightness.
Indulge in these delightful Mini Biscoff Cheesecakes and impress your guests or just treat yourself!
What to Serve with Mini Biscoff Cheesecakes
These delightful mini cheesecakes call for companions that will elevate their lusciousness and create a memorable dessert experience.
-
Fresh Berries: Add a burst of tartness with raspberries or strawberries, beautifully balancing the sweet richness of the cheesecakes.
Berries not only bring color to your dessert plate but also a refreshing zing that enhances each bite. -
Creamy Vanilla Ice Cream: A scoop of velvety vanilla ice cream creates a delightful contrast to the cheesecakes.
The smooth creaminess of the ice cream complements the caramel notes beautifully while adding a comforting element to the dessert. -
Espresso or Coffee: A rich cup of coffee serves as the perfect beverage pairing, cutting through the sweetness.
The deep flavors of espresso can elevate the dessert experience, making every bite feel special. -
Chocolate-covered Strawberries: Indulgent and romantic, these treats bring extra sweetness and a touch of elegance to your plate.
Their combination of fresh fruit and chocolate makes for a beautifully decadent pairing alongside the mini cheesecakes. -
Sparkling Lemonade: A refreshing glass of sparkling lemonade provides a zesty contrast to the rich cheesecakes.
Its effervescence brightens the flavors and adds a fun touch to your dessert spread, perfect for warm gatherings. -
Whipped Cream Topping: Don’t forget about extra whipped cream to serve on the side!
A dollop of light, fluffy whipped cream adds an irresistible layer of texture and sweetness to each cheesecake serving.
Indulge and mix and match these delightful pairings for a dessert experience that’s as charming and satisfying as your Mini Biscoff Cheesecakes themselves!
Storage Tips for Mini Biscoff Cheesecakes
Fridge: Store your Mini Biscoff Cheesecakes in an airtight container in the refrigerator for up to 3 days. They’re best enjoyed within the first 24 hours for optimal freshness.
Freezer: For longer storage, freeze the cheesecakes wrapped tightly in plastic wrap and then foil for up to 2 months. Thaw in the refrigerator before serving.
Reheating: These treats are best served chilled straight from the fridge. Avoid reheating to maintain their creamy texture and delightful flavor.
Topping Care: If you have leftover Biscoff whipped cream, store it separately in the fridge for up to 2 days, as it may lose its fluffiness when stored with the cheesecakes.
Mini Biscoff Cheesecakes Variations
Feel free to let your creativity shine and customize these cheesecakes to your heart’s content!
-
Vegan:
Replace cream cheese and sour cream with vegan cream cheese and coconut yogurt, enjoying the same creamy texture without dairy. -
Flavored Extracts:
Add a splash of vanilla or almond extract to the cheesecake filling for an exciting twist that complements the Biscoff flavors beautifully. -
Berry Bliss:
Top your cheesecakes with fresh berries, like strawberries or raspberries, for a burst of freshness that balances the richness. -
Chocolate Layers:
Create a layered version by adding a chocolate cheesecake layer beneath the Biscoff filling—double the indulgence awaits! -
Caramel Drizzle:
Drizzle some warm salted caramel sauce over the Biscoff whipped cream for a decadent, sweet finish. -
Nutty Crunch:
Incorporate crushed nuts—like walnuts or pecans—into the crust for added texture and a nutty flavor that pairs wonderfully with the cheesecake. -
Add Spice:
Enhance the flavor profile by introducing a pinch of cinnamon or nutmeg into the cheesecake filling, giving a warm, festive touch. -
Dairy-Free Whipped Topping:
If you’d like a lighter option, use coconut cream instead of heavy cream for the whipped topping—fluffy and deliciously tropical.
Explore these variations and make them your own, while also checking out our Decadent Chocolate Cheesecake or our luscious No-Bake Berry Tart for delectable inspiration!
Make Ahead Options
These Mini Biscoff Cheesecakes are a dream come true for meal prep! You can prepare the cheesecake filling and crust up to 24 hours in advance. Simply make the crust, chill it for at least 20 minutes, and then prepare the filling. Once done, pair them together and refrigerate the cheesecakes overnight. This allows the flavors to meld beautifully. To maintain their creamy texture, cover the cheesecakes tightly with plastic wrap before refrigeration. When you’re ready to serve, simply whip the Biscoff cream topping and pipe it over each cheesecake just before presentation. With these make-ahead tips, you’ll savor the sweet moments without any rush!
Mini Biscoff Cheesecakes Recipe FAQs
What’s the best way to select ripe Biscoff cookies?
Absolutely! When choosing Biscoff cookies, look for packages that are intact and free from any cracks. The cookies should feel crisp and fresh, with no visible dark spots or signs of staleness. Always store them properly in a cool, dry place to maintain their flavor.
How should I store Mini Biscoff Cheesecakes?
For sure! Store your Mini Biscoff Cheesecakes in an airtight container in the refrigerator for up to 3 days. They are best enjoyed within the first 24 hours to savor their creamy texture at its prime. If you need to keep them longer, I recommend freezing them.
Can I freeze Mini Biscoff Cheesecakes?
Yes, you can! To freeze your cheesecakes, wrap each one tightly in plastic wrap, followed by a layer of aluminum foil to prevent freezer burn. They can be stored for up to 2 months. When you’re ready to enjoy, simply transfer them to the refrigerator to thaw overnight. You’ll love how they retain their luxurious texture!
What should I do if my cheesecake cracks while baking?
No worries—it happens! If cracks appear, it usually means the batter was mixed too vigorously or baked for a bit too long. To prevent this in the future, mix the eggs in on low speed and avoid overmixing. Also, remember to cool the cheesecakes gradually in the oven after baking; this lessens the temperature shock that can cause cracking.
Are there any dietary considerations for Mini Biscoff Cheesecakes?
Very! These cheesecakes can be made accommodating for various diets. For a dairy-free option, use coconut cream in place of heavy cream, and choose a plant-based cream cheese. If needed, replace eggs with unsweetened applesauce for a vegan version. Always check your specific dietary requirements to ensure all ingredients work for you.
How can I make Mini Biscoff Cheesecakes gluten-free?
Absolutely! To make these cheesecakes gluten-free, simply substitute the Biscoff cookies with gluten-free digestive biscuits or a gluten-free cookie alternative. Check that all other ingredients, especially the cream cheese and Biscoff spread, are certified gluten-free to maintain their deliciousness while meeting your dietary needs.
Enjoy preparing your delicious Mini Biscoff Cheesecakes, and may your sweet moments be plentiful!
Delicious Mini Biscoff Cheesecakes for Sweet Moments
Ingredients
Equipment
Method
- Melt the unsalted butter in a small saucepan over low heat.
- In a mixing bowl, combine the melted butter with crushed Biscoff cookies, stirring until the mixture resembles wet sand.
- Line a muffin pan with muffin liners and press the crust mixture into the bottom of each liner, creating an even layer.
- Chill the crust in the refrigerator for at least 20 minutes to set.
- Beat room temperature cream cheese and sour cream in a large mixing bowl using an electric mixer on medium speed until smooth and creamy.
- Gradually add the melted Biscoff spread and brown sugar, blending until well combined.
- Add the Speculoos spices, mixing until the mixture is smooth.
- Add the eggs one at a time to the mixture, blending on low speed after each addition.
- Ensure that you mix just until incorporated to avoid too much air.
- Preheat your oven to 140°C (285°F).
- Pour the cheesecake filling over the chilled crusts, filling each liner about three-quarters full.
- Bake for 20-25 minutes until the edges are set and the centers are slightly wobbly.
- Turn off the oven, leave the cheesecakes inside for another 15 minutes.
- Transfer to the fridge to chill for at least 1 hour.
- Warm the remaining Biscoff spread in the microwave for about 15-20 seconds until melted.
- Whip the heavy cream until soft peaks form, then gradually add the slightly melted Biscoff spread.
- Continue to whip until stiff peaks are achieved.
- Remove the cheesecakes from the muffin pan, pipe the Biscoff whipped topping generously over each cheesecake.
- Garnish with crushed Biscoff cookies and a half cookie on top of each one.
Leave a Reply