
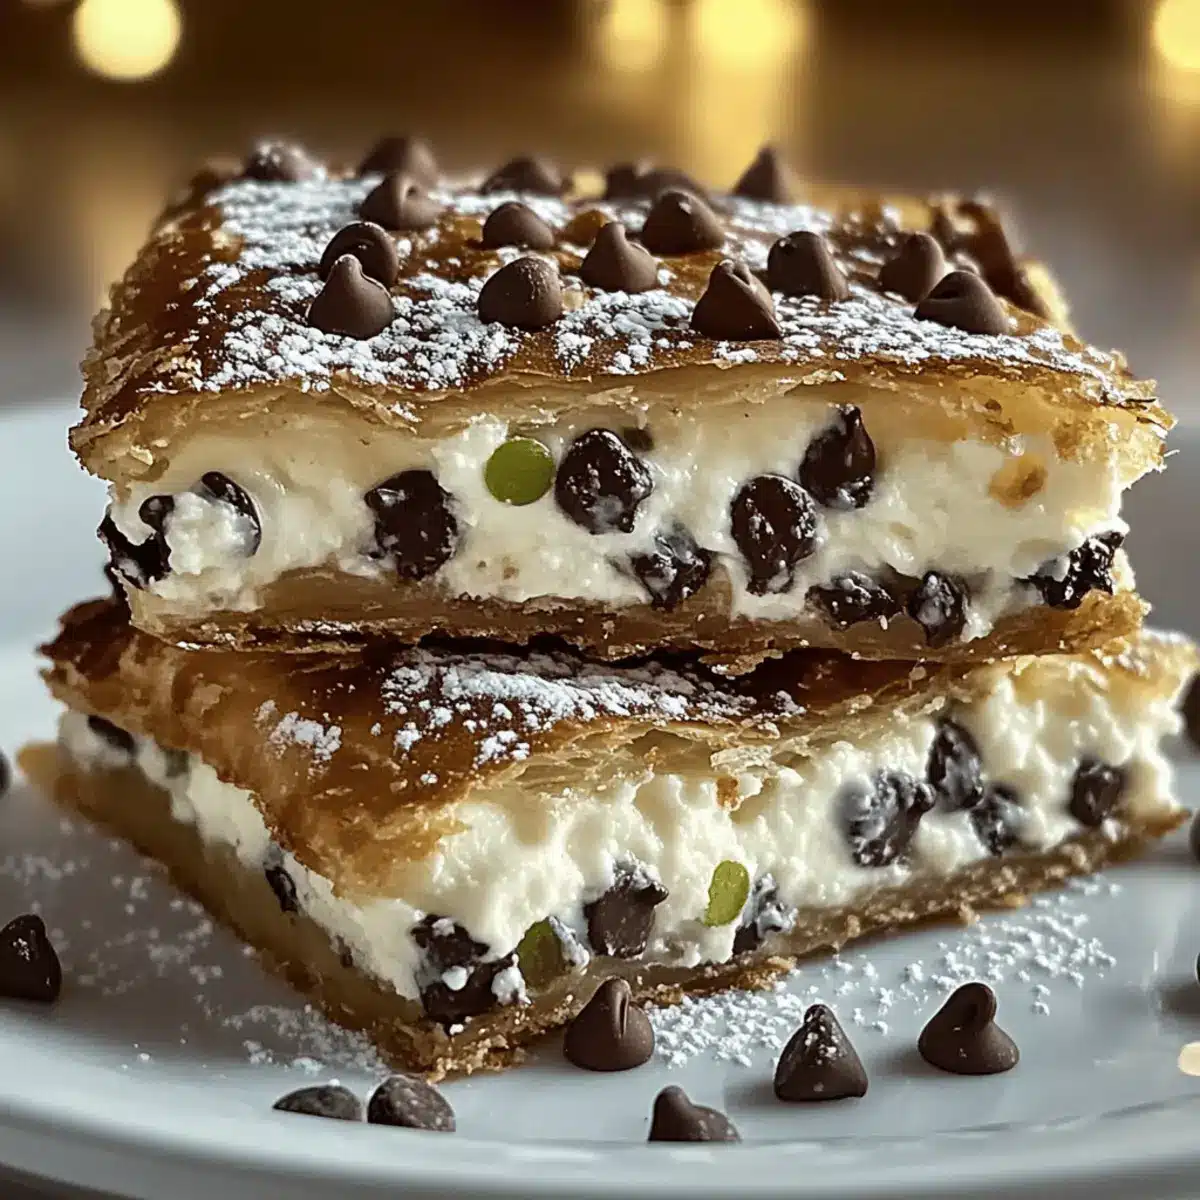
One taste of these Ricotta Cannoli Squares will transport you straight to a sun-drenched Italian piazza. As a passionate home chef, I’m always on the lookout for creative twists on beloved classics, and this no-bake version gives the traditional cannoli a fresh, approachable form. With a delightfully buttery crust and a creamy ricotta filling dotted with chocolate chips, these squares are both easy to whip up and a guaranteed crowd-pleaser. Plus, they’re perfect for slicing and sharing, whether at festive gatherings or quiet family dinners. Are you ready to elevate your dessert game with this delicious Italian treat? Let’s dive in!
Why are Cannoli Squares the perfect dessert?
Ease of Preparation: These Mouthwatering Ricotta Cannoli Squares are a breeze to make, requiring minimal kitchen skills and just a few ingredients. Perfect for home cooks of all levels!
No-Bake Convenience: No need for turning on the oven for hours—this recipe is a fabulous no-bake option, simply requiring chilling time to set the filling beautifully.
Versatile Flavor Options: With the ability to switch up add-ins such as dried fruits or flavored extracts, you can easily personalize your squares to fit any palate.
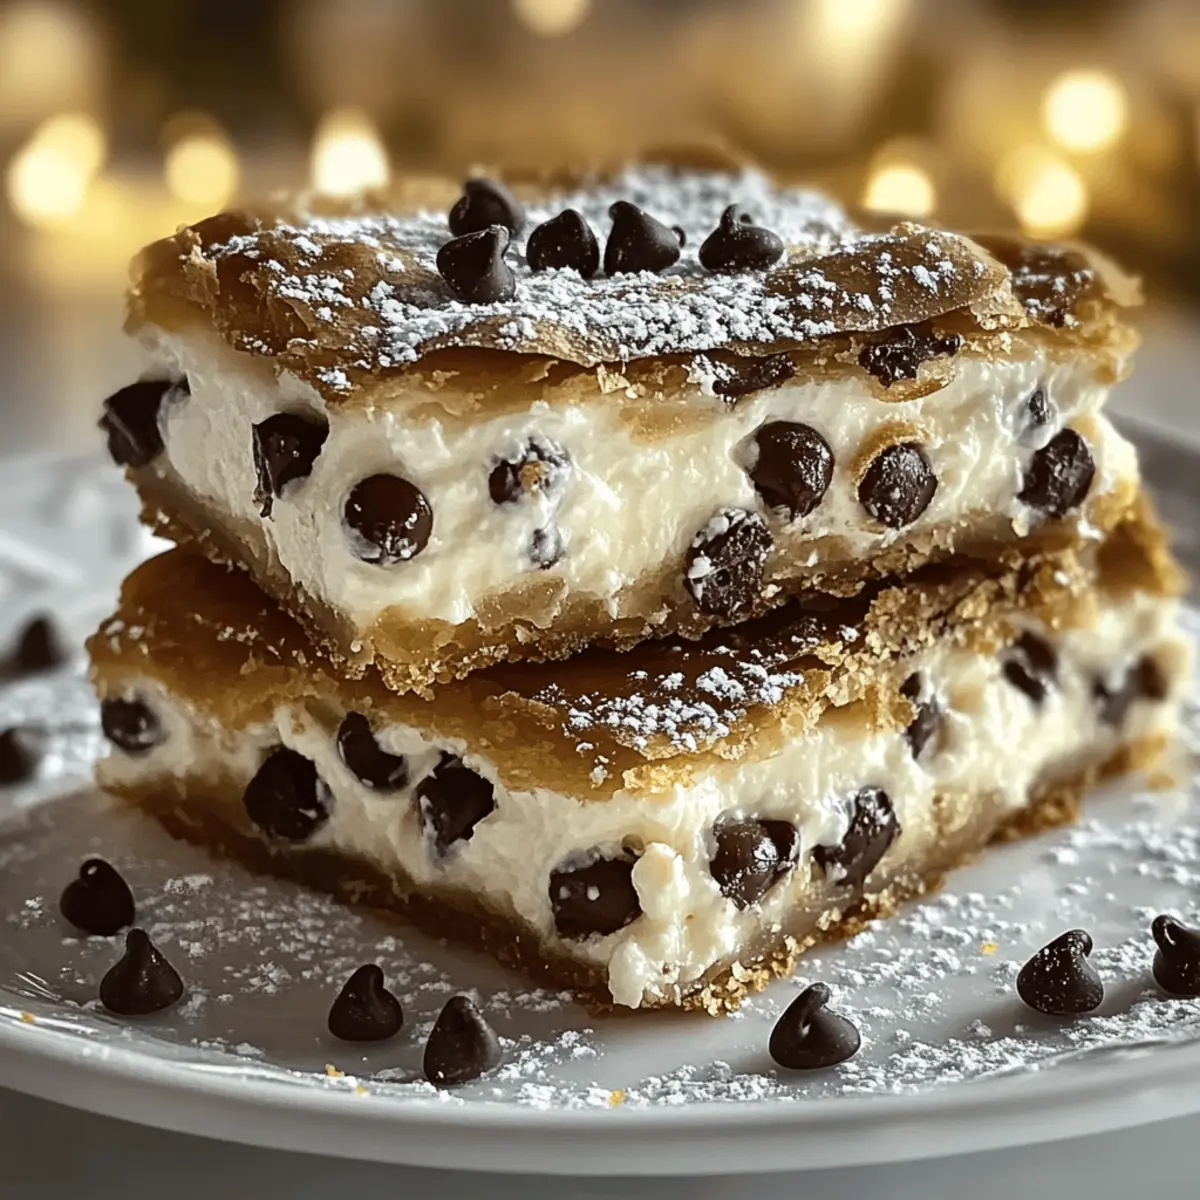
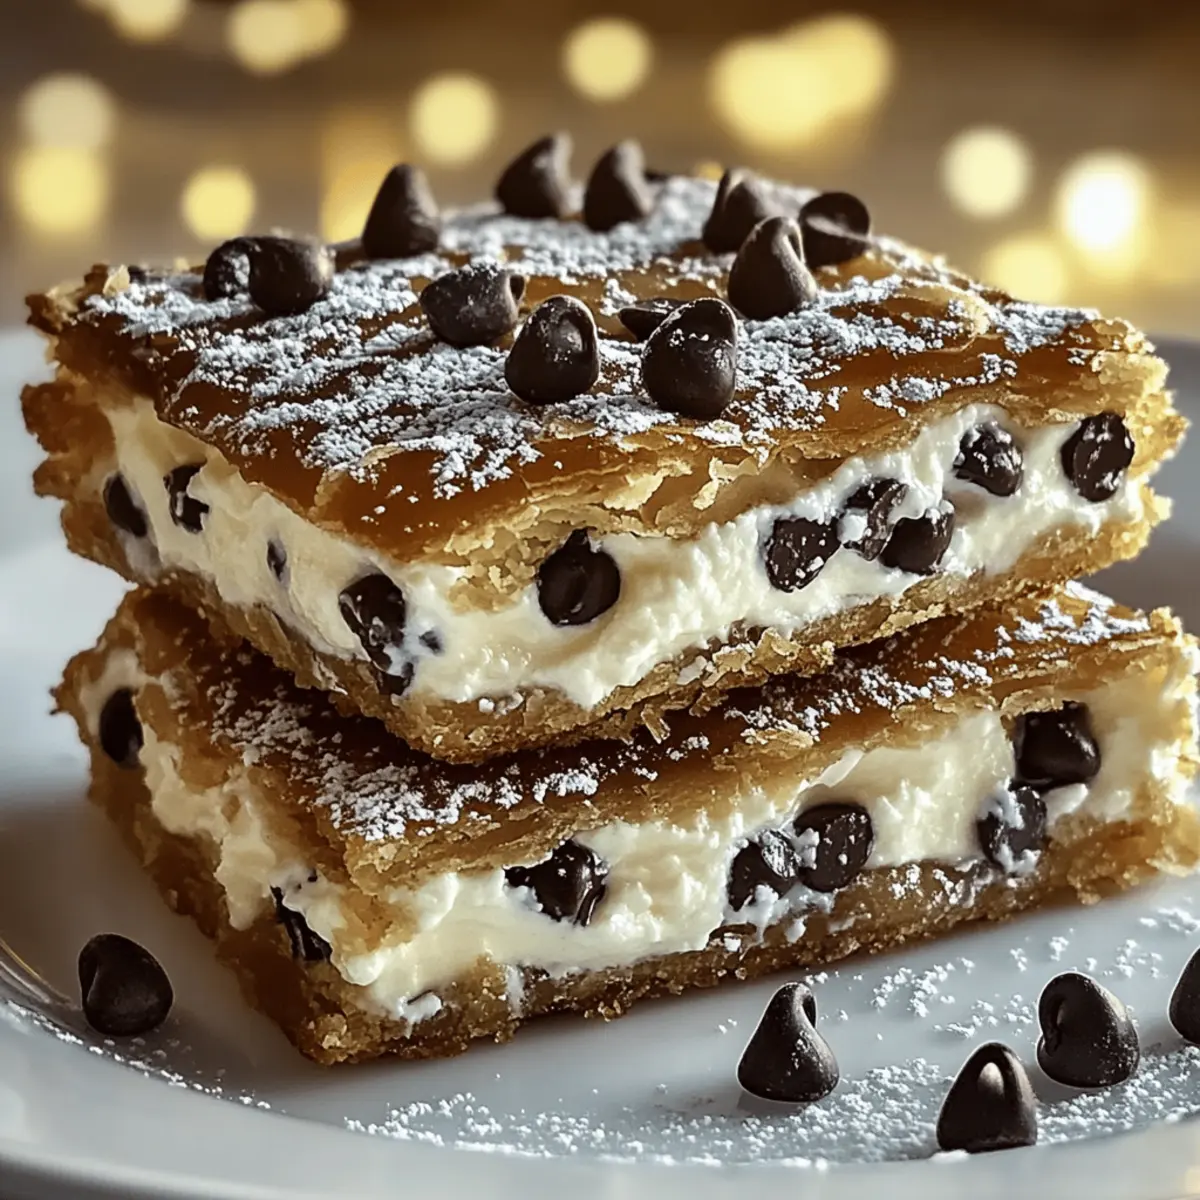
Crowd-Pleasing Appeal: These squares are not only delicious but are also beautifully presented with optional toppings like powdered sugar and chocolate chips, making them ideal for sharing at gatherings or special occasions.
Irresistible Texture: The combination of a buttery, crumbly crust with a creamy ricotta filling makes each bite a delightful experience, reminiscent of a traditional cannoli but more accessible!
Indulging in these delightful desserts will surely transport you straight to Italy, so why not accompany them with a cup of coffee or espresso for the perfect serving option?
Cannoli Squares Ingredients
• Dive into the deliciousness with these simple ingredients!
-
For the Crust:
-
All-purpose flour – Provides structure and serves as the base; can substitute with gluten-free flour for a gluten-free version.
-
Granulated sugar – Adds sweetness; using light brown sugar can introduce a deeper flavor.
-
Baking powder – Acts as a leavening agent, ensuring a delightful lightness.
-
Unsalted butter (cold and cubed) – Adds richness and flakiness to the crust; vegan butter is a great dairy-free substitution.
-
Large egg – Binds ingredients together while contributing moisture.
-
Vanilla extract – Intensifies flavor for a more aromatic experience.
-
For the Filling:
-
Ricotta cheese (well-drained) – The star of the filling, creating a creamy texture and delicious flavor; mascarpone is a lovely alternative if well-drained.
-
Powdered sugar (sifted) – Sweetens the filling while ensuring a silky texture.
-
Vanilla extract – Adds a fragrant note to the mix.
-
Orange zest (optional) – Infuses a refreshing citrus brightness; feel free to skip if you prefer!
-
Mini chocolate chips – Bring sweetness and delightful texture; swap for dark chocolate for a richer taste.
-
For the Garnish:
-
Powdered sugar – A lovely dusting that enhances presentation.
-
Mini chocolate chips – A fun decorative touch for added sweetness.
-
Chopped pistachios (optional) – Provides a beautiful color and crunchy texture contrast.
Set yourself up for success with these Cannoli Squares ingredients, and enjoy an easy, delectable dessert that’s sure to impress!
Step‑by‑Step Instructions for Cannoli Squares
Step 1: Preheat & Prepare
Begin by preheating your oven to 350°F (175°C). While it heats up, line a 9×9-inch baking pan with parchment paper, allowing some to overhang for easy removal later. This will help you lift the finished Cannoli Squares out of the pan effortlessly once they’re ready to serve.
Step 2: Make the Crust
In a mixing bowl, whisk together all-purpose flour, granulated sugar, and baking powder until thoroughly combined. Next, cut in the cold, cubed unsalted butter using a pastry cutter or your fingers until the mixture resembles coarse crumbs. Then, add in a large egg and vanilla extract, mixing until the dough comes together smoothly. Press the dough evenly into your prepared baking pan and bake for 15-18 minutes, or until it’s golden brown. Let the crust cool completely in the pan.
Step 3: Prepare the Filling
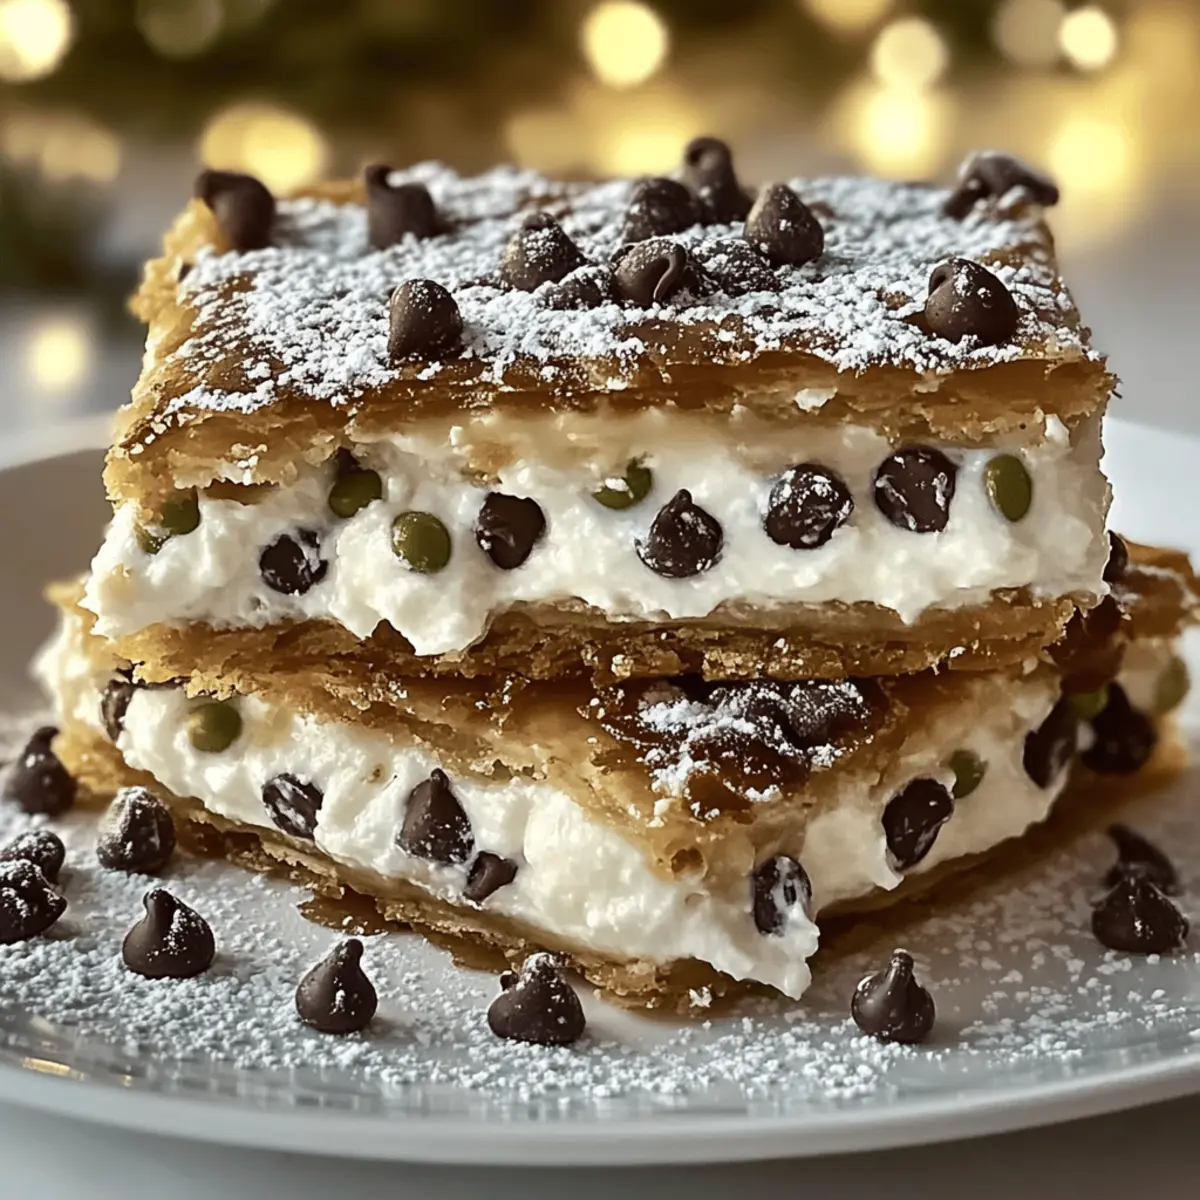
While the crust cools, prepare the luscious filling for your Cannoli Squares. In a medium bowl, mix the well-drained ricotta cheese, sifted powdered sugar, vanilla extract, and optional orange zest until the mixture is smooth and creamy. Fold in the mini chocolate chips gently, ensuring they are evenly distributed throughout the filling. This blend will create the rich and sweet center of your dessert.
Step 4: Assemble
Once your crust has cooled, it’s time to assemble the Cannoli Squares. Spread the creamy ricotta filling generously over the cooled crust, using a spatula to smooth the top until it’s even. The filling should cover every corner, ensuring each square is perfectly delightful when it’s cut.
Step 5: Chill
After spreading the filling, cover the baking pan with plastic wrap or foil and place it in the refrigerator. Allow it to chill for at least 2 hours, or until the filling has set nicely. This step is crucial as it ensures that the Cannoli Squares hold their shape when cut.
Step 6: Garnish & Serve
Once chilled, it’s time to serve your Cannoli Squares! Use the parchment paper overhang to lift the dessert out of the pan and onto a cutting board. Cut into 12 squares and dust with powdered sugar for a beautiful presentation. Optionally, sprinkle extra mini chocolate chips and chopped pistachios on top for added crunch and color. Serve chilled and enjoy the delightful flavors of these Cannoli Squares!
What to Serve with Mouthwatering Ricotta Cannoli Squares
Indulging in these delightful Cannoli Squares opens the door to a world of delicious pairing possibilities that enhance both flavor and experience.
- Rich Espresso: A shot of bold espresso cuts through the creaminess and balances the sweetness, making for a classic Italian pairing.
- Fresh Berries: Sweet-tart strawberries or raspberries add a refreshing burst of flavor that contrasts beautifully with the creamy filling.
- Creamy Gelato: A scoop of creamy gelato, like vanilla or chocolate, offers a delightful cold complement to the rich Cannoli Squares.
- Zesty Lemon Sorbet: The tartness of lemon sorbet enhances the dessert’s richness and provides a refreshing palate cleanser.
- Mini Fruit Tarts: Their flaky crust and fresh fruit filling harmonize with the Cannoli’s textures, creating a delightful dessert table experience.
- Chilled Prosecco: This sparkling wine elevates the occasion, its effervescence and lightness complementing the indulgent squares perfectly.
- Dark Chocolate Dip: For an extra touch of decadence, providing a warm dark chocolate dip invites a fun interactive twist to dessert time.
- Whipped Cream: Light and airy whipped cream can be dolloped on each square, adding an extra layer of creaminess and visual appeal.
- Nutty Biscotti: Crunchy almond or hazelnut biscotti brings a delightful contrast in texture that pairs wonderfully with the creamy Cannoli Squares.
- Coffee Cake: A slice of moist, crumbly coffee cake adds a cozy touch, perfect for enjoying during afternoon tea or gatherings.
How to Store and Freeze Cannoli Squares
Fridge: Keep your Cannoli Squares refrigerated in an airtight container for up to 4 days. This will ensure the filling stays fresh and creamy while the crust remains tasty.
Freezer: If you want to store them longer, you can freeze the Cannoli Squares without the garnish for up to 3 months. Wrap them tightly in plastic wrap and then in aluminum foil to prevent freezer burn.
Thawing: When you’re ready to enjoy them, simply remove from the freezer and let them thaw in the fridge for a few hours. Add your desired toppings before serving for best quality.
Reheating: These squares are best served cold straight from the fridge, but if you prefer a slightly warmer bite, you can let them sit at room temperature for about 15-30 minutes before serving.
Expert Tips for Cannoli Squares
-
Drain Ricotta Well: Properly draining ricotta overnight ensures a creamy filling without excess moisture, avoiding a soggy Cannoli Squares experience.
-
Chill for Best Texture: Allow the assembled dessert to chill for at least 2 hours; this helps the filling set firmly, making cutting easier and enhancing the flavors.
-
Customize Your Flavor: Feel free to experiment with mix-ins like dried fruits or different flavored extracts to create your unique twist on these Cannoli Squares.
-
Simplify Removal: Use parchment paper with overhang in the baking pan. This simple trick makes lifting the squares out easy, ensuring no mess when serving.
-
Presentation Boost: Dust with powdered sugar just before serving to enhance visual appeal; optional toppings like pistachios and extra chocolate chips add delightful crunch.
Make Ahead Options
These Mouthwatering Ricotta Cannoli Squares are perfect for meal prep, allowing busy home cooks to enjoy a delicious dessert with minimal last-minute effort. You can prepare the crust up to 24 hours in advance, simply bake as directed and allow it to cool completely before storing it in an airtight container at room temperature. The ricotta filling can also be made up to 3 days ahead; just combine the ingredients, refrigerate in a separate container, and make sure the ricotta is well-drained to maintain creaminess. When ready to serve, spread the chilled filling over the crust, refrigerate for another 2 hours to set, garnish, and enjoy these delightful squares—just as delicious as when freshly made!
Cannoli Squares Variations & Substitutions
Feel free to make these delightful Cannoli Squares your own with creative twists that suit your taste!
-
Gluten-Free: Use gluten-free flour instead of all-purpose flour for a deliciously inclusive version that everyone can enjoy.
-
Dairy-Free: Substitute the ricotta cheese and butter with plant-based alternatives like tofu cream for an equally creamy flavor without dairy.
-
Sugar-Free: For a healthier take, swap out the sugars for a sugar substitute like erythritol or monk fruit sweetener, keeping the sweetness without the calories.
-
Nutty Addition: Fold in crushed almonds or hazelnuts for a delightful crunch. Nuts not only add texture but also bring a lovely depth of flavor.
-
Flavor Burst: Add flavored extracts such as almond or hazelnut instead of vanilla to infuse a delightful twist in the filling.
-
Citrusy Zing: Try substituting the orange zest with lemon or lime zest. This brightens the filling while retaining that fresh flavor element.
-
Fruity Approach: Mix in some chopped fresh berries like strawberries or raspberries to the ricotta filling. The tartness pairs well with the sweet chocolate.
-
Spiced Twist: For an intriguing kick, add a pinch of cinnamon or nutmeg to the crust for a warm, cozy flavor reminiscent of the holidays.
With these variations, you’re set to create Cannoli Squares that keep your family coming back for more every time! Don’t forget to pair these with a cup of your favorite espresso for a truly Italian experience.
Cannoli Squares Recipe FAQs
What type of ricotta cheese should I use for the filling?
Absolutely, using well-drained ricotta cheese is key to achieving that creamy texture. Look for whole milk ricotta for the richest flavor, and you can let it drain overnight in a fine mesh strainer to remove excess moisture. This step ensures your filling isn’t too watery, giving you the perfect Cannoli Squares experience!
How should I store leftover Cannoli Squares?
Very! You can keep your Cannoli Squares in an airtight container in the refrigerator for up to 4 days. Just make sure to cover them to retain their freshness and prevent them from absorbing any odors from the fridge.
Can I freeze Cannoli Squares?
Definitely! To freeze your Cannoli Squares, wrap them tightly in plastic wrap and then in aluminum foil to prevent freezer burn. They can be frozen for up to 3 months. When you’re ready to enjoy them, place them in the fridge to thaw for a few hours before serving.
What should I do if my filling is too loose?
No worries! If your filling ends up too loose, it may be due to the ricotta not being drained sufficiently. You can fix this by placing a sieve over a bowl, adding the filling back into the sieve, and letting it drain for another hour. If you find it too watery upon mixing, you can also add a bit more sifted powdered sugar to thicken it up—this helps stabilize the consistency of the Cannoli Squares!
Are there any dietary considerations for this dessert?
Absolutely! If you’re catering to gluten-free diets, you can easily substitute the all-purpose flour with a gluten-free blend, and opt for gluten-free mini chocolate chips. If you need a dairy-free alternative, use vegan butter in the crust and replace ricotta with a dairy-free cheese spread. Always check labels for allergens!
Can I personalize the flavors in the filling?
Very much so! Feel free to customize your Cannoli Squares by adding different mix-ins. You could incorporate orange or lemon zest for a refreshing zing, or swap the mini chocolate chips for dried fruits like raisins or cherries for a fruity twist. Get creative and make it your own!
Delightful Cannoli Squares: Your Easy No-Bake Dessert Fix
Ingredients
Equipment
Method
- Preheat oven to 350°F (175°C) and line a 9x9-inch baking pan with parchment paper.
- In a mixing bowl, whisk together flour, sugar, and baking powder. Cut in butter until crumbly. Add egg and vanilla, mixing until smooth.
- Press the dough into the prepared pan and bake for 15-18 minutes until golden brown. Let cool completely.
- In another bowl, mix well-drained ricotta, powdered sugar, vanilla, and optional orange zest until creamy. Fold in chocolate chips.
- Spread the filling over the cooled crust, smoothing it evenly.
- Cover and chill in the refrigerator for at least 2 hours until set.
- Lift the dessert from the pan using parchment, cut into squares, dust with powdered sugar, and add toppings as desired.
Leave a Reply