
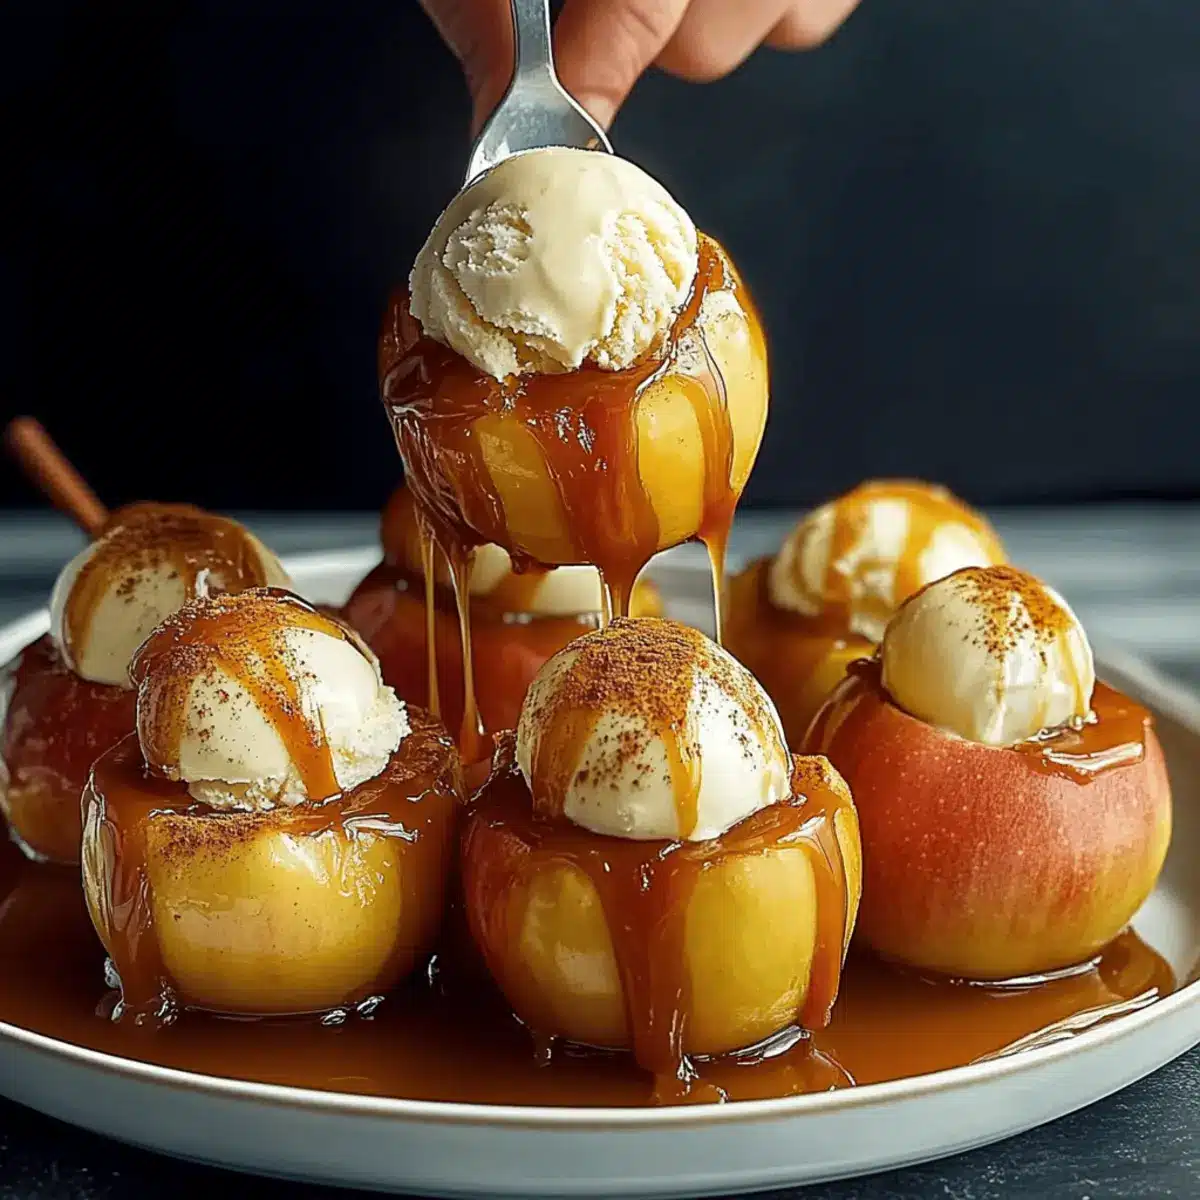
As I strolled through the vibrant market last weekend, the crisp scent of autumn filled the air, and my eyes landed on a dazzling array of apples. Instantly, my thoughts turned to a recipe that perfectly captures the season’s spirit: Bloomin’ Apples. This simple yet interactive dessert not only showcases the beauty of fresh fruit but also surprises with a luscious caramel-filled center that opens like a flower when baked. It’s the ultimate fall dessert that transforms any gathering into something memorable, satisfying both your sweet tooth and your desire for homemade comfort. With minimal prep time and a delightful presentation, these Bloomin’ Apples are sure to become a family favorite. Ready to bring a touch of autumn to your table? Let’s dive in!
Why Are Bloomin’ Apples So Special?
Irresistible charm: These stunning Bloomin’ Apples are not only easy to make but also an impressive centerpiece for any fall gathering. Decadent delight: Filled with gooey caramel, they offer a divine contrast to the tender, warm apple. Interactive experience: Watching them bloom in the oven provides a fun and engaging way to enjoy dessert. Plus, they pair beautifully with a scoop of cold vanilla ice cream. If you’re in search of more comforting fall recipes, check out our ideas for making the most of seasonal flavors with classic apple desserts.
Bloomin’ Apples Ingredients
-
For the Apples
-
Firm Apples – Use varieties like Honeycrisp or Granny Smith for a sturdy base that holds up well during baking.
-
Chewy Caramel Squares – Opt for soft caramels that melt easily to create the luscious filling.
-
For the Sweet Mixture
-
Melted Butter – This adds richness and helps caramelization; coconut oil works as a dairy-free alternative.
-
Brown Sugar – Provides deep sweetness and enhances the caramel flavor; you can adjust it if you prefer less sweetness.
-
Granulated Sugar – Enhances the sweetness and texture; it can be omitted if you’re looking for a less sweet dessert.
-
Ground Cinnamon – Adds warmth and a signature fall flavor; feel free to substitute with nutmeg or mixed spices for a twist.
-
For the Toppings
-
Vanilla Ice Cream – Perfect for adding creaminess to the warm apples; use a dairy-free ice cream if necessary.
-
Caramel Sauce – Drizzle over the finished dish for extra richness; homemade or store-bought works beautifully.
-
Cooking Spray – Prevents sticking during baking; consider using parchment paper for easier cleanup.
Step‑by‑Step Instructions for Bloomin’ Apples
Step 1: Preheat the Oven
Begin by preheating your oven to 375°F (or use an air fryer set to 350°F). This crucial step ensures that your Bloomin’ Apples bake evenly and develop that lovely golden-brown color. While waiting, gather your ingredients and prepare your baking dish by lightly greasing it with cooking spray.
Step 2: Mix the Sweet Topping
In a mixing bowl, whisk together the melted butter, brown sugar, granulated sugar, and ground cinnamon until the mixture is smooth and well-combined. This sweet blend will not only enhance the flavor of your apples but also promote caramelization during baking—creating that irresistible, gooey center we’re after.
Step 3: Prepare the Apples
Take your firm apples and carefully slice off the top, revealing the hollow core inside. Use a coring tool or a small knife to remove the core, ensuring you create enough space for the caramel. These steps are key to creating the perfect Bloomin’ Apples that bloom beautifully in the oven.
Step 4: Slice the Apples
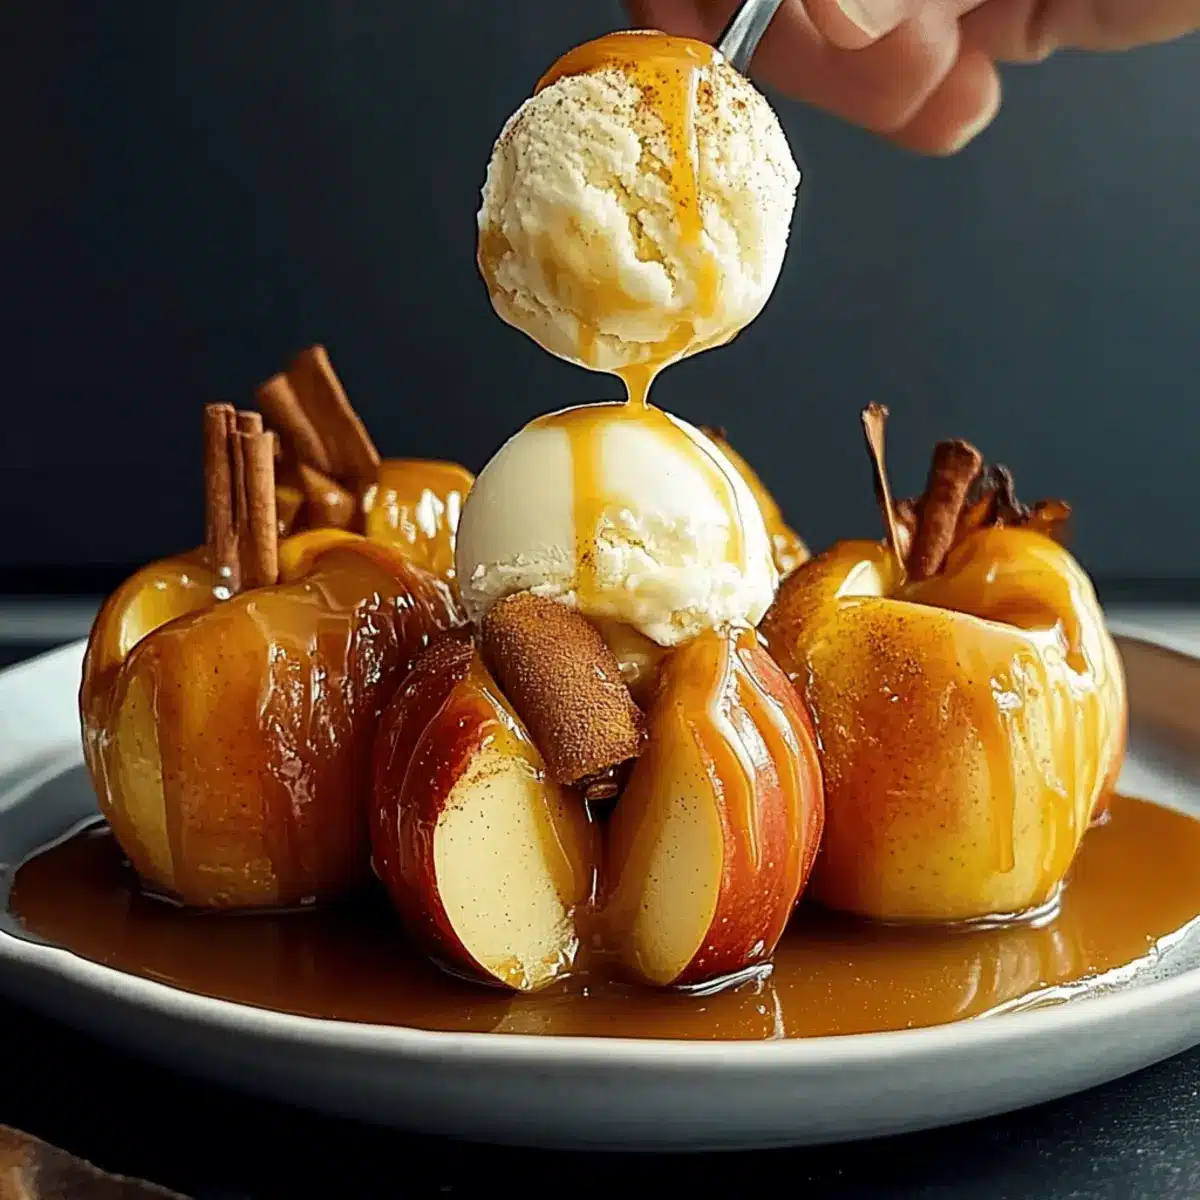
Next, make thin, even cuts crosswise into each apple, being careful not to cut all the way through the bottom. This technique is vital for achieving that flower-like bloom effect when they bake. Make sure the slices are uniform to ensure even cooking and beautiful presentation.
Step 5: Stuff the Apples
Now it’s time to fill your apples! Stuff each apple generously with two chewy caramel squares, pushing them down gently into the hollow center. This caramel filling will melt during baking, creating a warm gooey surprise inside each apple, making your Bloomin’ Apples even more delightful.
Step 6: Brush with the Sweet Mixture
With your apples stuffed, brush the melted butter mixture generously all over each apple, making sure to get into the crevices of the slices. This step boosts flavor and ensures a well-caramelized outer layer. The scent as they bake will be simply irresistible!
Step 7: Bake the Apples
To finish, place your prepared Bloomin’ Apples in the greased baking dish and transfer them to the preheated oven. Bake for approximately 30 minutes or until the apples are tender and the edges start to bloom beautifully. If using an air fryer, set it for about 20 minutes. Keep an eye on them for the perfect doneness.
Step 8: Serve and Garnish
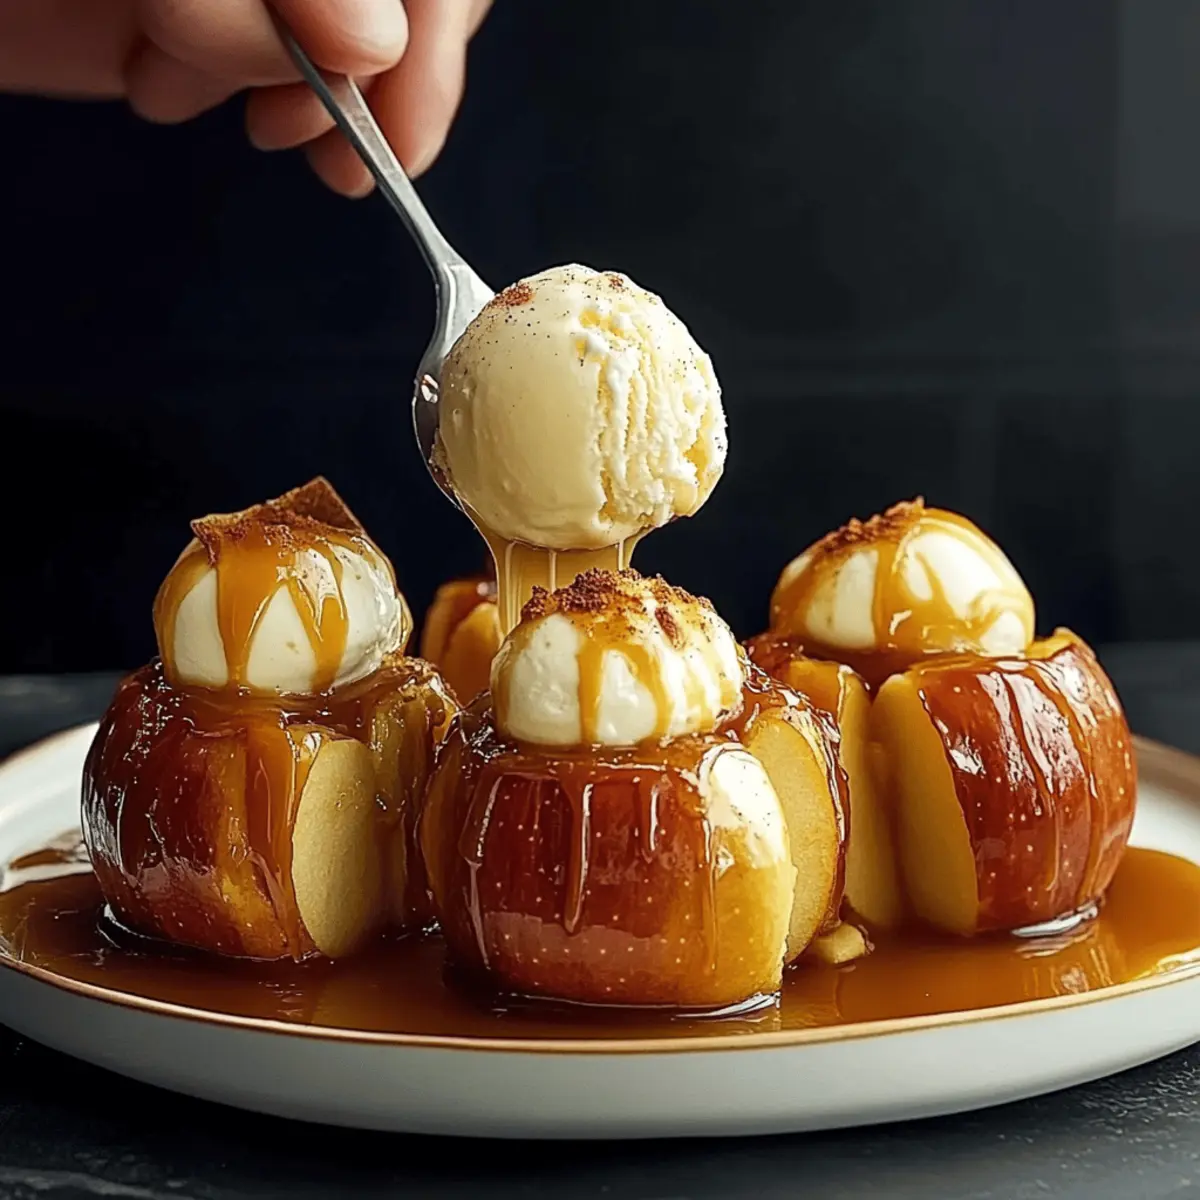
Once baked, remove the Bloomin’ Apples from the oven and let them cool slightly. Serve them warm, topped with a generous scoop of vanilla ice cream and a drizzle of warm caramel sauce for the ultimate fall dessert experience. Enjoy the delightful contrast of warm apple and cold ice cream!
Make Ahead Options
These scrumptious Bloomin’ Apples are perfect for meal prep! You can prepare the apples (slice off the tops and core them) up to 2 hours in advance to save time during busy evenings. If you want to prep even further, stuff the hollowed apples with chewy caramel squares and brush them with the sweet melted butter mixture, then refrigerate them for up to 24 hours. Just be sure to cover them to maintain their freshness and prevent browning—tossing them with a bit of lemon juice helps too! When ready to bake, simply place them in a greased baking dish and follow the original baking instructions for restaurant-quality results with minimal effort!
What to Serve with Caramel-Stuffed Bloomin’ Apples
Indulging in these elegant Bloomin’ Apples is just the start—pair them with delightful sides to create a complete fall feast.
-
Warm Vanilla Sauce: Enhances the dessert with an extra layer of sweet creaminess that complements the apple’s texture.
-
Crispy Candied Walnuts: Their crunchy, caramelized flavor adds contrast, balancing the soft apple and gooey center beautifully.
-
Cinnamon Sugar Biscotti: Perfect for dipping in a cup of warm apple cider, bringing a delightful crunch alongside the fruity dessert.
-
Maple-Glazed Carrots: These sweet, tender veggies create a harmony of flavors, embracing the autumn spirit nicely while adding a colorful touch to your plate.
-
Spiced Apple Cider: This warm, fragrant drink echoes the apple flavors, bringing comfort and festivity to your gathering.
-
Pecan Pie Bites: A bite-sized classic that adds another sweet option, appealing to those who crave traditional fall desserts.
-
Gingerbread Cookies: Their rich, spiced flavor complements the Bloomin’ Apples and creates a cozy atmosphere perfect for cooler evenings.
-
Vanilla Bean Ice Cream: A richer alternative to standard ice cream, this adds a creamy, gourmet twist that elevates your Bloomin’ Apples to a new level.
Expert Tips for Bloomin’ Apples
-
Choose the Right Apples: Use firm varieties like Honeycrisp or Granny Smith; softer types will fall apart during baking.
-
Slice Carefully: Make sure not to cut all the way through the apple when slicing. Using chopsticks can help guide your cuts.
-
Generous Butter Coating: Brush enough melted butter mixture on the apples to ensure caramelization and rich flavor—don’t skimp!
-
Prevent Browning: If preparing apples ahead of time, toss the cut apples with lemon juice to keep them from turning brown.
-
Watch the Baking Time: Keep a close eye on the baking process; over-baking can lead to mushy apples instead of tender ones!
Bloomin’ Apples: Fun Variations
Get creative and customize your Bloomin’ Apples to suit your taste and dietary preferences—after all, the best recipes are the ones that reflect you!
-
Dairy-Free: Substitute butter with coconut oil and use dairy-free ice cream for a delicious alternative.
This version is just as tasty and allows those with dairy sensitivities to enjoy the recipe. -
Nutty Crunch: Sprinkle chopped pecans or walnuts on top before baking for added texture and flavor.
The nutty flavor pairs beautifully with the sweet caramel and enhances the overall experience. -
Fruit Fusion: Try using pears or peaches instead of apples for a unique twist on the classic dessert.
These fruits also have a great sweetness that complements the warm caramel inside beautifully. -
Spiced Delight: Add a pinch of nutmeg or allspice to the sweet mixture for a warm, autumnal flavor boost.
These spices will elevate your Bloomin’ Apples and fill your kitchen with a comforting aroma. -
Caramel Oat Crumble: Swap the center caramel with a mix of oats, brown sugar, and cinnamon for a crumble effect.
You’ll still get that warm and cozy vibe but with a delightful crunch that’s different from the gooey center! -
Chili Heat: Add a dash of cayenne pepper or chili powder to the sweet mixture for a surprising kick.
The spicy contrast will ignite your taste buds and add an exciting twist to this beloved fall delight. -
Sweet Variations: Use flavored caramels, like vanilla or chocolate, for a creative spin on the traditional filling.
It adds a fun dimension to your dessert, making each bite an adventure in flavor! -
Honey Drizzle: Swap out the caramel sauce for a warm honey drizzle for a lighter, natural sweetness.
This twist brings earthy notes that meld beautifully with the sweetness of the fruit.
Feeling adventurous? Discover more delightful ways to enhance your fall treats with our guide to seasonal flavor pairings!
How to Store and Freeze Bloomin’ Apples
Fridge: Store any leftover Bloomin’ Apples in an airtight container for up to 3 days. Reheat in the microwave for a quick treat, but be mindful—they may lose their bloom charm.
Freezer: For longer storage, freeze the unbaked, stuffed apples in a single layer on a baking sheet. Once frozen, transfer to a freezer bag and store for up to 2 months. Bake from frozen, adding a few extra minutes to the cooking time.
Room Temperature: If serving at a gathering, let them cool at room temperature for about an hour after baking. However, they’re best enjoyed warm, especially with ice cream and drizzle!
Reheating: Warm any leftovers in the microwave for about 30 seconds to a minute, just until the caramel filling starts to soften again. This will revive the sweetness and delight of these Bloomin’ Apples!
Bloomin’ Apples Recipe FAQs
What type of apples should I use for Bloomin’ Apples?
Absolutely! It’s best to select firm varieties such as Honeycrisp or Granny Smith. These apples maintain their structure and integrity during baking, allowing them to bloom beautifully. Avoid soft apples, as they will turn to mush and won’t hold up to the slicing technique needed for this dessert.
How long can I store leftover Bloomin’ Apples?
Leftover Bloomin’ Apples can be stored in an airtight container in the refrigerator for up to 3 days. When you’re ready to enjoy them again, simply reheat in the microwave for about 30 seconds to 1 minute. Keep in mind that they may lose some of their lovely “bloom” appearance upon reheating, but the flavors will still be delicious!
Can I freeze unbaked Bloomin’ Apples?
Very! To freeze unbaked, stuffed apples, arrange them on a baking sheet in a single layer and freeze for about 2 hours until solid. Afterward, transfer them to a freezer-safe bag and store for up to 2 months. When ready to bake, simply preheat your oven and bake straight from frozen, adding an extra few minutes to the cooking time to ensure they are cooked through.
What should I do if my apples brown before I bake them?
If you’re preparing your Bloomin’ Apples ahead of time, tossing the cut apples in lemon juice can prevent browning. Simply sprinkle a teaspoon or two of lemon juice over the sliced apples and gently mix them. This will keep them looking fresh and appetizing until you’re ready to bake.
Are there any allergies to consider with Bloomin’ Apples?
Absolutely! Since this recipe includes ingredients like butter and ice cream, it’s essential to consider dairy allergies or sensitivities. You can easily substitute the butter for coconut oil for a dairy-free version and use a dairy-free ice cream alternative. Always check labels for any hidden allergens, especially in caramel products.
How do I ensure my Bloomin’ Apples don’t fall apart while baking?
To keep your apples intact during baking, make sure to choose the right firm variety and slice them carefully without cutting all the way through. A helpful tip is to place chopsticks on either side of the apple while slicing; this will help guide your knife and ensure even slices without cutting completely through the bottom. Always keep an eye on the baking time to avoid overbaking.

Irresistible Bloomin' Apples: Your New Fall Favorite Dessert
Ingredients
Equipment
Method
- Preheat your oven to 375°F (or use an air fryer set to 350°F). Lightly grease your baking dish with cooking spray.
- In a mixing bowl, whisk together the melted butter, brown sugar, granulated sugar, and ground cinnamon until smooth.
- Carefully slice off the top of each apple and remove the core with a coring tool to create space for the caramel.
- Make thin, even cuts crosswise into each apple, ensuring not to cut all the way through the bottom.
- Stuff each apple with two chewy caramel squares, pushing them gently into the hollow center.
- Brush the melted butter mixture generously all over each apple, making sure to cover the slices.
- Place the prepared Bloomin’ Apples in the baking dish and bake for approximately 30 minutes or until tender.
- Serve warm, topped with a scoop of vanilla ice cream and a drizzle of caramel sauce.
Leave a Reply