
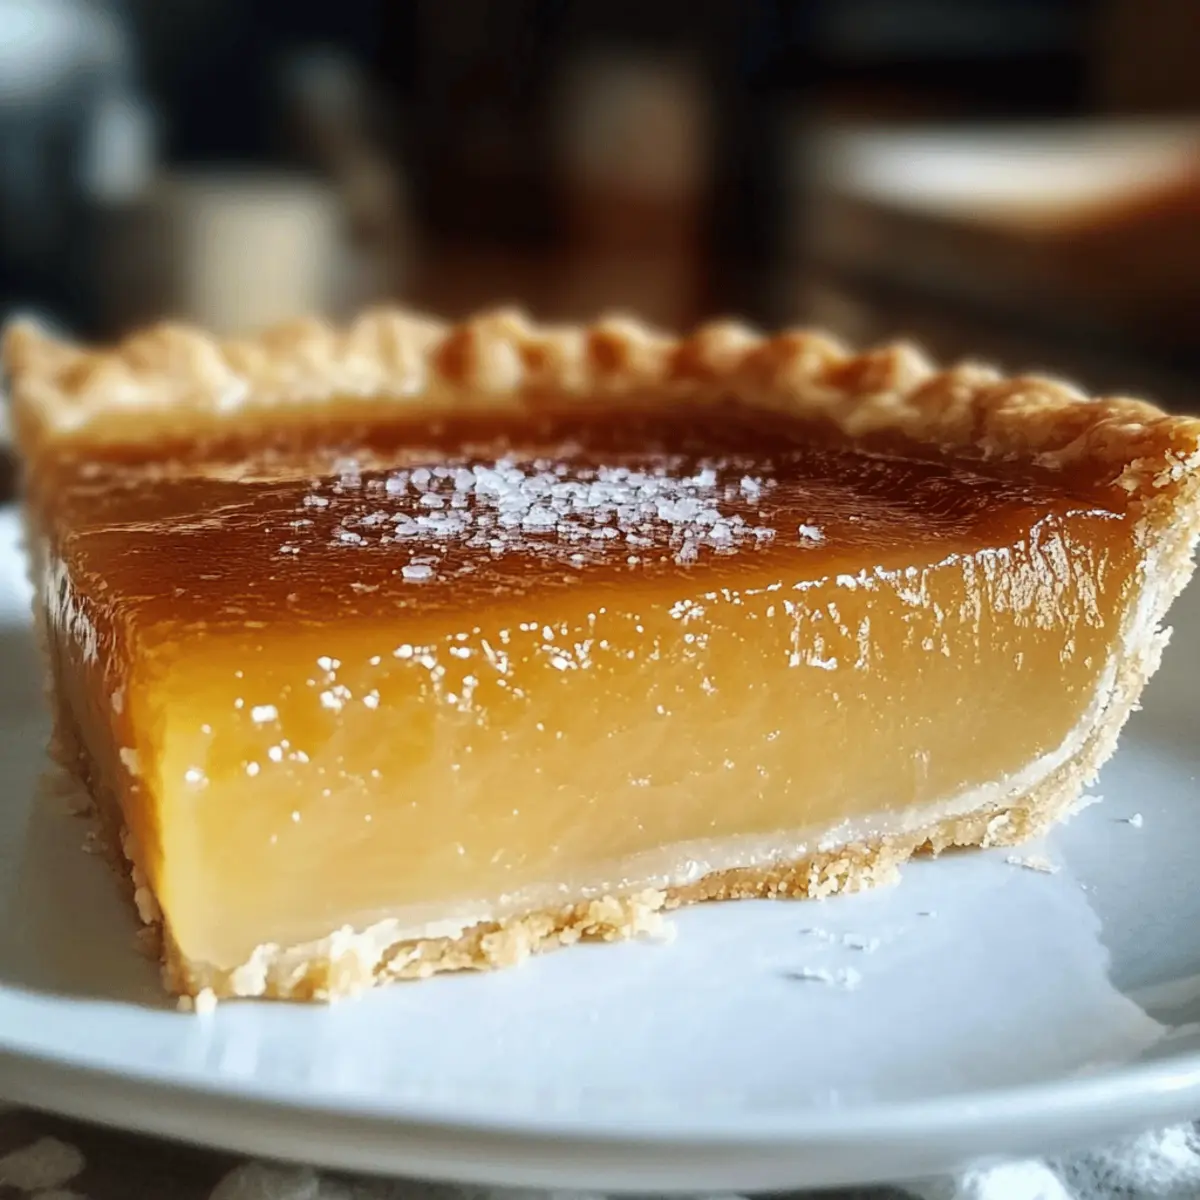
Every time I take a bite of Salted Honey Pie, I’m transported to a sun-soaked Southern kitchen, where laughter mingles with the scent of baking custard. This elegant dessert, with its creamy honey filling and a sprinkle of flaky sea salt, turns any gathering into a celebration. What I adore about this salted honey pie recipe is not just its sophisticated flavor profile but also its surprising simplicity—perfect for both seasoned home chefs and those just starting their culinary journey. It’s the kind of crowd-pleaser that brings everyone together, offering comfort and indulgence in each slice. So, are you ready to dive into this delightful fusion of sweet and salty? Let’s get baking!
Why Is This Salted Honey Pie Special?
Elegant simplicity: This pie combines sophisticated flavors with an easy preparation process, making it accessible for bakers of all skill levels.
Decadent flavor: The creamy honey custard paired with a sprinkle of flaky sea salt creates a luxurious taste that will have your friends and family craving more.
Southern twist: This recipe channels rich Southern traditions, making it a perfect dessert for gatherings or special occasions.
Versatile options: Feel free to swap honey for maple syrup for a unique twist, or try a graham cracker crust for added flavor.
Pair this pie with a dollop of whipped cream or some fresh berries for an extra touch. Trust me, once you try this Salted Honey Pie, you’ll want to share it at every gathering and follow up with similar delights like Honey Walnut Shrimp or Apple Cider Whoopie.
Salted Honey Pie Ingredients
Crust and Filling
- 9-inch Pie Crust – Provides the essential foundation for the pie; can be homemade or store-bought (blind baked works best).
- ½ cup Unsalted Butter – Adds a rich depth of flavor; ensure it’s melted and slightly cooled for the perfect texture.
- ¾ cup Granulated Sugar – Sweetens the custard base beautifully; brown sugar can be swapped for a deeper, more caramelized flavor.
- ¼ cup Cornmeal (fine grind) – Offers structure to the custard without any grittiness, essential for that smooth finish.
- ¼ teaspoon Salt – Enhances all the flavors; you can use sea salt to echo the top seasoning.
- 1 tablespoon White Vinegar or Lemon Juice – Brightens the filling’s taste; use one based on your preferred flavor profile.
- 1 teaspoon Vanilla Extract – Imparts a warm sweetness and aroma; feel free to experiment with other extracts for fun variations.
- ½ cup Honey – The star of the pie, providing that lovely sweetness and floral notes; opt for wildflower or clover honey for the best results.
- 3 Large Eggs – Binds the custard together and ensures a rich, creamy texture; remember to let them come to room temperature for better incorporation.
- ½ cup Heavy Cream – Adds luscious creaminess; coconut cream works as a great substitute for a dairy-free option.
Topping
- Flaky Sea Salt (e.g., Maldon) – The finishing touch that creates a delightful sweet-salty contrast, elevating every bite of the Salted Honey Pie.
Each of these carefully selected ingredients works in harmony to create a decadent Southern dessert that’s sure to impress!
Step‑by‑Step Instructions for Salted Honey Pie
Step 1: Prepare the Crust
Chill your 9-inch pie crust in the refrigerator for about 30 minutes. Preheat your oven to 375°F (190°C). Line the crust with foil, fill it with pie weights or dried beans, and bake for 12-15 minutes until the edges are lightly golden. Carefully remove the weights and foil, then bake for an additional 5 minutes until the crust is fully crisped. Let it cool while you make the filling.
Step 2: Make the Filling
In a mixing bowl, whisk together the melted, cooled unsalted butter and granulated sugar until smooth. Add in the cornmeal, salt, white vinegar (or lemon juice), vanilla extract, and honey, blending everything until well incorporated. You’ll see a creamy texture forming, which is essential for your Salted Honey Pie.
Step 3: Add Eggs
Crack the three large eggs into the mixture, incorporating each one individually to ensure a smooth consistency. Whisk thoroughly after adding each egg, creating a luscious custard base. Once all eggs are blended, stir in the heavy cream until the filling is completely uniform and creamy, setting the stage for that silky texture everyone loves.
Step 4: Fill and Bake
Carefully pour the prepared filling into the pre-baked pie crust, ensuring an even distribution. Place the pie on a baking sheet for easier handling. Bake in the oven at 350°F (175°C) for 40-50 minutes. The filling should be slightly jiggly in the center—this indicates it’s perfectly set.
Step 5: Cooling
Remove the Salted Honey Pie from the oven and allow it to cool on a wire rack for at least 2 hours. This cooling period is critical as it lets the custard firm up and makes slicing even easier later. Enjoy the aromatic hints of honey wafting through your kitchen as it cools!
Step 6: Finish
Before serving, sprinkle a generous pinch of flaky sea salt over the top of your cooled Salted Honey Pie. The contrast of sweet and salty will elevate each bite, enhancing the pie’s decadent flavor. This final touch makes it not just delicious but visually appealing as well.
What to Serve with Salted Honey Pie
Imagine a delightful gathering where the sweet and salty notes of your Salted Honey Pie shine, surrounded by perfectly paired flavors that enhance its rich goodness.
-
Fresh Berries: Serve a mix of juicy raspberries and blackberries to add a refreshing tartness, cutting through the pie’s creaminess beautifully.
-
Whipped Cream: A dollop of lightly sweetened whipped cream creates a luscious contrast, adding extra creaminess that pairs perfectly with the custard filling.
-
Vanilla Ice Cream: The warm pie alongside a scoop of creamy vanilla ice cream brings together warm and cold sensations, enhancing the dessert experience.
-
Caramel Sauce: Drizzling warm caramel over each slice adds a gorgeous extra layer of sweetness and a rich, gooey texture that elevates every bite of pie.
-
Mint Leaves: Fresh mint sprigs on the side impart a cool aroma and light freshness, balancing the pie’s richness while enhancing its presentation.
-
Pineapple Upside-Down Cake: For a fun dessert duo, this tropical cake offers a contrasting texture and sweetness, making your dessert table truly inviting.*
Create a harmony of flavors and textures with these pairings, ensuring your Salted Honey Pie stands as the star centerpiece of your meal!
Make Ahead Options
These Salted Honey Pie options are perfect for busy home cooks looking to save time without sacrificing flavor! You can prepare the pie crust (whether homemade or store-bought) up to 24 hours in advance—just blind bake it, let it cool, and store it covered in the refrigerator. The filling can also be whisked together and refrigerated for up to 3 days before you pour it into the crust. To maintain the quality, keep the crust covered to prevent it from drying out. When you’re ready to enjoy your pie, simply pour the filling into the crust and bake it as instructed. This way, you’ll have a stunning dessert ready with minimal last-minute effort!
Salted Honey Pie Variations
Customize your Salted Honey Pie with these delightful twists and substitutions that will excite your taste buds!
-
Dairy-Free: Swap the heavy cream for coconut cream to create a luscious, tropical alternative that everyone can enjoy.
-
Flavor Twist: Experiment with flavored extracts like almond or bourbon for unique notes that elevate the classic taste of honey.
-
Sweetener Switch: Try using maple syrup instead of honey for a deeper, earthy sweetness that brings a wonderful richness to the pie.
-
Fruit Infusion: Fold in small amounts of fresh berries or diced peaches into the filling for a fruity surprise that enhances each slice.
-
Graham Cracker Crust: Use a graham cracker crust for a scrumptious, buttery flavor that pairs beautifully with the sweet custard.
-
Chocolate Version: Incorporate cocoa powder into the batter for a richer chocolatey twist, perfect for those who adore chocolate and honey together.
-
Nutty Crunch: Top the pie with chopped pecans or walnuts before baking for added texture and a nutty flavor that complements the creamy filling.
Feel free to explore these variations that could become your new favorites, much like how Lobster Pot Pie or Rolls Hot Honey can surprise your palate!
Helpful Tricks for Salted Honey Pie
-
Room Temperature Ingredients: Ensure your eggs and heavy cream are at room temperature to achieve a smoother filling that blends beautifully together.
-
Blind Baking: Don’t skip the blind baking process! This step prevents a soggy crust, ensuring your Salted Honey Pie has the perfect crispy base.
-
Cooling Time: Allow the pie to cool fully on a wire rack for at least 2 hours. This essential step helps the custard set and makes slicing much easier.
-
Flaky Sea Salt: Sprinkle the flaky sea salt just before serving. This enhances the sweet and salty flavor balance, making every bite of your pie a delightful experience.
-
Mixing Technique: When incorporating the eggs, add them one at a time to maintain the custard’s smooth texture. Whisk thoroughly after each addition for best results.
Storage Tips for Salted Honey Pie
Fridge: Keep your salted honey pie covered with plastic wrap or aluminum foil in the refrigerator for up to 4 days. This helps maintain its creamy texture and prevents it from absorbing odors.
Freezer: To freeze your pie, wrap it tightly in plastic wrap or aluminum foil and place it in an airtight container. It can be stored for up to 2 months. Thaw overnight in the fridge before serving for optimal texture.
Reheating: If you enjoy your salted honey pie warm, preheat your oven to 350°F (175°C) and heat it for about 10-15 minutes, covering it with foil to avoid browning.
Serving Suggestion: For the best experience, add a sprinkle of flaky sea salt after reheating to enhance its delightful sweet and salty flavor!
Salted Honey Pie Recipe FAQs
How do I choose the right honey for this pie?
Absolutely! For the best results, I recommend using high-quality wildflower or clover honey, as they provide a lovely floral note that complements the custard beautifully. Look for honey that is pure and free from additives—this elevates the flavor to make your Salted Honey Pie truly special.
How should I store leftover Salted Honey Pie?
Very simple! Cover your leftover pie with plastic wrap or aluminum foil, and refrigerate it. It can last for up to 4 days while retaining its delightful texture. Just make sure it’s sealed tightly to avoid absorbing any odors from the fridge!
Can I freeze Salted Honey Pie?
Yes, you can! To freeze, wrap the pie tightly in plastic wrap or aluminum foil; I often use both for extra protection. Place it in an airtight container, and it will stay fresh for up to 2 months. When you’re ready to enjoy it, thaw the pie overnight in the fridge. For the best texture, allow it to come back to room temperature before serving.
What should I do if my custard doesn’t set properly?
If your custard seems too runny, it might be due to under-baking. Make sure you bake it until it’s slightly jiggly in the center and not overly wobbly—this should take about 40-50 minutes. The cooling time is also crucial, so ensure you let it cool completely on a wire rack, as this helps it firm up nicely.
Is this recipe suitable for people with allergies?
Great question! This Salted Honey Pie contains eggs and dairy, so those with egg or dairy allergies should avoid it or consider using substitutes, such as coconut cream for cream and a flaxseed mixture for eggs. Always check the labels on your ingredients to ensure they align with dietary restrictions—safety first!
Can I substitute the cornmeal in this recipe?
I recommend sticking to cornmeal for this pie, as it provides the necessary texture for the custard. However, if you’re in a pinch, fine almond flour could work as an alternative. Just keep in mind that it may slightly alter the flavor and texture of your Salted Honey Pie.

Sweet and Salty Salted Honey Pie You’ll Love to Bake
Ingredients
Equipment
Method
- Chill your 9-inch pie crust in the refrigerator for about 30 minutes. Preheat your oven to 375°F (190°C). Line the crust with foil, fill it with pie weights or dried beans, and bake for 12-15 minutes until the edges are lightly golden. Carefully remove the weights and foil, then bake for an additional 5 minutes until the crust is fully crisped. Let it cool while you make the filling.
- In a mixing bowl, whisk together the melted, cooled unsalted butter and granulated sugar until smooth. Add in the cornmeal, salt, white vinegar (or lemon juice), vanilla extract, and honey, blending everything until well incorporated.
- Crack the three large eggs into the mixture, incorporating each one individually. Whisk thoroughly after adding each egg, then stir in the heavy cream until the filling is completely uniform and creamy.
- Carefully pour the prepared filling into the pre-baked pie crust, ensuring an even distribution. Place the pie on a baking sheet for easier handling. Bake in the oven at 350°F (175°C) for 40-50 minutes.
- Remove the pie from the oven and allow it to cool on a wire rack for at least 2 hours.
- Before serving, sprinkle a generous pinch of flaky sea salt over the top.
Leave a Reply