
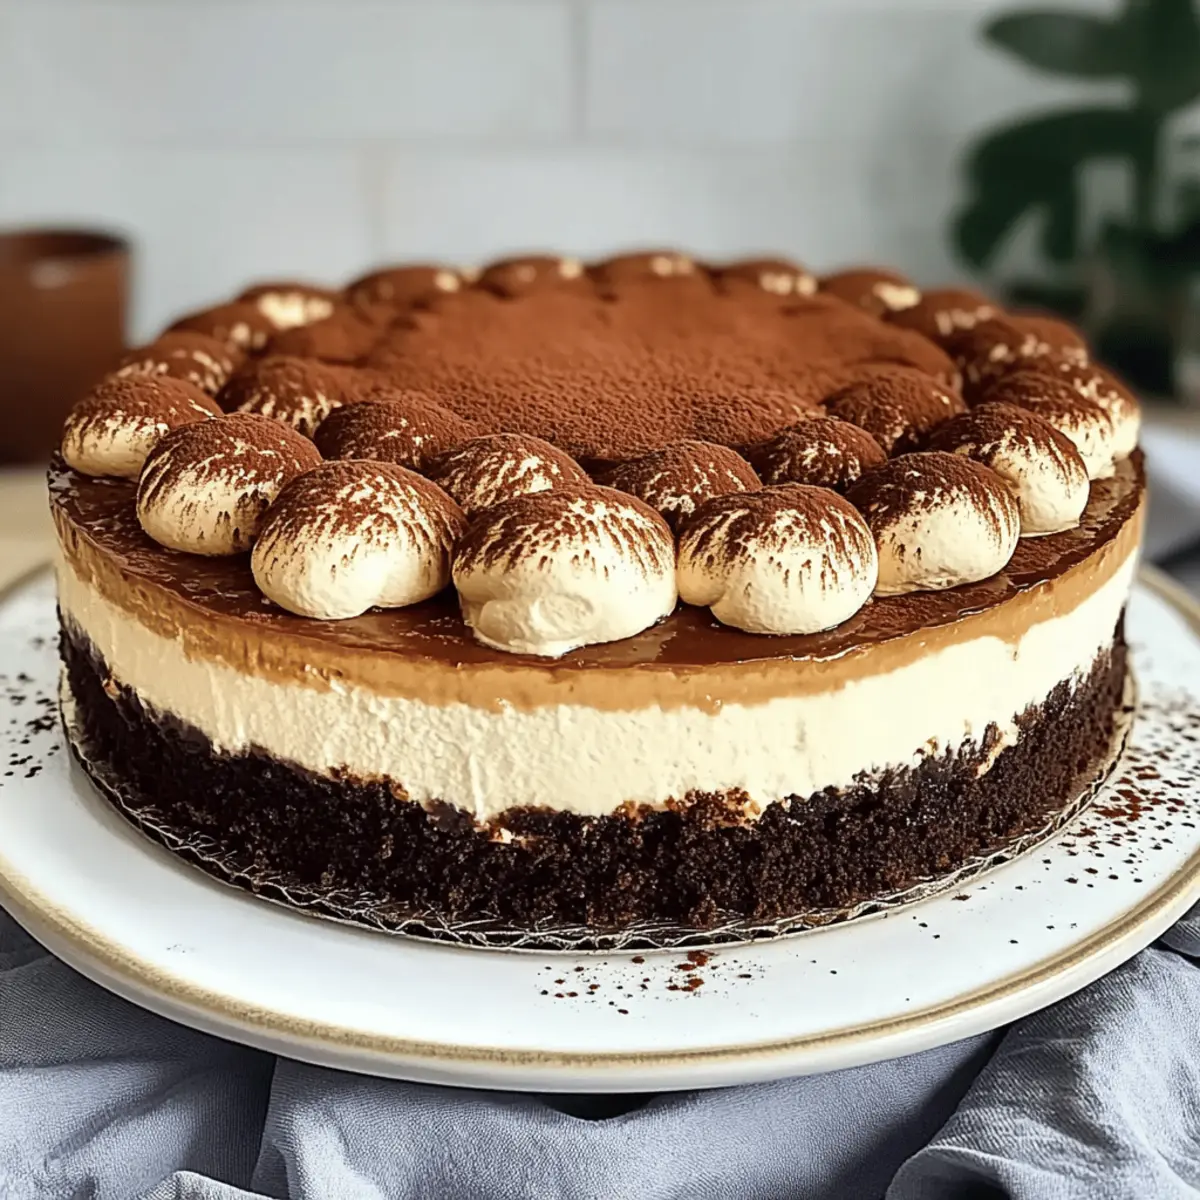
As I stood in my kitchen, the rich aroma of freshly brewed coffee filled the air, instantly transporting me to a cozy Italian café. This Baked Tiramisu Cheesecake masterfully combines the luxurious elements of two beloved desserts, making it the ultimate indulgent treat for any celebration. With a delightful chocolate cookie crust and a silky, creamy filling, this dessert not only impresses guests but also offers the ease of preparation that makes it perfect for busy holiday gatherings. It’s a joyful fusion of textures and flavors that can be made in advance, ensuring you spend less time in the kitchen and more time enjoying the moment. What could be better than sinking your fork into a slice of this creamy delight? Let’s dive into this recipe that’s bound to become a cherished favorite!
Why Choose Baked Tiramisu Cheesecake?
Indulgent Flavor: This Baked Tiramisu Cheesecake brings together the best of both worlds, featuring a rich chocolate cookie crust paired with a creamy, coffee-infused filling that will tantalize your taste buds.
Effortlessly Simple: The recipe requires minimal steps, making it an easy go-to for home cooks looking to impress without the hassle, reminiscent of other crowd-pleasers like Caramel Brownie Cheesecake or Lemon Sugar Baked treats.
Perfect for Gatherings: Ideal for holiday get-togethers, this dessert can be prepared in advance, allowing you to relax with friends and family while they savor each delicious bite.
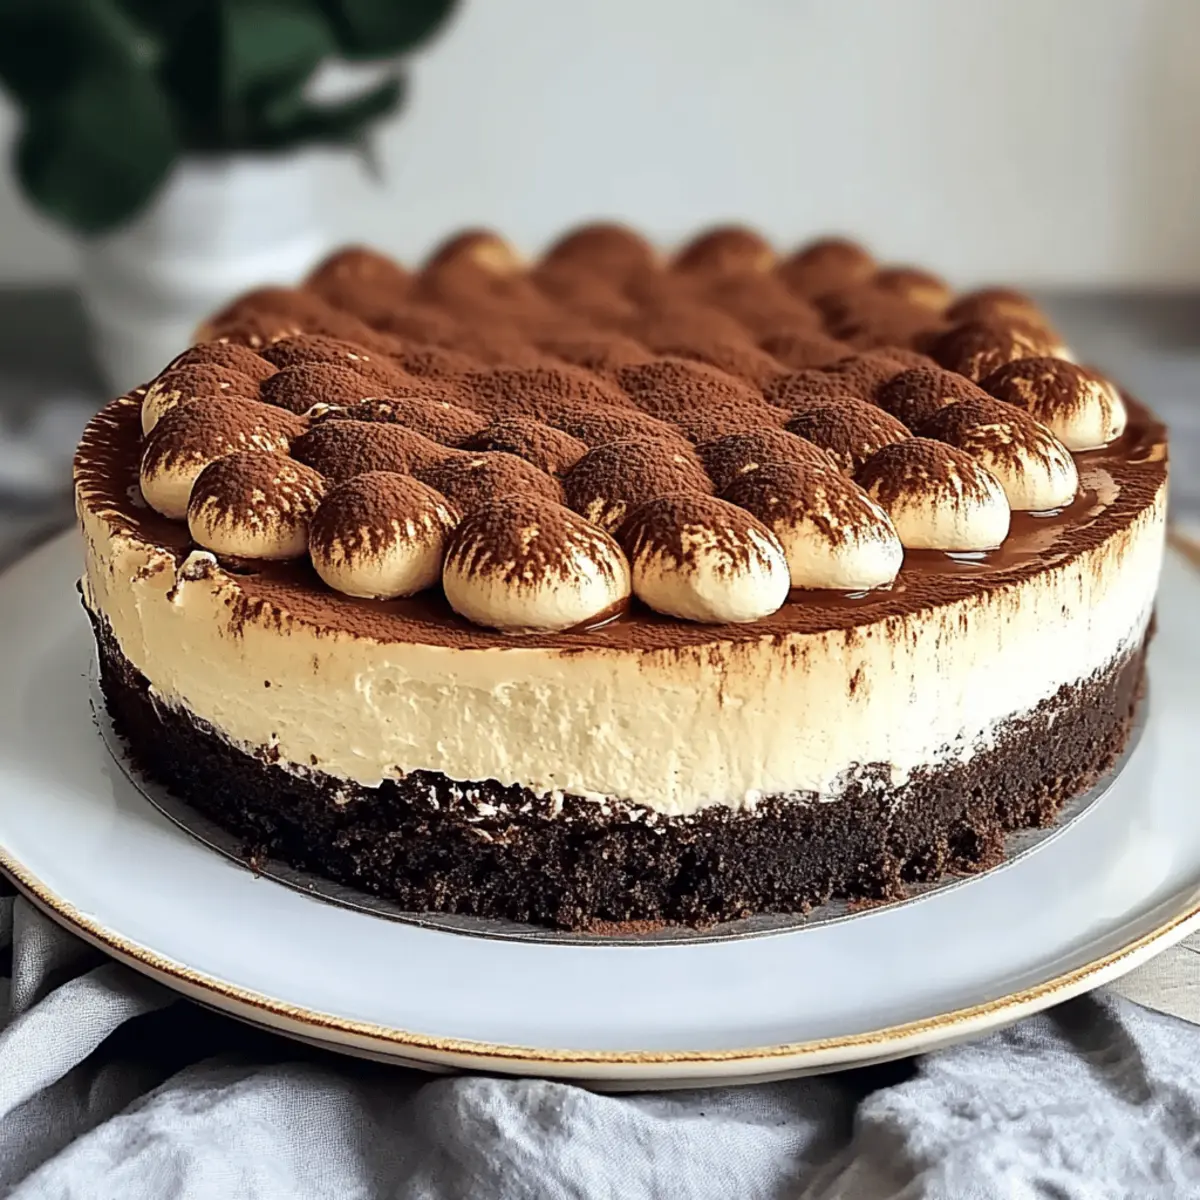
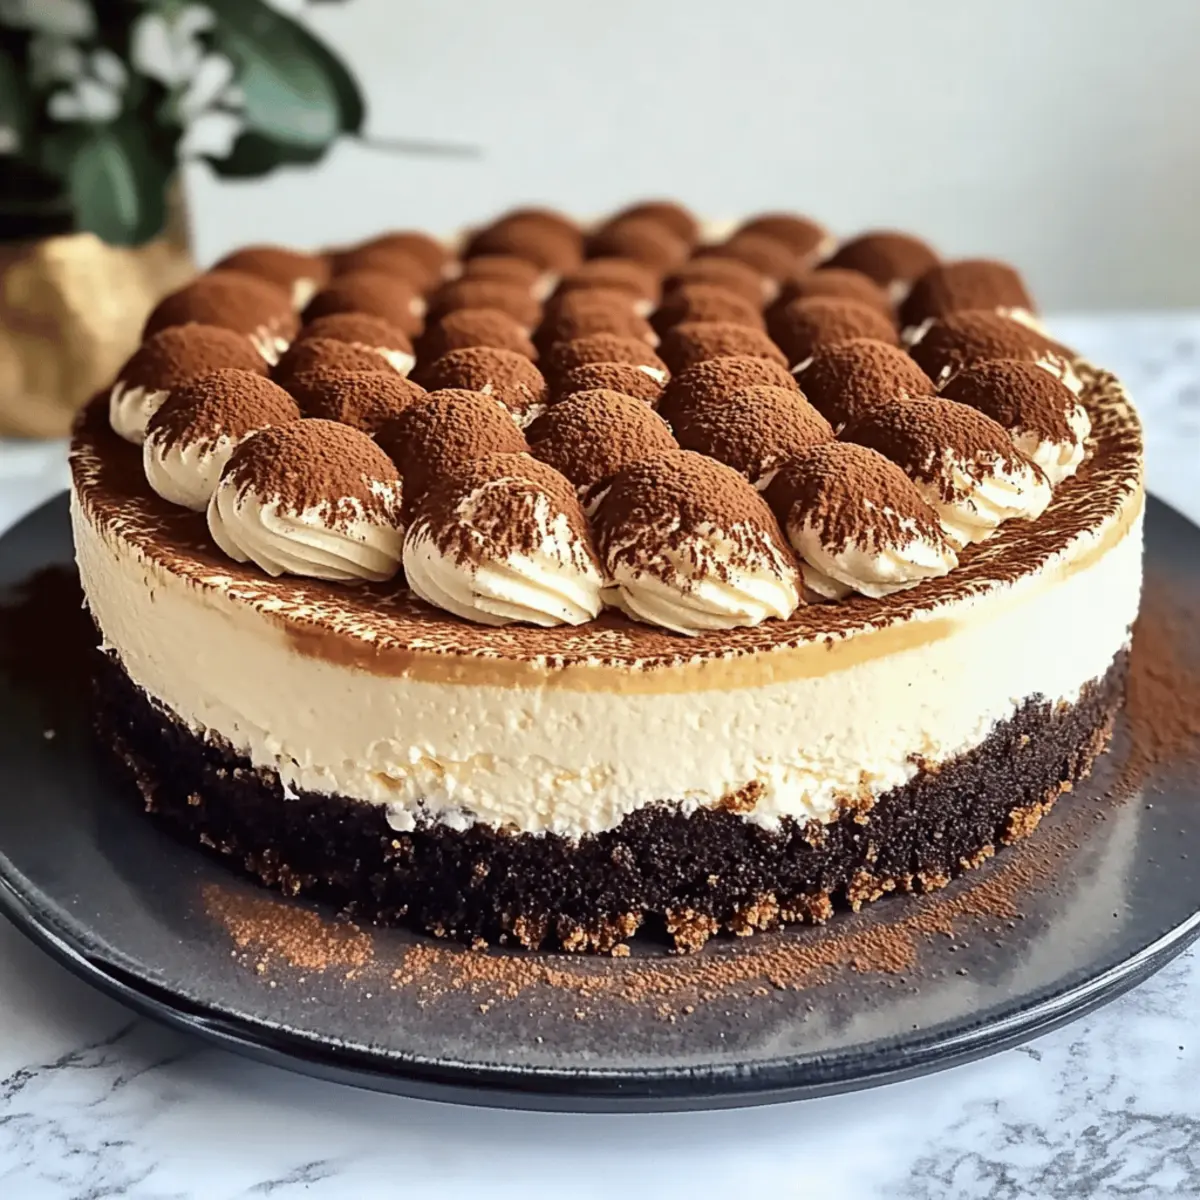
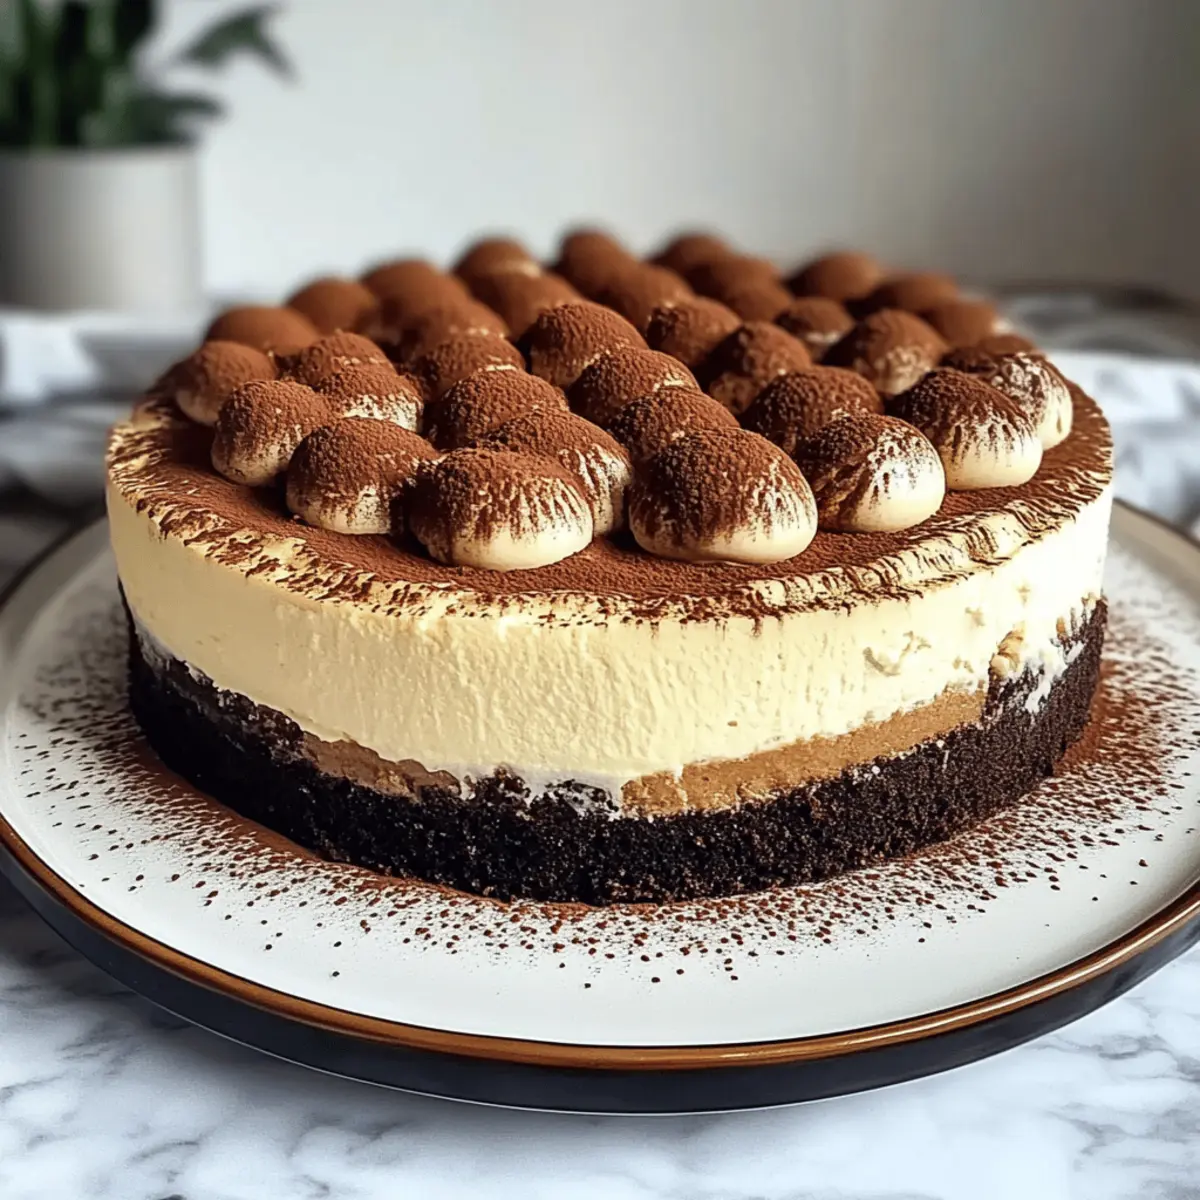
Transcendent Presentation: The stunning layers and delightful dusting of cocoa powder create a dessert that not only tastes divine but also looks upscale, akin to what you’d find in a fine Italian restaurant.
Versatile Options: Whether you want to add a splash of coffee liqueur or swap ladyfingers for chocolate sponge cake, this recipe invites customization to suit your personal taste.
Baked Tiramisu Cheesecake Ingredients
For the Crust
• Crushed Chocolate Cookies – Forms the crust; substitute with gluten-free chocolate cookies for a gluten-free option.
• Unsalted Butter – Binds the crust ingredients together; can use coconut oil for a dairy-free alternative.
For the Filling
• Cream Cheese – Adds creaminess to the filling; make sure it’s softened for easy mixing.
• Mascarpone Cheese – Provides a rich texture; look for fresh mascarpone to avoid added stabilizers.
• Granulated Sugar – Sweetens the filling; can replace with coconut sugar for a lower glycemic index alternative.
• Large Eggs – Helps set the cheesecake; fresh eggs yield the best results.
• Fresh Espresso or Strong Brewed Coffee – Imparts the Tiramisu flavor profile; use decaffeinated coffee for a caffeine-free version.
For Layering
• Ladyfingers – Forms the layered structure; use gluten-free ladyfingers or sponge cake for a gluten-free version.
For the Topping
• Heavy Whipping Cream – For topping; whip until stiff peaks form; use coconut cream for a dairy-free topping.
• Confectioner’s Sugar – Sweetens the whipped cream; can use honey or maple syrup for a less processed sweetener.
• Cocoa Powder – For dusting on top; Dutch-processed cocoa adds a deeper flavor.
Step‑by‑Step Instructions for Baked Tiramisu Cheesecake
Step 1: Prepare the Crust
Preheat your oven to 350°F (175°C) to create the perfect environment for your crust. In a mixing bowl, combine crushed chocolate cookies with melted butter, ensuring a moist mixture. Press this blend firmly into the bottom of a 10″ springform pan. Bake for 10 minutes until set, then allow it to cool completely while you prepare the filling.
Step 2: Make the Filling
In a large mixing bowl, beat softened cream cheese and mascarpone cheese together until smooth and creamy, about 2-3 minutes. Gradually add in the granulated sugar, mixing until fully incorporated. Next, add the eggs one at a time, ensuring they blend well. Finally, fold in the brewed coffee until the mixture is uniform and velvety, ready for layering.
Step 3: Layer Ladyfingers
Prepare a shallow dish with your brewed coffee or espresso. Quickly dip each ladyfinger into the coffee, ensuring they absorb just enough moisture without becoming soggy. Layer half of the soaked ladyfingers carefully over the cooled chocolate crust, arranging them evenly to create a delicious foundation for your Baked Tiramisu Cheesecake.
Step 4: Assemble Layers
Pour half of your creamy cheesecake filling over the ladyfingers, gently spreading it out with a spatula for an even layer. Place another set of soaked ladyfingers on top of this filling, aligning them well. Finally, top with the remaining cheesecake filling, smoothing the surface for a polished look.
Step 5: Bake
Carefully place the springform pan in a larger roasting pan filled with hot water, creating a water bath that promotes even baking. Bake the cheesecake at 320°F (160°C) for 75-85 minutes. The edges should be set, while the center remains slightly jiggly, indicating it will firm up as it cools.
Step 6: Cool and Chill
Once baked, turn off the oven and crack the door open, letting the cheesecake cool inside for 30 minutes. This gentle cooling helps prevent cracks. After that, transfer it to the refrigerator and chill for several hours or overnight, allowing flavors to meld and the cheesecake to set properly.
Step 7: Prepare Topping
In a mixing bowl, whip heavy cream with confectioner’s sugar until stiff peaks form, creating a light and airy topping. Once the cheesecake is chilled and set, spread the whipped cream evenly over the surface. For the final touch, dust a generous layer of cocoa powder over the top, adding the classic Tiramisu look to your baked delight.
Make Ahead Options
These Baked Tiramisu Cheesecake are perfect for busy home cooks looking to save time! You can prepare the cheesecake up to 24 hours in advance; simply follow all the steps until the cheesecake is baked and then let it cool. Once cooled, cover the cheesecake with plastic wrap and refrigerate. This allows the flavors to deepen and enhances its creamy texture, ensuring it’s just as delicious when served the next day. When ready to enjoy, whip the cream and top it right before serving for that fresh, light feel. Embrace the convenience of meal prep, and savor every bite with minimal last-minute effort!
Baked Tiramisu Cheesecake Variations
Feel free to make this Baked Tiramisu Cheesecake your own with these delightful twists that beckon to be explored!
-
Coffee Liqueur: Add a splash for an adult twist and enhance the rich coffee flavor.
-
Chocolate Sponge Cake: Swap ladyfingers for chocolate sponge cake for an indulgently chocolatey experience. This will give you a different texture and an extra layer of decadence.
-
Fresh Berries: Top your cheesecake with a mix of fresh berries for a bright, tart contrast to the creamy filling. The pop of color adds vibrancy and freshness.
-
Coconut Cream: Use whipped coconut cream in place of heavy whipping cream for a dairy-free option that still maintains a luxurious topping.
-
Spice it Up: Incorporate a sprinkle of cinnamon or a hint of nutmeg into the filling for a cozy spice kick that pairs beautifully with the coffee flavors.
-
Zesty Lemon: Brighten up the filling with zest from a lemon; this will provide a refreshing contrast to the richness of the cheesecake.
-
Nutty Crust: Mix crushed nuts like almonds or hazelnuts into the crust for an added crunch that enhances the overall texture of the dessert.
-
Mocha Drizzle: Create a simple mocha drizzle with melted chocolate and espresso to enhance the presentation and add extra richness—imagine how decadent that would be!
As you let your creativity flow, consider serving this cheesecake alongside a cup of freshly brewed espresso or a sweet dessert wine like Moscato for a truly indulgent experience. If you’re also interested in more tempting treats, make sure to check out my Lemon Sugar Baked and Baked Cajun Salmon recipes for delightful surprises!
Expert Tips for Baked Tiramisu Cheesecake
-
Cookie Choice: Use chocolate cookies without fillings for the crust. This ensures a smooth texture and avoids unwanted moisture.
-
Quick Soaking: Dip ladyfingers in coffee briefly; if soaked too long, they can turn mushy. Aim for a quick dip for perfect layers.
-
Water Bath Magic: Always use a water bath when baking the cheesecake. This technique helps prevent cracks and ensures even cooking for your Baked Tiramisu Cheesecake.
-
Cool Slowly: After baking, let the cheesecake cool in the oven with the door slightly open. This gentle cooling process prevents sudden temperature changes that can lead to cracks.
-
Make Ahead: Preparing your cheesecake a day in advance allows the flavors to meld beautifully and can enhance the richness of this indulgent dessert.
-
Decorative Dusting: When dusting with cocoa powder, use a fine mesh sieve for an even layer, enhancing the presentation and flavor of your cheesecake.
What to Serve with Baked Tiramisu Cheesecake
Pairing your delicious creation with the right elements can elevate the entire experience, bringing warmth and joy to your gathering.
-
Espresso or Coffee: A cup of freshly brewed espresso or strong coffee complements the dessert’s flavors, heightening the coffee notes in the cheesecake. The bold contrast enhances its rich, creamy texture.
-
Moscato Wine: This sweet, fruity dessert wine harmonizes beautifully with the cheesecake’s richness, cutting through the creaminess and adding a touch of sparkle to your meal’s finish.
-
Chocolate-Covered Strawberries: These sweet, decadent bites add a burst of freshness and a playful touch, creating a delightful contrast with the cheesecake’s creamy layers.
-
Whipped Cream: A dollop of plain or vanilla whipped cream can provide an airy texture to balance the cheesecake’s density. It lightens each bite, making the dessert feel even more indulgent.
-
Candied Nuts: Sprinkling candied walnuts or almonds adds a delightful crunch and sweetness that plays off the cheesecake’s smooth texture while introducing a gourmet flair to your presentation.
-
Fresh Berries: Serving the cheesecake with a side of ripe raspberries or blueberries offers a tart, refreshing balance, adding brightness against the rich chocolate and coffee flavors. The color also enhances your plate visually.
-
Dark Chocolate Shavings: A sprinkle of dark chocolate shavings on top not only boosts the dessert’s visual appeal but introduces another layer of chocolatey goodness, deepening flavors and indulgence.
-
Vanilla Ice Cream: A scoop of vanilla ice cream next to each slice can bring a cool creaminess, offering a delightful temperature contrast that makes each bite even more heavenly.
These pairing suggestions ensure a well-rounded experience that celebrates your Baked Tiramisu Cheesecake and creates lasting memories with every bite!
How to Store and Freeze Baked Tiramisu Cheesecake
Fridge: Refrigerate leftovers in an airtight container for up to 5 days to maintain freshness and flavor.
Freezer: For longer storage, freeze tightly wrapped in plastic wrap and then in foil for up to 2 months. Thaw overnight in the fridge before serving.
Reheating: Although best served chilled, if you prefer your cheesecake warmer, let it sit at room temperature for about 30 minutes before enjoying.
Make-Ahead Tip: If you plan to serve this Baked Tiramisu Cheesecake for a special occasion, make it a day in advance to allow the flavors to meld harmoniously.
Baked Tiramisu Cheesecake Recipe FAQs
How should I select my ingredients for the Baked Tiramisu Cheesecake?
Absolutely! For the best flavor and texture, ensure your cream cheese and mascarpone are at room temperature to mix easily. Choose chocolate cookies for the crust that are filling-free for a smoother texture. When it comes to coffee, opt for fresh espresso or a strong brewed coffee to really capture that Tiramisu essence.
How long can I store the Baked Tiramisu Cheesecake in the fridge?
You can refrigerate leftovers in an airtight container for up to 5 days. Just make sure it’s tightly closed to prevent any odors from other foods in the fridge affecting its delicate flavor!
Can I freeze the Baked Tiramisu Cheesecake, and how do I do it?
Absolutely! To properly freeze your cheesecake, wrap it tightly in plastic wrap and then in foil to prevent freezer burn. It should last for up to 2 months. When you’re ready to enjoy, simply thaw it overnight in the fridge before serving for the best texture and taste.
What if my cheesecake cracks while baking?
If you’re facing cracks, don’t worry! This can often happen due to temperature changes. Always use a water bath to bake your cheesecake, as it helps maintain even heat. After baking, allow it to cool in the oven with the door slightly ajar for about 30 minutes before refrigerating.
Are there any dietary considerations for this recipe?
Very! If you’re baking for someone with allergies, be cautious about substituting ingredients. For gluten sensitivities, use gluten-free chocolate cookies and ladyfingers. You can also make this recipe dairy-free by opting for coconut cream and dairy-free cream cheese alternatives. Always check labels in case of cross-contamination.
Can I prepare the Baked Tiramisu Cheesecake in advance?
The more the merrier! I often make this cheesecake a day ahead. Not only does it save time, but it allows the flavors to meld beautifully, enhancing the indulgent taste. Just remember to store it in the fridge until you’re ready to serve!
Decadent Baked Tiramisu Cheesecake for Effortless Holiday Joy
Ingredients
Equipment
Method
- Preheat your oven to 350°F (175°C). In a mixing bowl, combine crushed chocolate cookies with melted butter. Press firmly into the bottom of a 10" springform pan. Bake for 10 minutes until set, then cool completely.
- In a large bowl, beat cream cheese and mascarpone until smooth. Gradually add sugar, then mix in eggs one at a time, followed by brewed coffee until uniform.
- Prepare a shallow dish with brewed coffee. Quickly dip each ladyfinger into the coffee and layer half over the cooled chocolate crust.
- Pour half of the cheesecake filling over the ladyfingers, spread evenly. Add another layer of soaked ladyfingers, then top with the remaining cheesecake filling.
- Bake the cheesecake at 320°F (160°C) in a water bath for 75-85 minutes until the edges are set. The center should be slightly jiggly.
- Turn off the oven, crack the door open, and let the cheesecake cool for 30 minutes. Transfer to the fridge to chill for several hours or overnight.
- Whip heavy cream with confectioner’s sugar until stiff peaks form. Spread whipped cream over the cooled cheesecake, dust with cocoa powder.
Leave a Reply