
Spring has arrived, and with it comes a whirlwind of color and joy that’s simply irresistible! If you’re seeking a dessert that captures the essence of this vibrant season, look no further than this Easter Poke Cake. This easy-to-make treat not only dazzles the eye with its playful pastel layers but also delights the palate with its fluffy, pudding-soaked goodness. Perfect for gatherings and potlucks, it requires minimal effort while making a maximum impact on your Easter table. You’ll love how it becomes the focal point of festivities, drawing everyone in for a slice of happiness. Are you ready to create a showstopper that everyone will be talking about long after the last bite?
Why is Easter Poke Cake a Must-Try?
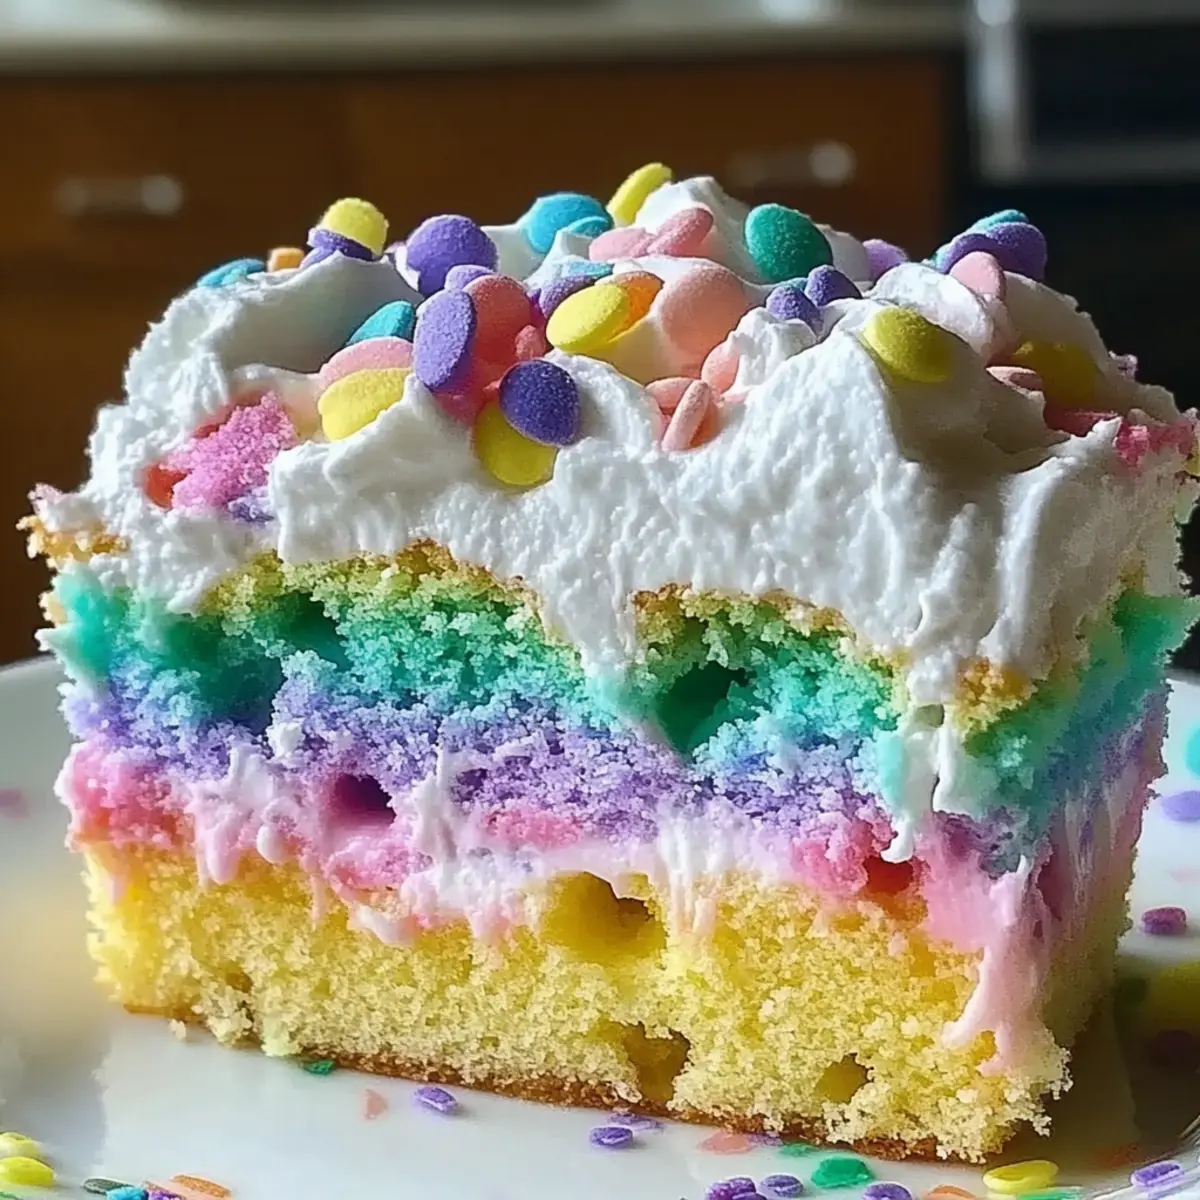
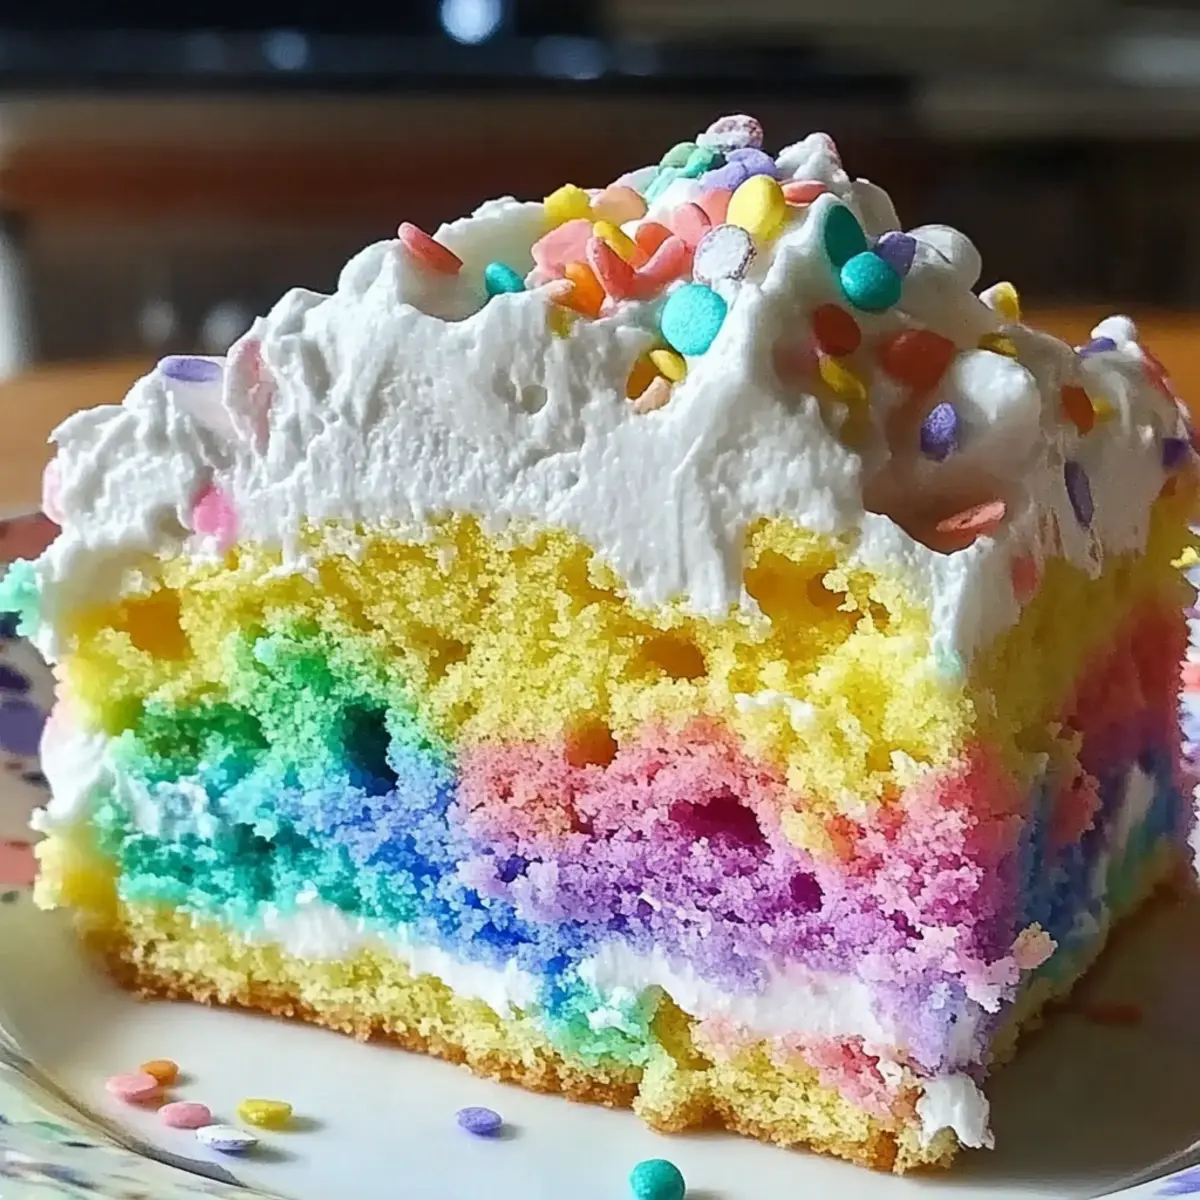
Vibrant Colors: The stunning pastel hues of this cake will bring an explosion of springtime joy to your table, making it a feast for the eyes as well as the palate.
Effortless Flavors: With fluffy layers and creamy pudding, this recipe showcases a delightful blend of textures that everyone craves, all while being easy enough for beginner bakers.
Perfect for Gatherings: Whether it’s an Easter brunch or a family gathering, this crowd-pleaser will have your guests raving for days, just like our Cinnamon Roll Cupcakes do!
Customizable Options: Feeling creative? You can easily swap in your favorite pudding flavors or even turn this into individual cupcakes to impress your friends.
Make-Ahead Marvel: You can prepare this cake in advance, and its flavor only gets better as it chills, perfect for busy holiday planners.
Easter Poke Cake Ingredients
For the Cake
• White Cake Mix – A 15.25 oz box is ideal for structure and sweetness; yellow cake works too, but colors won’t be as bright.
• Melted Butter – Enhances richness; replace oil in the mix with melted butter for tastier results, just let it cool before mixing.
• Room Temperature Eggs – Ensures a smoother batter consistency for a fluffy texture.
For the Pudding Layer
• Instant Vanilla Pudding Mix – This is crucial for creamy texture; only use “instant” pudding as “cook and serve” won’t thicken properly.
• Whole Milk – Preferred for a rich pudding layer; avoid plant-based alternatives that may not set correctly.
For the Color
• Gel Food Coloring – Adds vibrant pastel colors; use a few drops for each color to get your desired shades.
For the Topping
• Cool Whip (or Homemade Whipped Cream) – Adds lightness; two containers create a thicker topping.
• Easter Sprinkles (optional) – Perfect for decoration, adding a festive touch to your beautiful cake.
This Easter Poke Cake is not just a feast for the taste buds but also a delightful visual treat, making it the perfect centerpiece for your spring celebrations!
Step‑by‑Step Instructions for Easter Poke Cake
Step 1: Preheat Oven
Begin by preheating your oven to 350°F (175°C). While the oven heats, prepare a 9×13-inch baking dish by greasing it with nonstick spray to ensure your Easter Poke Cake releases easily after baking. This initial step is key in creating a beautifully baked cake with an even golden color.
Step 2: Mix Ingredients
In a large mixing bowl, combine the white cake mix, melted butter, and room temperature eggs. Use a hand mixer or whisk to beat the mixture until it’s smooth and well incorporated, about 2 minutes. This batter will be the base of your Easter Poke Cake, so take the time to ensure there are no lumps for a delightful texture.
Step 3: Color the Batter
Once your batter is smooth, divide it evenly into four separate bowls. Using gel food coloring, add a few drops to each bowl, mixing until you achieve vibrant pastel shades. The colors should be bright and cheerful, reflecting the spirit of Easter, allowing each layer to pop visually once baked.
Step 4: Layer Cake Batter
Spoon the colored batters into the prepared baking dish randomly, creating distinct sections of color without too much swirling. Aim for a fun, abstract design as you layer, which will give your Easter Poke Cake a playful appearance. Be sure to fill the dish evenly to ensure consistent baking.
Step 5: Bake
Place the dish in the preheated oven and bake for 22–25 minutes, or until the top is lightly golden and a toothpick inserted into the center comes out clean. Keep an eye on the cake as it bakes, watching for a gentle rise and a set appearance. Let it cool for about 10–15 minutes once done.
Step 6: Poke Holes
Once the cake has cooled slightly, use the back of a wooden spoon to poke about 50 holes evenly across the surface. This step is crucial for allowing the pudding to soak into the cake, giving your Easter Poke Cake its signature moistness and delightful flavor.
Step 7: Prepare Pudding Layer
In a separate bowl, mix the instant vanilla pudding mix with whole milk, whisking until it thickens—this should take about 2 minutes. Once thickened, gently spread the pudding over the poked cake, ensuring it seeps into the holes for a creamy layer of flavor in every bite.
Step 8: Chill
Cover the cake with plastic wrap and refrigerate it for 30 minutes to 1 hour. Chilling allows the pudding layer to set properly, enhancing the texture and flavor of your Easter Poke Cake. The coolness will also complement the cake’s flavors wonderfully as it melds together.
Step 9: Top with Cool Whip
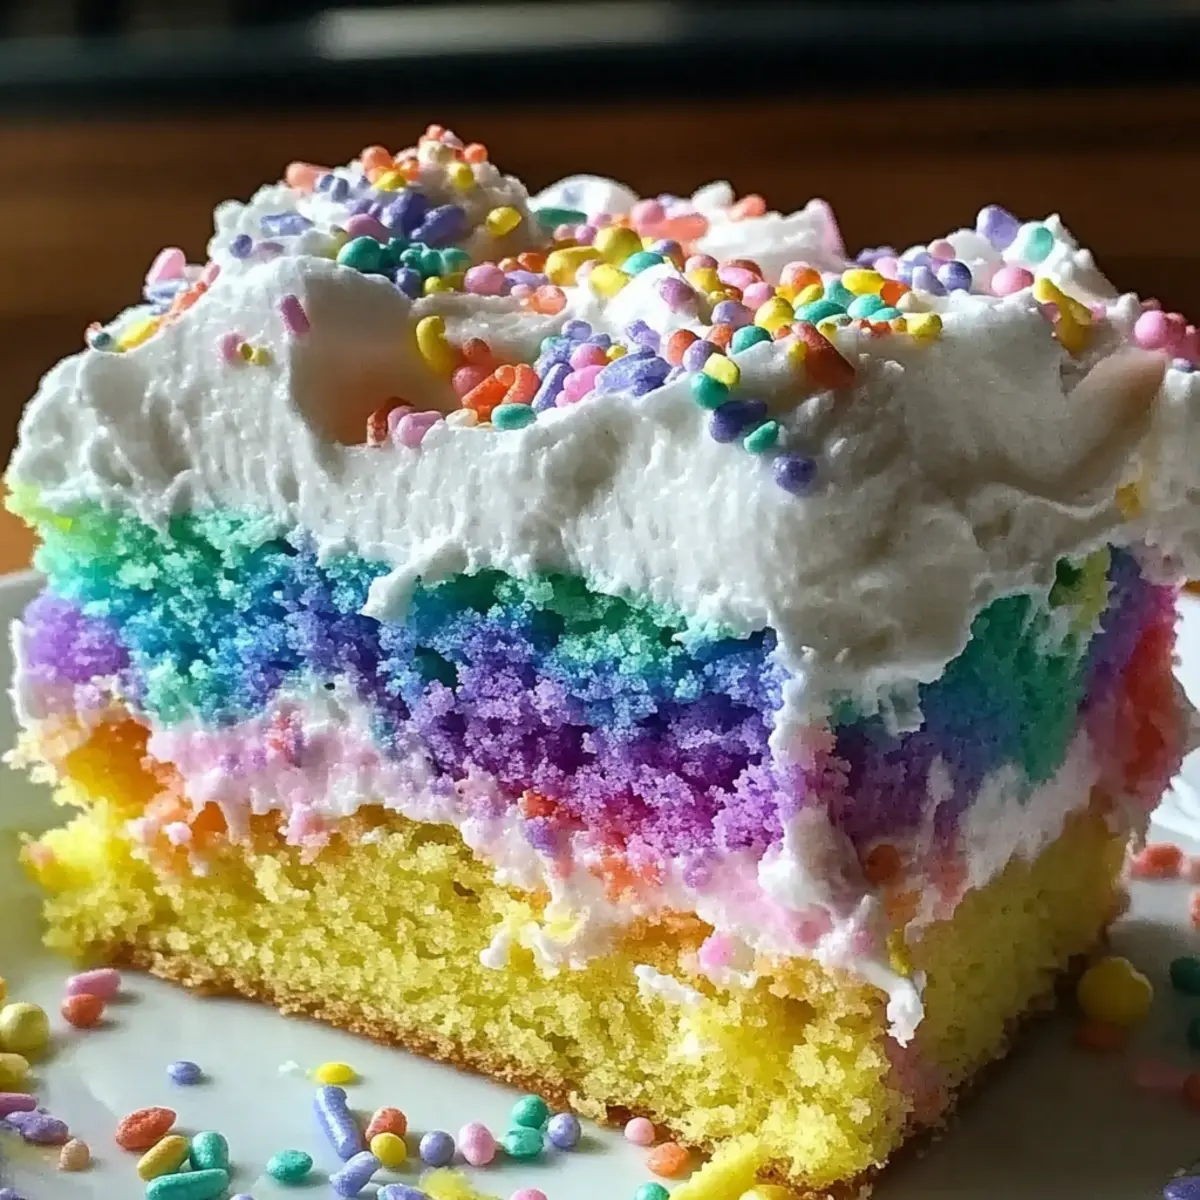
After chilling, remove the cake from the refrigerator and spread Cool Whip or homemade whipped cream evenly over the pudding layer. This light topping adds a creamy finish to your Easter Poke Cake, making it even more inviting. Feel free to create peaks and swirls for a decorative touch.
Step 10: Serve
For best results, chill the completed cake for at least 2 hours before serving. This helps firm up the layers for clean slices and enhances the flavors. When ready, cut into squares and enjoy a slice of this beautiful Easter Poke Cake that is sure to impress your friends and family!

What to Serve with Easter Poke Cake
Spring celebrations deserve a spread that complements the festive flavors of your delightful dessert.
-
Fresh Fruit Salad: A colorful mix of seasonal fruits provides a refreshing contrast and brightens your table. The natural sweetness balances the cake’s richness perfectly.
-
Creamy Vanilla Ice Cream: A scoop of vanilla ice cream drizzled with chocolate sauce creates an enticing combination with the cake’s flavors, taking indulgence to the next level.
-
Lemonade Spritzers: Light and bubbly, these refreshing drinks made with lemonade and sparkling water will keep your guests hydrated and uplifted during cheerful gatherings.
-
Chocolate-Covered Strawberries: The luscious taste of chocolate paired with juicy strawberries offers a delightful flavor pairing, while their elegance elevates the overall presentation.
-
Mini Carrot Cupcakes: Perfectly spiced and topped with cream cheese frosting, these bite-sized treats echo the spirit of Easter and mirror the cake’s festive colors.
-
Mango Tart: A layered dessert with a crunchy crust will add a tropical twist to your table, contrasting the soft texture of the Easter Poke Cake beautifully.
-
Pistachio Pudding Cups: Served in small cups, these vibrant pudding cups provide an interesting flavor and texture contrast that finishes your meal with a smile.
Storage Tips for Easter Poke Cake
Fridge: Store the Easter Poke Cake covered in the refrigerator for up to 3 days. The flavors meld beautifully over time, improving the overall taste and texture.
Freezer: You can freeze the cake without the topping for up to one month. Ensure it’s wrapped tightly in plastic wrap and then foil to prevent freezer burn.
Thawing: When ready to enjoy, thaw the cake in the fridge overnight. After thawing, reassemble with Cool Whip and sprinkles before serving.
Reheating: This cake is best served chilled. If you prefer it at room temperature, simply let it sit out for about 30 minutes before slicing.
Expert Tips for Easter Poke Cake
-
Use Room Temperature Eggs: For the best texture, ensure your eggs are at room temperature. This helps create a smoother batter that rises well during baking.
-
Don’t Over-Swirl: When layering the colored batters, avoid excessive swirling. Keeping the colors distinct adds to the visual appeal of your Easter Poke Cake.
-
Quick Pudding Layer: Mix the pudding quickly after baking to ensure it creates a creamy layer without setting too soon. Timing is crucial for the perfect soak!
-
Chill for Flavor: Allow the cake to chill for at least two hours before serving. This not only firms it up for clean slices but also enhances the overall flavor.
-
Try Different Flavors: Feel free to experiment with different pudding flavors. Chocolate or butterscotch can add a fun twist to your festive Easter Poke Cake!
Easter Poke Cake Variations & Substitutions
Feel free to get creative with this delightful Easter Poke Cake, exploring exciting twists that will leave everyone asking for your secret!
-
Dairy-Free: Use a dairy-free cake mix and coconut cream instead of Cool Whip for a creamy, non-dairy option.
-
Gluten-Free: Opt for a gluten-free cake mix to cater to dietary needs without losing the delightful fluffiness.
-
Flavor Boost: Swap vanilla pudding with citrus-flavored pudding for a zesty kick that beautifully complements the cake’s colors.
-
Fruit-Filled: Add fresh fruit like strawberries or blueberries layered atop the Cool Whip to incorporate juicy freshness into each slice!
-
Individual Cupcakes: Transform this recipe into fun cupcakes! Bake smaller portions in cupcake liners and use a piping bag to add pudding and topping.
-
Chocolate Lovers: Swap out the white cake mix for chocolate cake, and use chocolate pudding for a rich twist that chocolate enthusiasts will adore.
-
Nutty Crunch: Sprinkle crushed nuts or toffee bits over the Cool Whip before adding sprinkles for a delightful contrast in texture.
-
Fruity Frosting: Blend in a fruit puree (like raspberry or mango) into your whipped topping, adding both flavor and a pop of color to the frosting.
By mixing and matching these variations, your Easter Poke Cake will become an even more delightful centerpiece for your gatherings. For more flavor inspiration, check out our delightful Cinnamon Roll Cupcakes or treat yourself to a luscious Caramel Brownie Cheesecake! Happy baking!
Make Ahead Options
Preparing the Easter Poke Cake in advance is a fantastic way to save time during your holiday celebrations! You can mix the cake batter and bake it up to 24 hours in advance; simply allow the cake to cool completely before storing it, tightly wrapped, in the refrigerator. Additionally, you can prepare the pudding layer and refrigerate it for up to 3 days in a separate container before assembling. When you’re ready to complete the cake, poke the holes in the cooled cake, spread the pudding layer, and top with Cool Whip. Assembling it right before serving ensures your Easter Poke Cake remains just as delicious and visually appealing as the day it was made!
Easter Poke Cake Recipe FAQs
What’s the best way to choose a cake mix for my Easter Poke Cake?
Absolutely! For the best results, choose a 15.25 oz box of white cake mix. While you can use yellow cake mix, it won’t yield the same vibrant colors that define this festive dessert. Always check the expiration date on the box to ensure freshness for the best flavor.
How should I store my Easter Poke Cake?
You can store your Easter Poke Cake covered in the refrigerator for up to 3 days. I often find that the flavor improves after a day or two, as the ingredients meld together nicely. If you need to keep it longer, you can freeze it without the topping for up to one month.
Can I freeze my Easter Poke Cake?
Yes, you can! To freeze your cake, wrap it tightly in plastic wrap and then place it in a freezer bag or container to prevent freezer burn. When you’re ready to enjoy, thaw it in the refrigerator overnight. Once thawed, top it with Cool Whip and sprinkles before serving for a fresh, festive look!
What do I do if my pudding layer doesn’t thicken properly?
No worries—this can happen! If your pudding doesn’t thicken, make sure you are using instant pudding mix and that you’ve whisked enough with the right amount of milk (usually 2 cups). If it’s still too runny, you can mix in a tablespoon of cornstarch and let it rest for a few minutes. Remember, the pudding should be thick and creamy before spreading it over the cake!
Are there any dietary considerations I should keep in mind?
Definitely! If you have anyone with allergies, this recipe contains eggs, milk, and wheat. For a dairy-free option, you can experiment with a non-dairy cake mix and pudding, but the results may vary. Since it’s a sweet dessert, I recommend checking with your guests about their dietary restrictions before serving.
Can I make mini or cupcake versions of the Easter Poke Cake?
Very! To make mini versions, simply follow the same steps using a standard cupcake pan instead. Just make sure to poke holes in the cupcakes after baking, similar to the larger cake, and fill them with pudding. They will be just as fun and festive, making them perfect for individual servings at your Easter gathering!
Delightful Easter Poke Cake That's a Rainbow of Flavor
Ingredients
Equipment
Method
- Preheat your oven to 350°F (175°C) and grease a 9x13-inch baking dish.
- Mix the white cake mix, melted butter, and room temperature eggs in a large bowl until smooth, about 2 minutes.
- Divide the batter into four bowls and add gel food coloring to each, mixing until vibrant pastel shades are achieved.
- Spoon the colored batters randomly into the prepared baking dish, creating an abstract design.
- Bake for 22–25 minutes, until golden and a toothpick comes out clean. Let cool for 10–15 minutes.
- Poke about 50 holes evenly across the cake with the back of a wooden spoon.
- In a separate bowl, whisk the instant vanilla pudding mix with whole milk until thickened, about 2 minutes.
- Spread the pudding over the poked cake, ensuring it seeps into the holes.
- Cover with plastic wrap and refrigerate for 30 minutes to 1 hour.
- Spread Cool Whip or whipped cream over the pudding layer, making decorative peaks if desired.
- Chill for at least 2 hours before serving, then cut into squares and enjoy.
Leave a Reply