
As I stood in my kitchen, the enticing aroma of crispy chicken sizzling in the pan brought back fond memories of cozy family dinners. This Easy and Irresistible Sweet and Sour Chicken perfectly recreates that essence of homemade comfort food, without the hassle of takeout. With its perfect balance of tangy and sweet flavors, this dish is not only quick to prepare, but it also doubles as a crowd-pleaser for any occasion. Imagine whipping up a meal that brings smiles to the table with minimal effort while impressing your family and friends. Ready to savor this delightful twist on a classic recipe? Let’s dive into the world of sweet and sour goodness!

Why is Sweet and Sour Chicken a Must-Try?
Irresistible Flavor: The perfect blend of tangy and sweet creates a palate-pleasing dish that rivals your favorite takeout.
Quick Preparation: With just a few simple steps, this recipe is designed for busy weeknights but doesn’t skimp on flavor!
Customizable Options: Feel free to experiment with vegetables, like bell peppers or pineapple, ensuring a unique touch every time.
Crispy Texture: Achieve that highly sought-after crunch with the magic of cornstarch, delivering a satisfying bite every time.
Family-Friendly Appeal: This dish is not only loved by kids but also adults, making it a go-to for family dinners. If you’re also interested in quick chicken recipes, check out my Garlic Butter Chicken or Salsa Verde Chicken for more culinary delights!
Sweet and Sour Chicken Ingredients
• For the Chicken
- Chicken Breast – the primary protein source; cuts easily for bite-sized pieces. Substitute with chicken thighs for a juicier result.
- Cornstarch – essential for that crispy coating; consider using flour, but it won’t achieve the same texture.
- Black Pepper – adds a subtle heat; helps to balance the overall flavors.
- Salt – enhances flavor; a necessary seasoning for the chicken.
- Eggs – binds the cornstarch to the chicken to create a crisper crust.
• For the Sauce
- Sugar – sweetens the sauce; creates the perfect balance for the sweet and sour chicken.
- Soy Sauce – adds an umami flavor; crucial for authentic sweet and sour recipes.
- Ketchup – contributes sweetness and tang; serves as the sauce’s base.
- Apple Cider Vinegar – provides essential acidity; can experiment with rice wine vinegar for a milder taste.
- Garlic Cloves – brings aromatic flavor to the sauce; press them for better integration.
- Garlic Parsley Salt – enhances garlic flavor; substitute with regular salt and minced garlic as needed.
• For Frying
- Oil (for frying) – essential to achieve that golden-brown color; vegetable or canola oil works great.
Step‑by‑Step Instructions for Sweet and Sour Chicken
Step 1: Prep Chicken
In a large mixing bowl, combine bite-sized chicken breast pieces with cornstarch, black pepper, salt, and pressed garlic. Make sure each piece is evenly coated to ensure a crispy texture. Let the seasoned chicken sit for about 10 minutes, allowing the cornstarch to adhere firmly for that perfect crunch in the final dish.
Step 2: Fry Chicken
Preheat a skillet over medium heat and add enough vegetable or canola oil to cover the bottom. Meanwhile, whisk two eggs in a separate bowl. Dip each coated chicken piece in the eggs, ensuring they’re fully coated, then carefully place them in the hot oil. Fry the chicken for about 4-5 minutes per side, or until golden brown and crispy. Once cooked, transfer the chicken to a baking dish and set it aside.
Step 3: Make Sauce
In a medium bowl, whisk together the sugar, soy sauce, ketchup, apple cider vinegar, and garlic parsley salt until the mixture is well combined. This fragrant sauce will become the perfect accompaniment to your Sweet and Sour Chicken. The balance between sweet and tangy will elevate the dish, making it irresistibly delicious.
Step 4: Bake
Pour the luscious sauce over the fried chicken in the baking dish, ensuring that every piece is generously coated. Preheat your oven to 350°F (175°C) and bake the chicken for 30 minutes. Flip the chicken every 10 minutes to achieve an even caramelization and a glossy finish that ensures every bite is flavorful.
Step 5: Serve
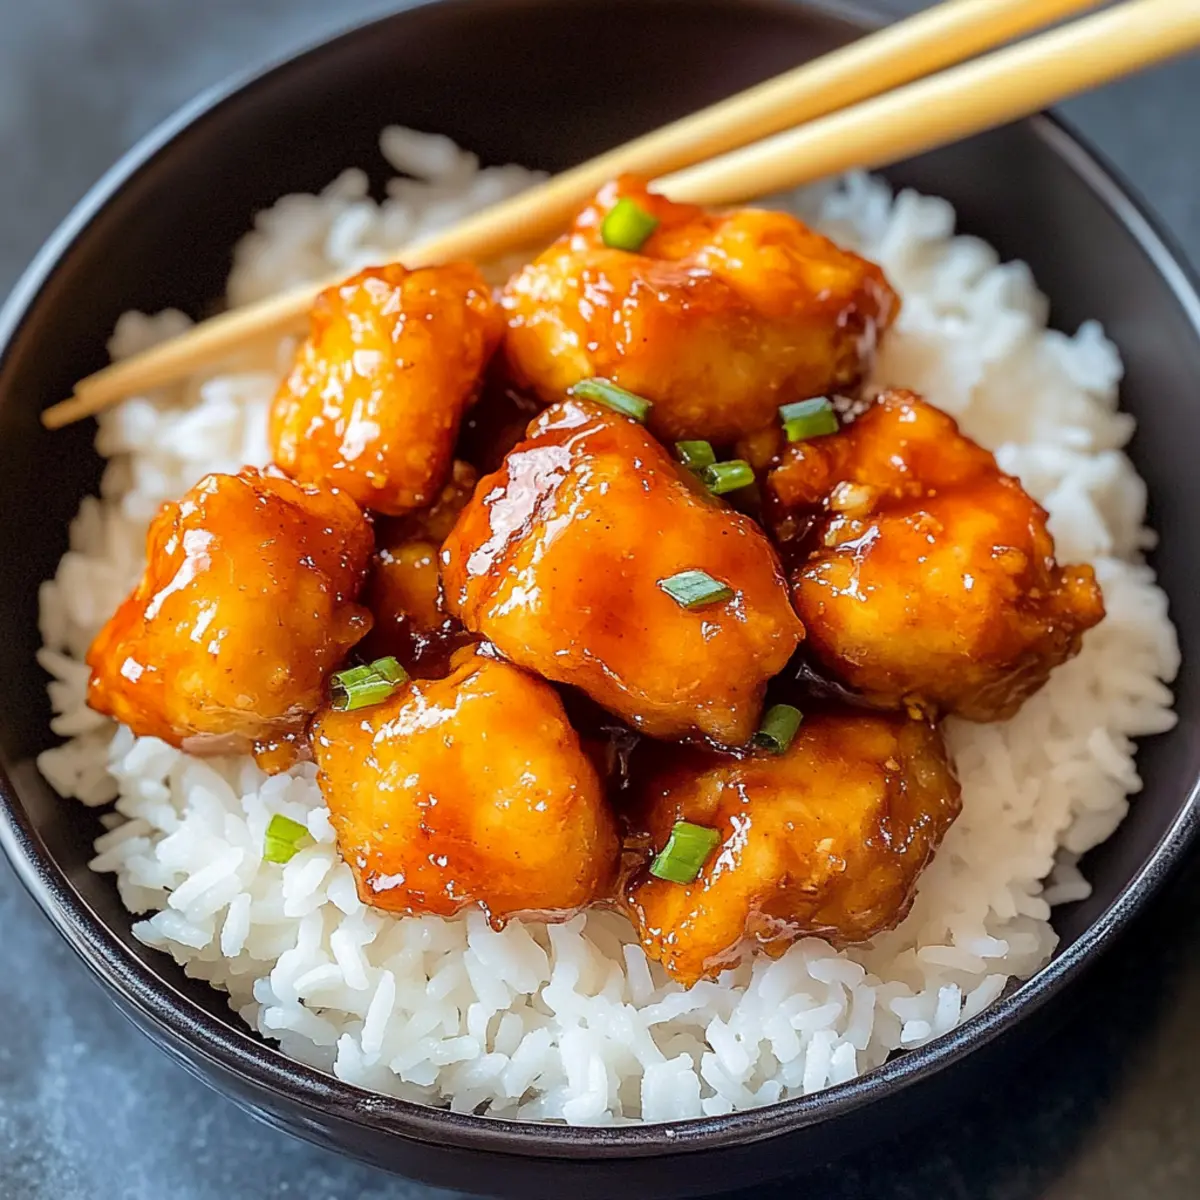
Once the Sweet and Sour Chicken is perfectly baked, remove it from the oven and serve it hot over a bed of fluffy steamed white rice or alongside vegetable lo mein. The fusion of crispy chicken and tangy sauce is bound to delight your family, making it a go-to dinner option for any occasion.

What to Serve with Easy and Irresistible Sweet and Sour Chicken?
Imagine a cozy family dinner, where the captivating aroma of sweet and sour chicken fills the air, ready to be paired with delightful sides that enhance the experience.
- Fluffy Steamed Rice: Serves as the perfect canvas for the vibrant sauce, absorbing those tangy flavors beautifully.
- Sesame Noodles: These deliciously chewy noodles bring a satisfying texture contrast and a subtle nuttiness that complements the chicken.
- Stir-Fried Vegetables: A colorful medley of bell peppers, broccoli, and snap peas adds crunch and nutrition; a vibrant accompaniment to a comforting dish.
- Pineapple Fried Rice: For an exotic twist, this sweet and savory option plays off the dish’s flavor profile while providing a tropical touch.
- Egg Rolls: Golden and crispy, these make for a fun finger food that pairs wonderfully with the sweet and sour sauce, delivering an extra crunch.
- Crispy Wontons: Stuffed with a creamy filling, their crispy texture makes them a delightful sidekick to the tender chicken, satisfying every bite.
- Mango Salad: Fresh mango slices tossed with cilantro and lime offer a refreshing, tangy contrast, balancing out the dish’s richness.
- Lychee Cocktail: Sip on this fruity drink, its sweetness will cleanse your palate and prepare you for another delightful bite of chicken.
How to Store and Freeze Sweet and Sour Chicken
Fridge: Keep leftovers in an airtight container for up to 3 days. Reheat in the microwave or on the stove until heated through, ensuring the chicken remains juicy.
Freezer: Sweet and Sour Chicken can be frozen for up to 3 months. Allow it to cool completely, then store in a freezer-safe container. When ready to enjoy, thaw overnight in the fridge and reheat until hot.
Reheating: For best results, reheat in the oven at 350°F (175°C) for about 15-20 minutes for a crispy texture. Avoid microwaving too long to maintain that delicious crunch!
Vacuum-Sealed Option: For added freshness, consider vacuum-sealing your sweet and sour chicken before freezing. This method helps prevent freezer burn and keeps flavors intact.
Sweet and Sour Chicken Variations
Feel free to play around with this recipe, creating your own special twist on this beloved dish!
- Shrimp Swap: Substitute chicken with shrimp for a delightful seafood take. Cook until just pink to preserve tenderness.
- Veggie-Packed Goodness: Add colorful veggies like bell peppers, snap peas, or broccoli into the mix for a nutrient-rich boost. They add vibrancy and texture!
- Tofu Twist: For a vegetarian option, replace chicken with tofu. Marinate the tofu to infuse flavor before frying for a delightful and crispy result.
- Spicier Kick: Include red pepper flakes or Sriracha in the sauce for a spicy thrill. Adjust the amount to find your perfect heat level!
- Crispier Coating: Try using panko breadcrumbs instead of cornstarch for an extra-crunchy coating that adds a new dimension to texture. Each bite will be even more satisfying.
- Alternative Sweeteners: Use honey or agave syrup in place of sugar for a different sweet profile. These natural sweeteners offer a warm, nuanced flavor.
- Vinegar Variations: Experiment with different vinegar types, such as rice wine vinegar for a milder twist, or balsamic for a rich complexity that surprises your palate.
- Switch Up the Sauce: Blend in your favorite spices or herbs, like ginger or sesame oil, to the sauce for an exciting flavor layer. This can beautifully enhance the overall taste!
Ready to dive into the world of sweet and sour? Don’t forget, if you’re looking for another delightful chicken recipe, my Thai Peanut Chicken is a flavorful alternative that’s sure to impress!
Make Ahead Options
These Sweet and Sour Chicken preparations are perfect for busy home cooks! To save time during hectic weeknights, you can prep the chicken and coat it with cornstarch, salt, black pepper, and garlic up to 24 hours in advance. Just seal it tightly in the refrigerator until you’re ready to fry. Additionally, you can whip up the sweet and tangy sauce and store it in an airtight container for up to 3 days — simply give it a good shake before using. When it’s time to serve, fry the chicken and bake it with the sauce as per the recipe instructions. This way, you’ll enjoy all the delightful flavors of homemade Sweet and Sour Chicken without the last-minute rush!
Expert Tips for Sweet and Sour Chicken
• Crispy Coating Secret: Use cornstarch instead of flour to ensure your Sweet and Sour Chicken has that ideal, long-lasting crunch.
• Flavor Adjustments: Feel free to tweak the amount of apple cider vinegar in the sauce to suit your taste—too much can overpower the other flavors!
• Convenient Prep: For a quicker dinner, prepare the sauce ahead of time; it can be frozen for up to two months without losing flavor.
• Vegetable Options: Don’t hesitate to add bell peppers or pineapple chunks; they enhance flavor and add vital nutrients to your meal!
• Frying Tips: Ensure the oil is hot enough before frying to create a crispy texture—test it with a small piece of chicken for best results!
Sweet and Sour Chicken Recipe FAQs
How do I choose the right chicken for sweet and sour chicken?
Absolutely! For sweet and sour chicken, I recommend using chicken breasts as they are lean and cut easily into bite-sized pieces. However, chicken thighs can be substituted for a juicier and more flavorful dish. Always look for chicken that is firm and has a pinkish color with no dark spots.
What’s the best way to store sweet and sour chicken leftovers?
After enjoying your sweet and sour chicken, make sure to store leftovers in an airtight container in the refrigerator. They will remain fresh for up to 3 days. When reheating, try using the stove or microwave, ensuring the chicken is heated thoroughly without drying it out.
Can I freeze sweet and sour chicken?
Very! To freeze sweet and sour chicken, allow it to cool completely first. Then, transfer it to a freezer-safe container or use vacuum-sealed bags to prevent freezer burn. It can be frozen for up to 3 months. When you’re ready to enjoy it again, thaw it overnight in the refrigerator and reheat in the oven for the best texture.
What should I do if my sweet and sour chicken turns out soggy?
Don’t worry! If you find your sweet and sour chicken is soggy, it’s likely due to excess sauce or not frying the chicken long enough. Next time, ensure the chicken is fried until golden brown and crispy before baking it with the sauce. Also, try reducing the sauce during cooking to thicken it up a bit before pouring it over the chicken.
Is sweet and sour chicken suitable for my family with allergies?
When considering dietary needs, always check for allergies. This sweet and sour chicken recipe contains soy sauce (which can be high in sodium) and eggs. If anyone has soy allergies, consider using a gluten-free soy sauce or a substitute like coconut aminos. Always consult with your family members to ensure everyone can enjoy this delicious dish!
How long can I keep the sweet and sour sauce in the fridge?
For best results, homemade sweet and sour sauce can be stored in an airtight container in the refrigerator for up to 1 week. You can easily whip it up ahead of time, which simplifies meal prep on busy days. Just give it a stir before using to ensure it’s well mixed!

Deliciously Easy Sweet and Sour Chicken Recipe Your Family Will Love
Ingredients
Equipment
Method
- In a large mixing bowl, combine bite-sized chicken breast pieces with cornstarch, black pepper, salt, and pressed garlic. Let sit for about 10 minutes.
- Preheat a skillet over medium heat and add enough oil to cover the bottom. Whisk eggs in a separate bowl, dip chicken pieces in eggs and fry for about 4-5 minutes per side until golden brown.
- In a medium bowl, whisk together sugar, soy sauce, ketchup, apple cider vinegar, and garlic parsley salt until well combined.
- Pour the sauce over the fried chicken and bake in a preheated oven at 350°F (175°C) for 30 minutes, flipping chicken every 10 minutes.
- Serve hot over steamed white rice or alongside vegetable lo mein.
Leave a Reply